Credit Cards Accecpted

Bad Dad Custom Motorcycle Finishes, Motorcycles  Supplies & Parts, Fort Wayne, IN
ad for /static/images/sidebar_ads/side_cover.jpg
Bad Dad Supports the Semper Fi Fund - Serving Those Who Preserve Our Freedom

Classic, Competition & Street Series Tank

Print Instructions

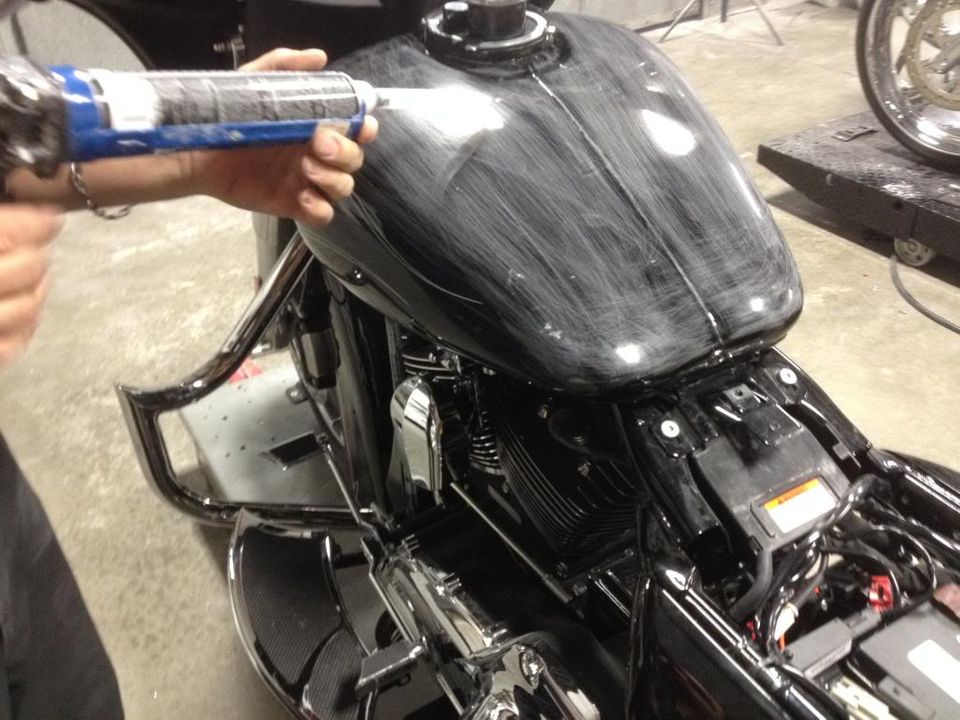
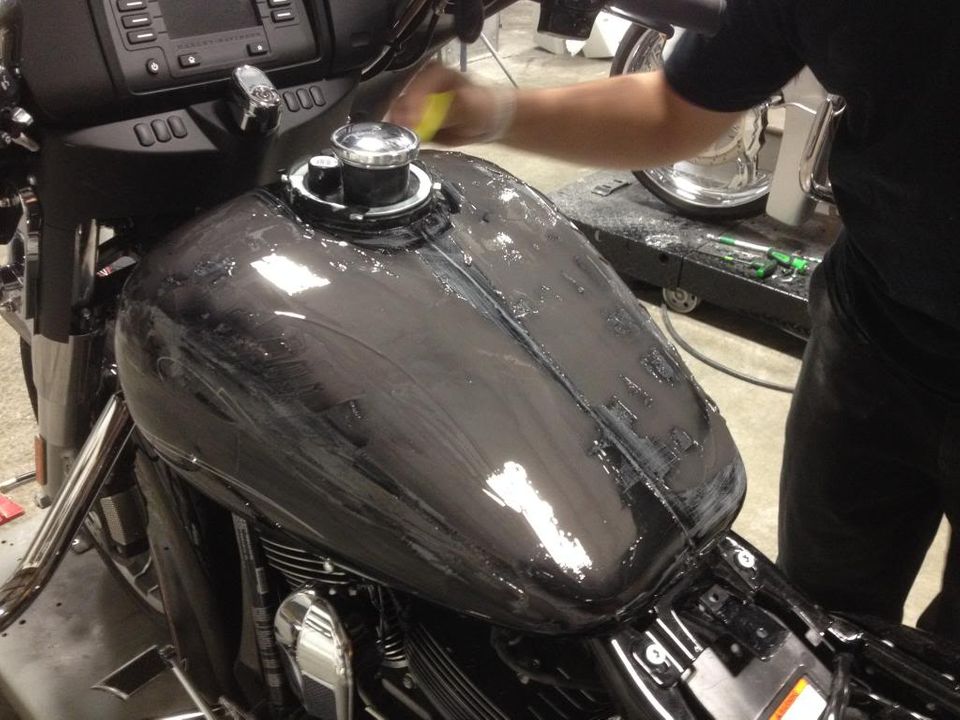
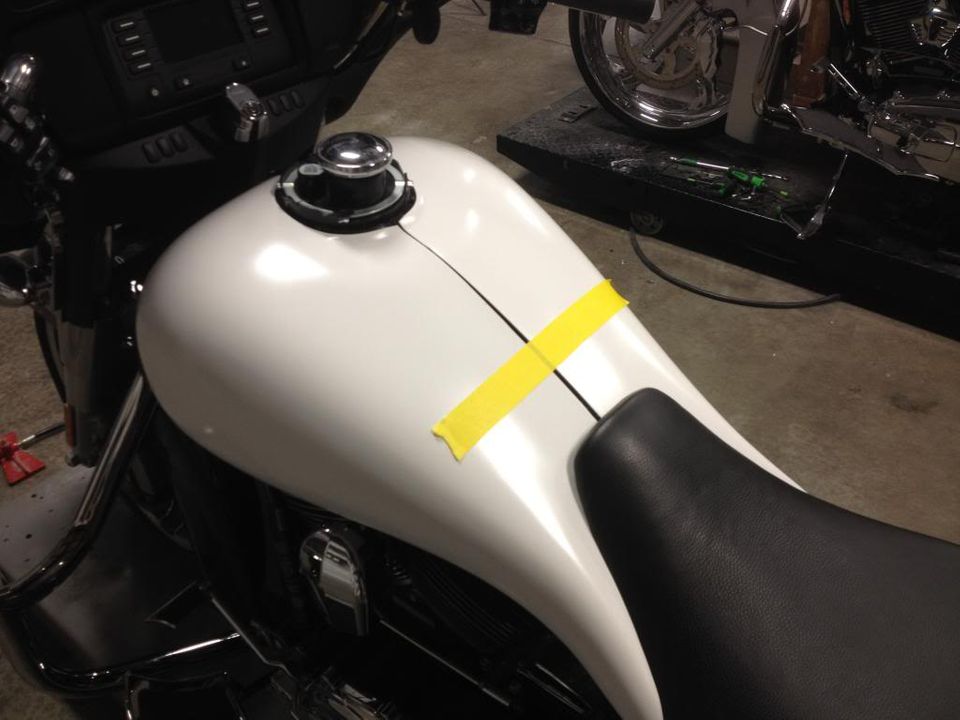
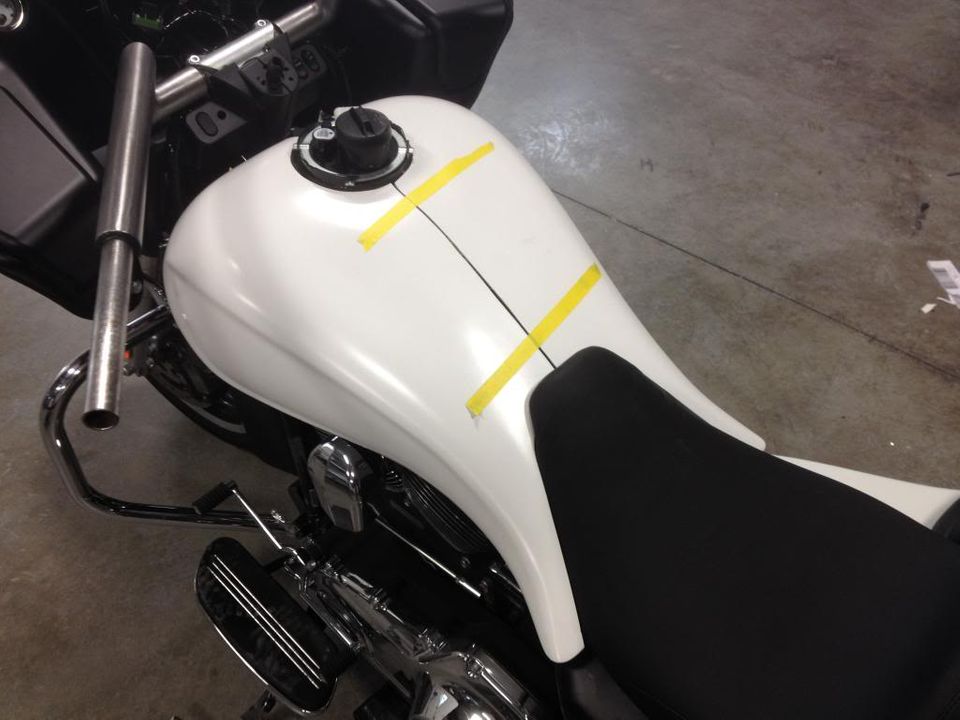
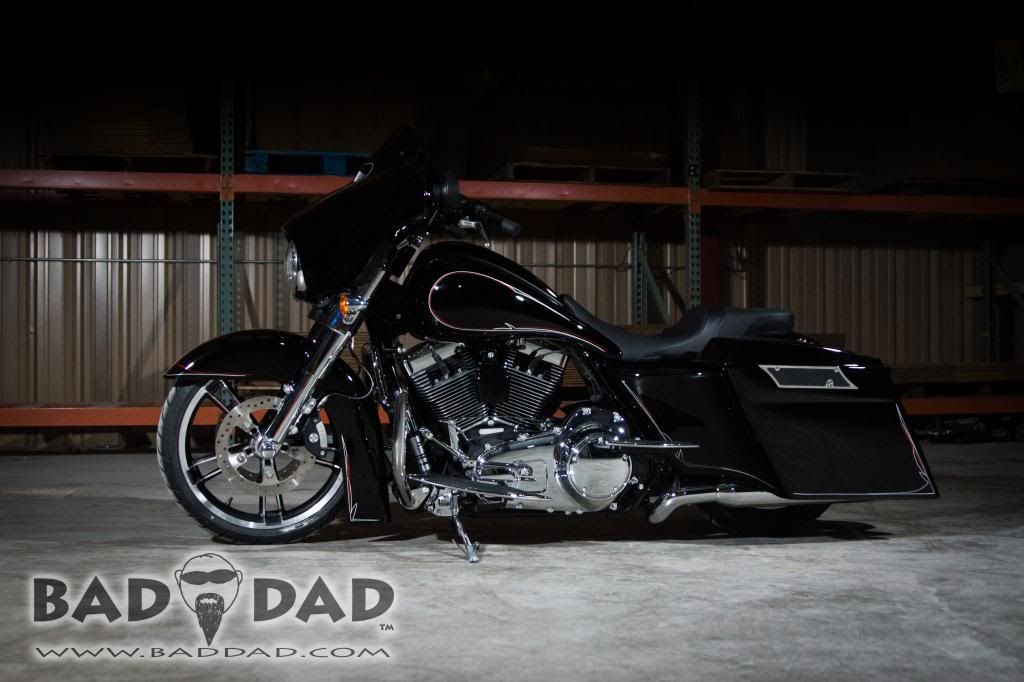
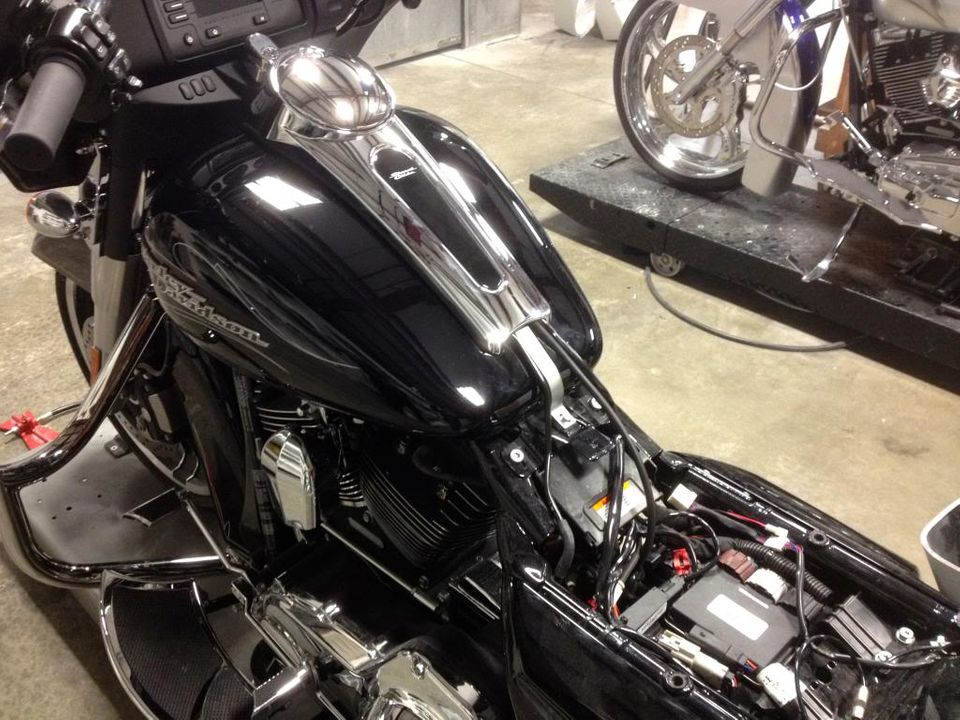
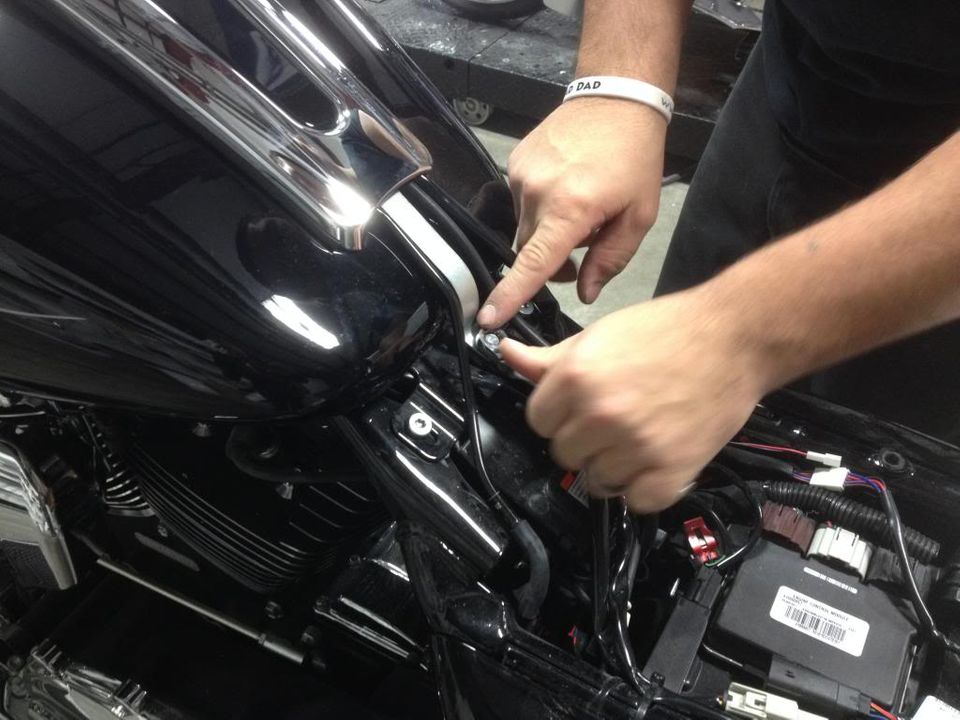
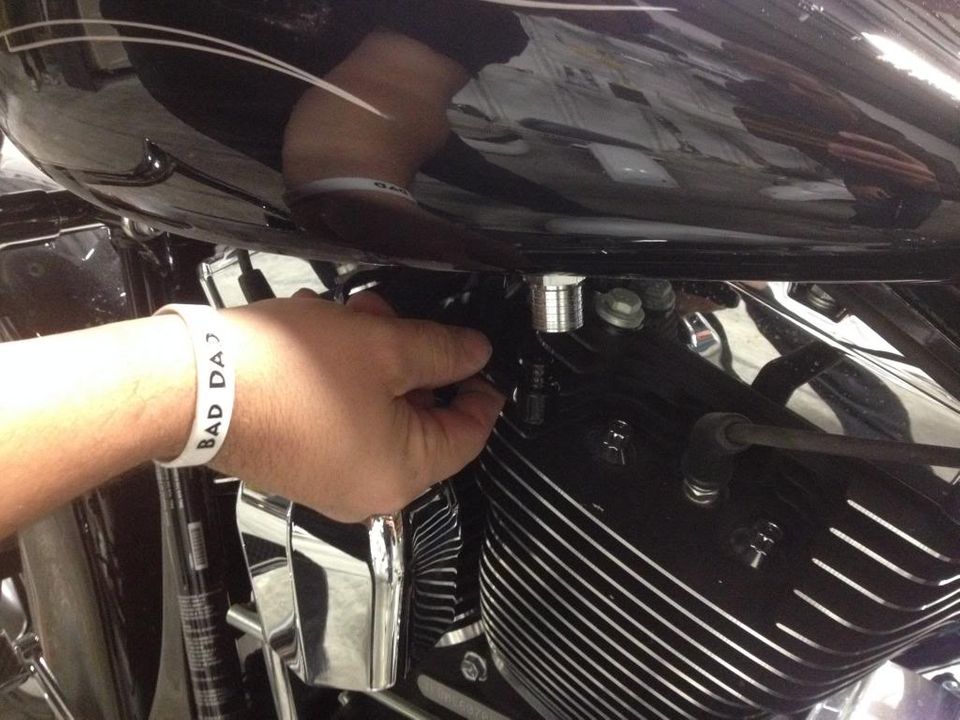
Bad Dad's Classic, Competition, and Street Series Tank Shrouds are very simple to install over your existing gas tank. These steps will walk you through preparing the stock gas tank to use Bad Dad's Classic and Competition Series Tank Shrouds.

1) Begin by removing the seat.
2) Remove the dash by removing the bolts at the top and bottom of the dash.
3) Then remove the fuel line from the bottom of the gas tank.
4) Next, you should test fit the Tank Shroud before sending it for paint. Slide the Tank Shroud onto the stock tank. The fitment should be very snug over the original gas tank. Use masking tape to hold the Tank Shroud in place while you check the fitment of the seat.

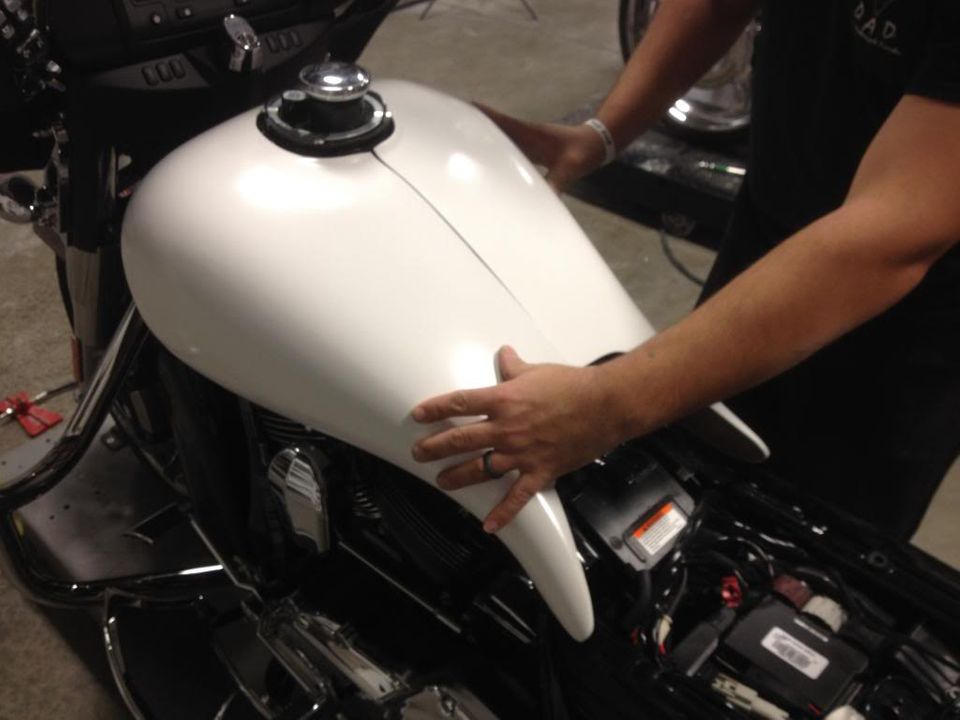
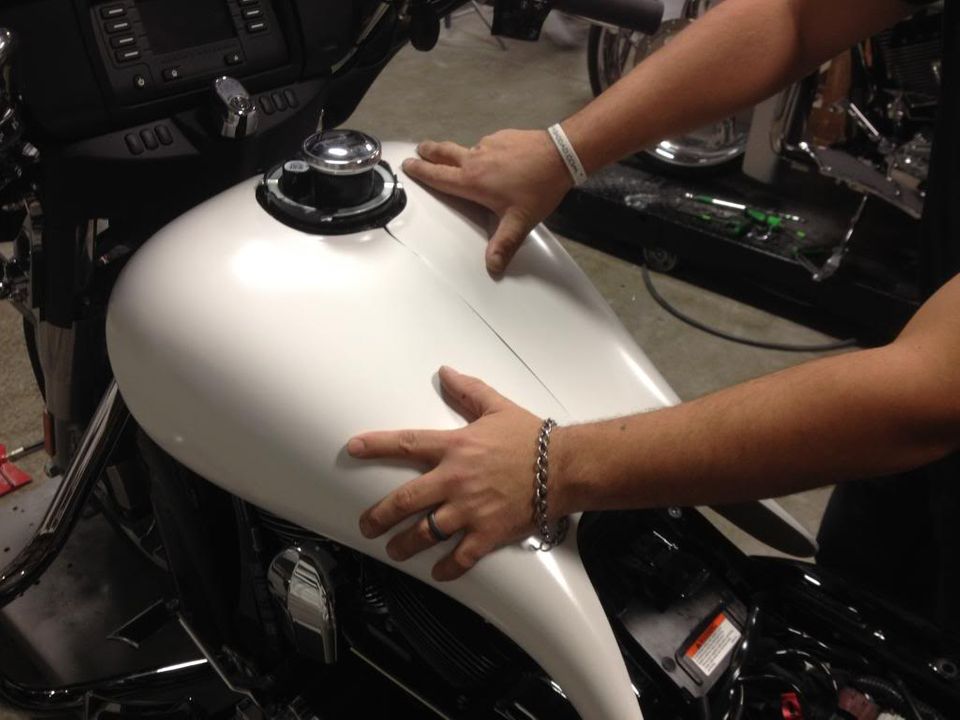
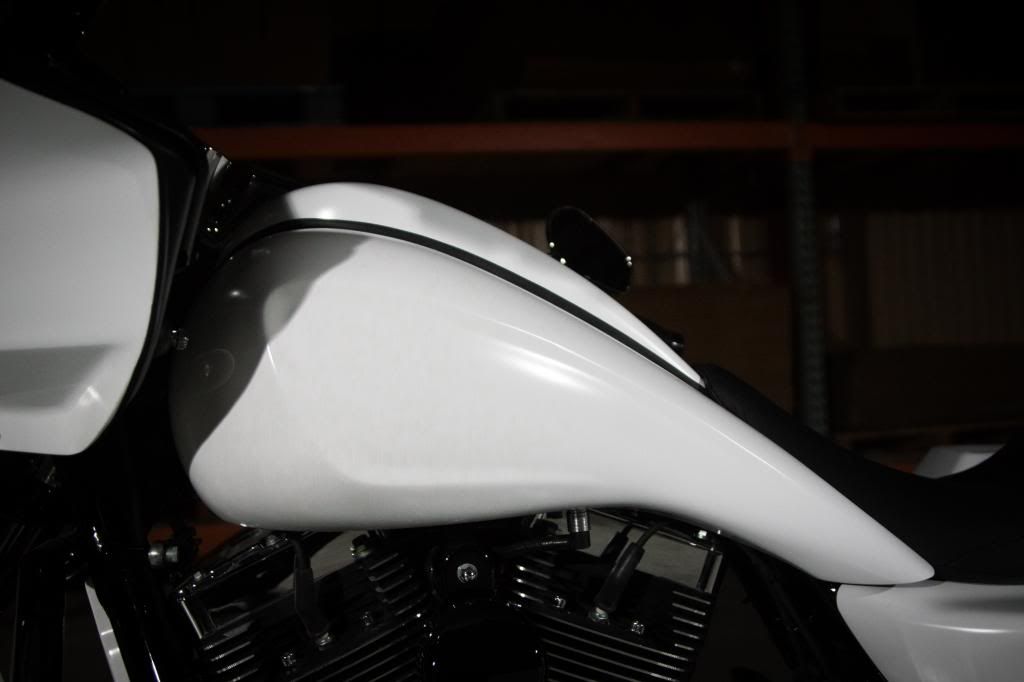
Note: The two Tank shrouds do not need to touch each other. The two halves will not touch each other in most applications. A small gap between the two halves is normal and allows for additional adjustments.

5) Then install your seat.

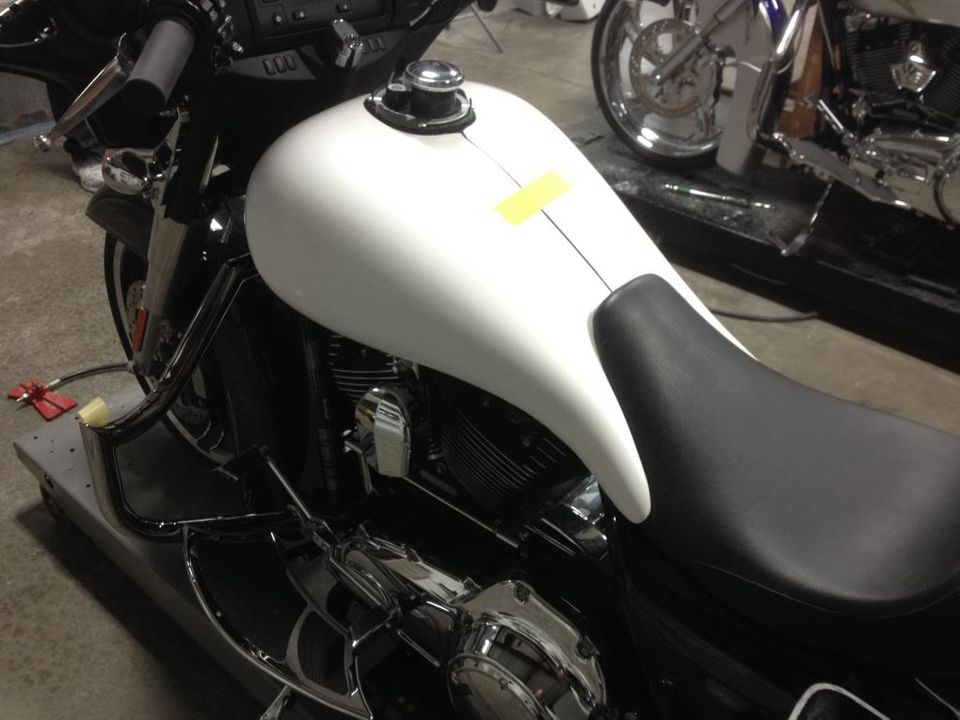
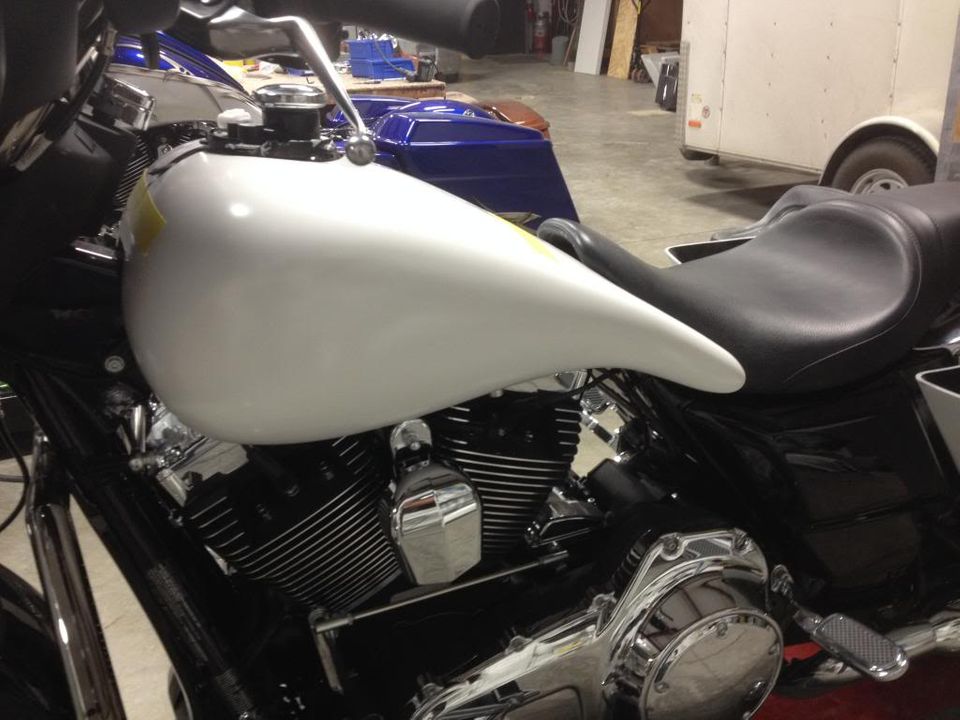
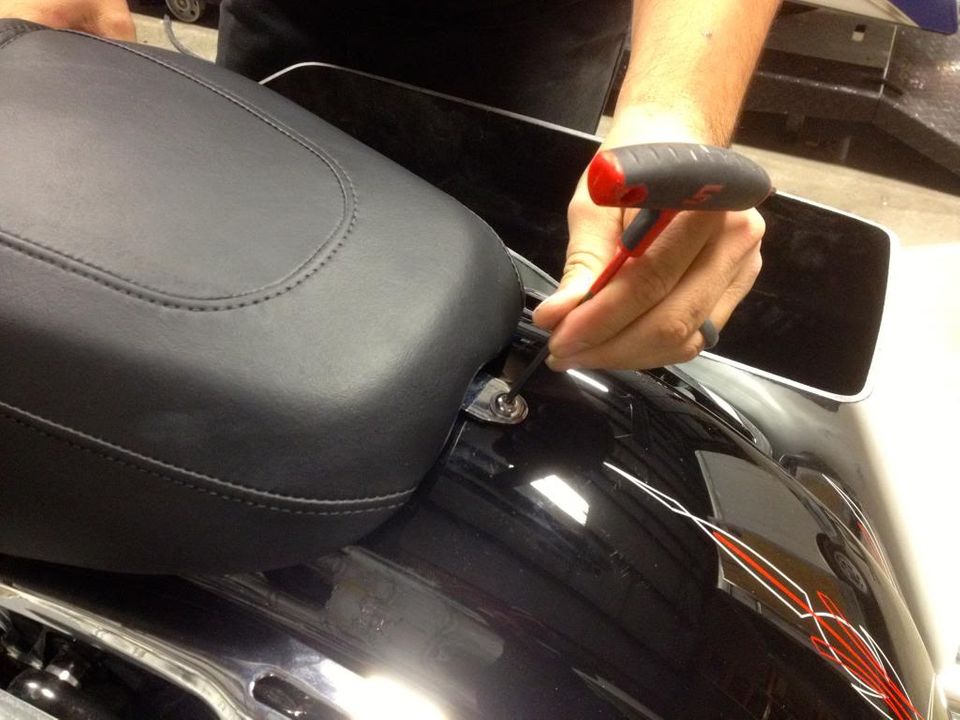
You can order your Tank Shroud pre-trimmed for Bad Dad's Competition Seat or for Danny Gray's Weekday seat. You can also order the Tank Shroud untrimmed if you want to use a different OEM or aftermarket seat.

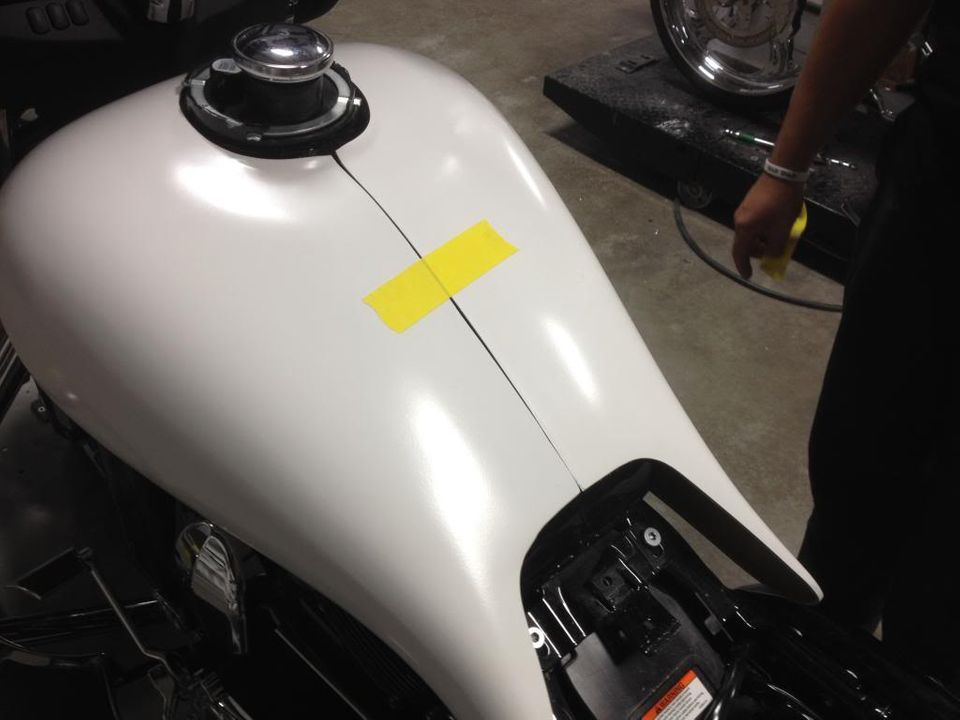
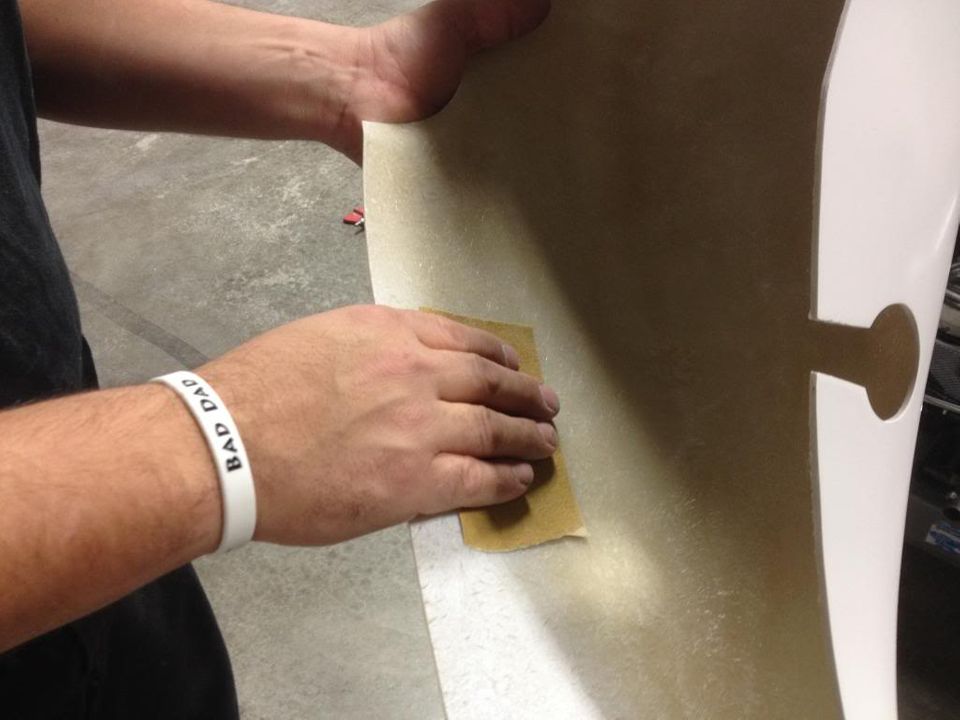
Now is the time to trim the Tank Shroud if you are cutting it for your own seat. Use a dremel or alternative slow speed cutting tool to carefully trim the fiberglass for your seat to slide into the Tank Shroud.

6) Now sand the top of the gas tank and inside of the Tank Shroud to promote adhesion between the two parts. A coarse grit paper (220 or 320 grit paper) is recommended.
7) Use a basic de-greaser to wipe down the surface of the tank before applying your adhesive. This will remove any wax, polish, or other build up from the surface of the gas tank.
8) There are many acceptable adhesives available for this project. We recommend using Evercoat's Maxim two-part epoxy because it can be applied with a standard caulk gun.

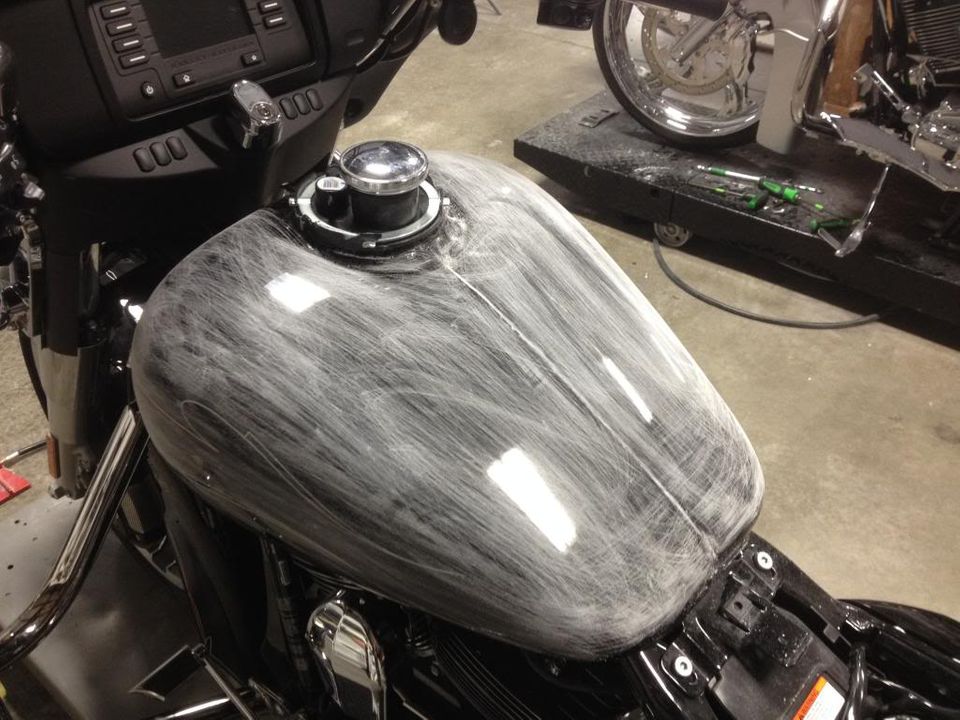
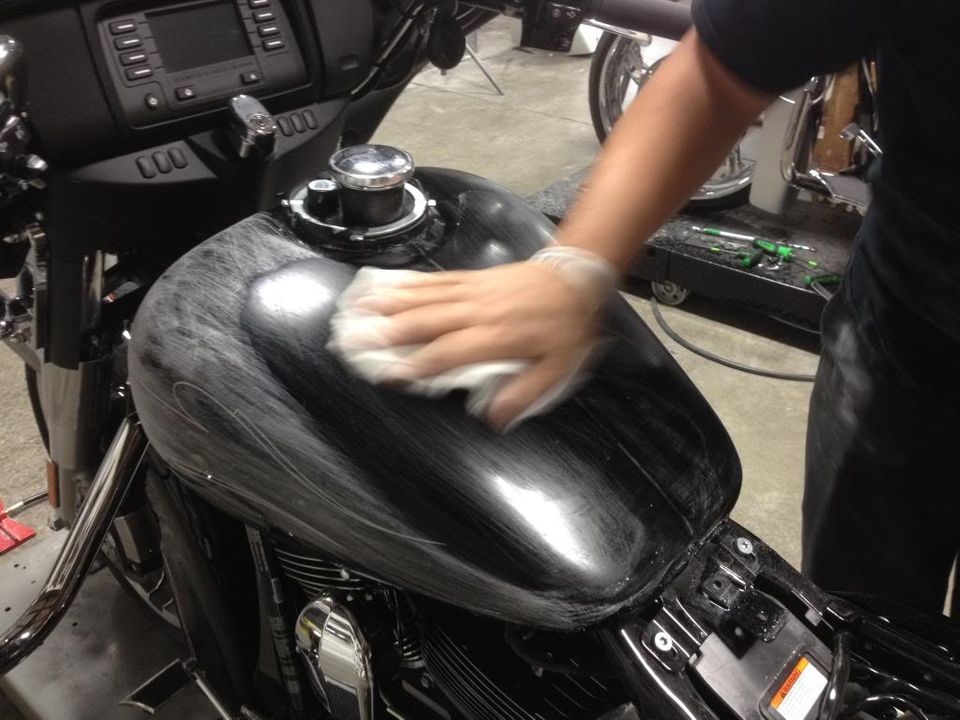
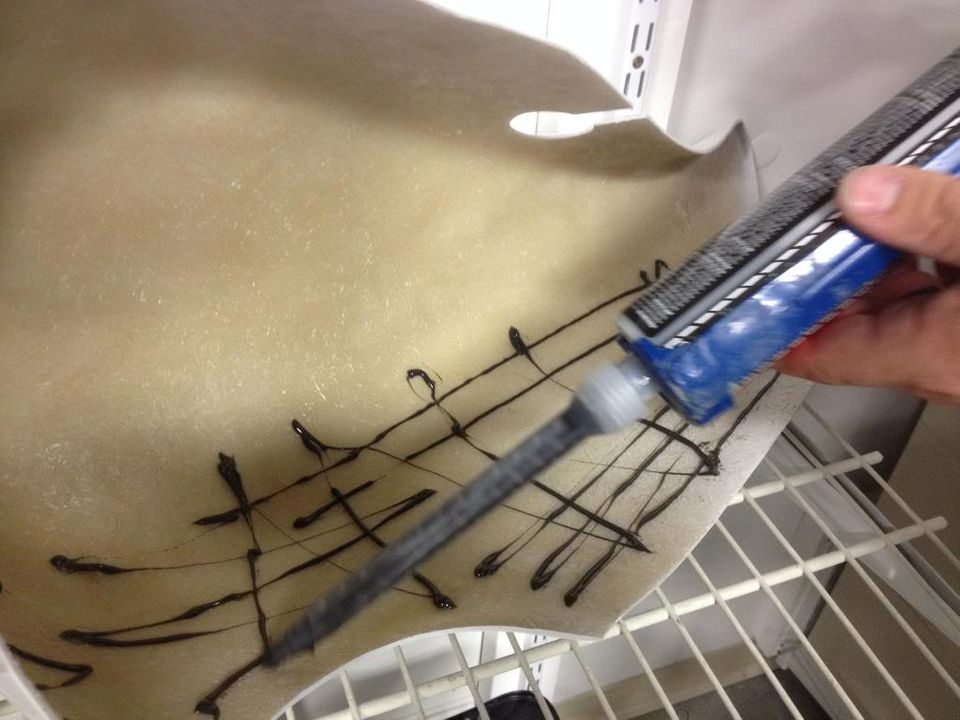
You can find Evercoat Maxim under the "Stretched Tank" section of our website or at your local automotive paint supply store.

9) Now apply your adhesive across the surface of the gas tank.
10) And apply a small amount of material to the inside of the Tank Shroud.
11) Then use a spreading tool to evenly spread the adhesive across the surface of the gas tank and the inside of the Tank Shroud.
12) Now you can permanently install the Tank Shroud to the stock tank. Use masking tape to hold both halves together while the adhesive dries. Also install your seat to make sure the Tank Shroud adheres properly with the seat in place.
13) Here is the Competition Tank Shroud drying with the masking tape in place.
14) Both the Classic Series & Competition Series Tanks are now ready for paint. Both Tank Shrouds are finished in a blemish free gel coat which is simple to prepare for painting.
15) Both tanks are ready for final installation after painting.