Order online or by
calling 260.407.2000


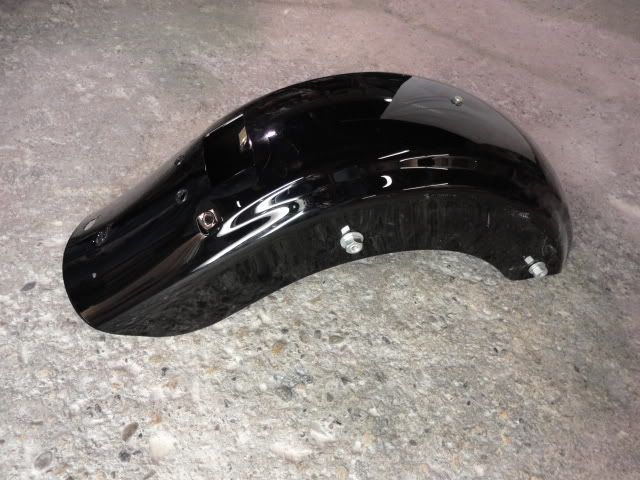
2009-2013 Bagger Fender with OEM Fender
Print Instructions
| These instructions outline installing Bad Dad's All-in-One Fender Cover over the top of your stock fender. This application does require modifying the stock fender to make room for the custom taillight housing. The details for this are outlined below. These instructions are written for a 2009-current Touring model but the general outline is applicable to all similar Bad Dad products. |
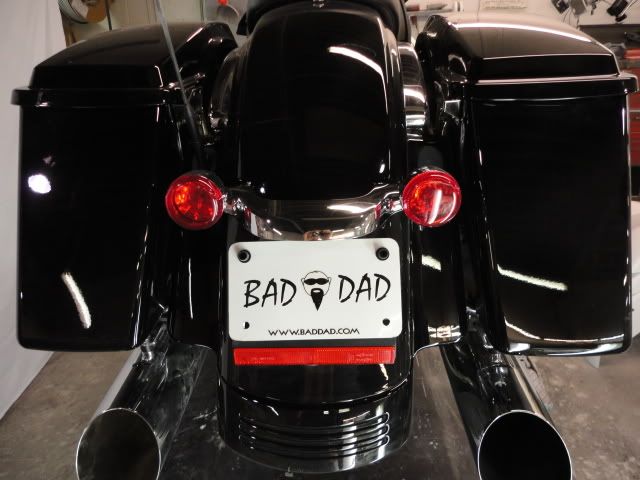
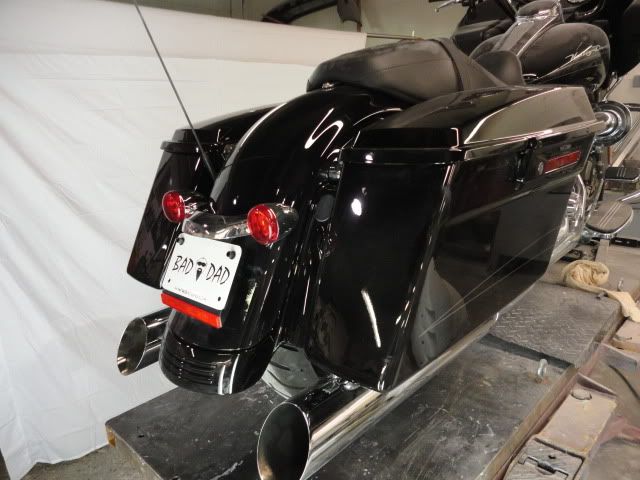
1) This is the back of the stock motorcycle.
2) Begin by removing the stock saddlebags, rear taillight and license plate mount, and the chrome strut covers.
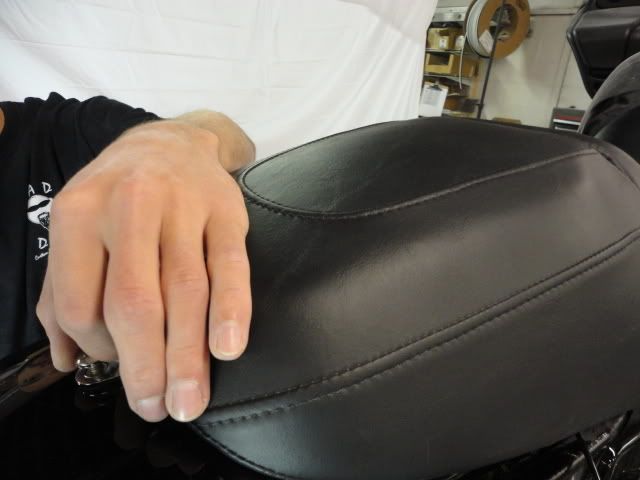

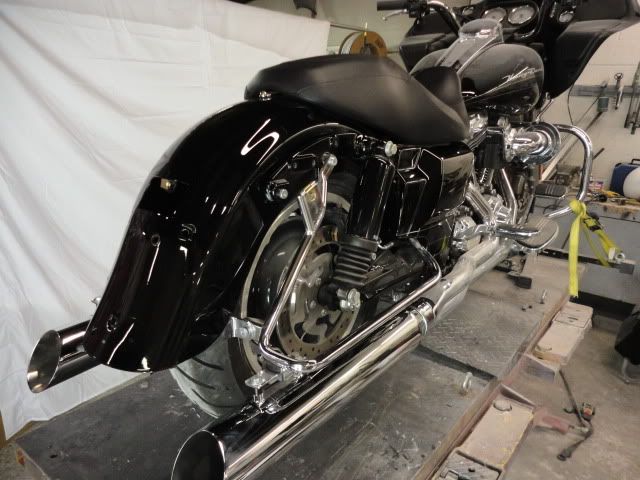
3) Remove the seat.
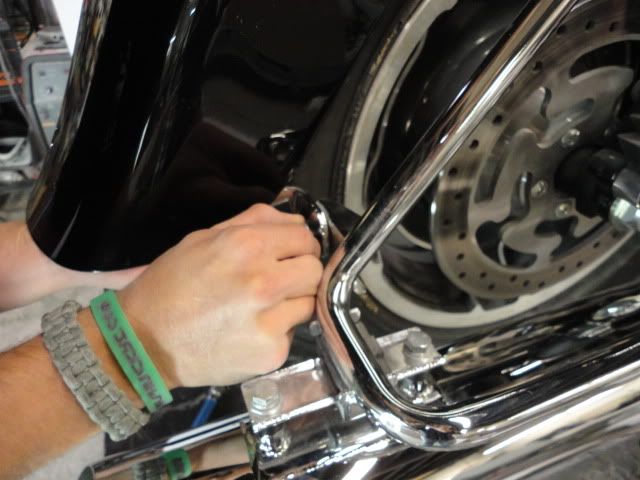
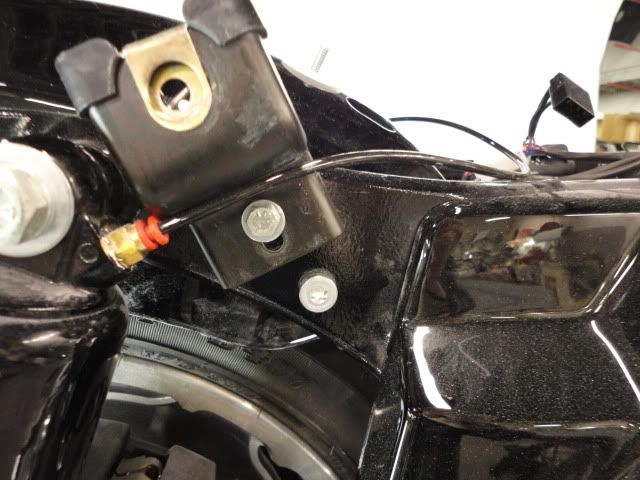
4) Remove the stock bumper bracket from behind the fender. The bumper connects to the saddlebag rails.

5) You will need access to the front bolt that secures the fender inside the frame. You will be able to access to this front bolt by moving the front saddlebag pin bracket. Loosen the front saddlebag pin bracket and then flip it upside-down.
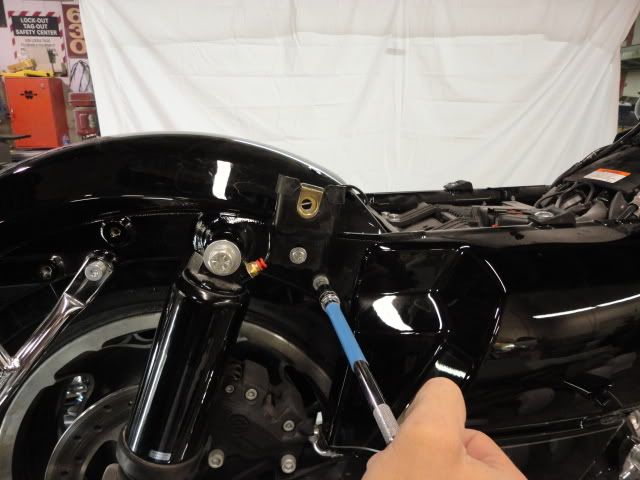
6) With the front pin out of the way, remove the front fender bolt.
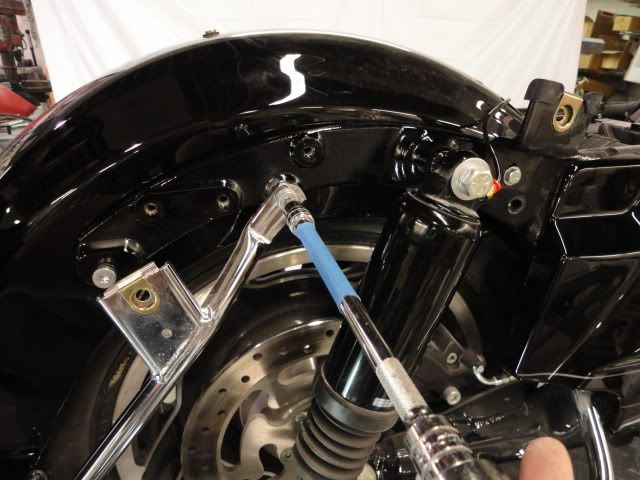
7) Then remove the upper bolt securing the saddlebag rails to the frame.
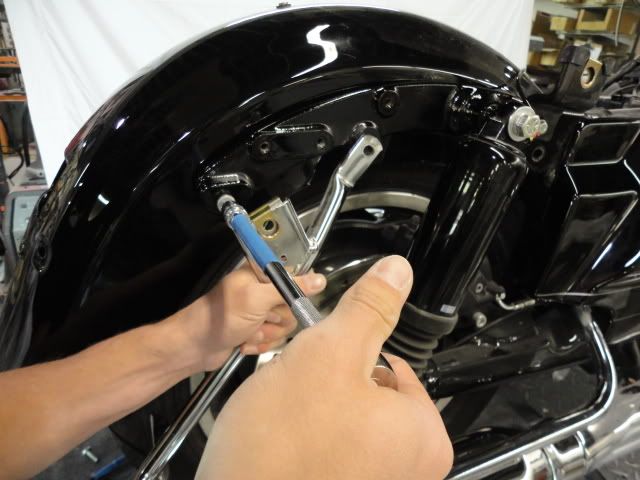
8) Now remove the rear fender bolt.
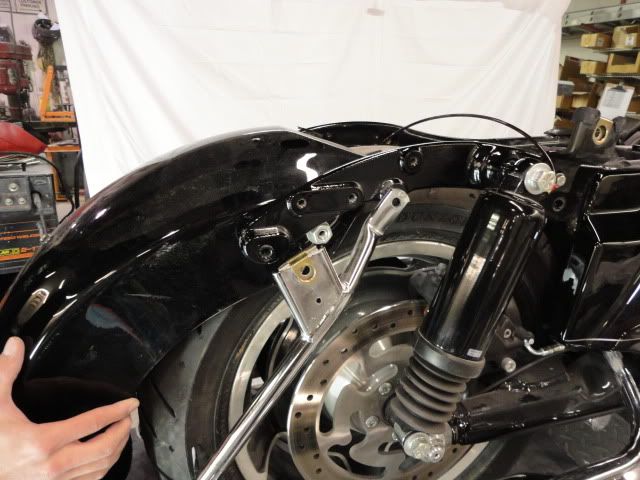
9) And completely remove the fender from the motorcycle.
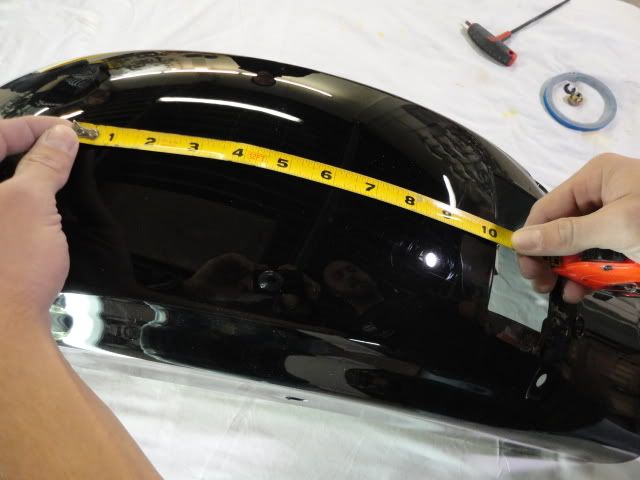
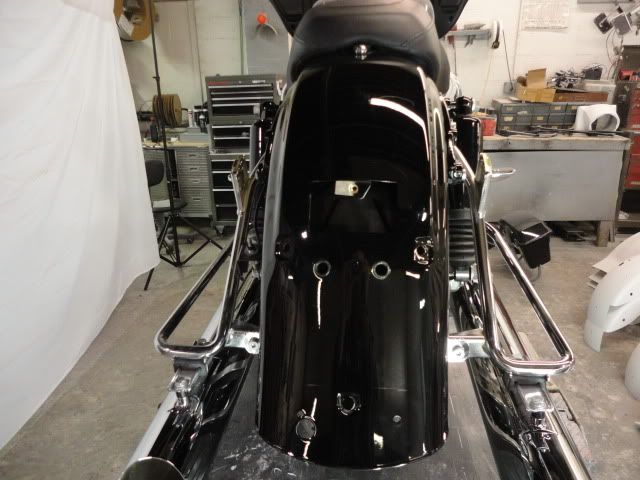
10) You will now cut the stock fender to make room for the custom taillight. Here are your cutting points:
For 1997-2008 Touring models, measure 6" past the rear seat bolt hole.
For 2009-current models, measure 9" past the rear seat bolt hole.
For Softail models, measure 10" past the rear seat bolt hole.
For Yamaha Road Stars, measure 9" past the rear seat bolt hole.
Note: Failure to cut at the correct points will place undue pressure on your lower bumper bracket and eventually cause the bumper bracket to break. Please measure correctly.

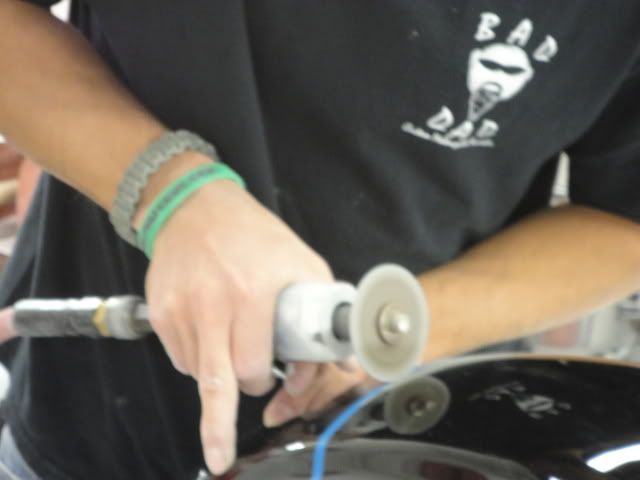
11) With the fender properly measured and marked, you may now cut off the bottom portion of the fender. Safety glasses are recommended.
12) The stock rear fender has been cut.
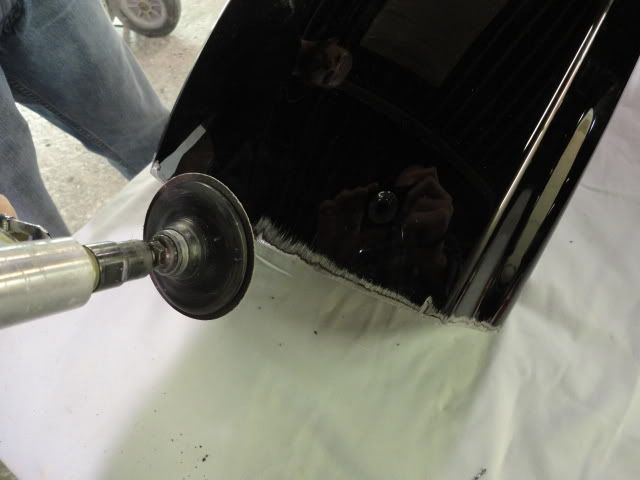
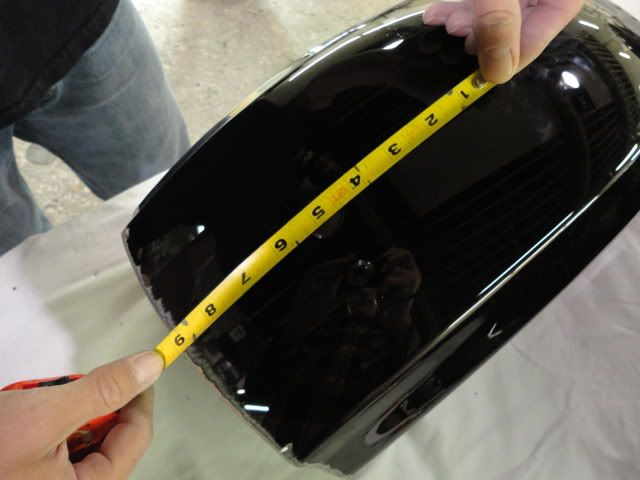
13) You may wish to lightly sand the edges of the modified steel fender to keep from cutting yourself in the future. Bad Dad always sands these edges but it is not required.
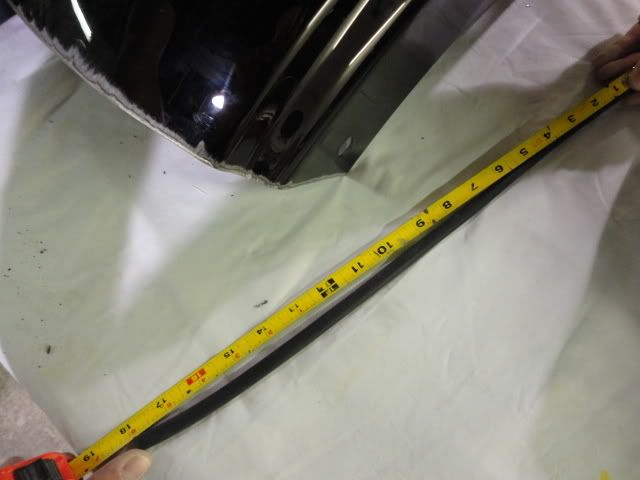
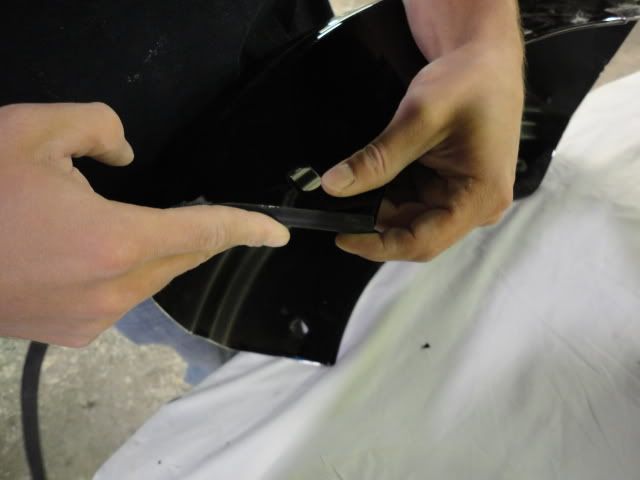
14) Bad Dad also placed a rubber seal around the edge of the stock fender to prevent the raw edge from damaging the taillight's wiring harness. Again, this is not required but it is recommended.

15) Reinstall the stock fender.
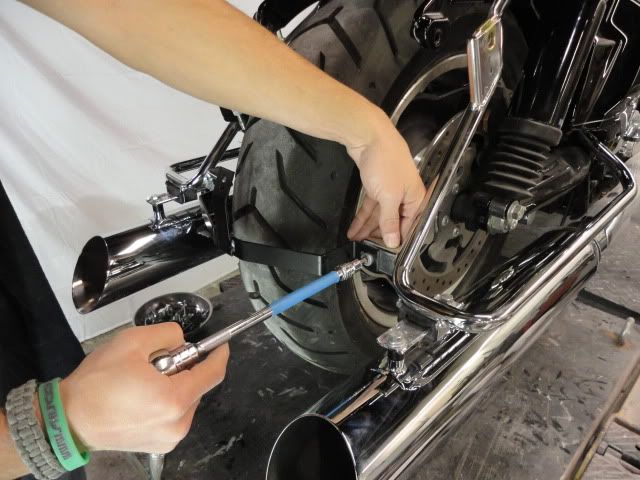
16) Install the front fender bolts.
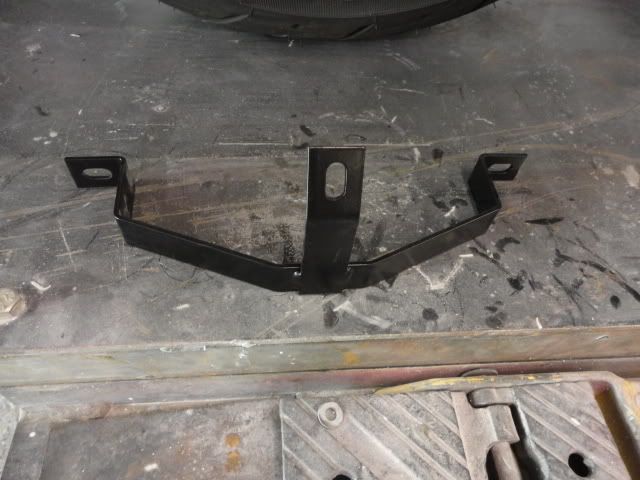
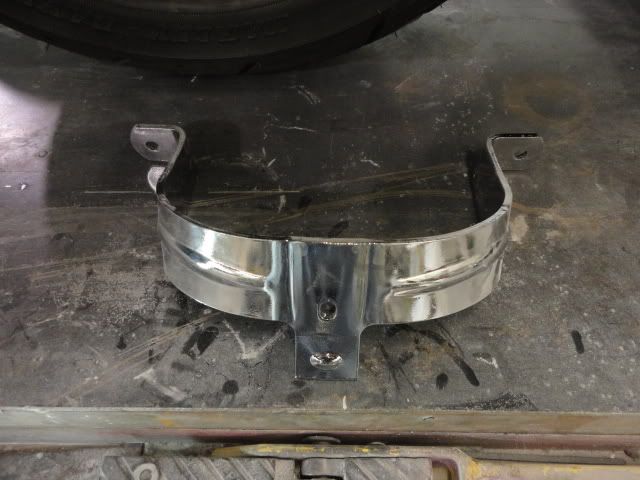
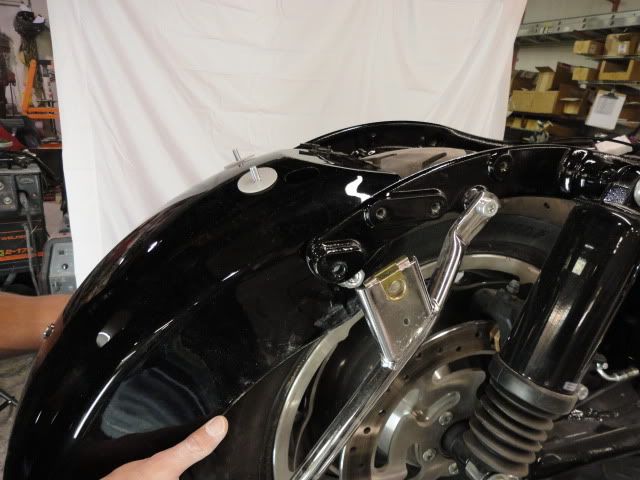
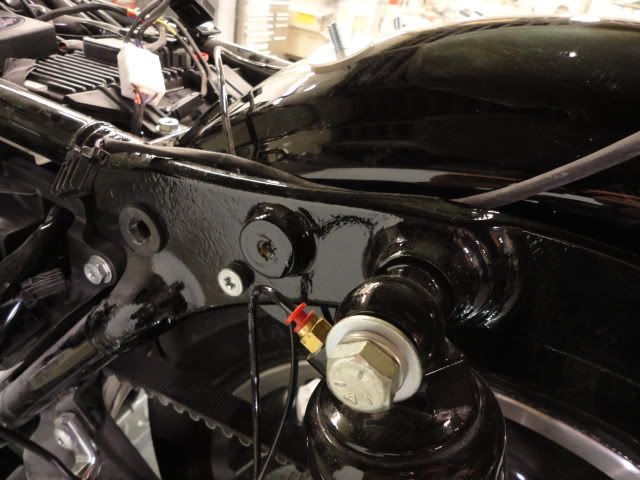
17) Now install the lower bumper bracket from Bad Dad's Fender Eliminator Kit. The tab should be installed upward. You will need this tab in the next step.
18) All of Bad Dad's fenders with custom lighting feature a stud installed on the bottom of the rear fender. This stud will pass through the tab on the bumper bracket installed in the previous step. Note: This tab is for alignment purposes only. Do not overtighten this stud. Overtightening may result in the stud pulling out of the fender. Tighten the stud until the nut is snug and then stop.
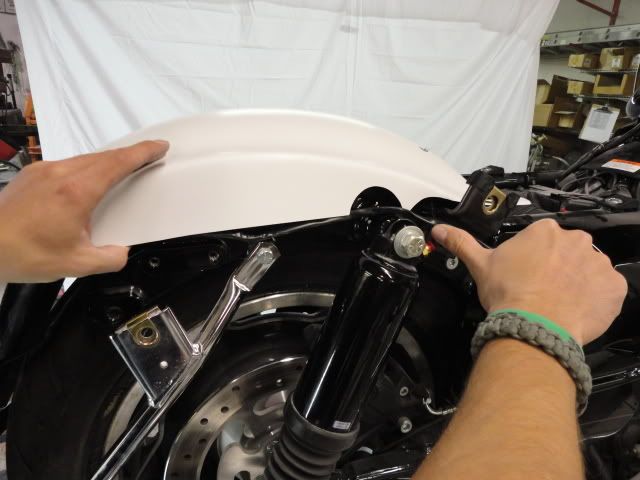
19) Now install the custom fender over the top of the stock fender.
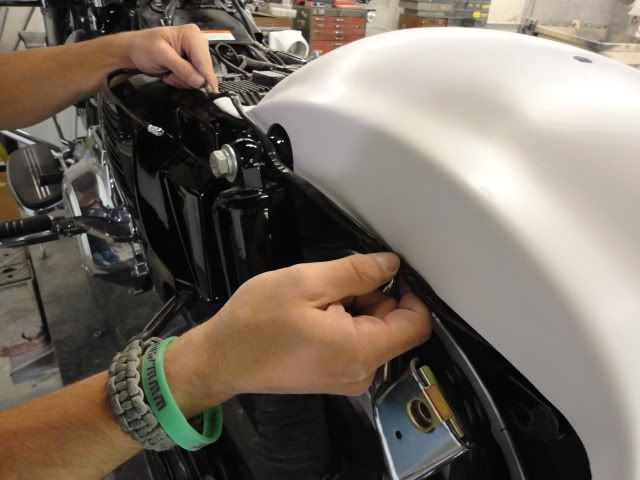
20) Run the plug-n-play wiring harness underneath the custom fender and on top of the Fender Eliminator. Bad Dad suggests letting the harness rest in the channel between the frame rail and the stock fender.
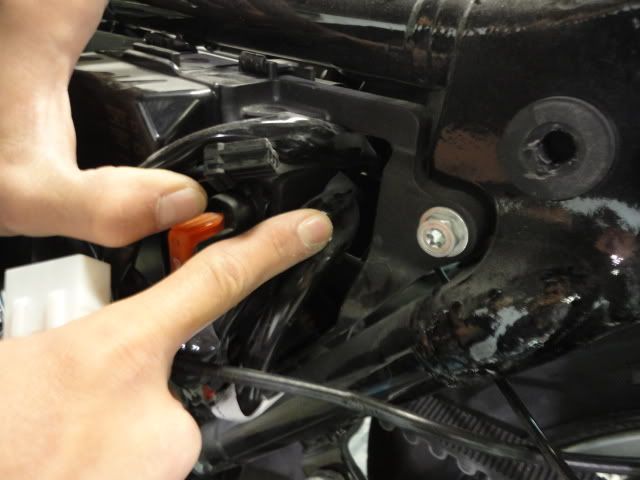
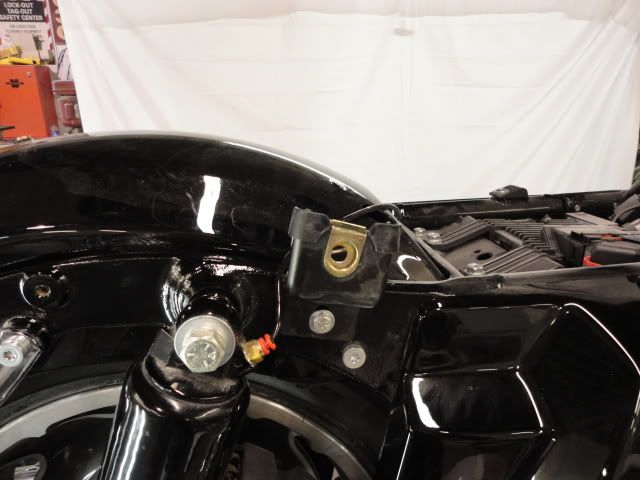
21) The main taillight wiring connector for the 2009-current models can be found behind the left-side side cover.
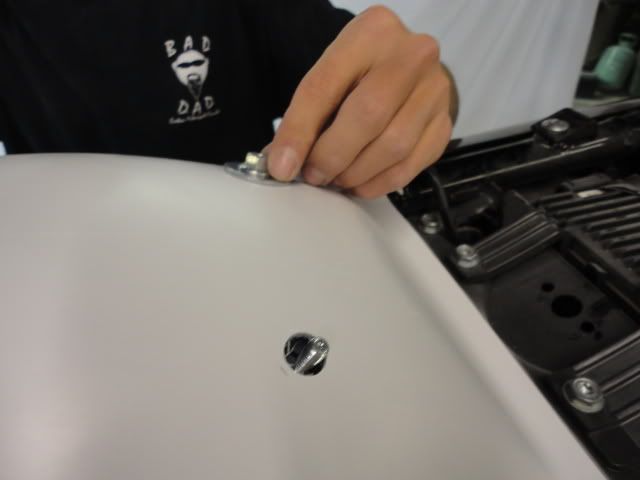
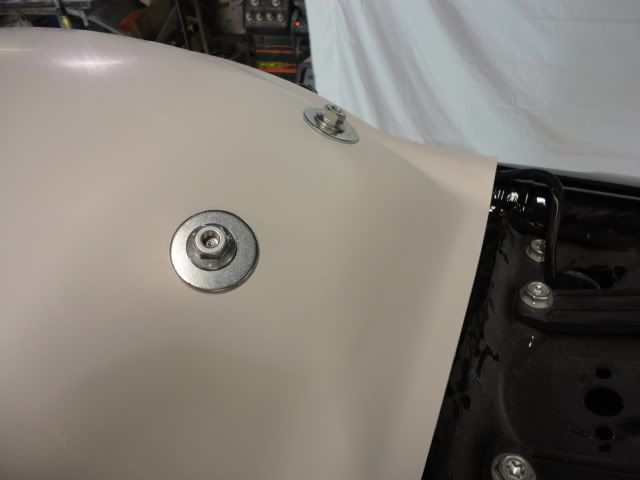
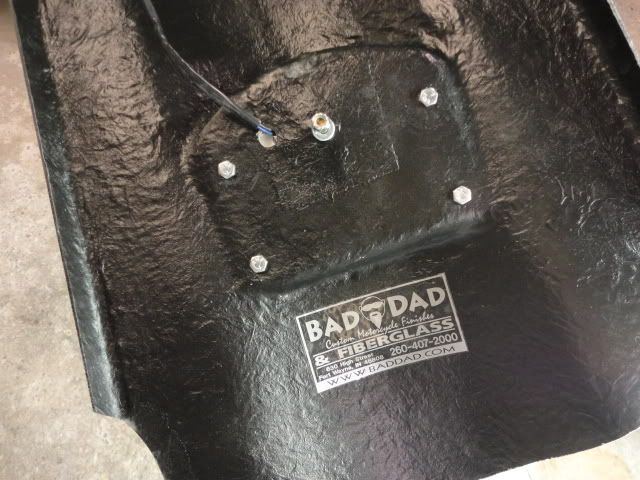
22) Install the nuts from the wire loom studs into the custom fender.
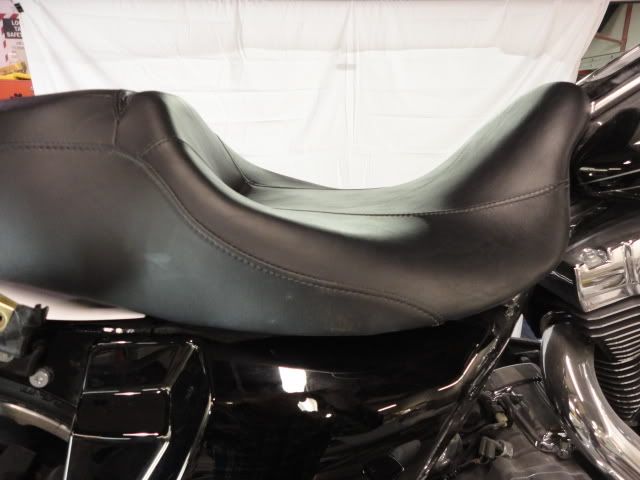
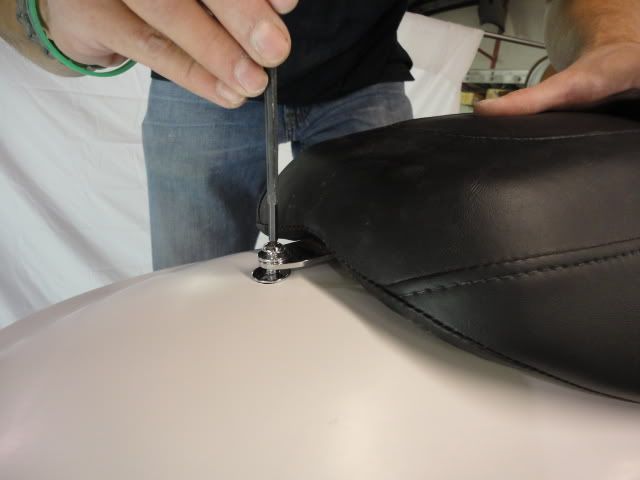
23) Install the seat.
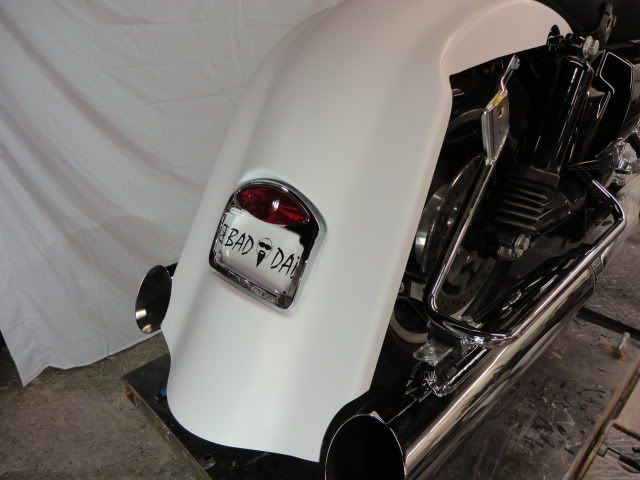
24) Finished.
Sign Up for Updates on our Newest Parts, Current Projects & Latest Builds