Order online or by
calling 260.407.2000


Flush Lens Install (F'glass)
Print Instructions
|
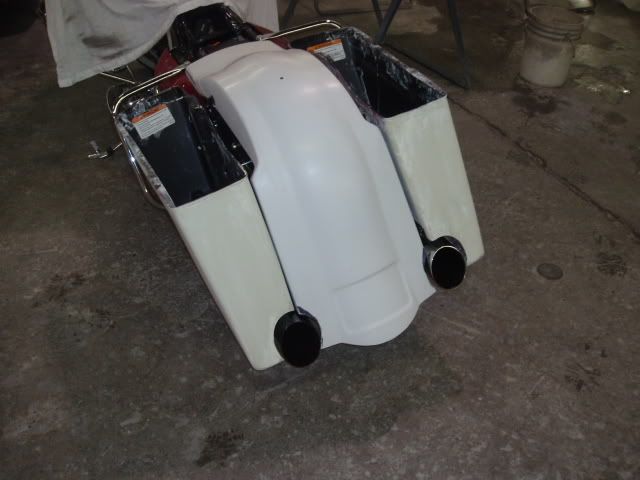
The secret is out! Here's all the information you need on how Bad Dad installs flush mount lenses for brake lights, turn signals, and license plates. |
1) After everything is tested for fit, you are ready to begin. Put on some long sleeves and start chopping.
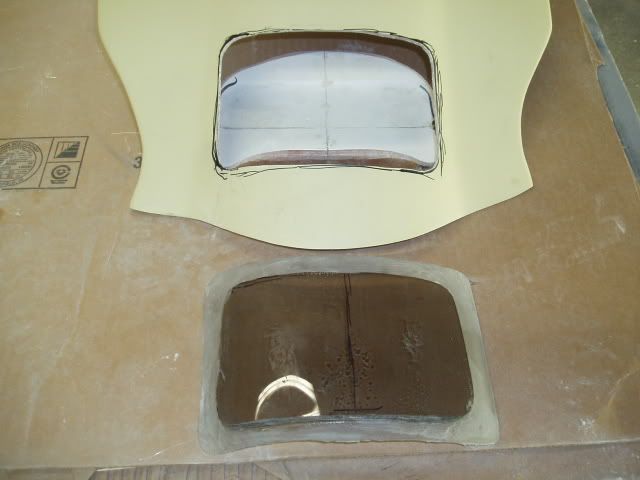
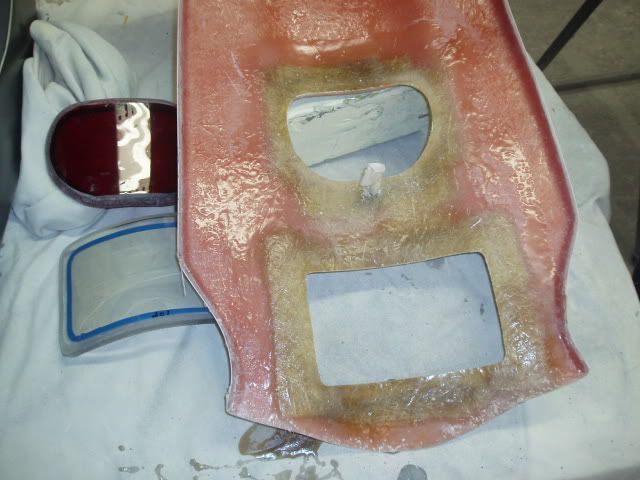
2) First you will cut an appropriately sized hole into your fender to fit your lens material. The hole should closely match the size of your lens. This picture illustrates the opening for a clear license plate lens. Similar actions should be taken for a red brake lens.
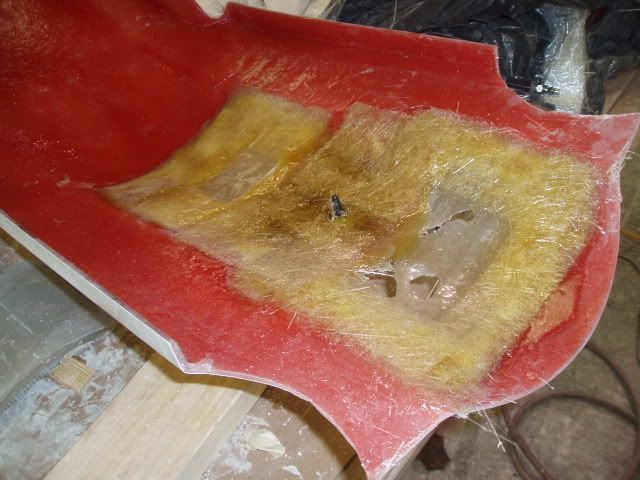
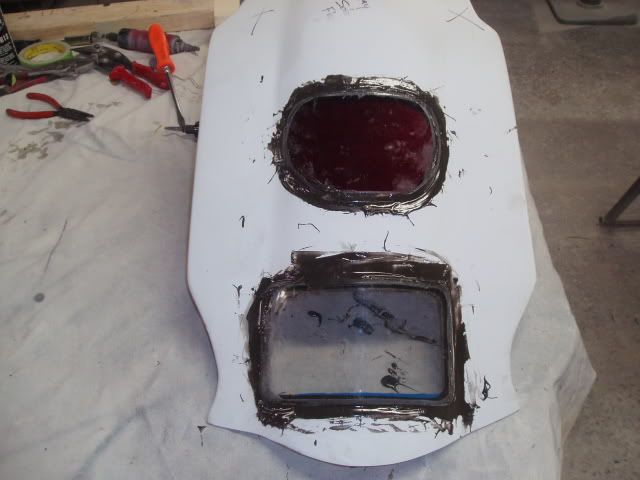
3) Next, you will need to adhere the lens material into the fender. You do this by building a "shelf" which to anchor the lens. This is done by laying two layers of mat and resin around the lip of the holes that you cut in the fender. Later you will trim away the excess mat.
4) This is a front view of the thin layer of mat and resin used for building your shelf.
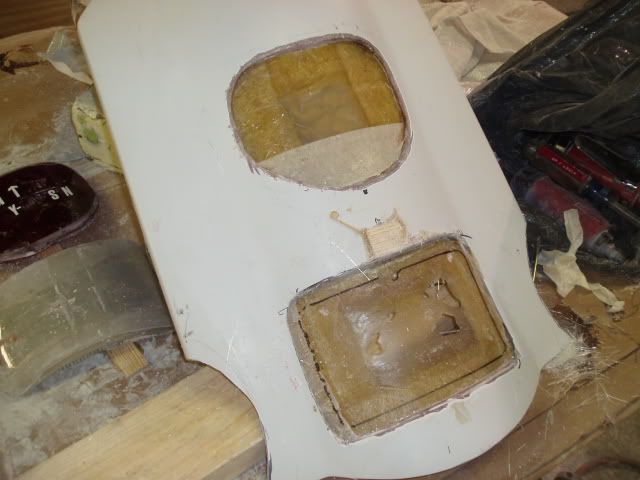
5) Now you will cut away the excess mat, leaving behind a 1/4" lens that will hold your lenses.
6) Here is a front view of the shelf.
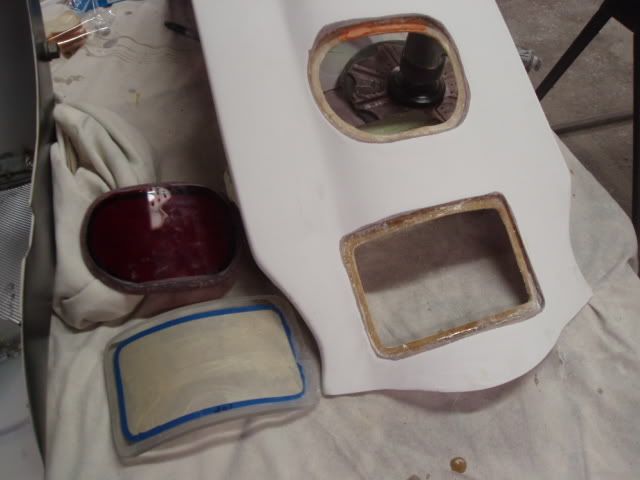
*Note that the fender holes closely match the shape of the red and clear lenses.
7) Now you can glue your lenses into the shelf that you have created. Be sure to sand the shelf as well as the edges of the lens in order to promote proper adhesion.
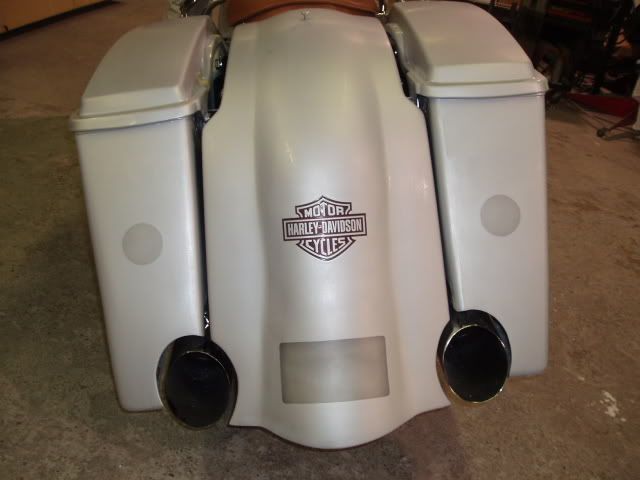
8) Once installed, the lenses should initially sit higher than the fender. This height difference will allow you to sand down the lens material to match the shape of the fender.
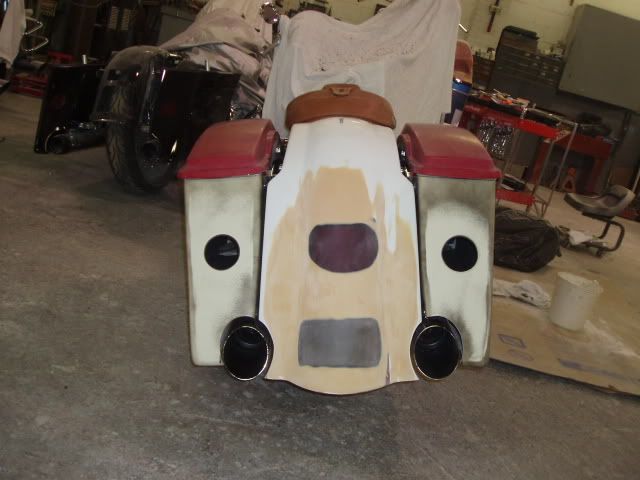
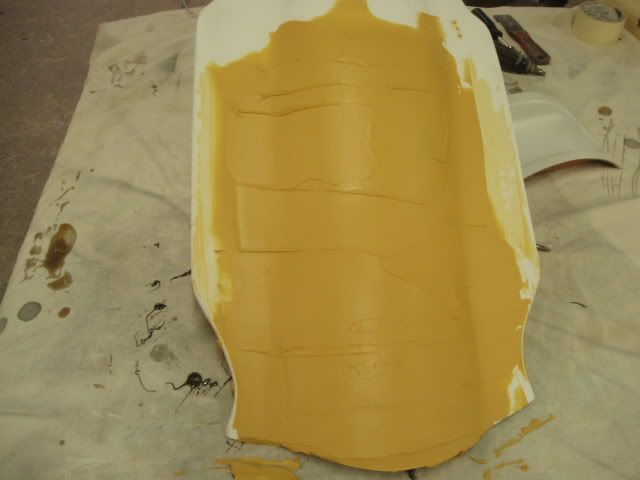
9) Now you may begin sanding the fender smooth. Depending on the success you had installing the lenses, it may take several applications of body to completely surface the entire fender.
No Picture
10) *Note: Sanding the lenses will naturally put sand scratches in the fender. These scratches will eventually work themselves out as you progress to finer grit sand paper. Bad Dad uses anywhere from 80-320 dry grit paper during the installation process. As you move towards paint, it is advised to switch to a wet sanding application of both 400 and 500 grit papers. Lenses will eventually return to their original clarity once the fender and lenses have been clear coated during the paint process.
No Picture
12) *Note: Be careful to keep solvents away from lens materials as they will likely cause permanent fractures in the lens material.
Sign Up for Updates on our Newest Parts, Current Projects & Latest Builds