Order online or by
calling 260.407.2000


2009+ Backrest Relocation Kit
Print Instructions
| Bad Dad's 2009+ Backrest Relocation Kit is designed to fit 2009-current Touring models equipped with one of Bad Dad's custom rear fenders. This kit will allow you to adapt your existing 2-point or 4-point docking kit and backrest or sissy bar to fit with your new Bad Dad fender (for Fender Covers and Replacement Fenders only; this is not necessary for Bad Dad's line of Summit Fenders). Your Backrest Relocation Kit should include: (2) Flat Backrest Brackets (black or chrome) (2) Bushings (2) Chrome Spacer 13/32 x 3/4 x 5/8 (2) Chrome Button Head 5/16 - 18 x 2 (2) Lock Nut Thin 3/8 - 16 (2) Chrome Flat Washer 3/8 |
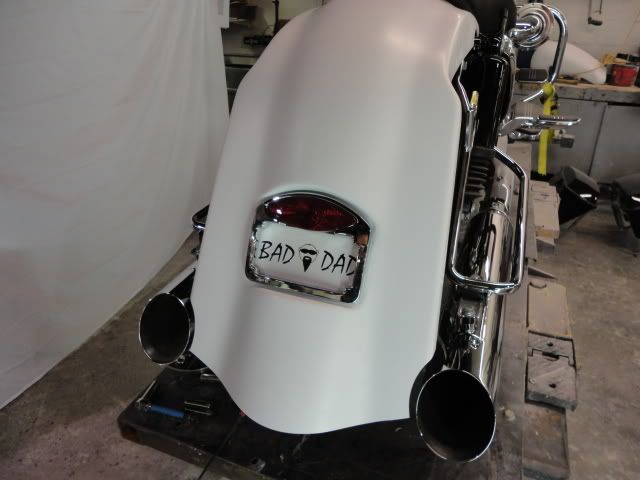
1) Here is your bike with your custom Bad Dad fender installed.
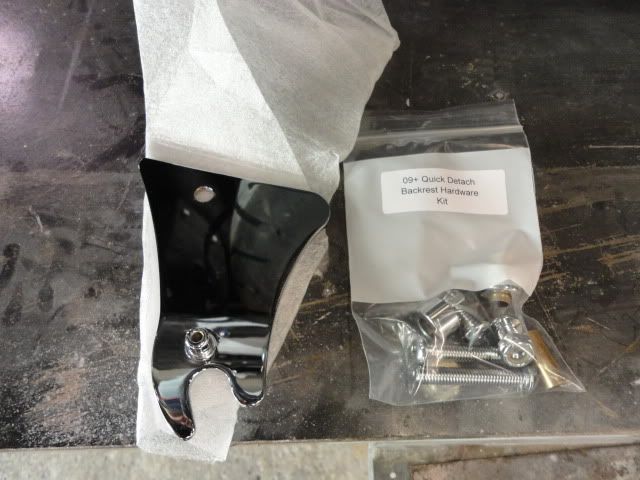
2) This is your collection of hardware along with the chrome brackets.
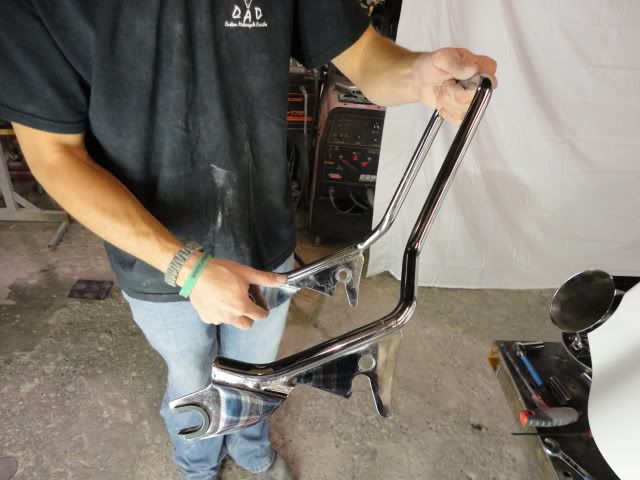
3) Begin by removing the black rotating thumb clips from the backrest or sissy bar. Here is the side of the backrest with the thumb clips removed. You will re-install these in step 8.
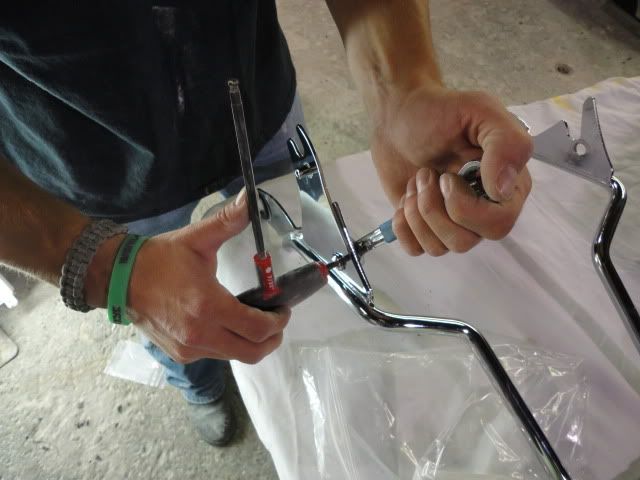
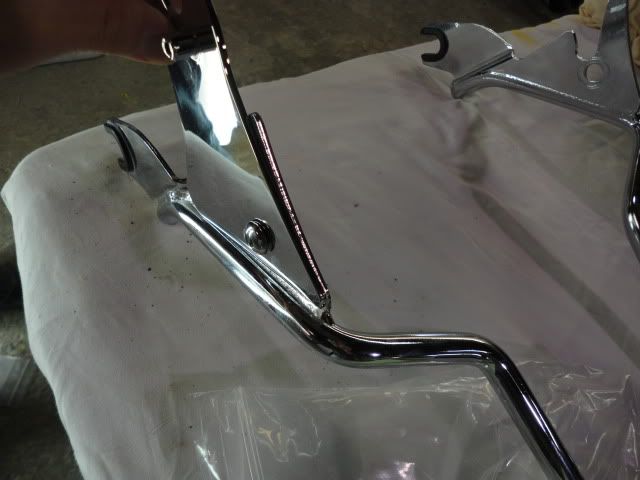
4) Next mount the flat brackets (black or chrome) to the outside of your backrest or sissy bar. The flat bracket will mount on the outside of the bar's side plates and the pressed in fitting will face outward.

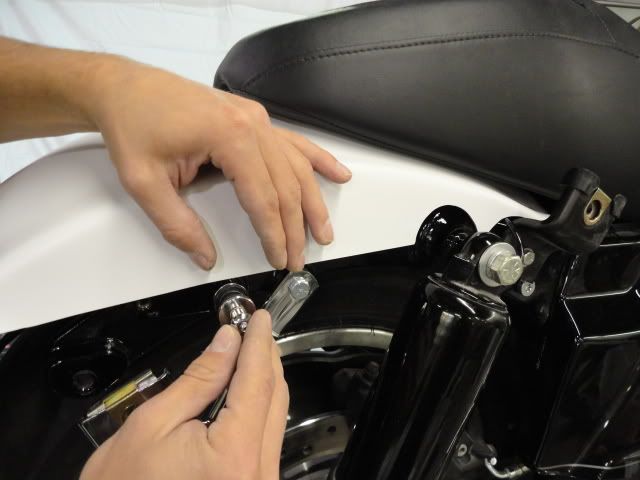
5) Now you will mount the rear docking point onto the motorcycle's frame. You will do this by using the chrome button head bolt, the bronze spacer, and the chrome spacer from the Bad Dad hardware kit. You will combine this with your existing Harley-Davidson rubber docking bushing from your existing 2-point or 4-point docking kit.
If you need to order this bushing separately, use Harley-Davidson part number 53684-96A. You will need one for each side of the motorcycle.
This picture shows the correct assembling sequence for these components.
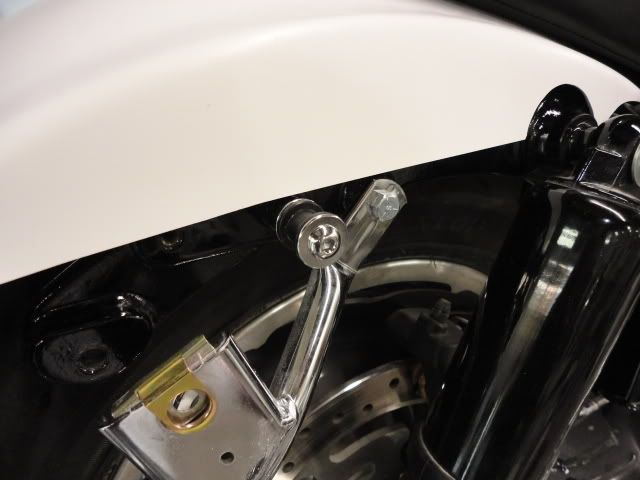
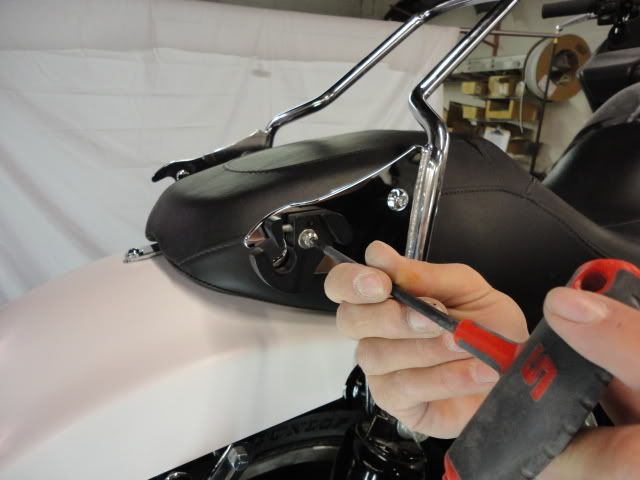
6) And then install this assembly into the existing threaded hole in the frame. Use the threaded hole directly behind the upper saddlebag support rail mount as shown here.
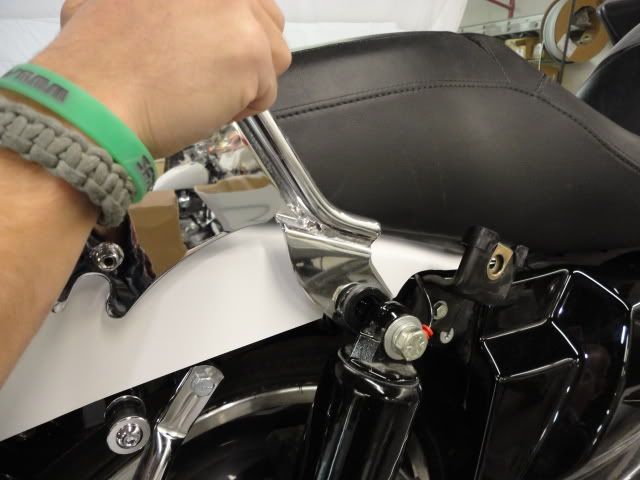
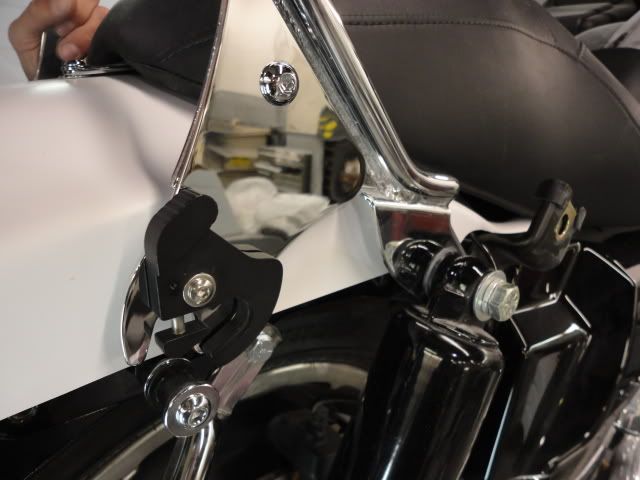
7) Now slide the front of your backrest or sissy bar into the back of the shock as you would for a stock application. Then begin to pivot the backrest or sissy bar into place.
8) And swap over the black rotating thumb clips you removed in step 3.
Notice that this is the correct orientation for the thumb clips with the spring-loaded plunger facing towards the rear of the bike.
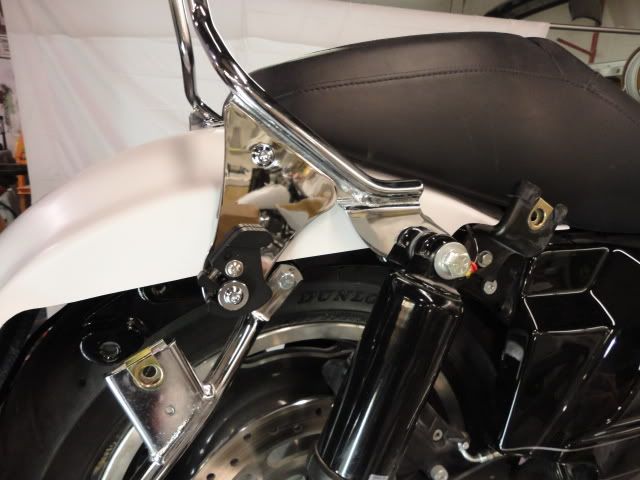
9) And here is a final photo of your detachable backrest or sissy bar installed with Bad Dad's custom rear fender.
Sign Up for Updates on our Newest Parts, Current Projects & Latest Builds