Order online or by
calling 260.407.2000


License Plate Pocket Install
Print Instructions
|
It is time to install your custom license plate now that you have installed your flush mount license plate lens. The following instructions are the steps taken by the Bad Dad staff when installing custom plate setups in our fenders. |
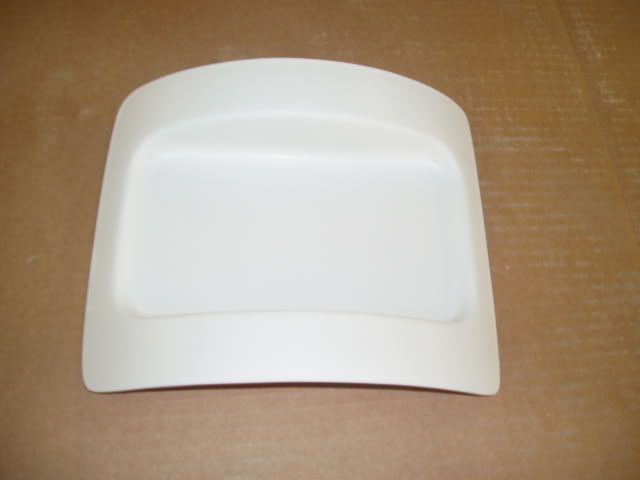
1) This is the fiberglass pocket that will hold the license plate.
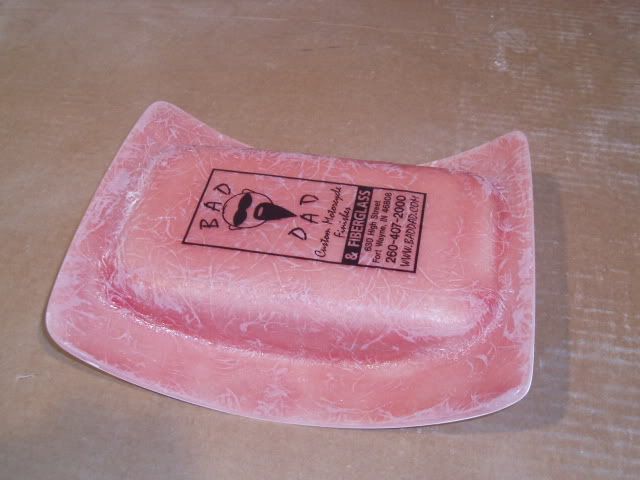
2) Backside of fiberglass pocket.
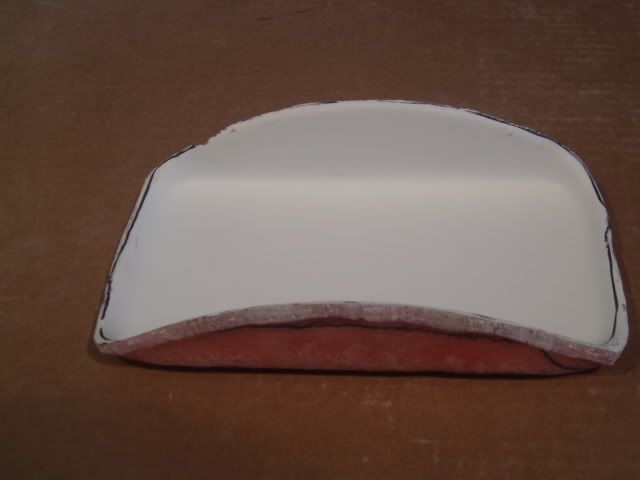
3) Start by trimming outside of pocket so that it snuggly fits the backside of your fender cover.

4) Using the corner mounting holes of your plate, mark the four corners with a pen or marker to indicate where you will mount your LED plate studs.
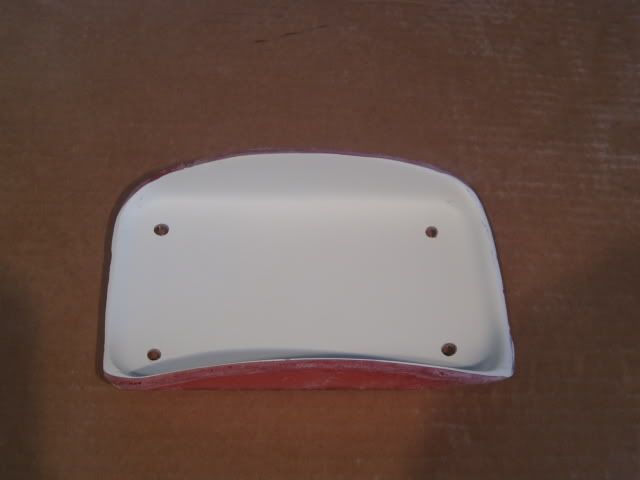
5) Use a drill bit to drill the holes for your LED studs.

6) These are the four LED plate studs you will use to anchor the license plate to the fiberglass pocket.
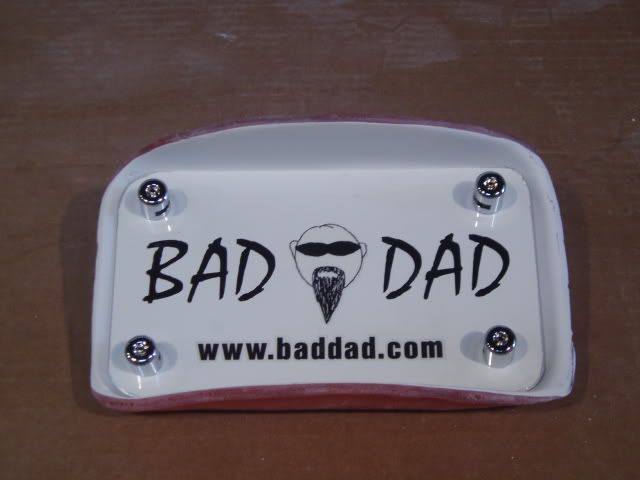
7) Once the plate is anchored, aim the four lights toward the center of your plate and then tighten the studs with the supplied allen wrench.
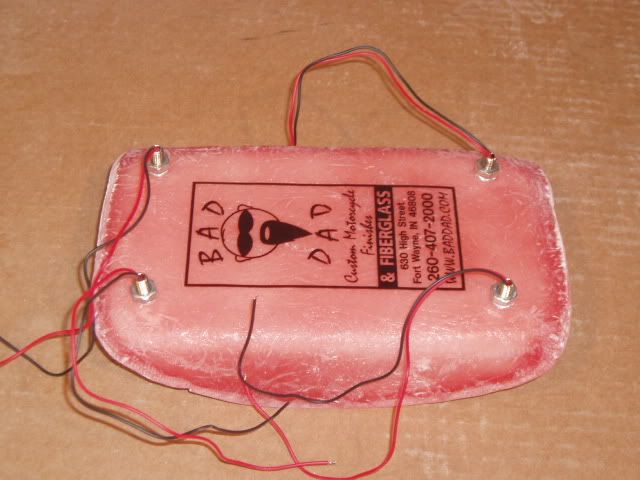
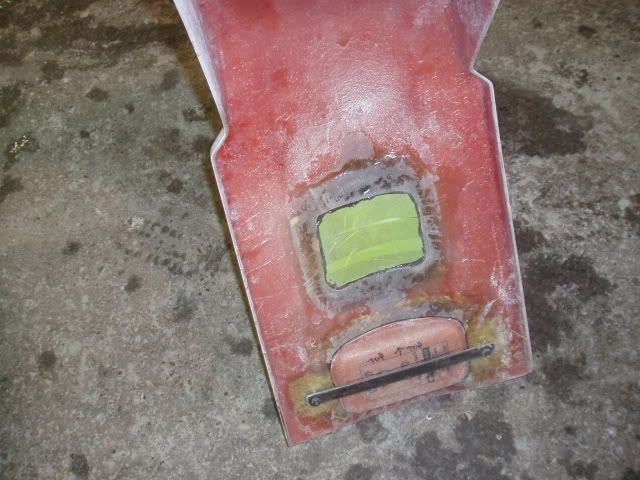
8) Backside of trimmed pocket with studs installed.
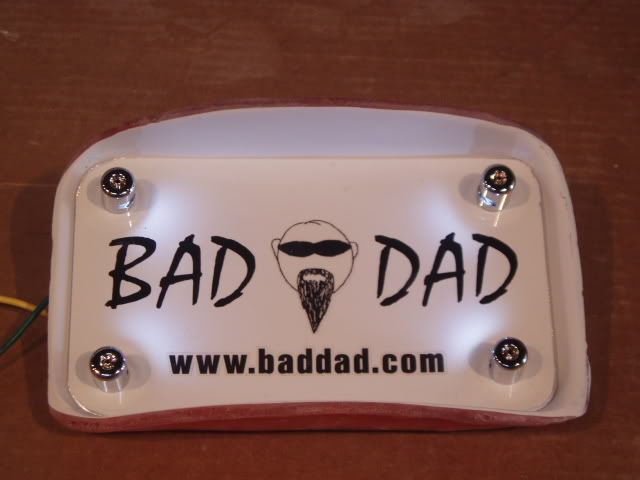
9) License plate illuminated during daytime/normal outside lighting conditions.
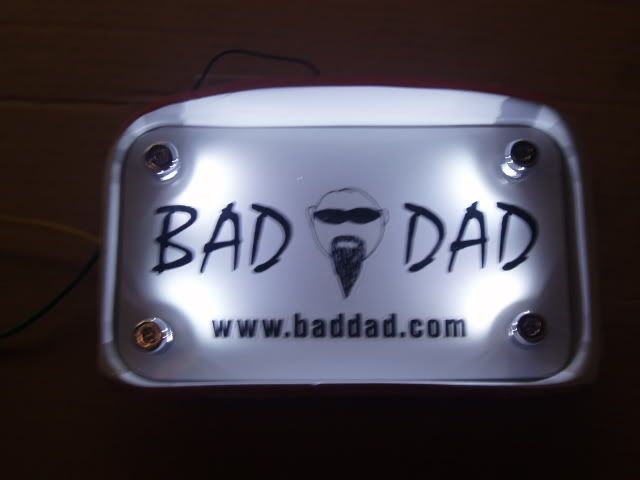
10) License plate illuminated during nighttime/dark lighting conditions.
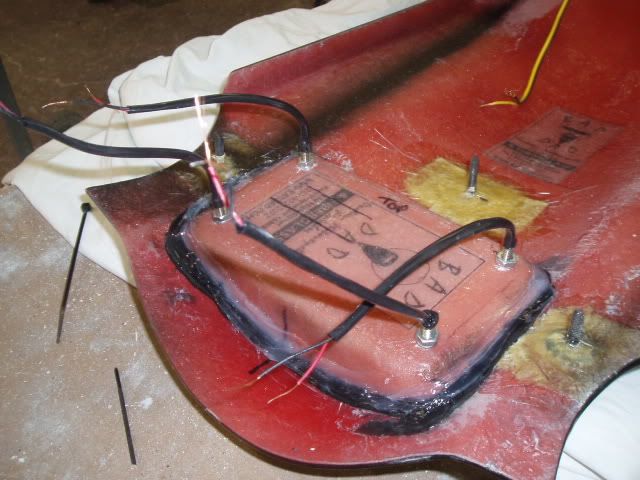
11) Finish be spread a layer of silicone around the outside of the pocket to keep the inside of the plate pocket weather-tight. When changing your yearly tag, simply cut the silicone with a knife, remove the strap, change tag, re-install strap, and add new silicone. (Note the studs used for securing the steel strap pictured in the next step, step 12.)
12) Finish by mounting the license plate to the back of the fender using a steel strap or other mounting device.
Sign Up for Updates on our Newest Parts, Current Projects & Latest Builds