1) Bad Dad's Softail Stretched Headlight Nacelle is a bolt-on item for all FL Softail front ends. Bad Dad's Nacelle is built from the Harley-Davidson Nacelle, but features a 3" stretch through the center of the Nacelle to give it a beefier and much more custom look. Note: it is recommended that a test fit is performed prior to painting the Stretched Headlight Nacelle.

2) Here is the stock headlight. Before installation, we cover up the tank and front fender to prevent any possible damage.


3) The Stretched Nacelle is a one-piece design that installs over the top of the fork legs. To begin, remove the handlebars and risers from the front end.


4) Next, remove the two bolts from the side of the stock headlight assembly, and fold down the stock accessory light bar.


5) Now remove the hardware and light switch from the backside of the stock headlight.


6) With the outside housing of the headlight removed, you are now ready to remove the stock headlight from the bike. Begin by unbolting the light from the mounting block and removing the screw from the front of the headlight.


7) Now remove the trim ring and the actual lamp from the headlight.


8) And unclip the wiring harness from the back of the light.

9) The wiring from the stock headlight on our Softail is runs back to the main harness on our bike. Because we are going to be splicing in a new harness, we chose to cut off the end of the headlight harness. We will wire in the new connector from our 7" Headlamp Assembly on a later step.


10) Now the actual bucket from the stock headlight can be removed.

11) The entire stock headlight assembly has now been removed from the front of the motorcycle.

12) The Stretched Nacelle can now be slid onto the front end.


13) More photos of initial installation.


14) The inside of the Stretched Nacelle should sit very close against the fork caps.

15) And the pre-drilled holes should line up along the side of the fork legs. Note: All Stretched Nacelles are checked for fitment prior to shipping. However, due to variances in Harley tolerances as well as Bad Dad's tolerances, it may be necessary to slightly enlarge the size of these holes.


16) Next, install the included 5/16" x 1/2" chrome spacers. These spacers go between the Stretched Nacelle and fork leg to prevent the Stretched Nacelle from being compressed when you are tightening your OEM mounting bolts.


17) For this bike, we will also be reusing the OEM light bar for the spot lights. When reusing the OEM bar, it is necessary to modify the light bar. The first step of the modification process involves cutting the center section of the bar.

18) Next, reinstall one side of the spot light bar.


19) Now install one side of the Softail Stretched Nacelle Light Bar Sleeve onto the bar.


20) Then install the other side of the bar, making sure to insert it into the Light Bar Sleeve.


21) With the Light Bar Sleeve installed, tighten the two (2) set screws on the backside of the Sleeve.

22) Next we will install the 7" Headlamp Assembly. To do this, we will begin by marking the holes to drill the screws into the Stretched Nacelle.


23) Before finally installing the 7" Headlamp Assembly, we will solder on the new harness connector included with the 7" Headlamp.

24) Now bolt in the headlight bucket and lamp.


25) And install the headlight trim ring.


26) If this is your test fit or mock up of the Stretched Headlight Nacelle, you can send the Nacelle out for paint. If this your final assembly after paint, the installation of the Stretched Headlight Nacelle is finished and you reinstall your risers, handlebars, and other accessories at this time.
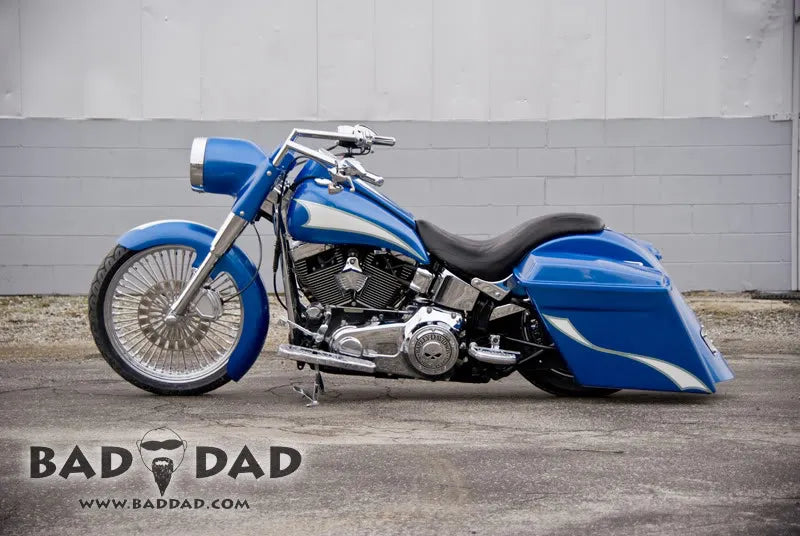
27) Finished.
