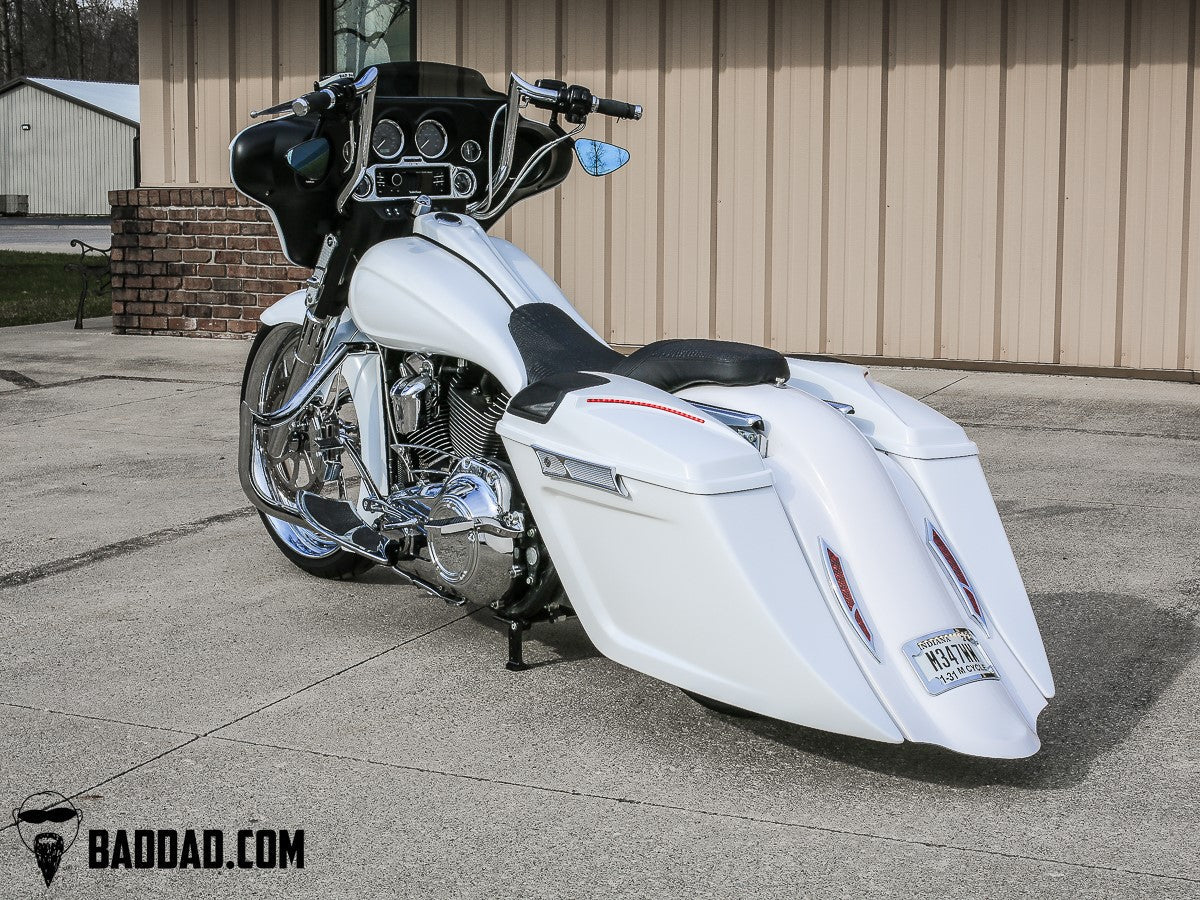
INSTALL: 2014+ Speaker Lid and Latch Assembly

INSTALL: 2014+ Speaker Lid and Latch Assembly

Assembling a Lid & Latch Kit for the 2014+ Touring models is a detailed process, especially if it's your first time putting one together. In this video we walk through each step of this project to show you how to put together the complete Lid & Latch Kit found on Harley-Davidson's 2014+ Touring bikes. You will follow these same steps when using OEM Saddlebag Lids or custom lids, such as our Competition Series Speaker Lids.


  • 0:00 Intro
  • 0:03 Remove Assembly Hardware
  • 0:35 Insert Latch Assembly
  • 1:03 Install Hinge and Lock Cylinder
  • 2:04 Remove Speaker Basket (if applicable)
  • 2:26 Install Latch Handle and Latch Cover
  • 3:17 Install Speaker & Speaker Basket or Speaker Ring
  • 4:04 Install Speaker Grille
  • 4:24 Install Reflector, Weatherstrip, and Tether
  • 6:04 Install Saddlebag Grommets, Lid Strikers, and Rail Isolators
  • 7:15 Install Saddlebag Lid to the Saddlebag
  • 8:16 Wiring for Speakers and Saddlebag Lid Lights
  • 8:26 LED Lid Light Wiring and Pinning the Connector (if applicable)
  • 10:47 Routing the Speaker Wiring
  • 11:21 Routing Wiring on Your Motorcycle
  • 11:43 Plugging In Your Lighting (if applicable)
  • 12:05 Finished Assembly
  •  

    We hope this detailed video is helpful for anyone taking on this project. As always, let us know if you have any questions at any time.