Order online or by
calling 260.407.2000


1997-2008 Backrest Relocation Kit
Print Instructions
|
You will likely want to retain your detachable backrest and sissy bar after installing your new rear fender. Utilizing these detachable items can be done by modifying the OEM detachable hardware, or by installing Bad Dad's Backrest Relocation Brackets. When installing Bad Dad's brackets, you will want to use Harley-Davidson part numbers 53684-96A (you need a quantity of two) and 53685-96 (you need a quantity of two). If you already have HD's detachable kit, then you already have these parts. If you do not have HD's detachable kit, you will need to purchase those part numbers. |
1) First, remove your saddlebags.

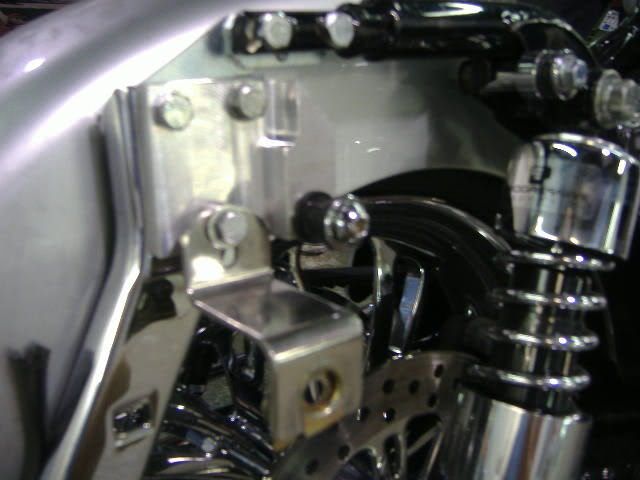
2) Here is how the OEM detachable hardware installs. In order to accommodate the width of the wider rear fender, these two detachable mounting points must be moved rearward.
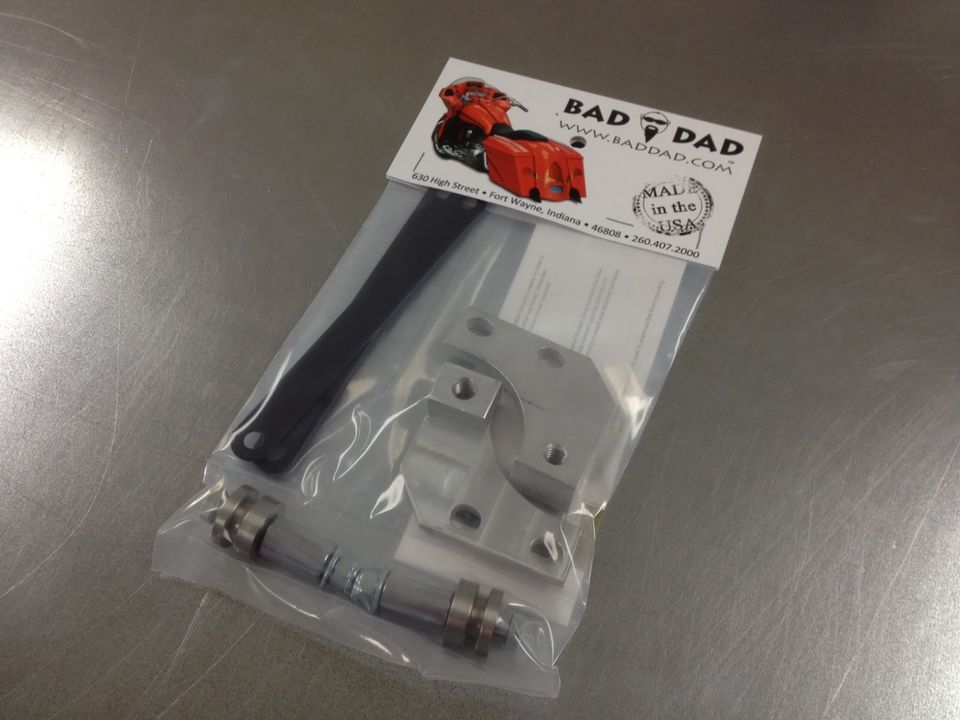
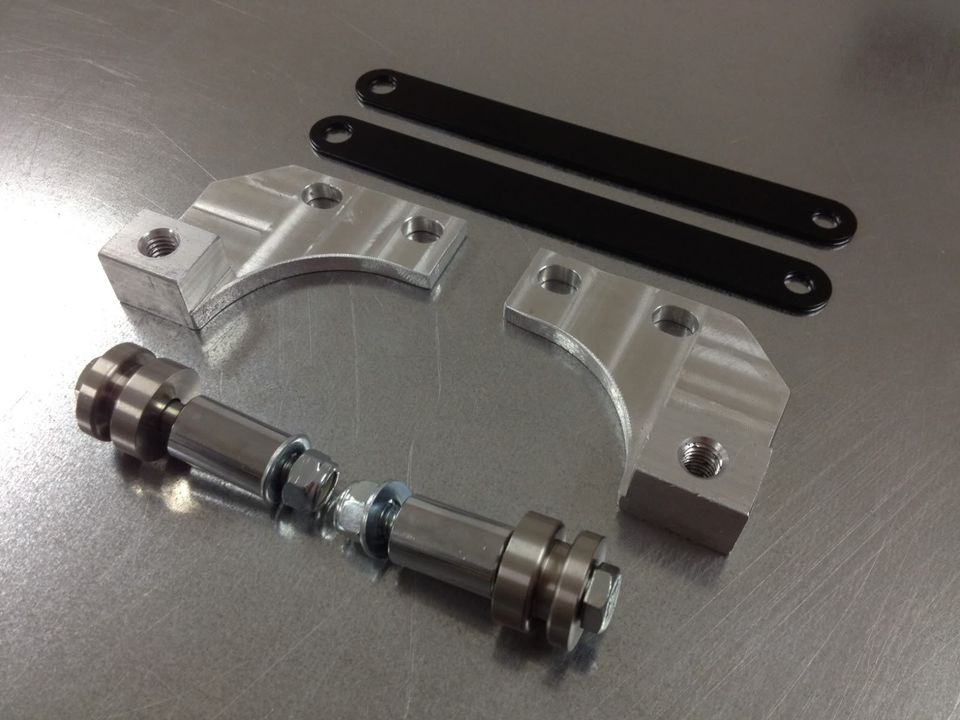
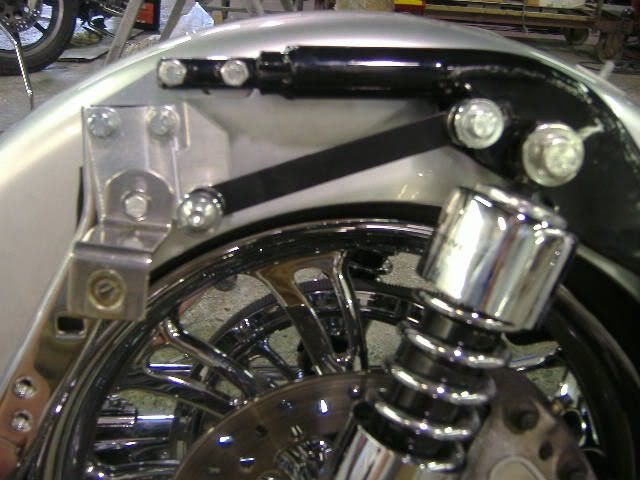
3) This is your Backrest Relocation Kit. Once bolted to the bike, this bracket has the appropriate rearward spacing built into it to accommodate the rear mount of your detachable backrest and sissy bar. This picture also shows the (2) two front spacer assemblies which will space the front mounting points. The (2) two black brackets will be used in step 9.
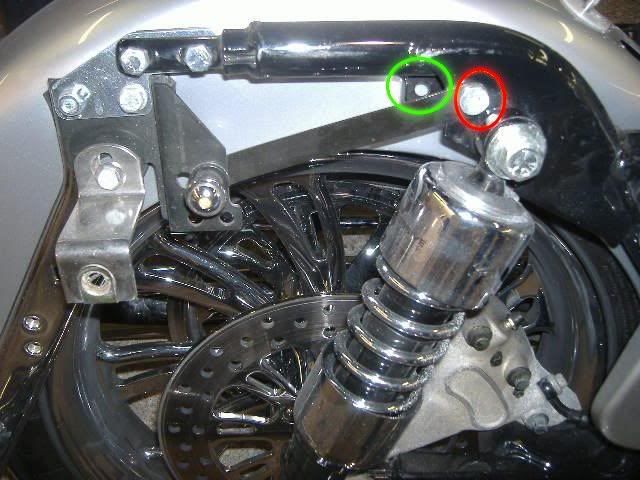
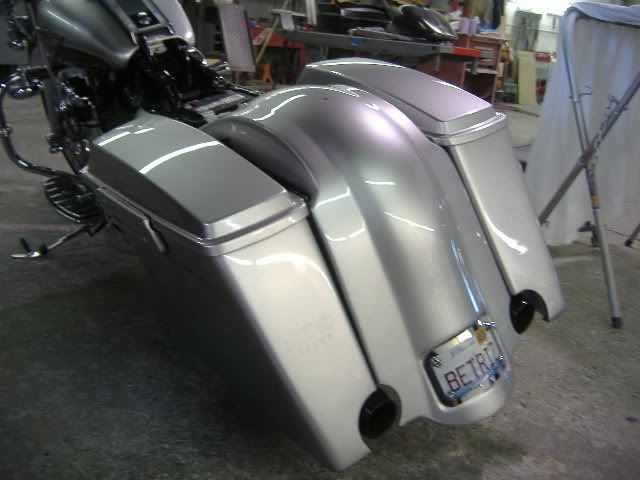
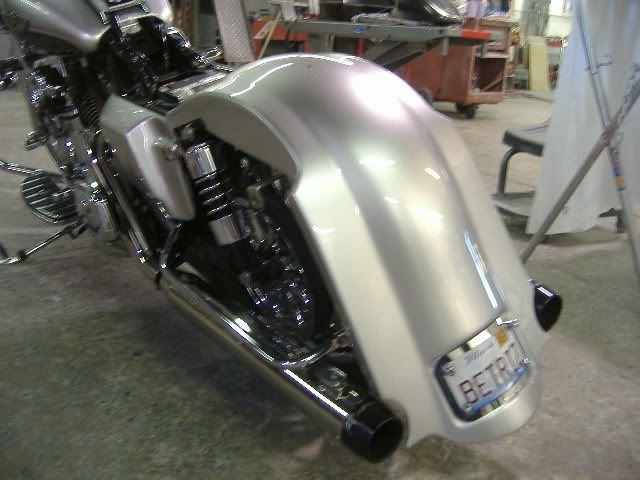
4) This is a final glimpse of the OEM setup. Note the location of the front and rear mounts.
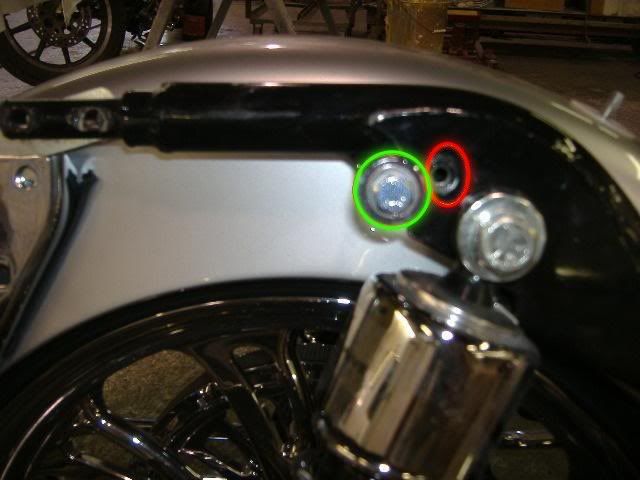
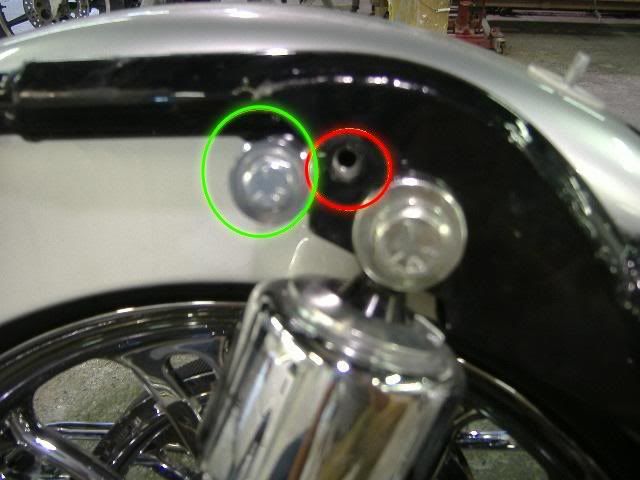
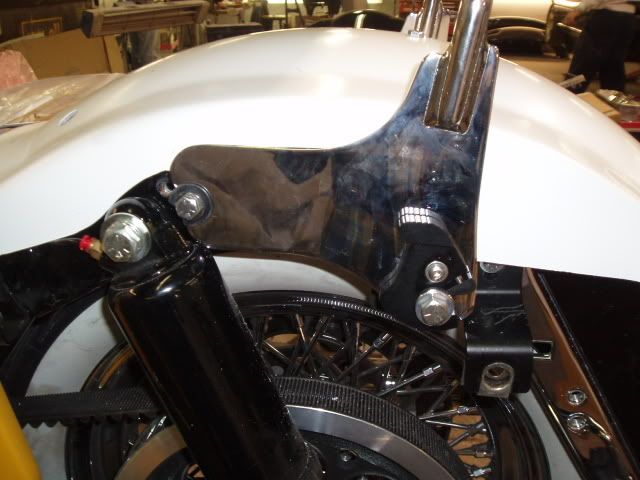
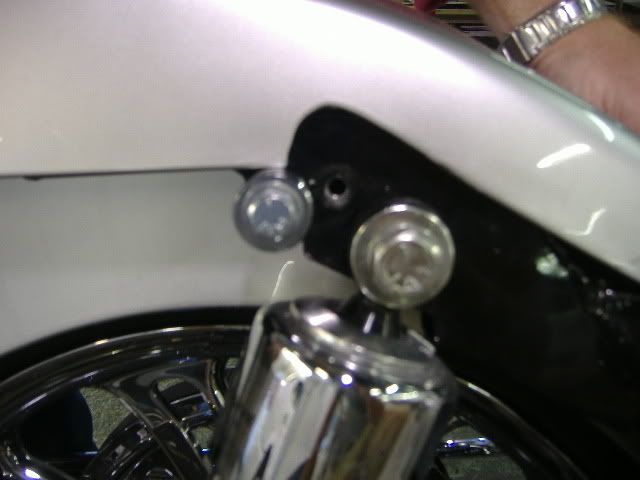
5) You can now move the front mount rearward. These two circles show the original mounting hole in red and the new relocation hole in green. Using the spacer assembly shown in step 4, move the front mount to the green hole. Once the fender is installed, you can adjust the spacer assembly accordingly.
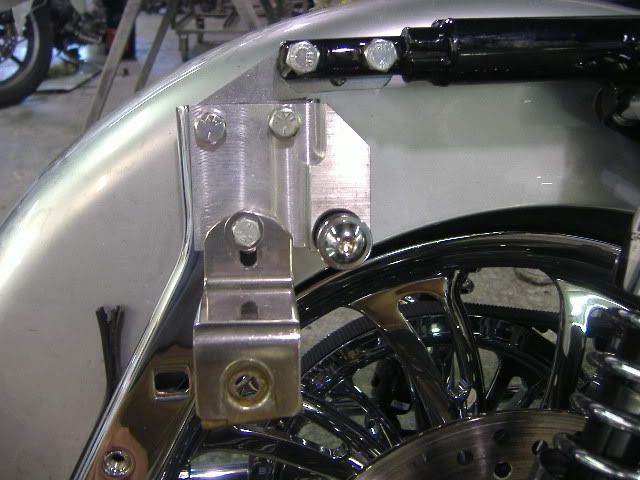
6) Next, install the relocation bracket. The bracket's threaded hole should be at the bottom of the bracket and face the front of the bike.
7) Finally, you are ready to fit the backrest over the fender. Due to the width of the fender the backrest will not slide over easily. You will need to use a little "physical force" to properly tweak the backrest.

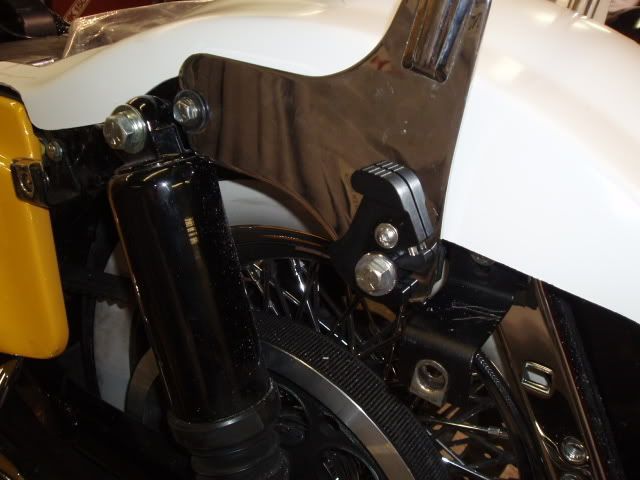
8) Once you have relocated the lugs and tweaked the backrest, everything should fit as pictured below.

9) You will also want to retain the black bracket that connects the front to the rear mount.
10) Finally, the fiberglass fender will need one small notch on each side to accommodate the front mount. You will make this small notch in the fiberglass fender behind the shock.
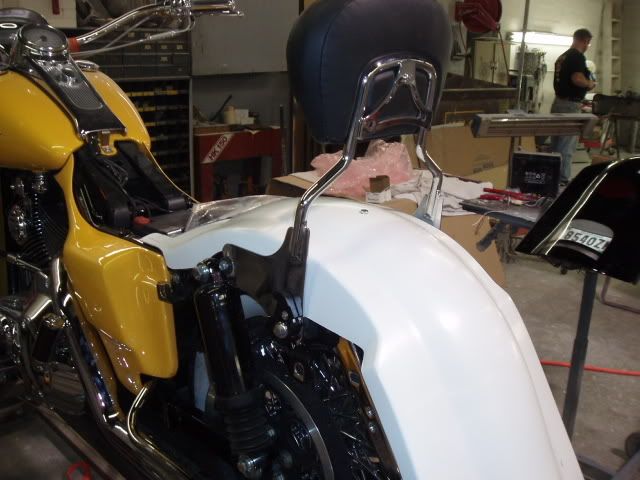
11) Finished.
Sign Up for Updates on our Newest Parts, Current Projects & Latest Builds