1) Begin by removing the original front fender.
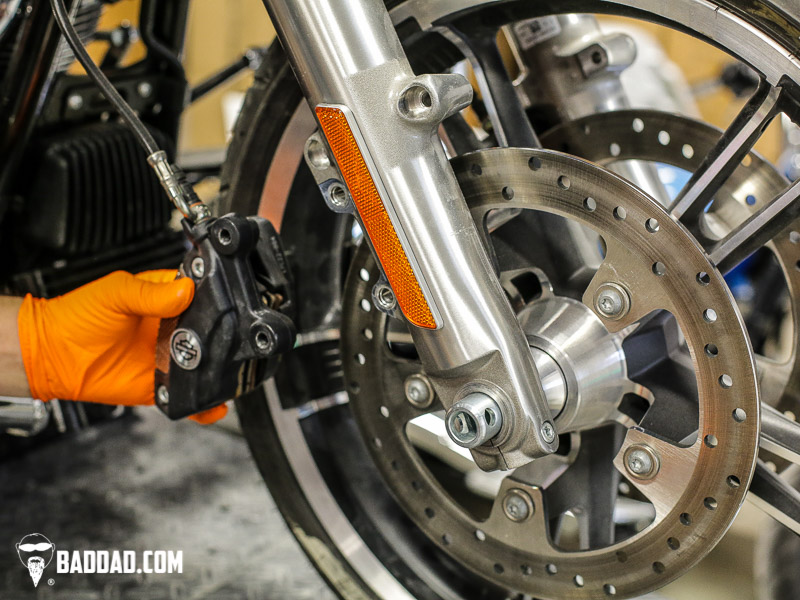
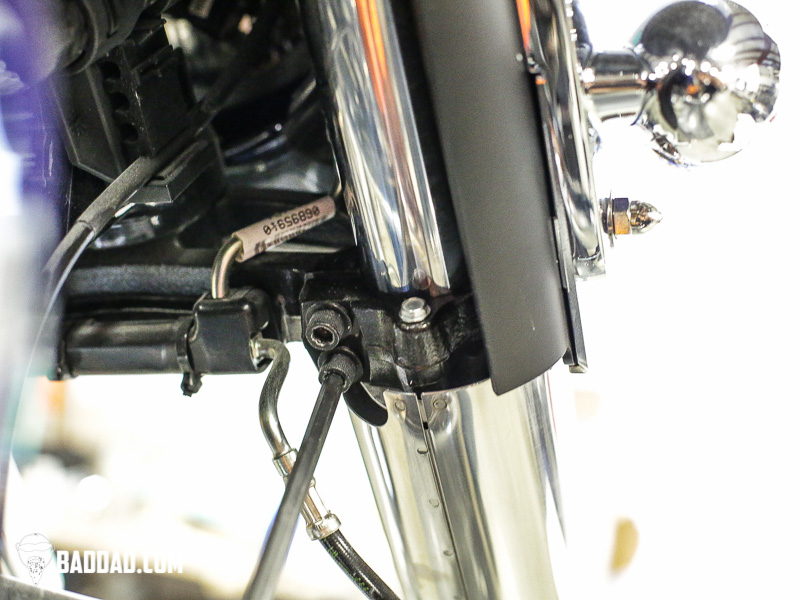
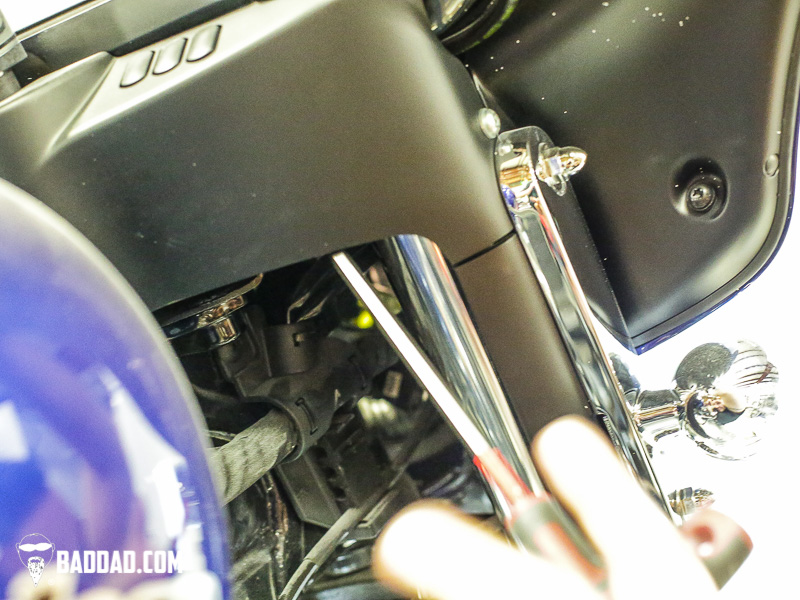
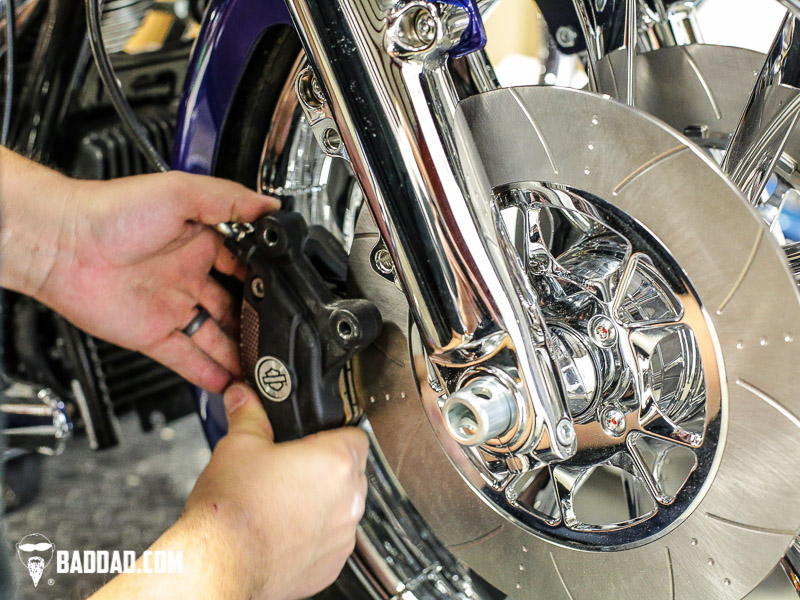
2) Then remove the calipers from both sides.
4) Next, remove the axle nut from the left-side of the motorcycle and remove the lower fork bolt (pinch clamp bolt) from the right-side of the motorcycle
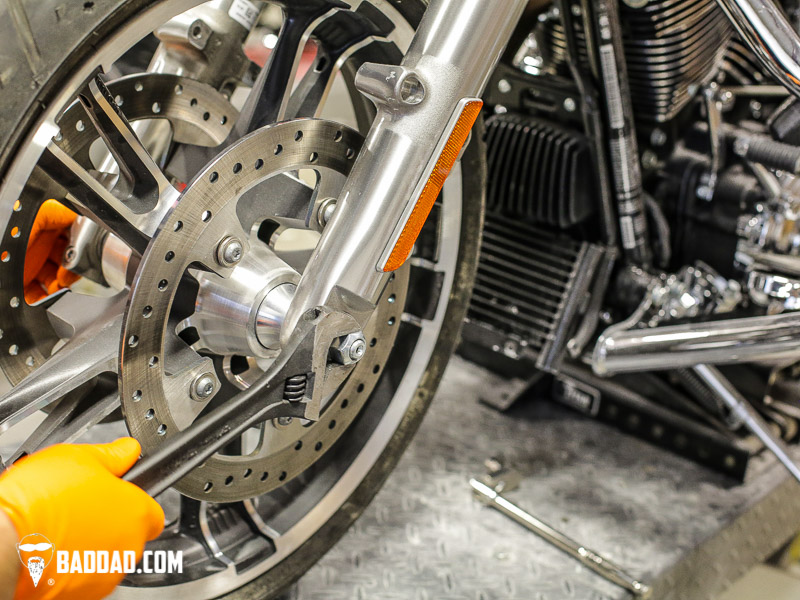
5) Then remove the axle and the wheel.
6) Next, loosen the two bolts in the lower triple tree and the one bolt in the upper tree.
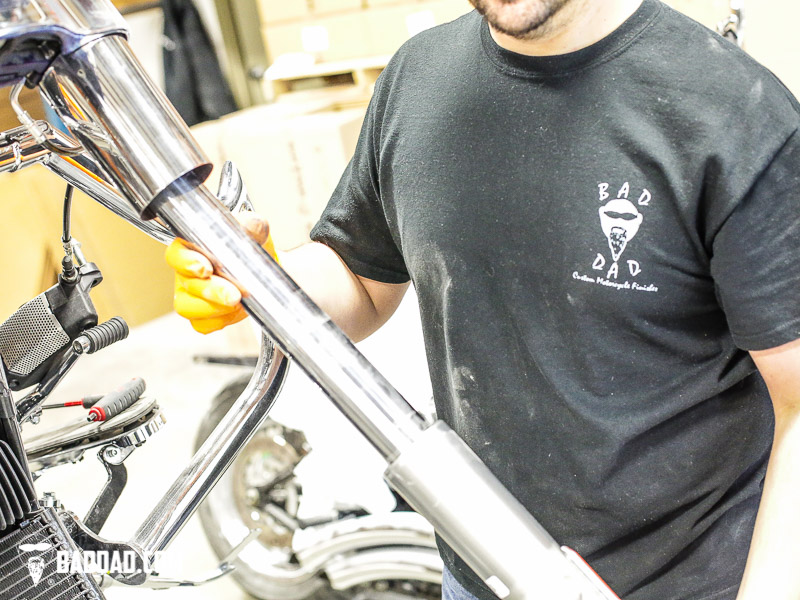
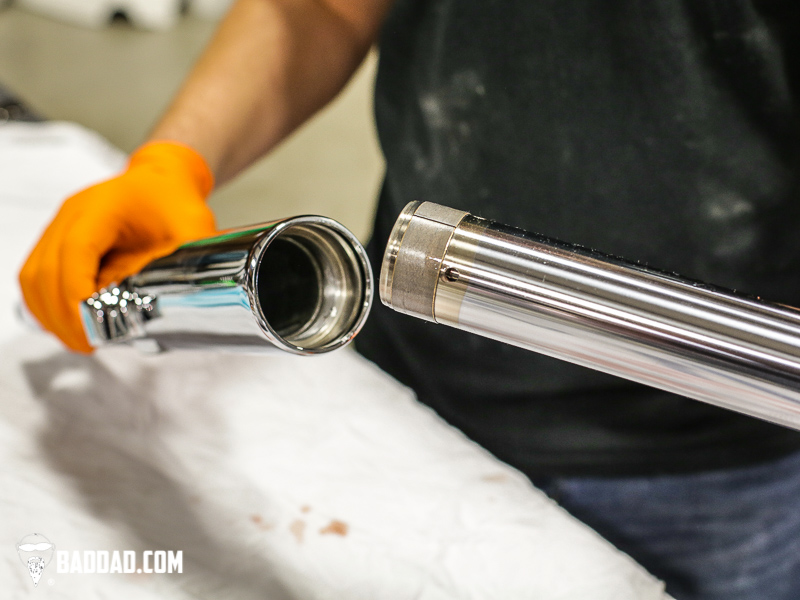
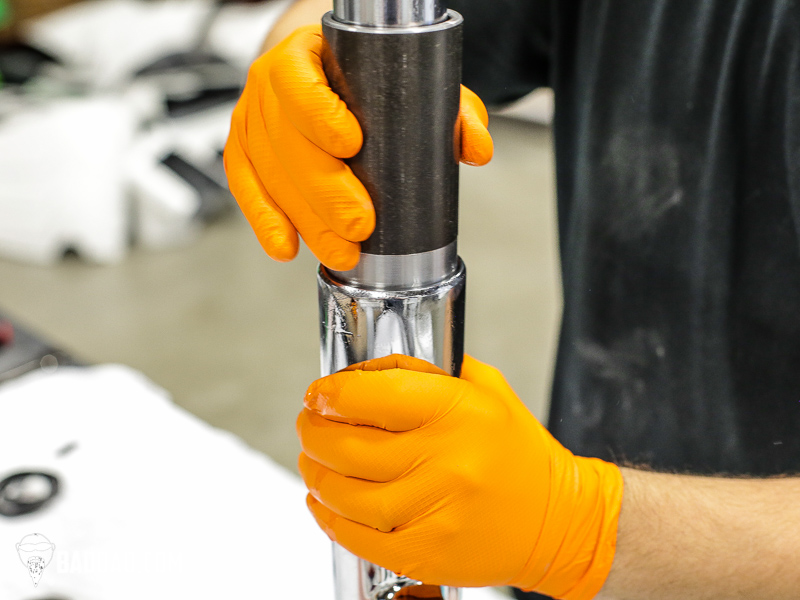
7) And remove the fork legs from the motorcycle.
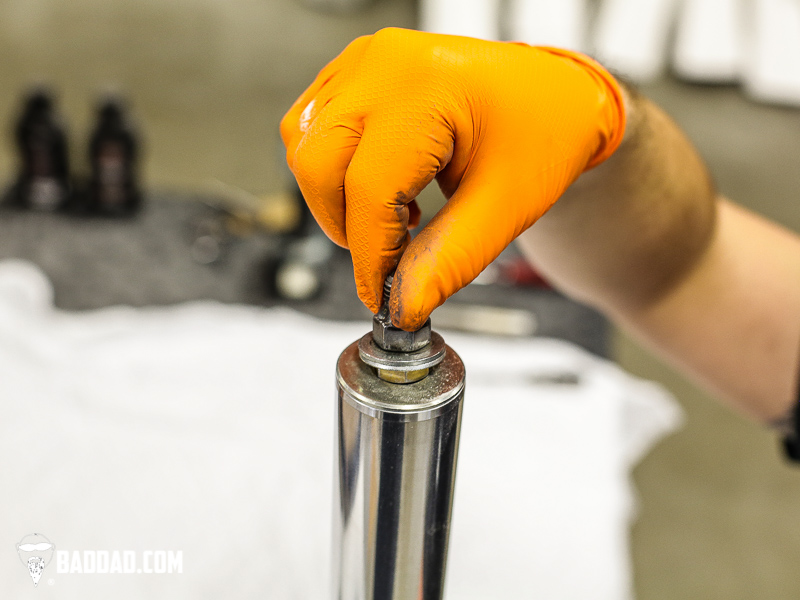
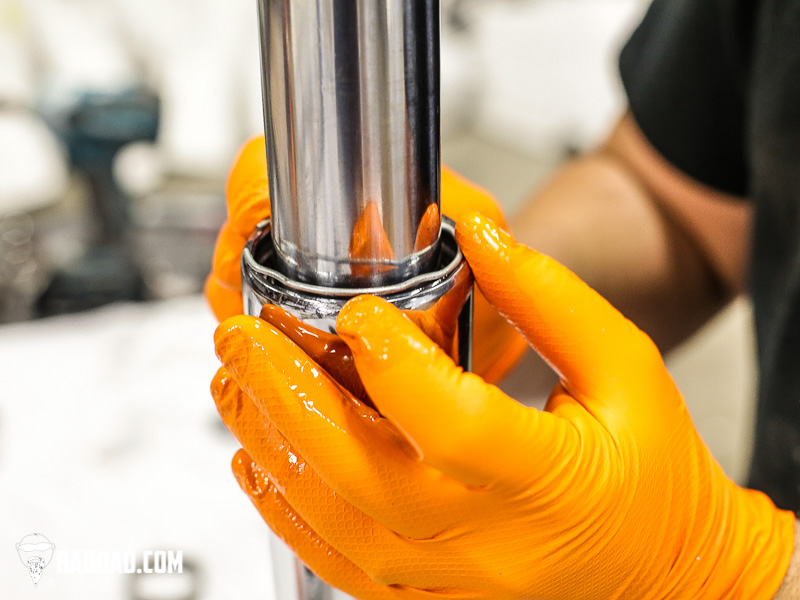
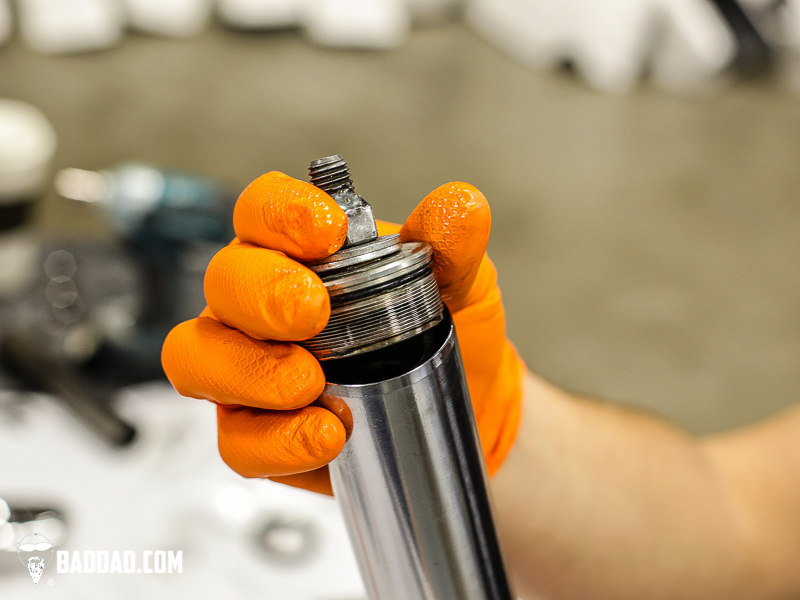
8) Remove the fork cap.
Caution: This is under pressure. Use caution.
9) Remove the steel spacer.
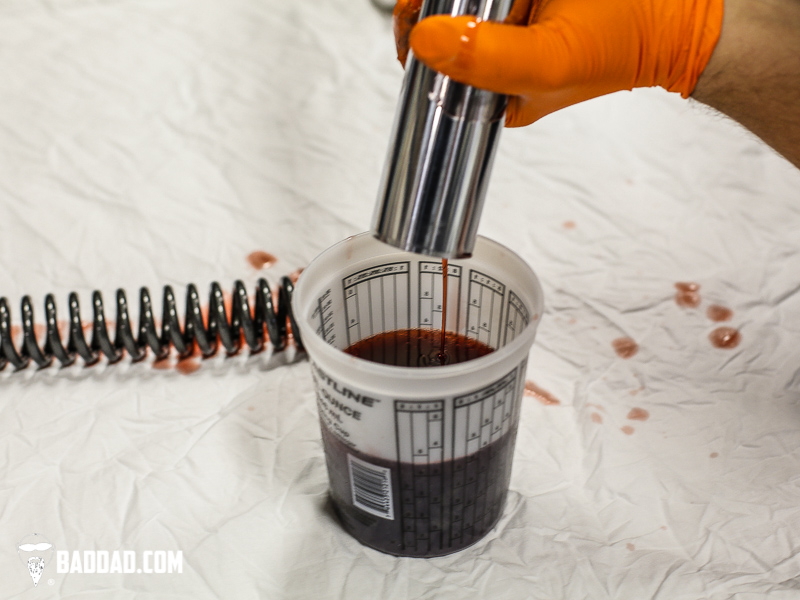
11) Flip over fork to drain fluid.
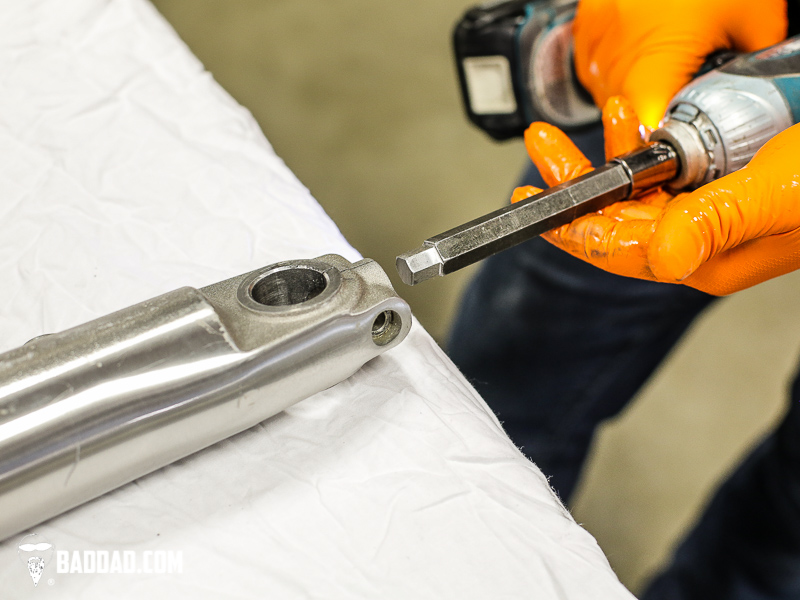
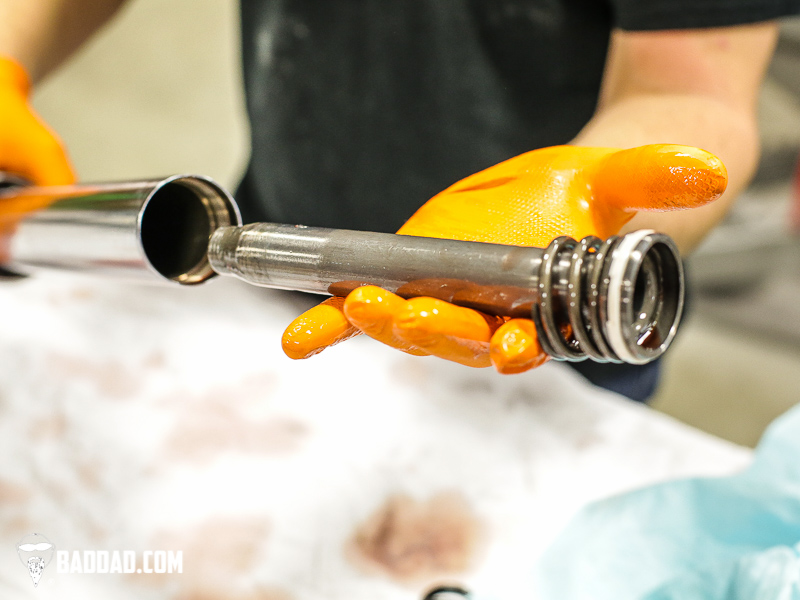
12) Remove the allen bolt (lower damper bolt) in bottom of fork leg.
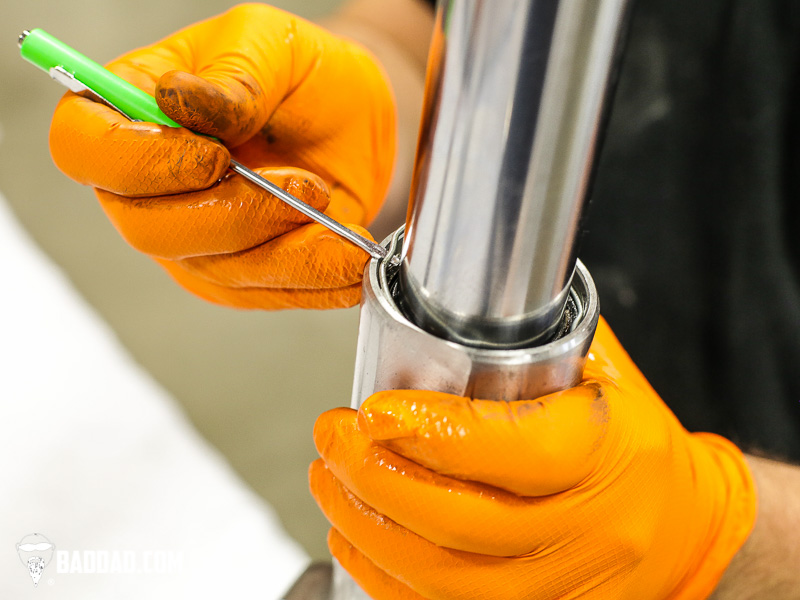
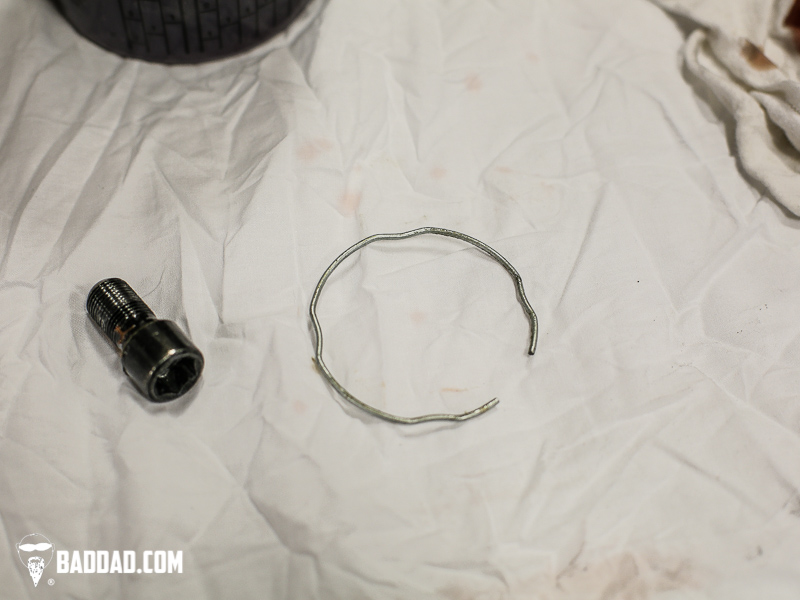
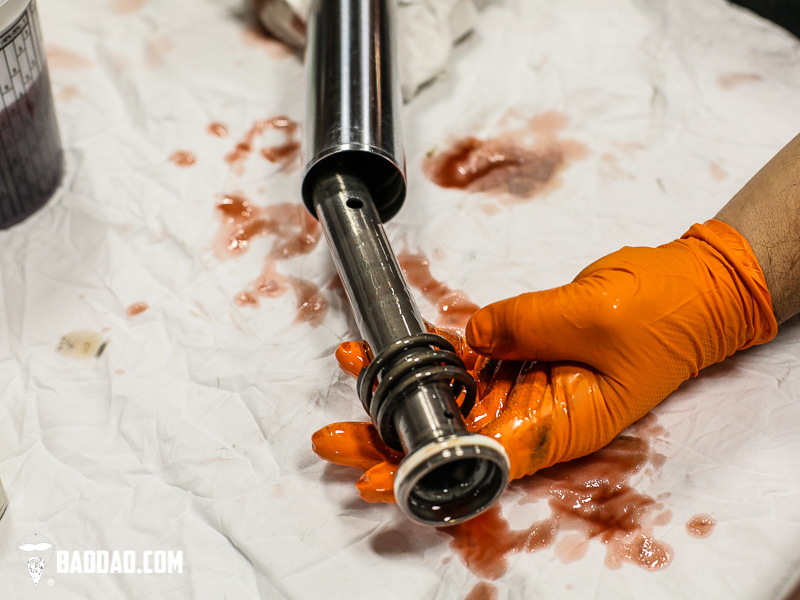
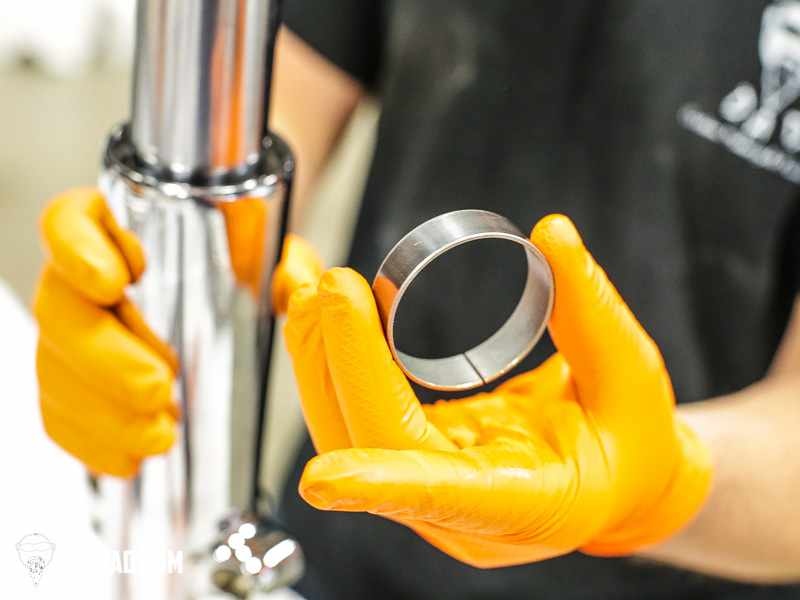
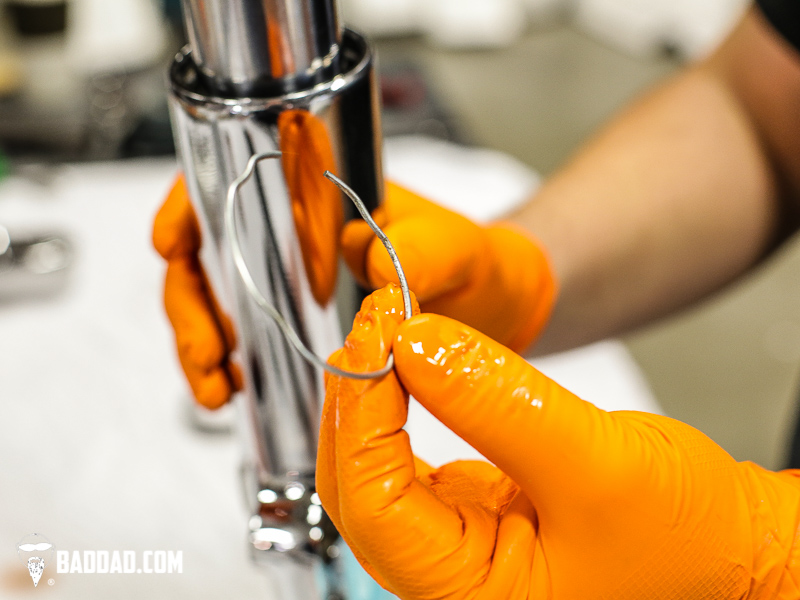
14) Remove fork seal retaining spring.
15) Remove the upper fork tube with a reverse slide hammer motion, then remove the lower damper stop.
Note: It's critical to remove this from the bottom of the fork leg. Do not skip this step.
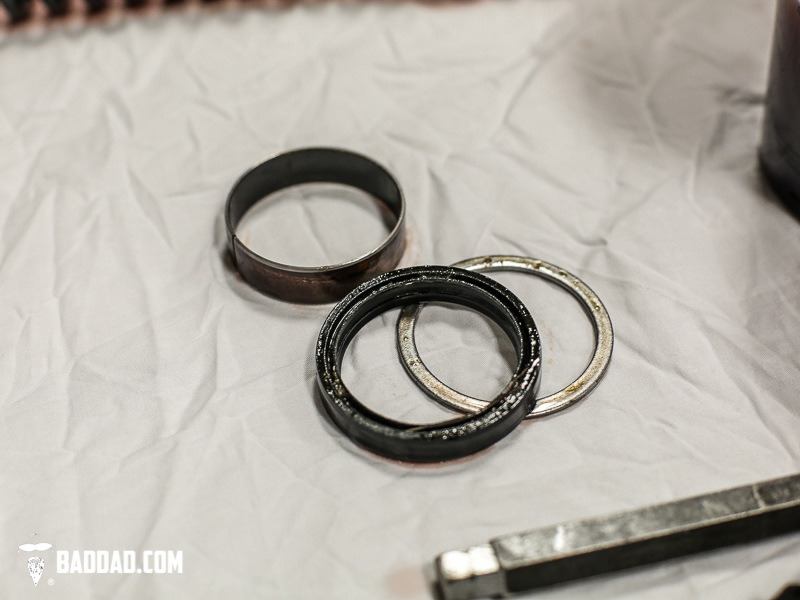
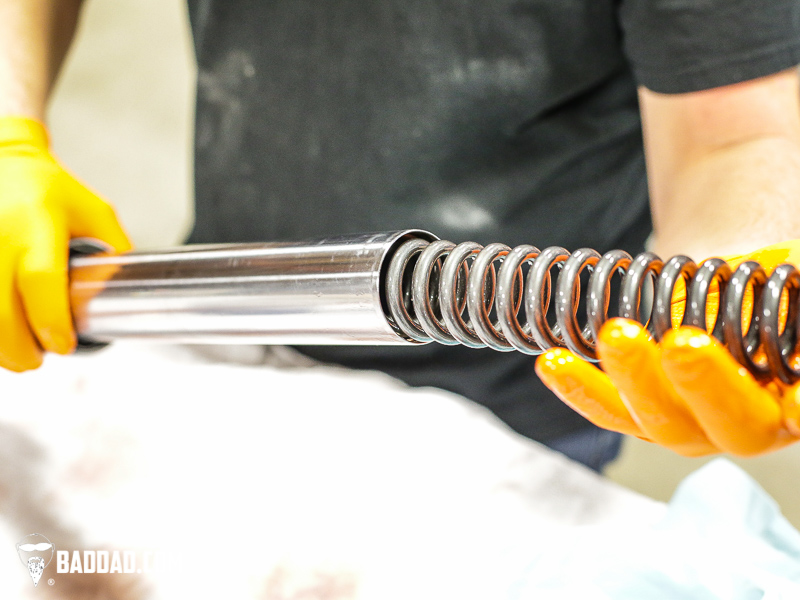
16) Remove damper and damper spring. Inspect all springs and internals for damage and wear.
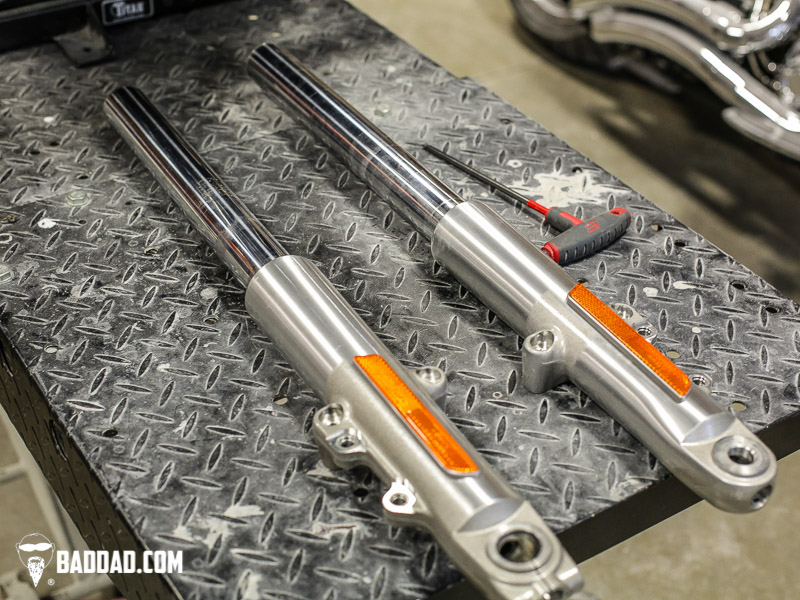
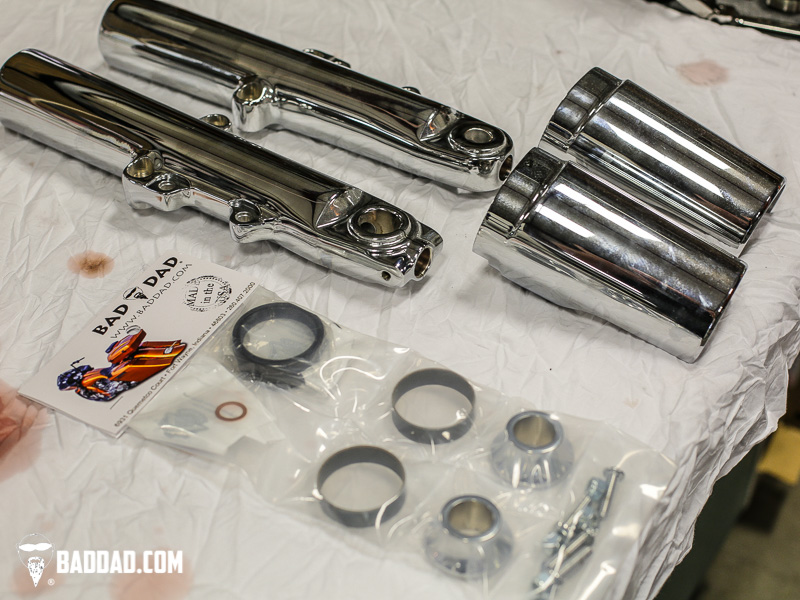
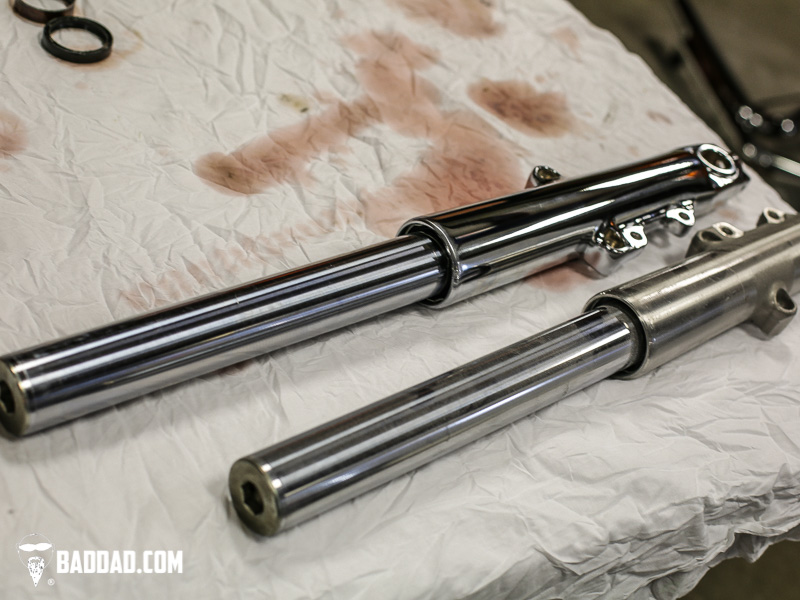
17) Here are all the new items in the Bad Dad Wide Tire Kit that you will be installing, including the upper fork sliders, lower legs, and new fork seas & hardware.
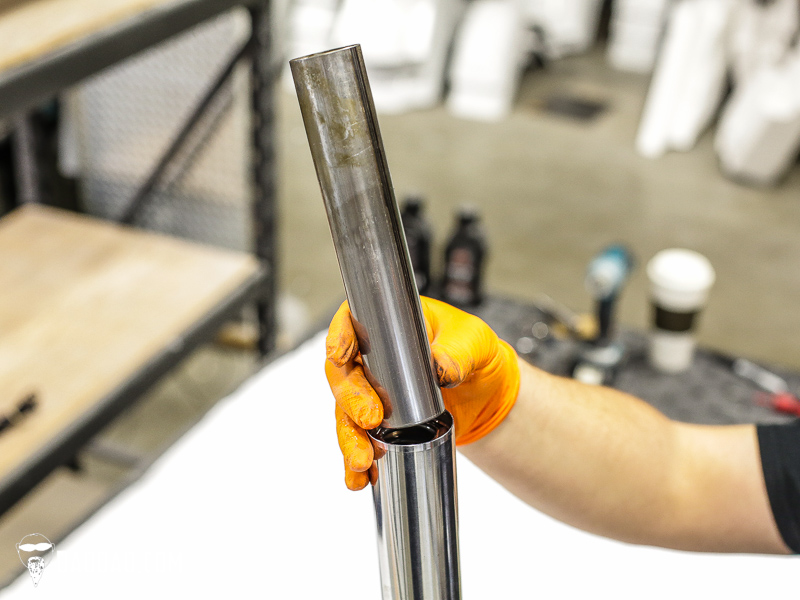
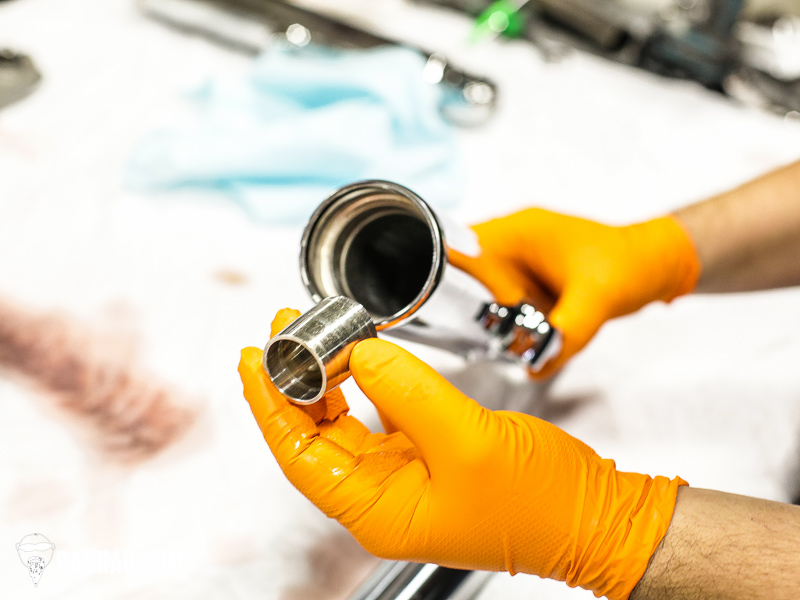
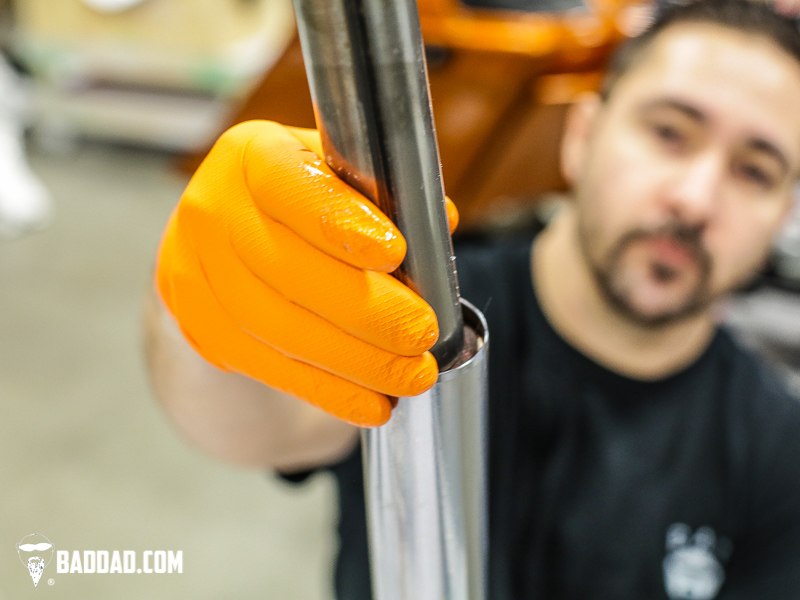
18) Install the fork damper stop into the bottom of the fork tube. Slide in the upper fork tube.
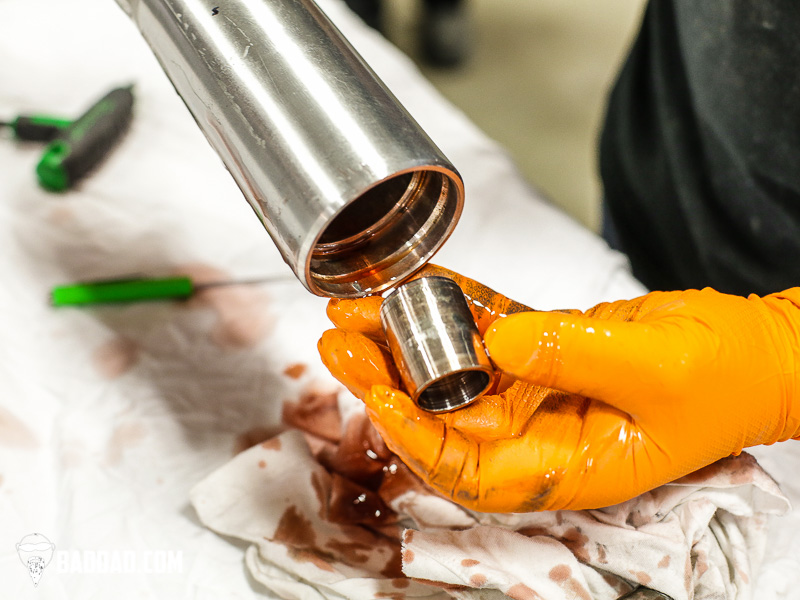
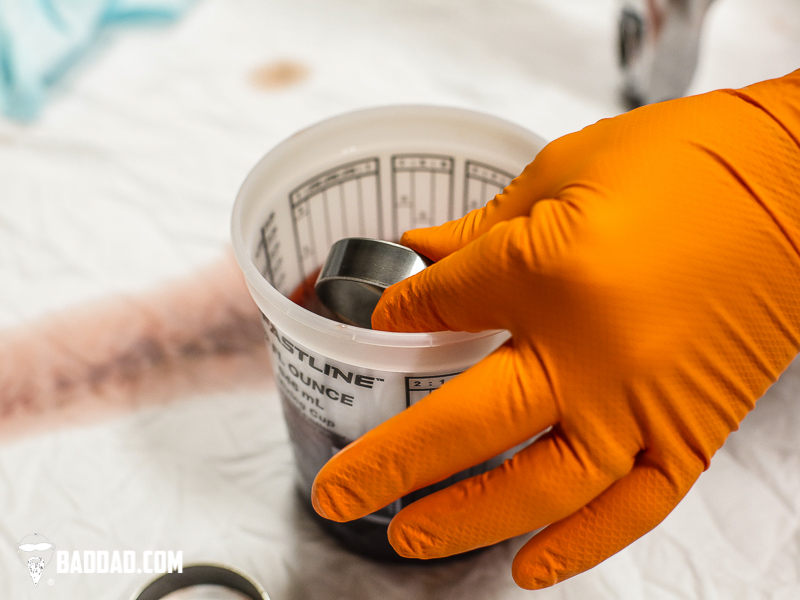
19) Install the lower fork guide by first dipping the guide in fork fluid.
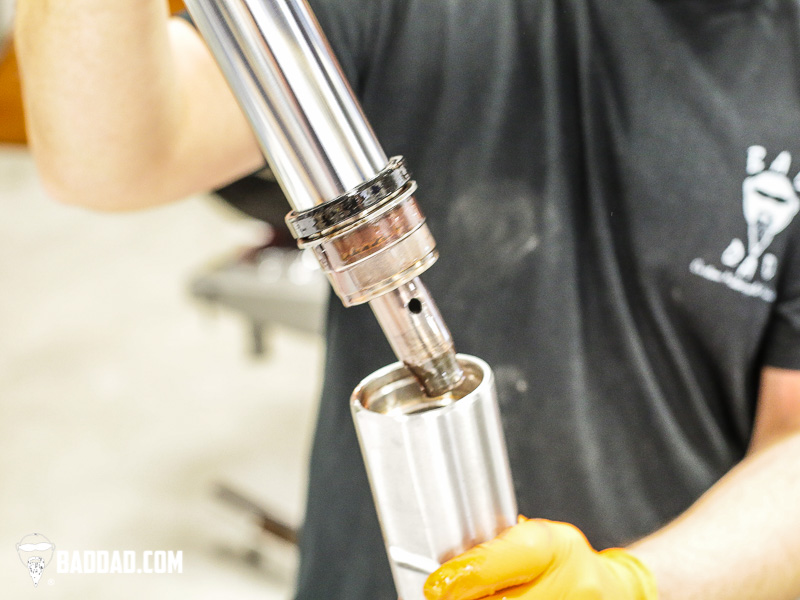
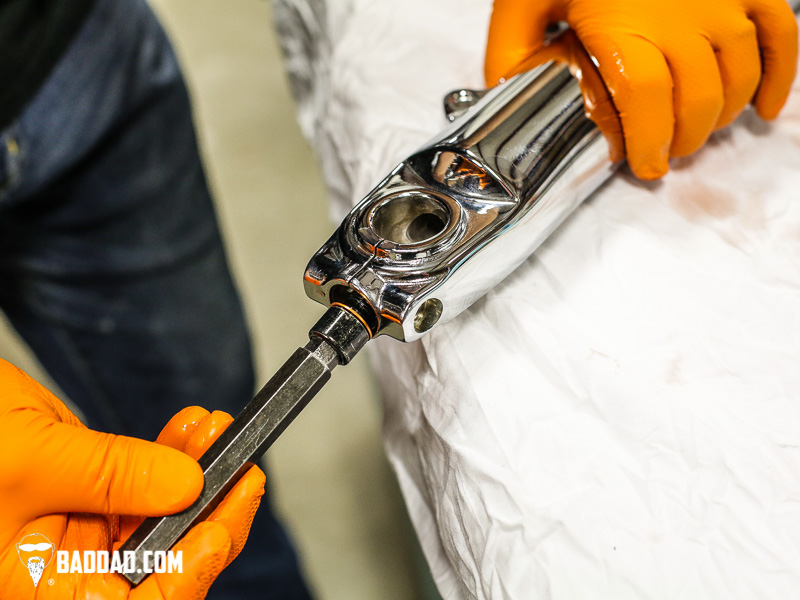
20) Install guide and seal with the specialty tool by using a slide hammer motion.
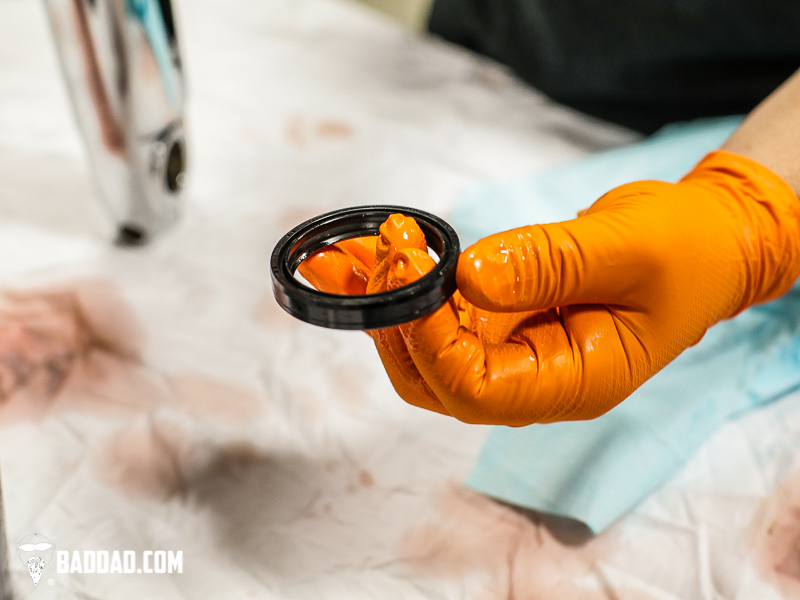
21) Install fork seal with the larger part of the seal facing downwards.
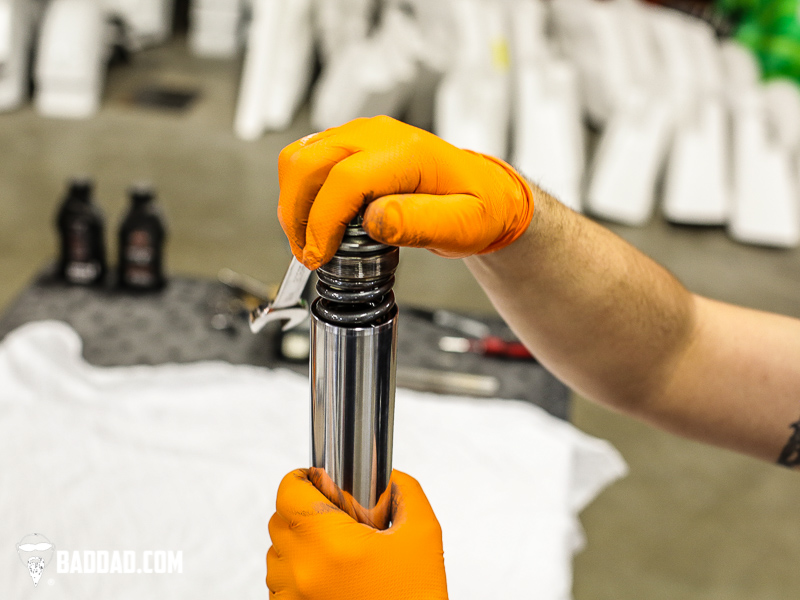
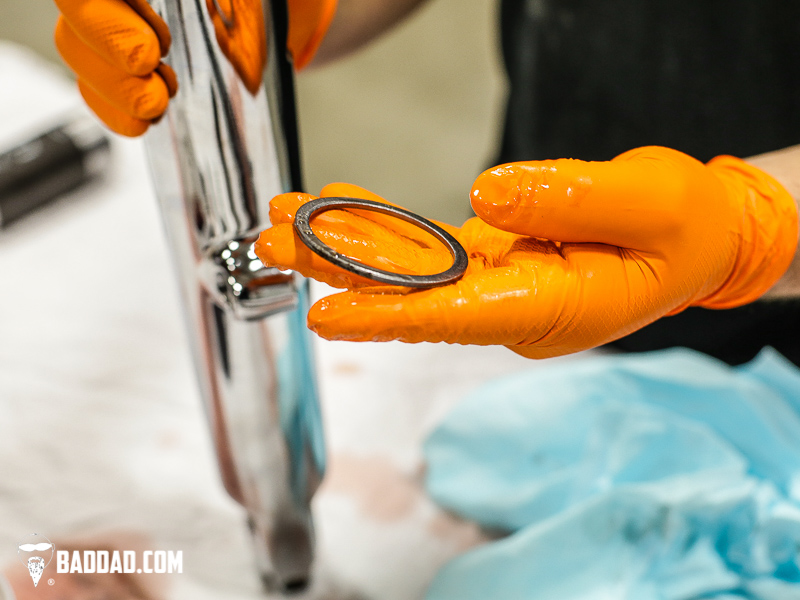
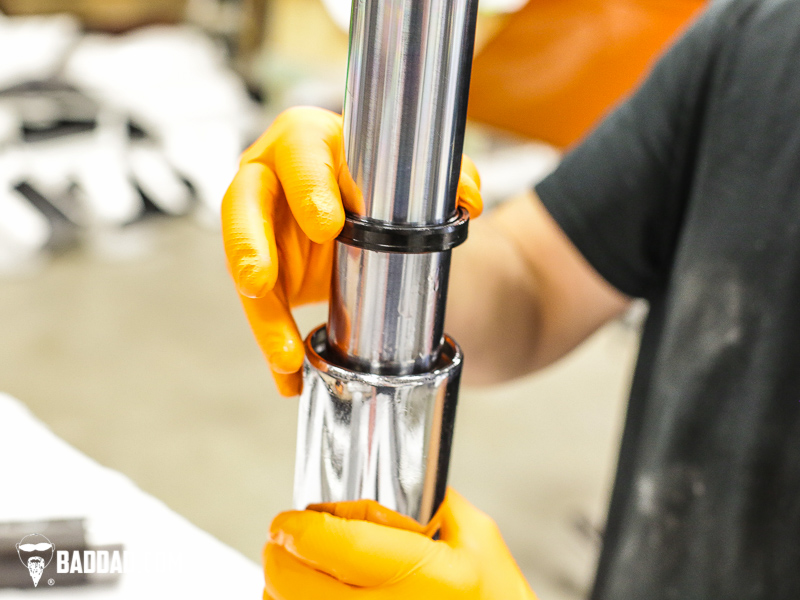
22) Install fork seal retaining ring.
23) Install damper rod and damper spring, then install fork spring.
24) Install fork spring spacer and reinstall cap.
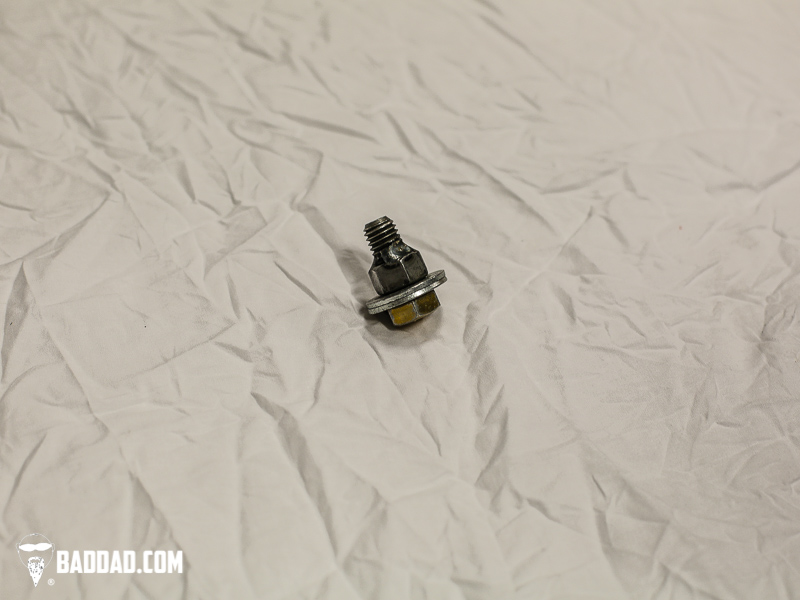
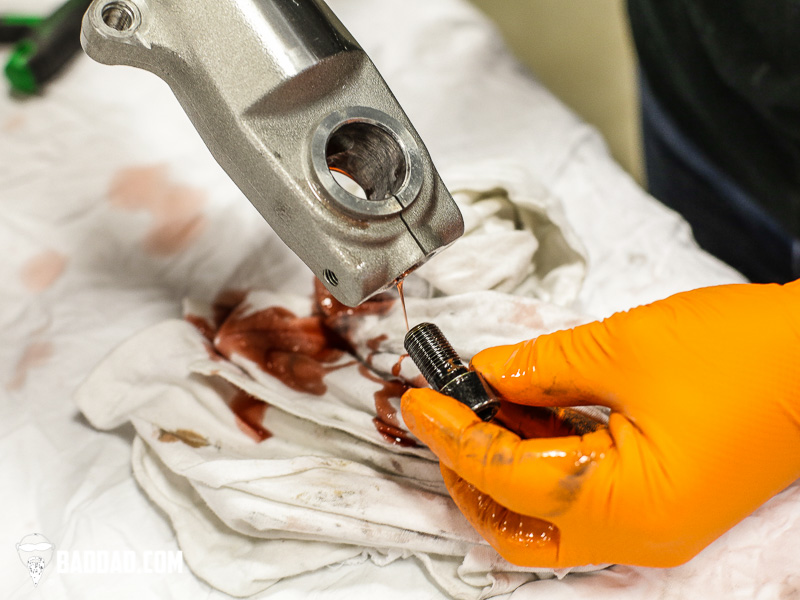
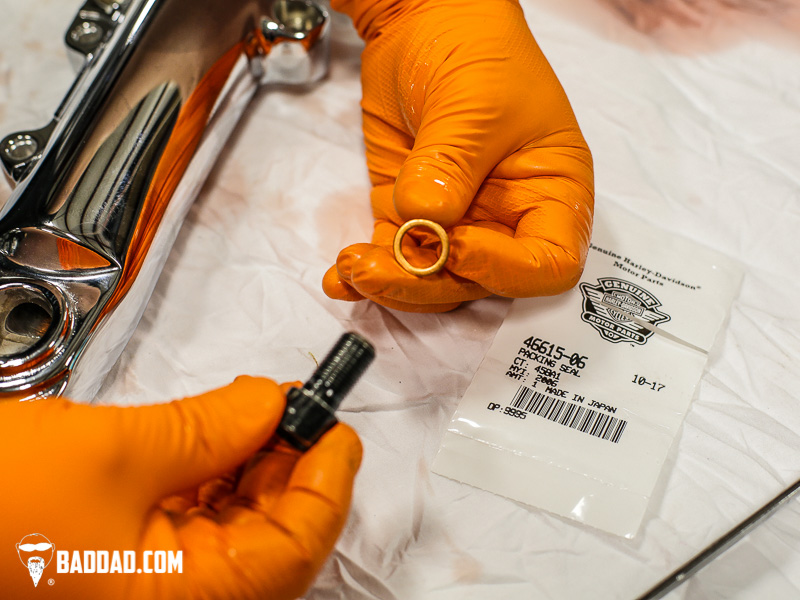
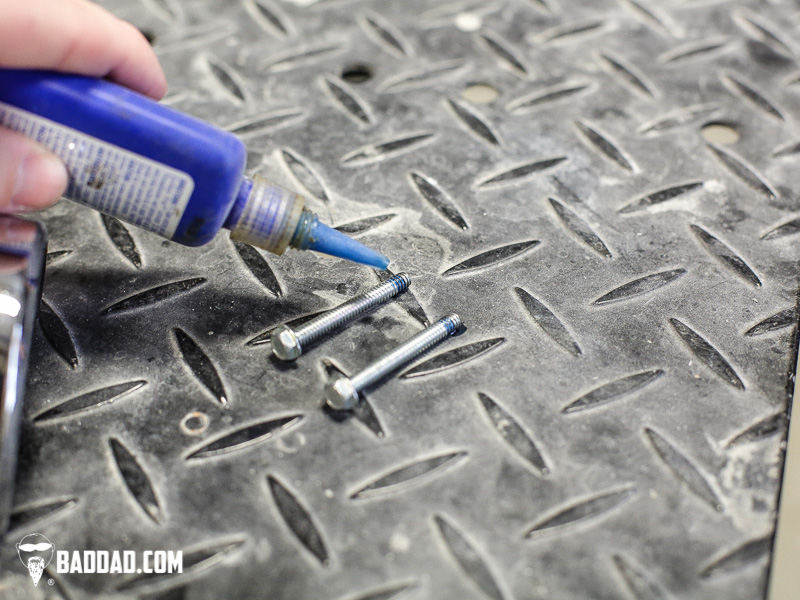
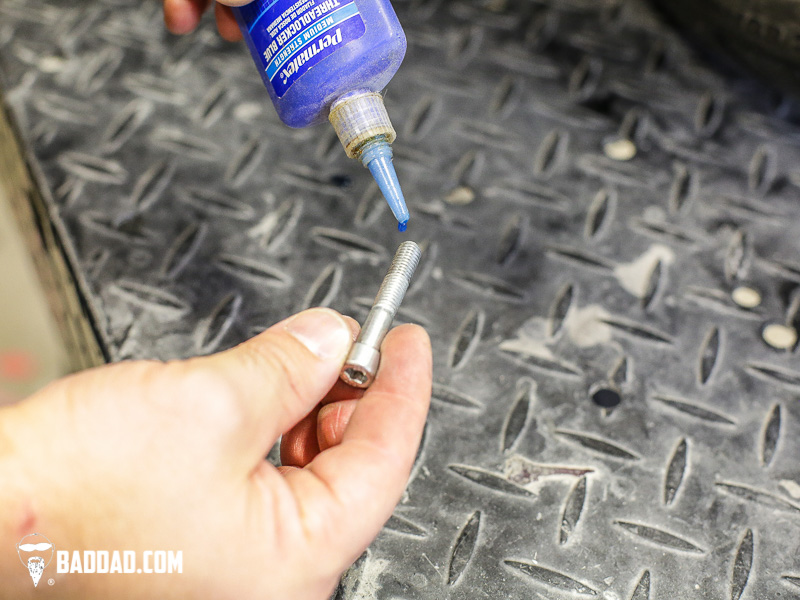
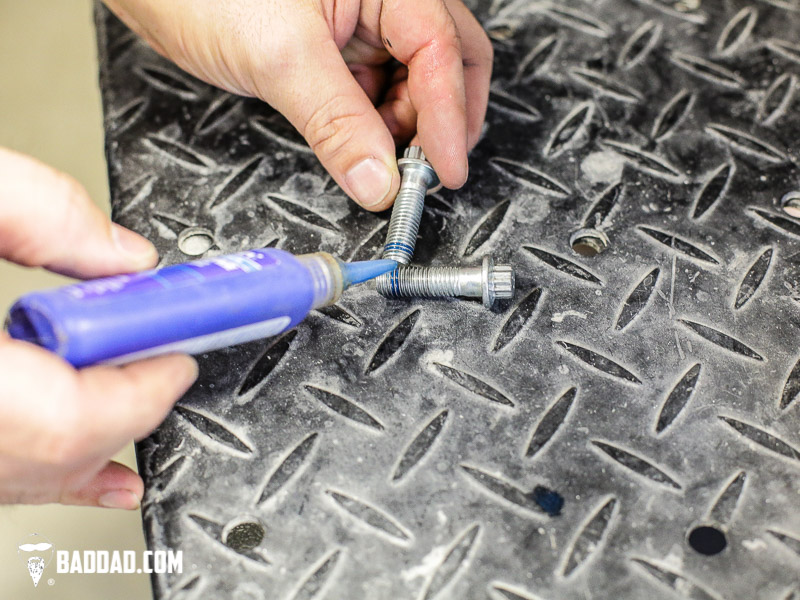
25) Install new copper washer (provided with the included Bad Dad Hardware Kit). Make sure your bolt does not have the original washer stuck to it. Then tighten to factory specs (30-37 ft/lb).
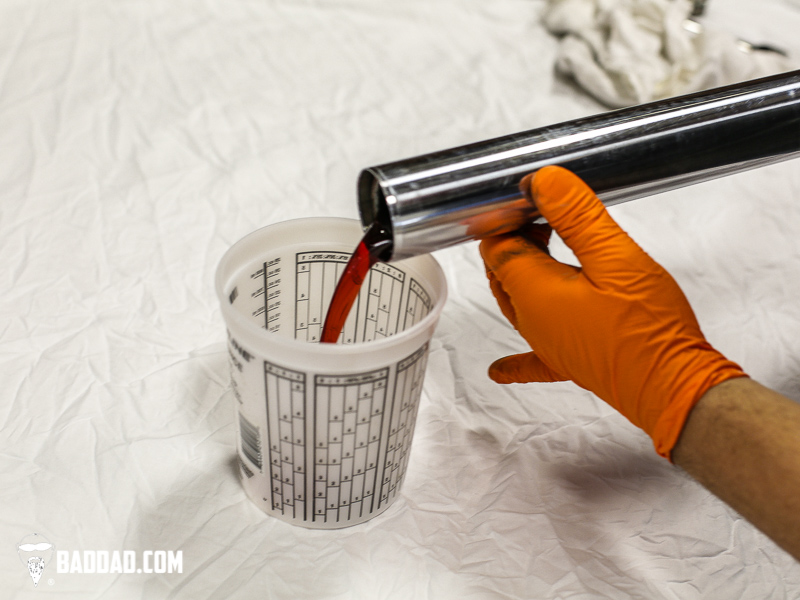
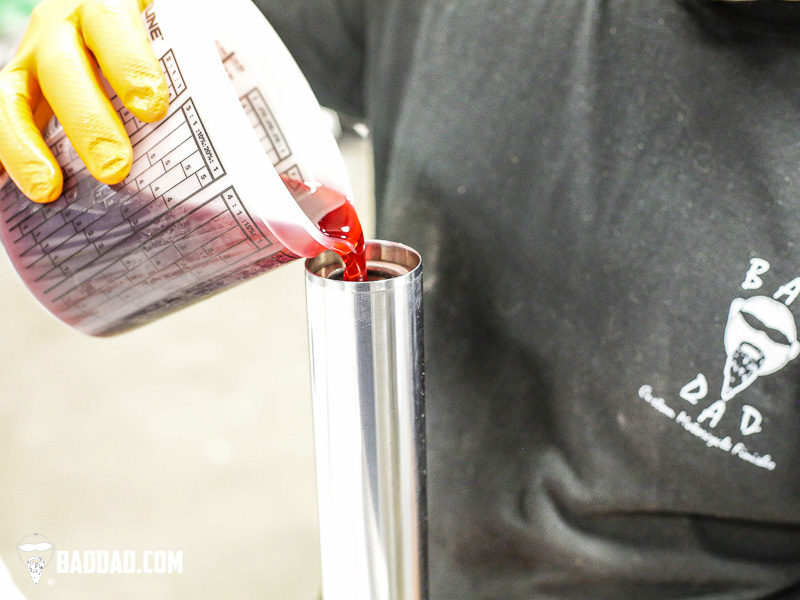
26) Install fork fluid (approximately 24 ounces).
27) The fork legs are now reassembled.
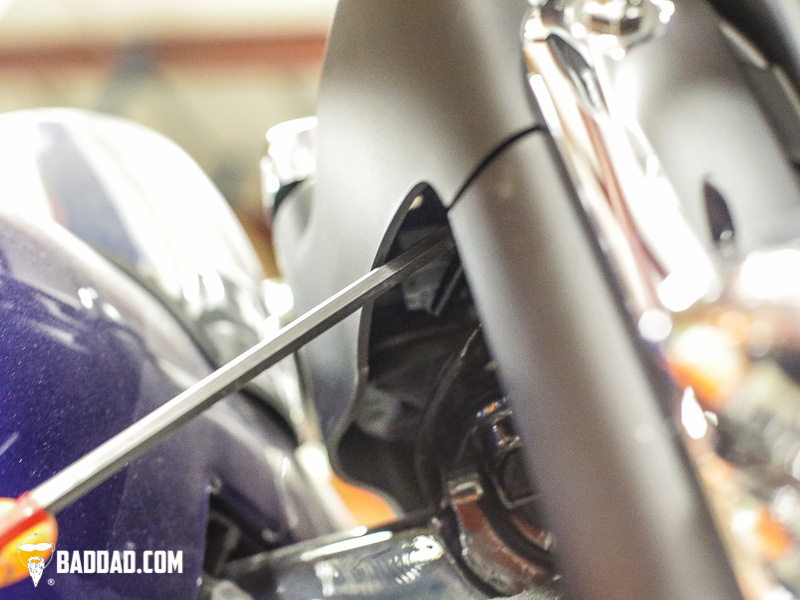
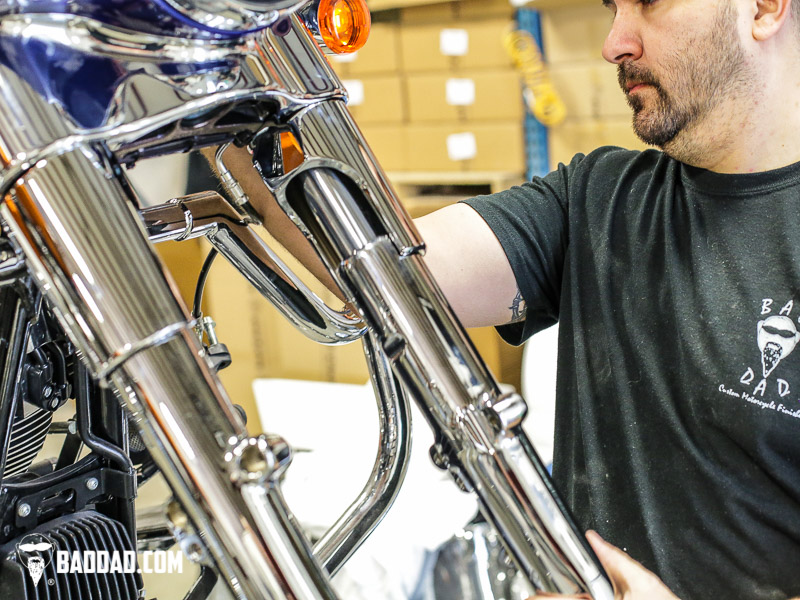
28) Now remove the upper fork covers from the lower triple tree.
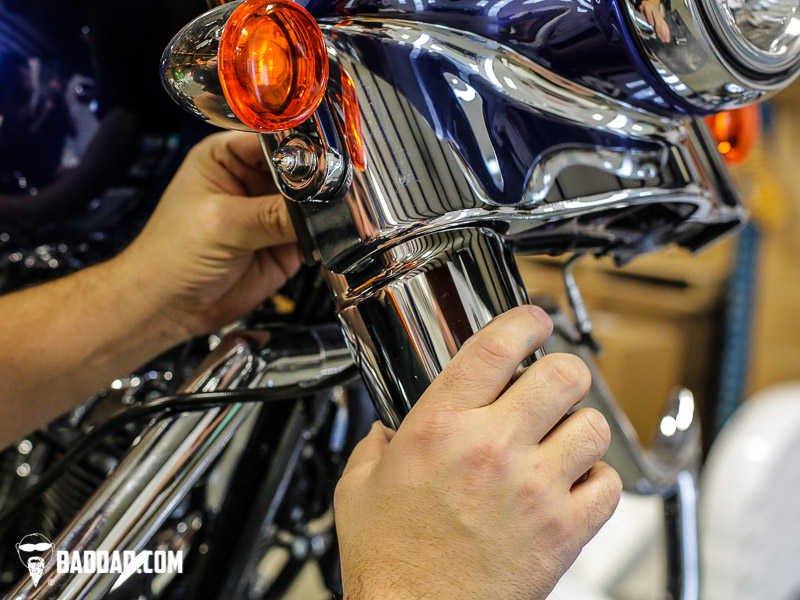
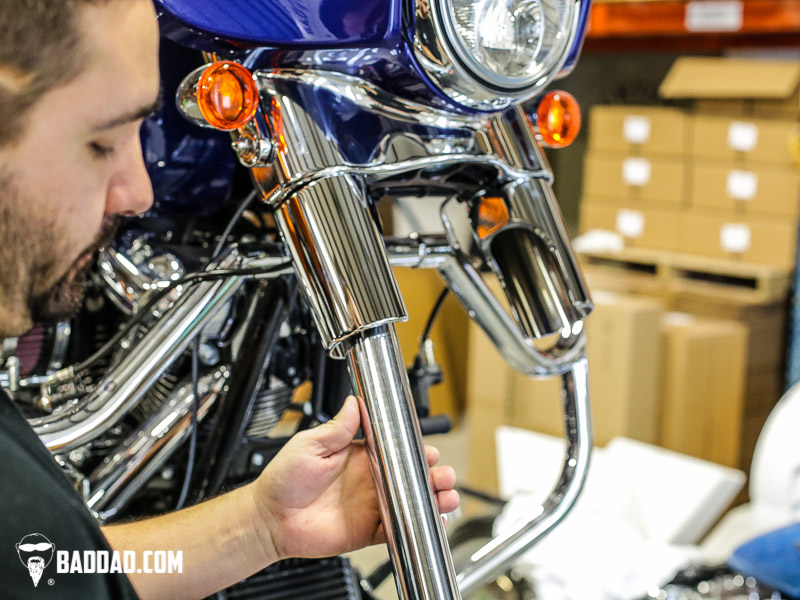
29) And install the custom upper fork slider from the Bad Dad Kit.
30) Then re-install the fork assembly. Slide in the fork tube until for top of the fork tube is flush with the top of the upper triple tree.
Repeat on the other side with the other fork leg.
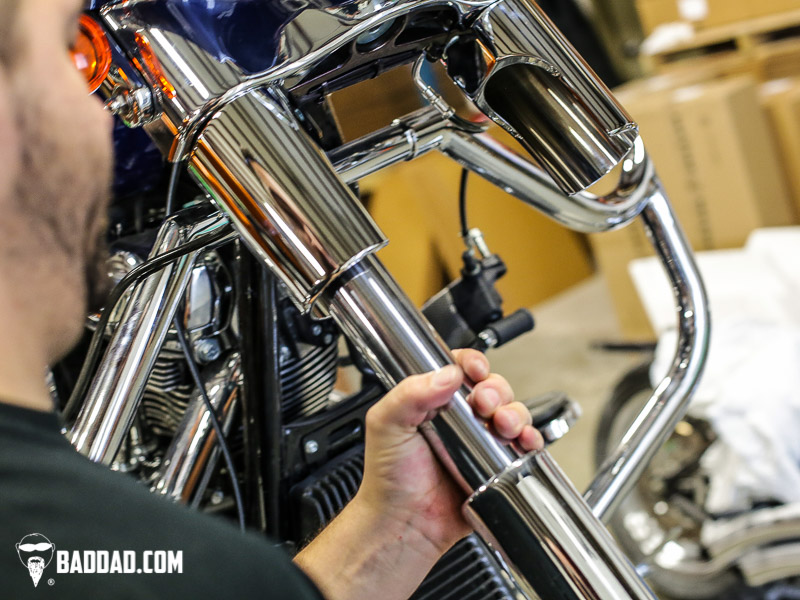
31) And tighten the bolts that hold the leg into the triple tree.
32) Make sure to tighten the hardware on both sides.
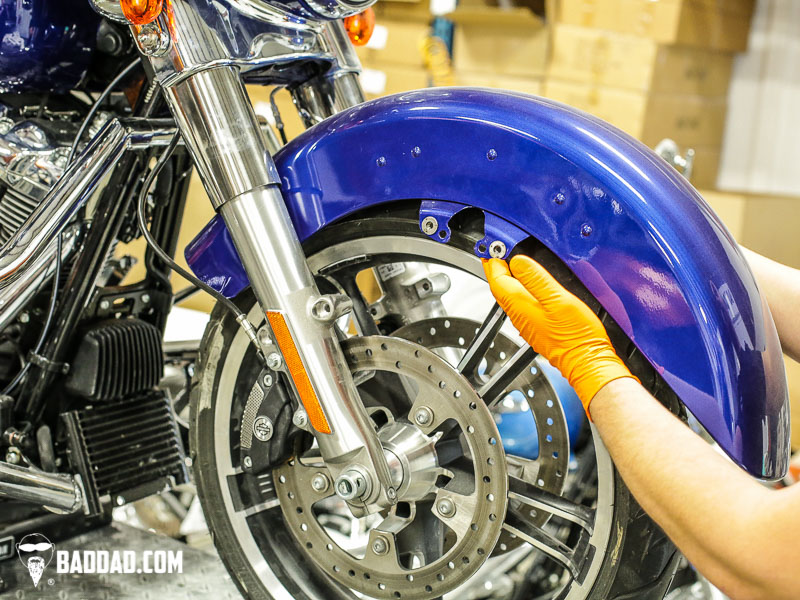
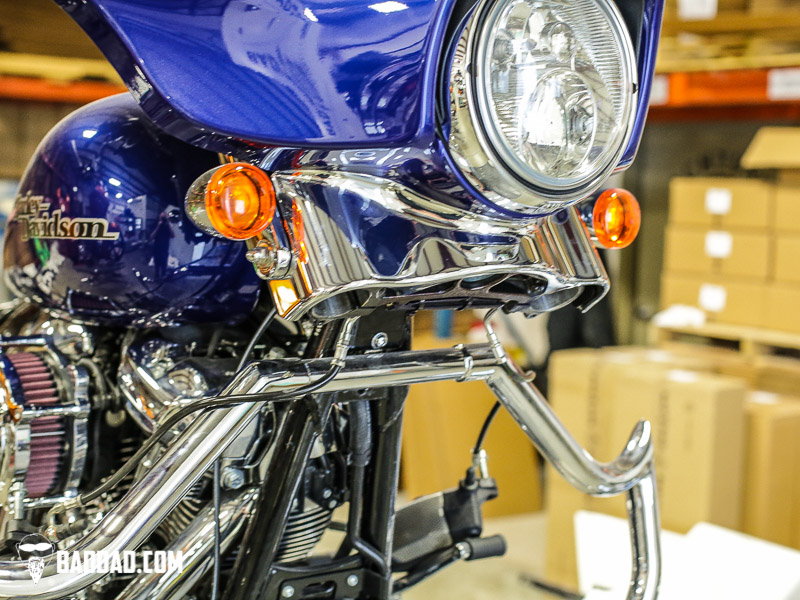
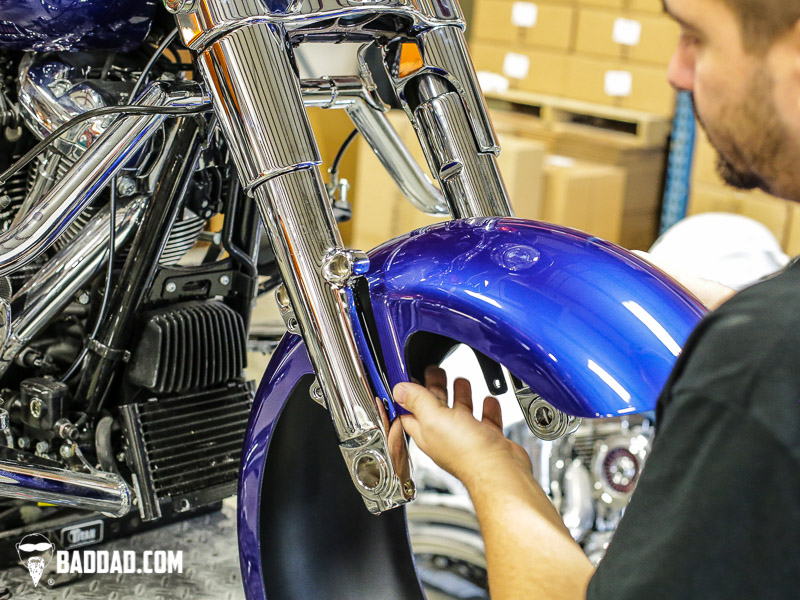
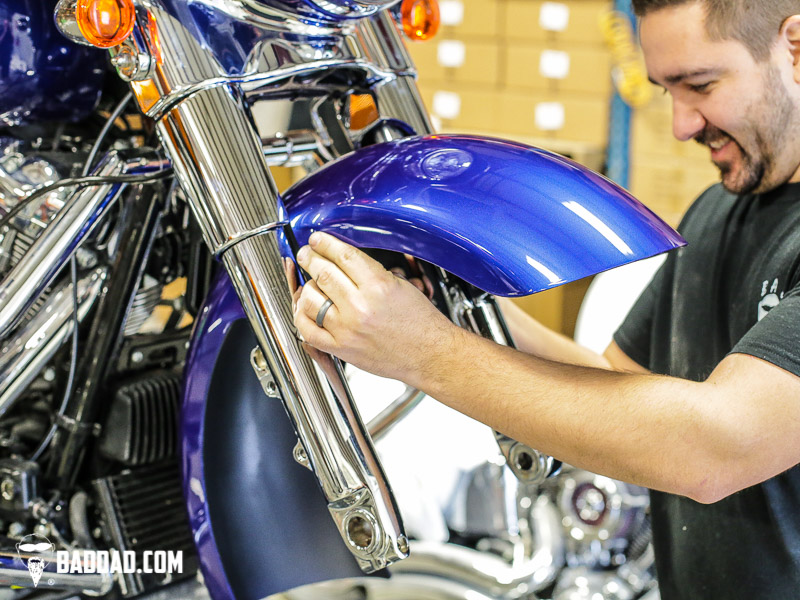
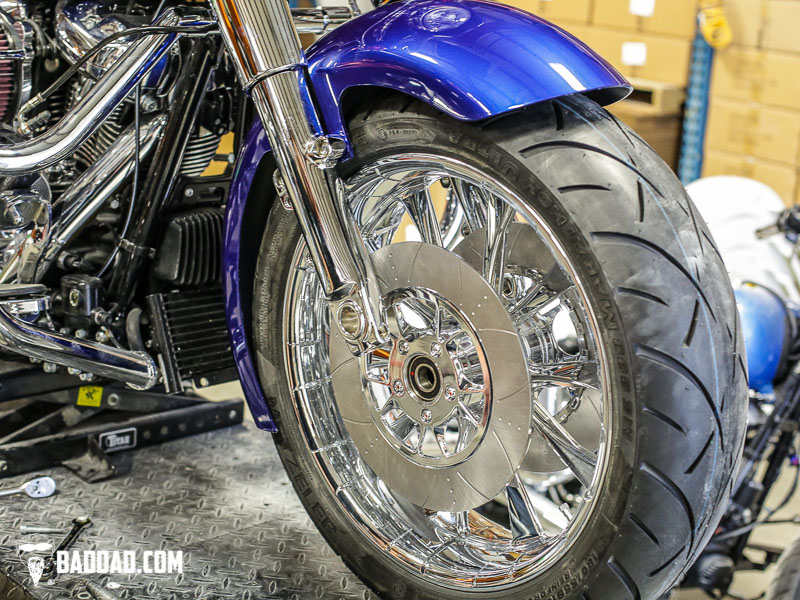
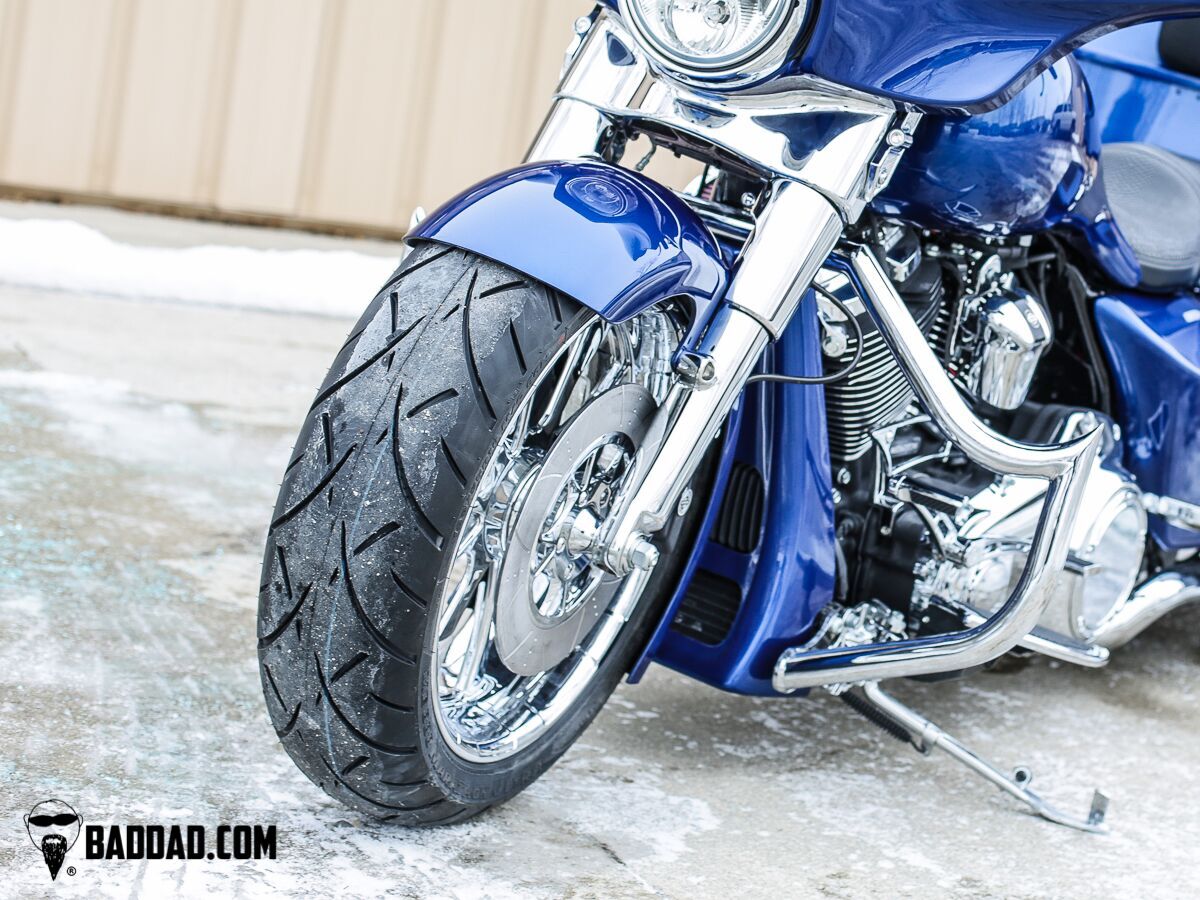
33) Next, install the front fender by sliding it between the fork legs and tightening all four fender bolts.
Note: The fender bolts should be tighten in a criss-cross pattern like the lug nuts on a car wheel. Begin by installing one of the fender mounts and then move to a mount on the opposite side. Snug each bolt loosely before finally tightening each bolt.
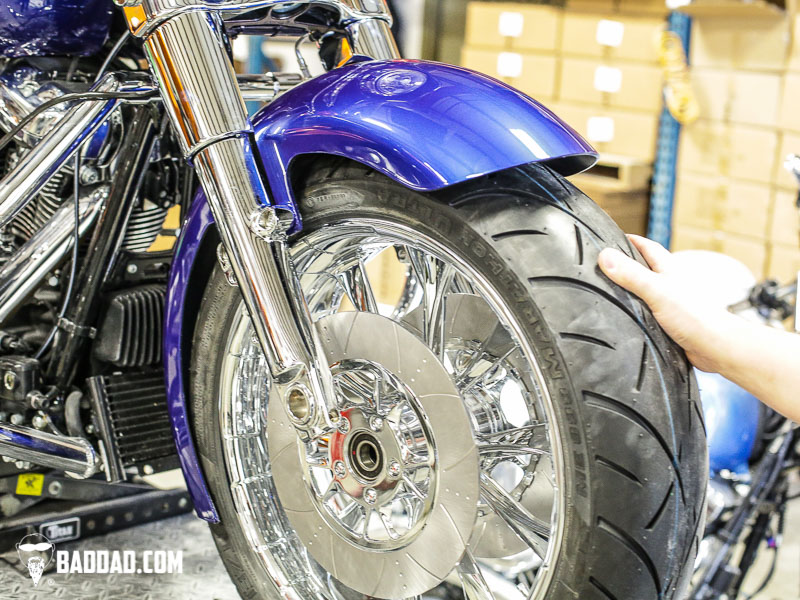
34) Then install the front wheel.
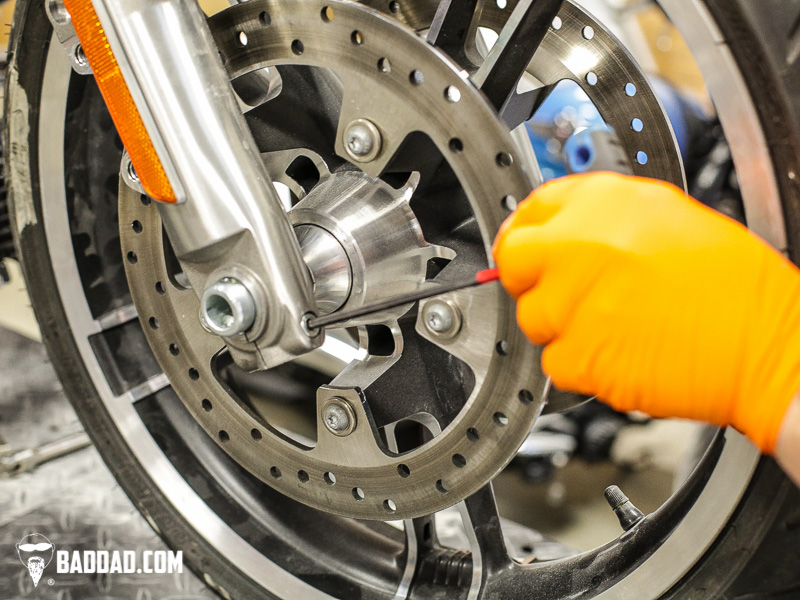
35) Install the custom wheel spacers included in the Bad Dad Kit.
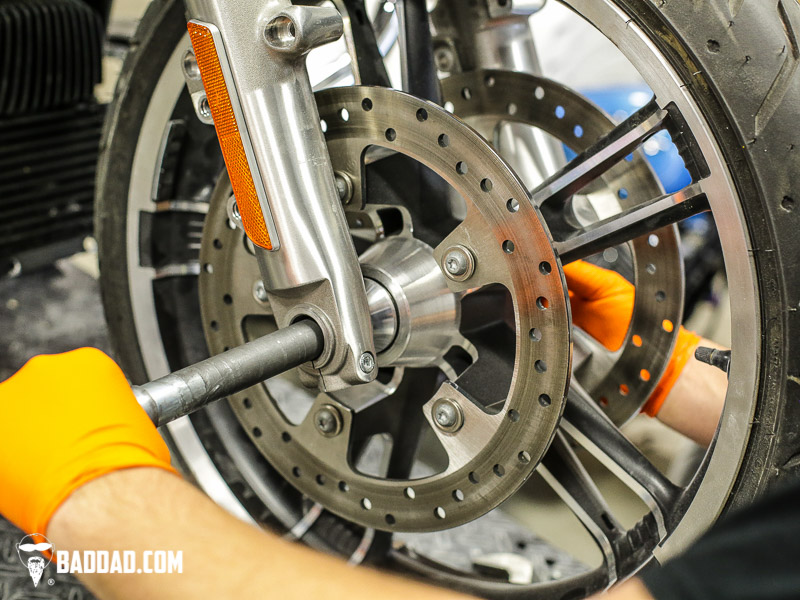
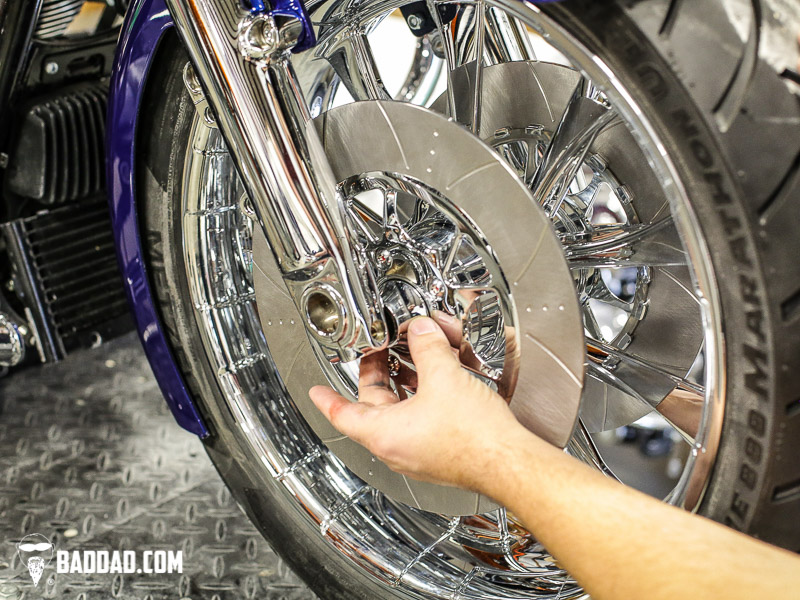
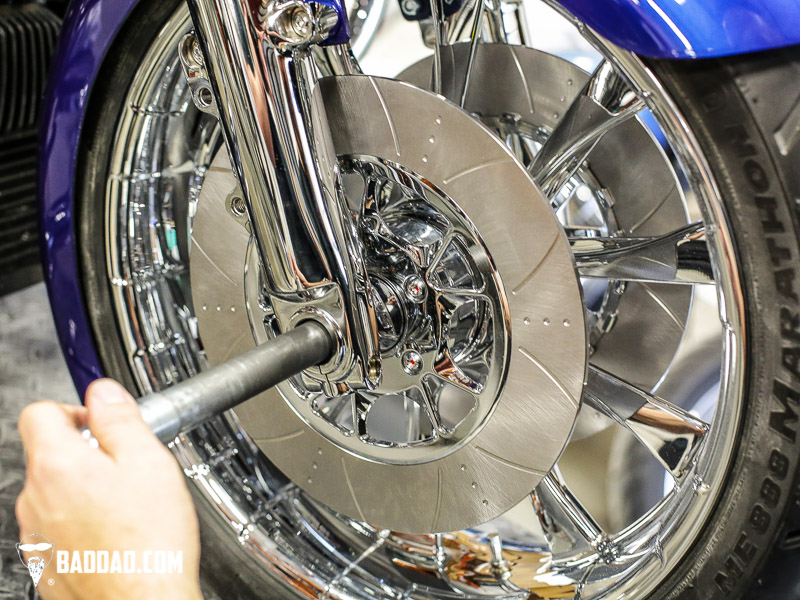
36) Then install the front axle.
37) And tighten the axle nut.
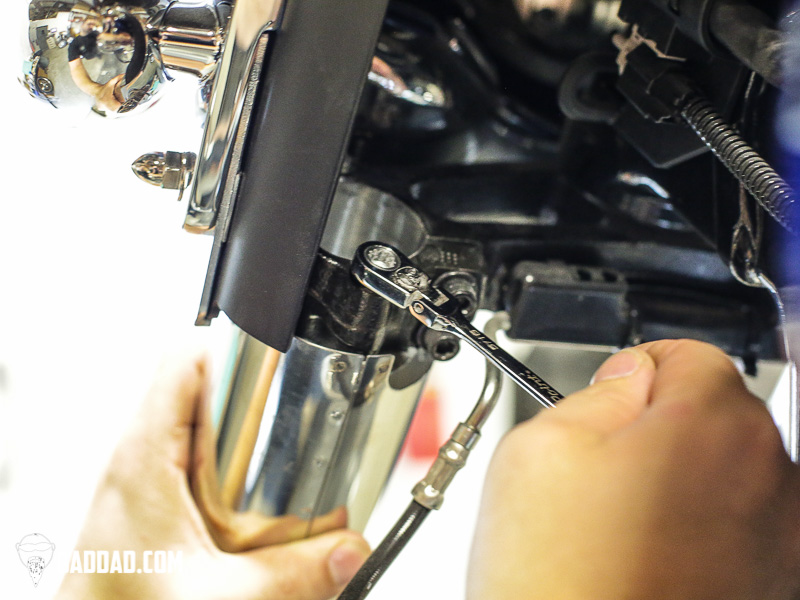
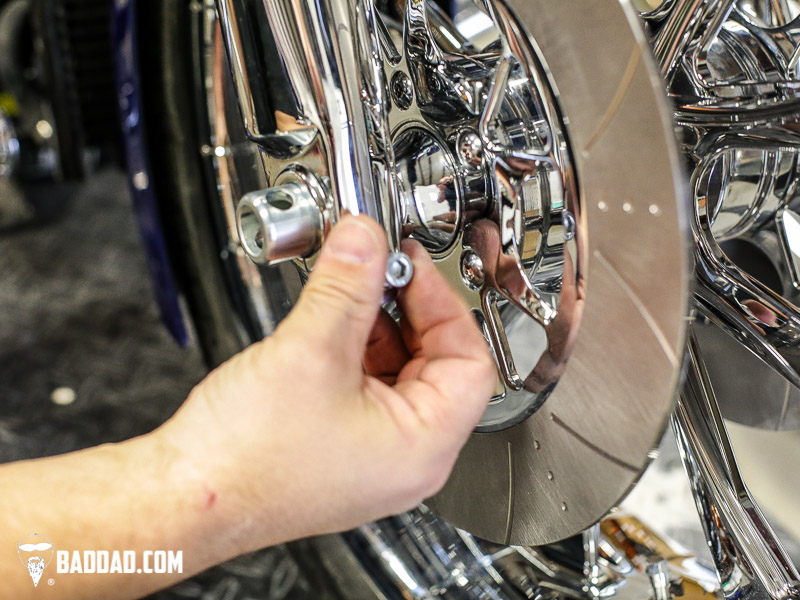
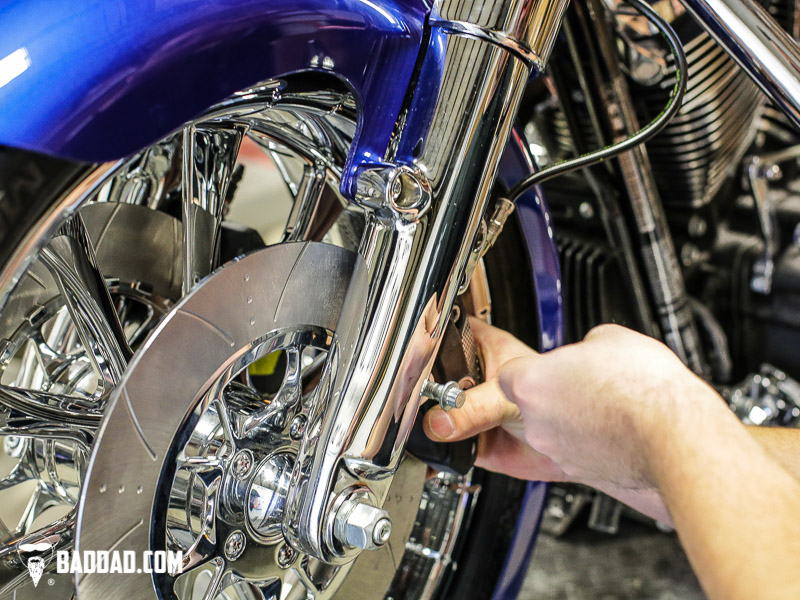
38) Install the lower fork bolt.
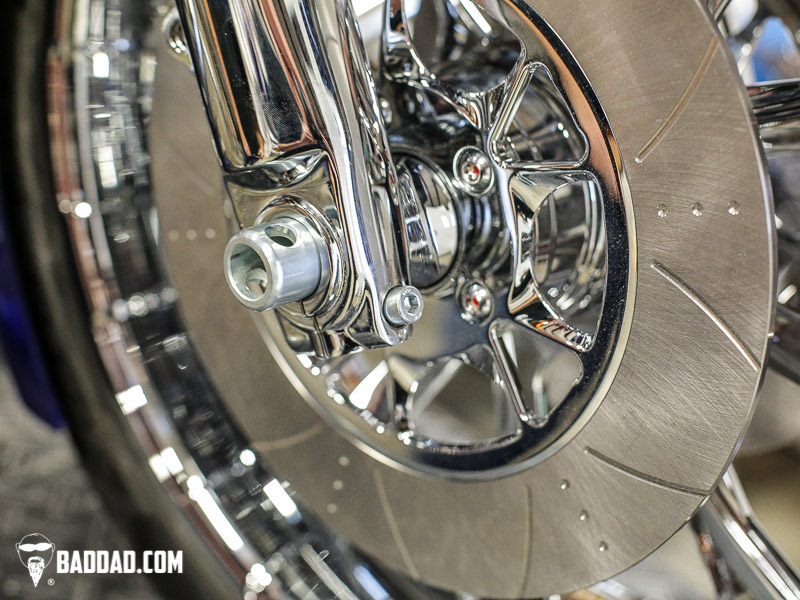
39) The axle is now installed, tightened, and all hardware is installed.
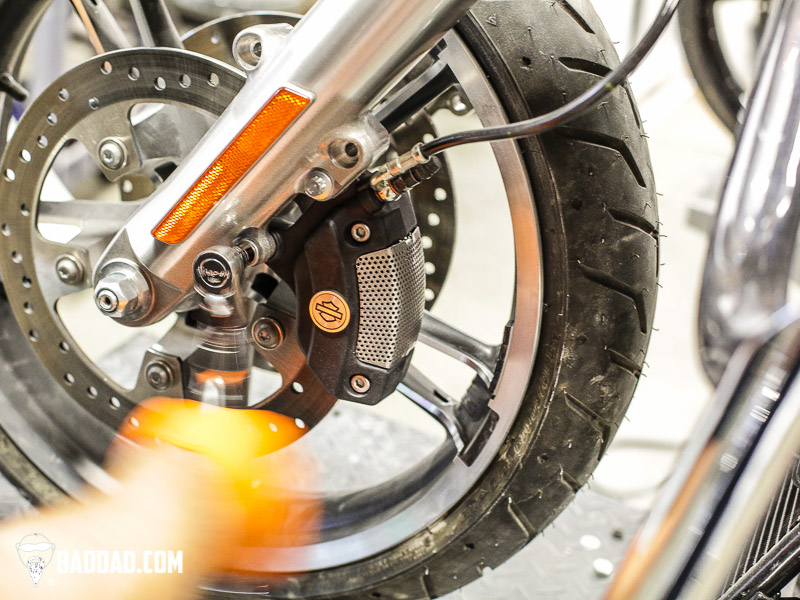
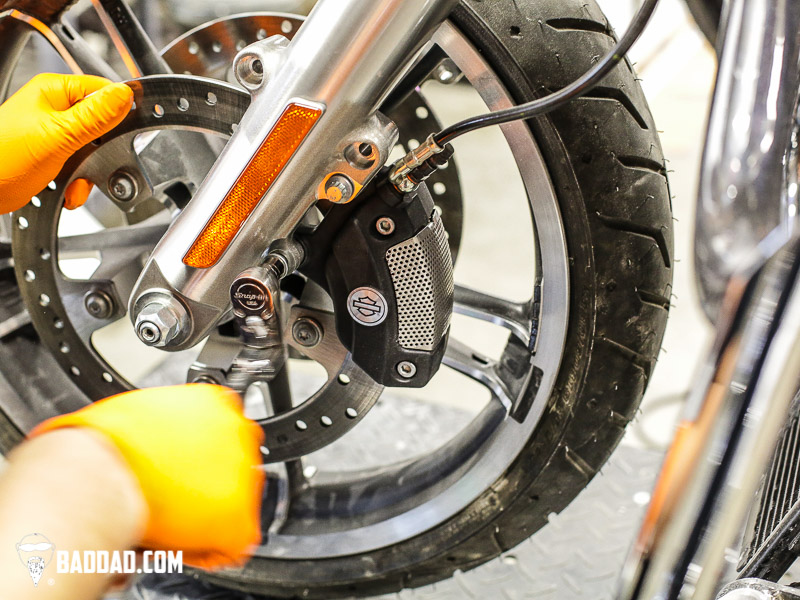
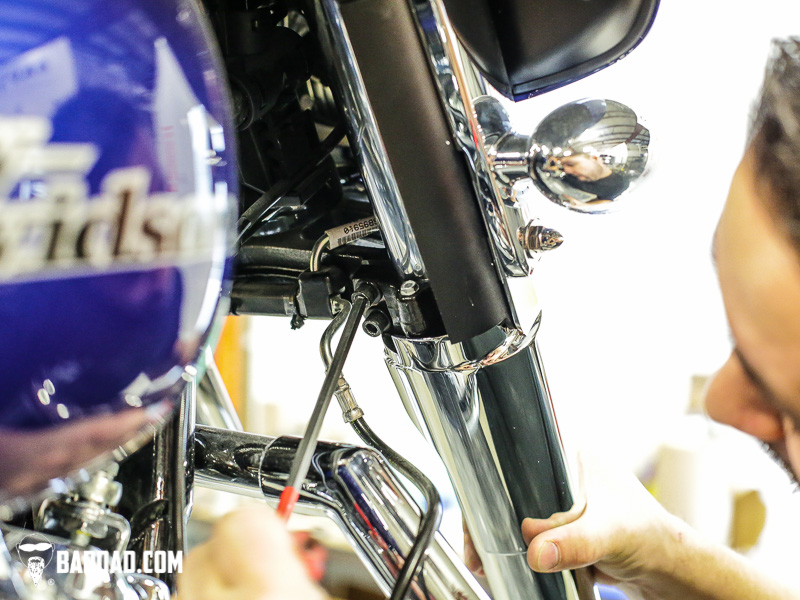
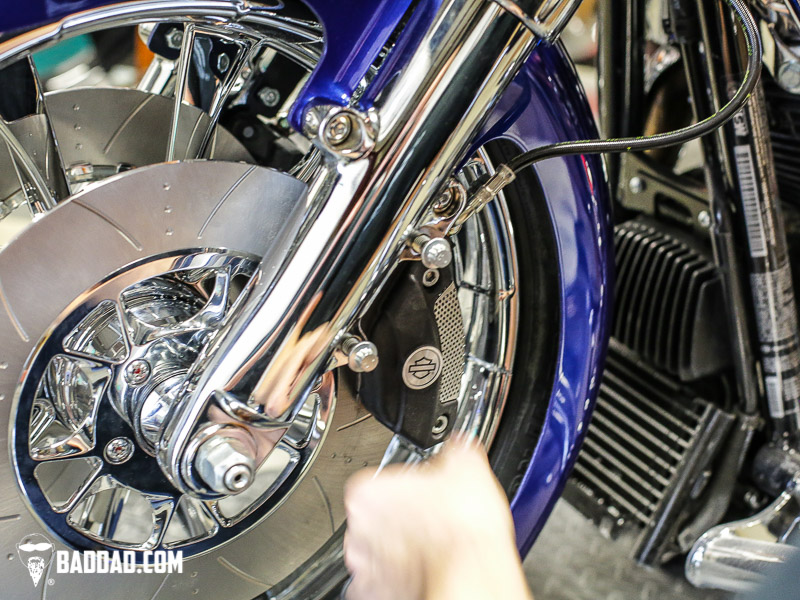
40) Next, re-install the brake calipers.
41) Tighten both caliper bolts.
42) And repeat on the other side.
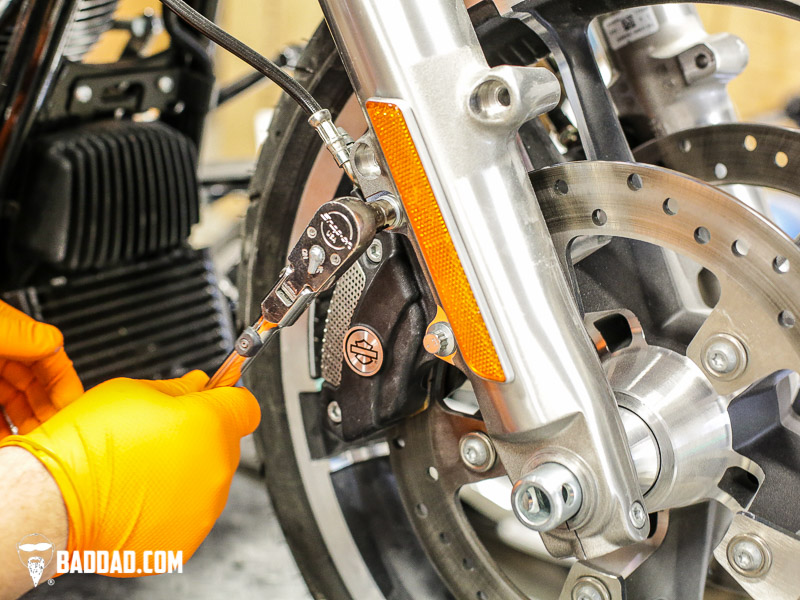
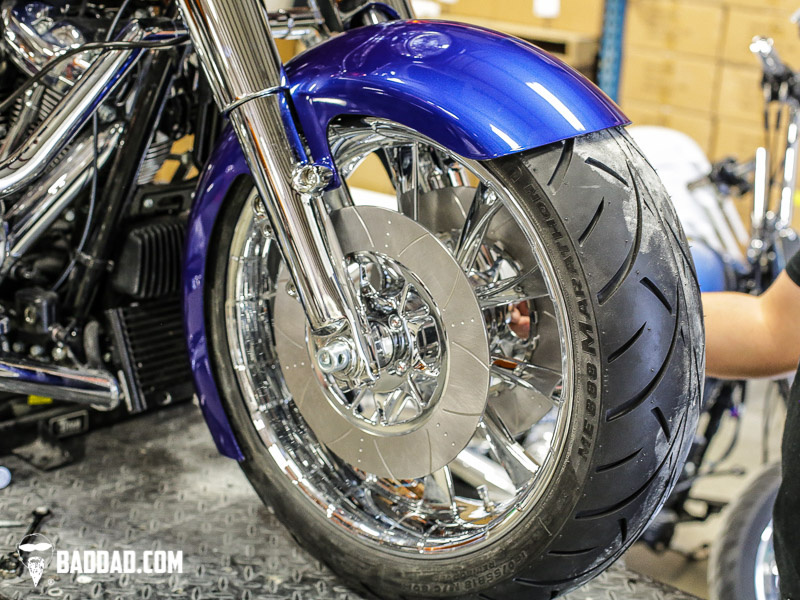
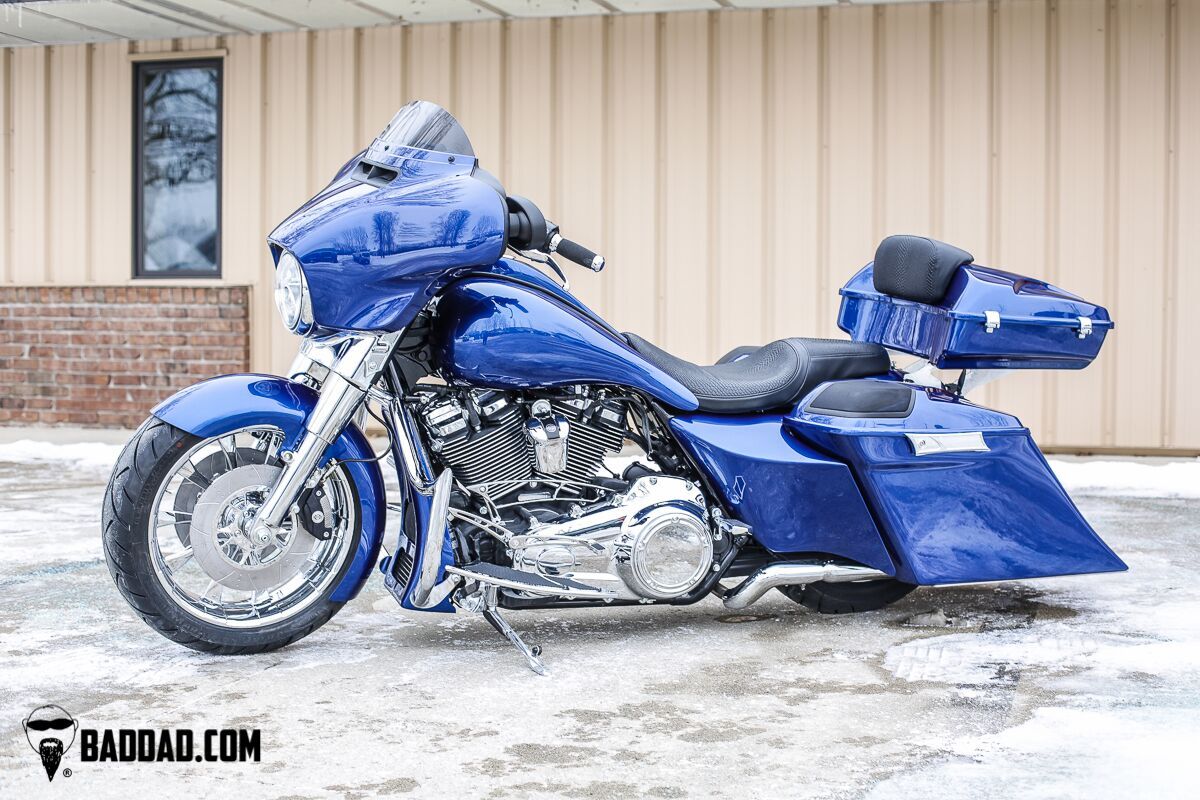
43) Your wheel, tire, and front end are now installed. Be sure to check that each fastener is properly installed and tightened.