Credit Cards Accecpted

Bad Dad Custom Motorcycle Finishes, Motorcycles  Supplies & Parts, Fort Wayne, IN
ad for /static/images/sidebar_ads/side_cover.jpg
Bad Dad Supports the Semper Fi Fund - Serving Those Who Preserve Our Freedom

Painting Flush Mount Speaker Lids

Print Instructions

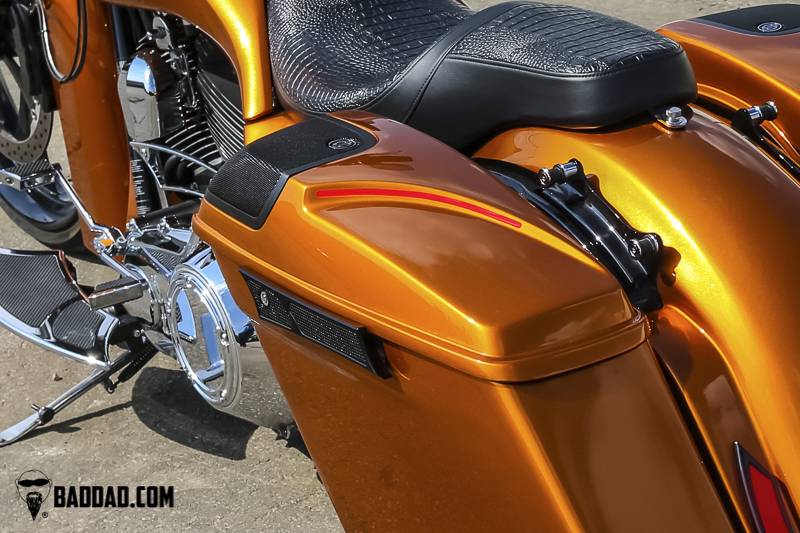
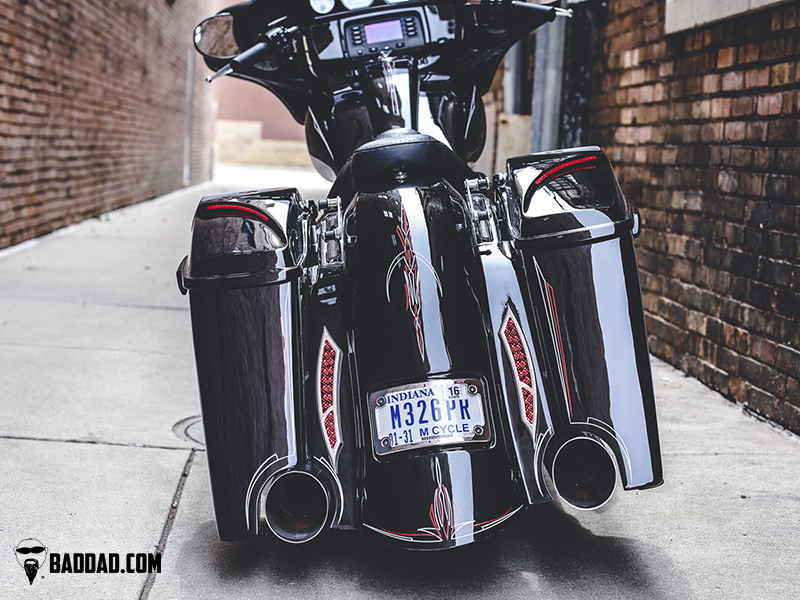
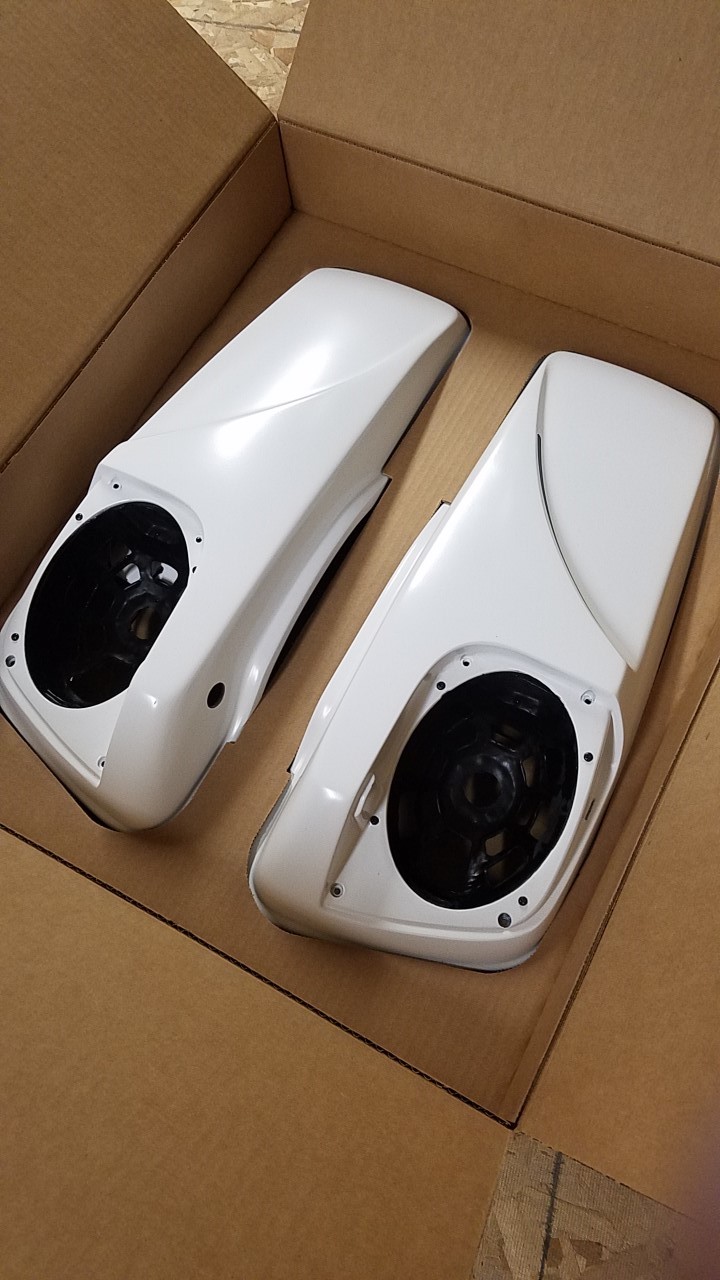
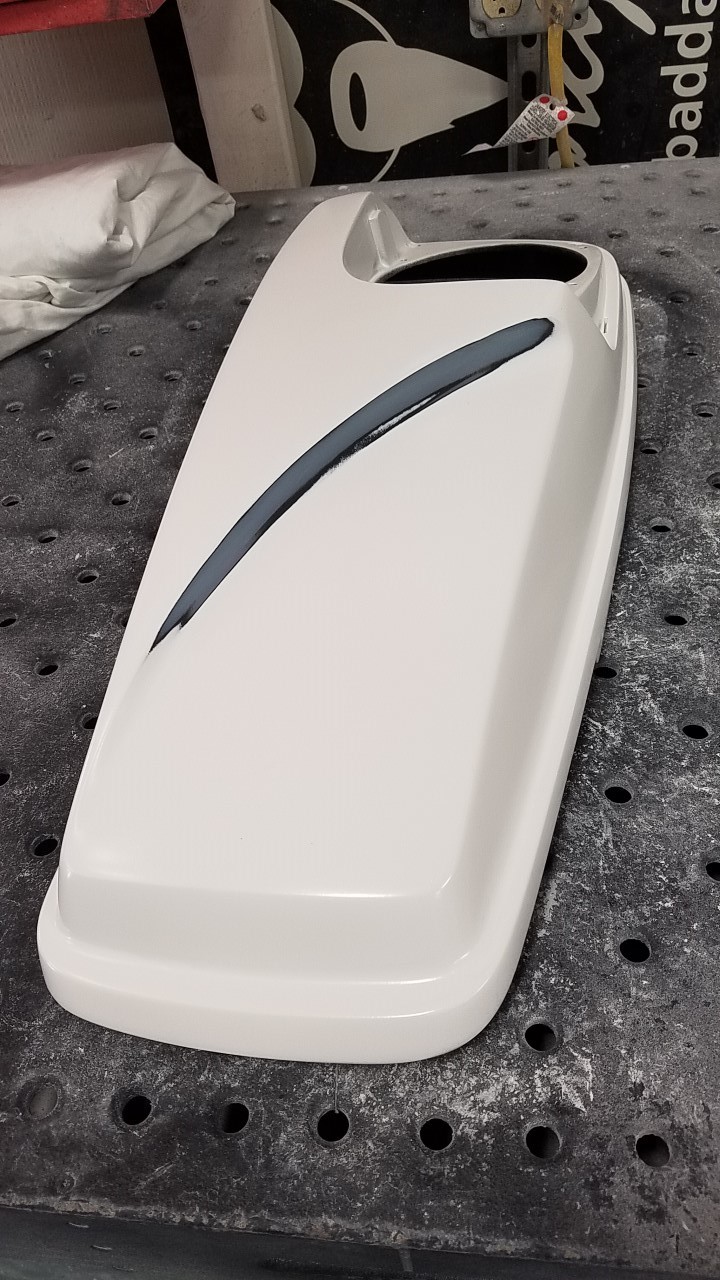
Our Speaker Lids with Flush LEDs are one of our favorite parts. Our custom speaker lids are a great way to add high-quality audio to your bike and also increase visibility.

Our Speaker Lids with Flush LEDs are finished in final primer which is ready to go directly to paint. The instructions below are a step-by-step guide through this process.

1) Our speaker lids are delivered in final primer which is ready to go directly to paint. Your new lids will be delivered like this.
2) Your new lids include masking material for masking out the LED taillights. The masking material is either inside the lids or with your order receipt. Be careful to not discard this masking material.
3) Begin by sanding the surface with 400 grit sand paper. Sand the entire lid and the area with the taillight lens.
4) Next, use the included stencils to mask out the taillight area. It is easiest to align the stencil by illuminating the LEDs during application. Use a fused 12v source to apply ground (black) and 12v power (blue, purple or brown) to the LED wires in order to illuminate the lights.
5) Use the clear transfer tape to hold onto the stencil. Carefully apply the stencil to the lighted area. Adjust if needed.

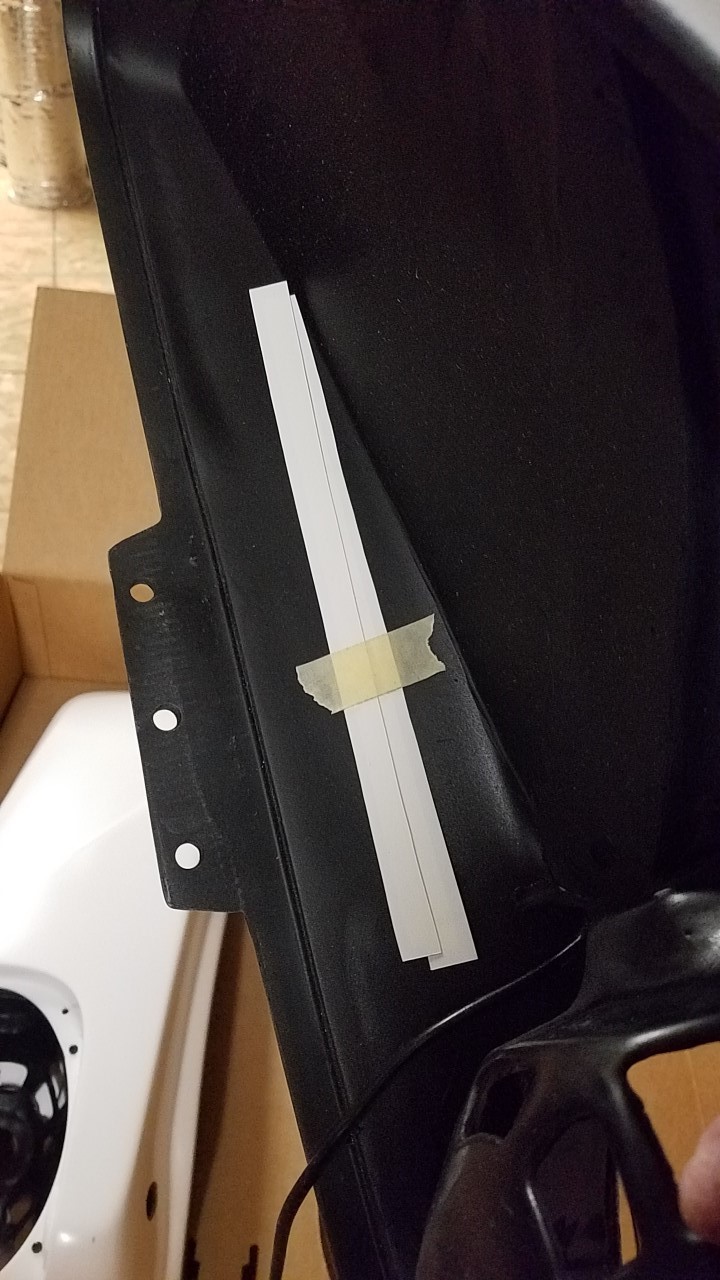
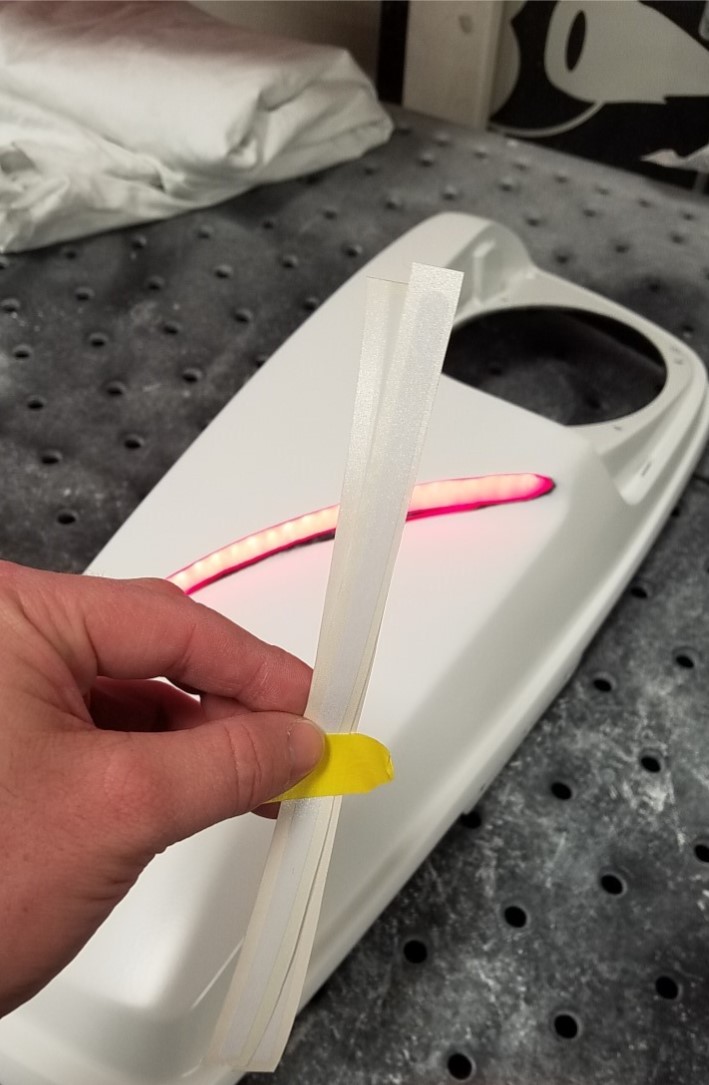
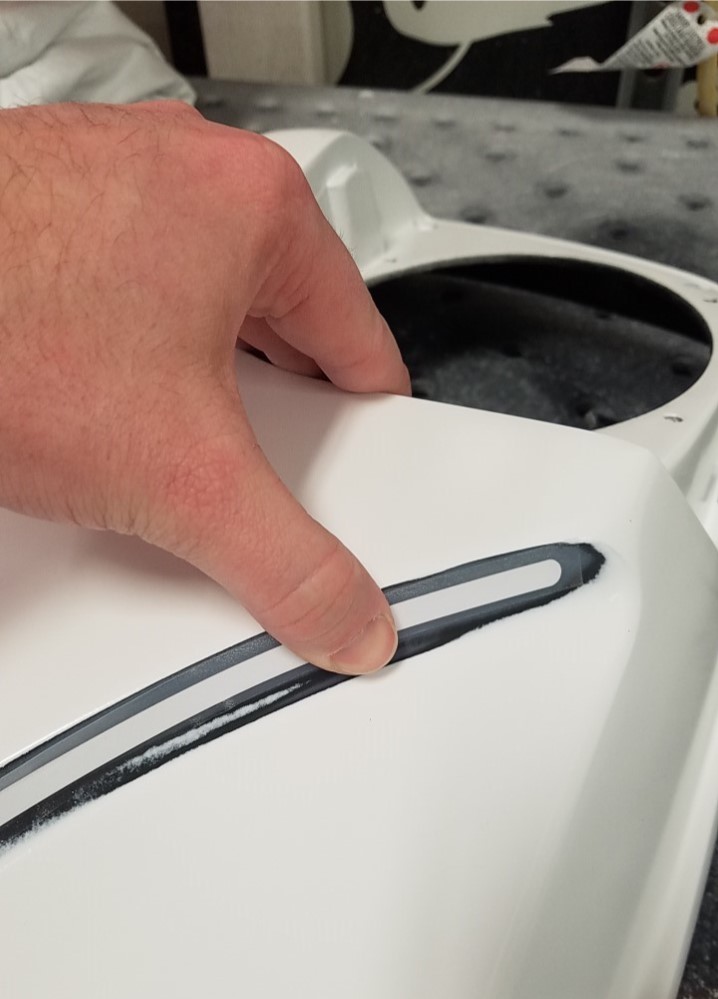
Once positioned, press firmly to adhere the stencil to the lid.

6) Then remove the clear transfer tape, leaving behind the stencil for painting.
7) Next, setup your lids for painting. Use Wax & Grease remover or anti-static cleaner on the lids.
8) Apply your paint manufacturer's recommended plastic adhesion promoter over the entire lid, especially over the lens area and especially over any areas with raw plastic or where you have sanded through the primer finish. Allow the plastic adhesion promoter to flash dry.

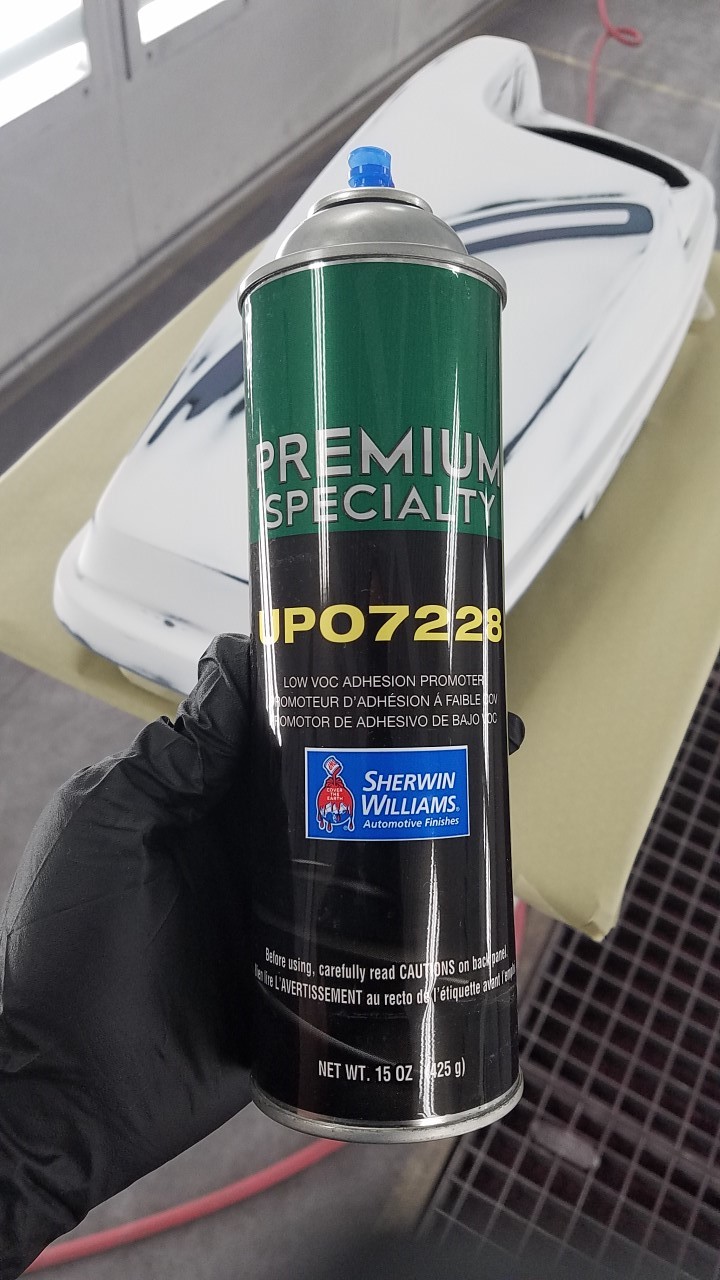
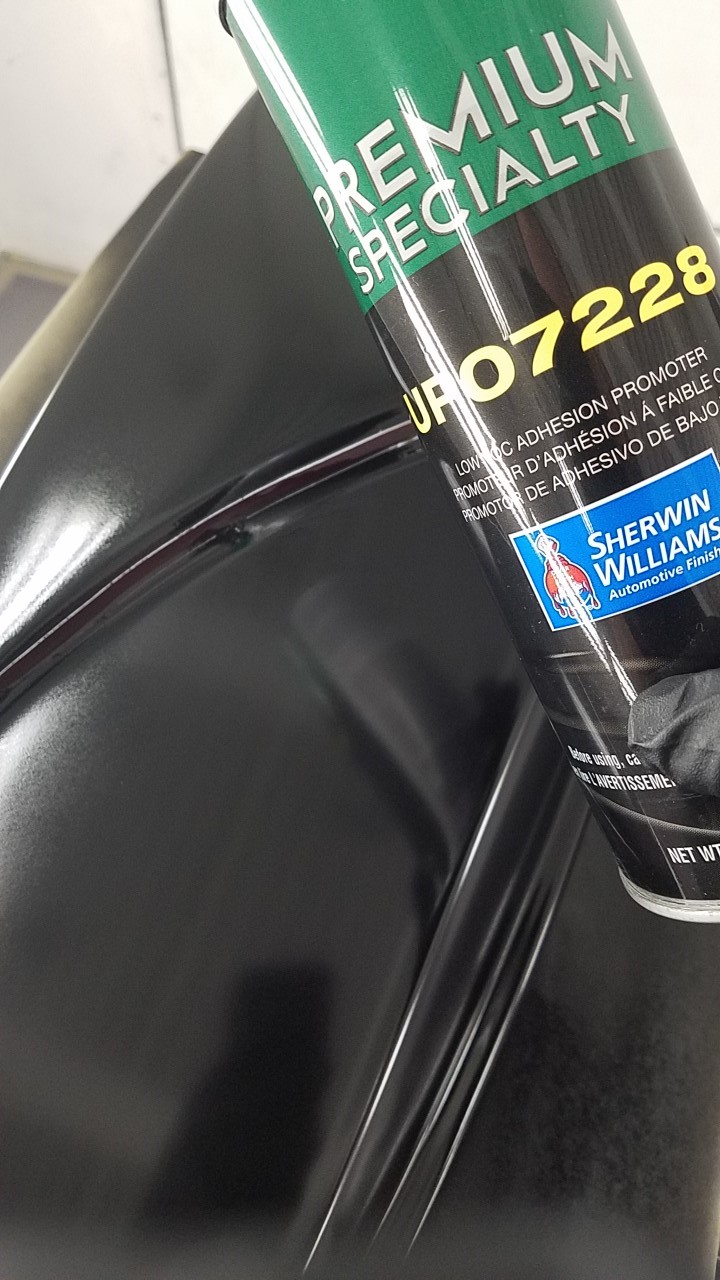
Note: Skipping this step will cause failure to your paint process.

9) Apply your paint manufacturer's recommended primer/sealer to the lids.

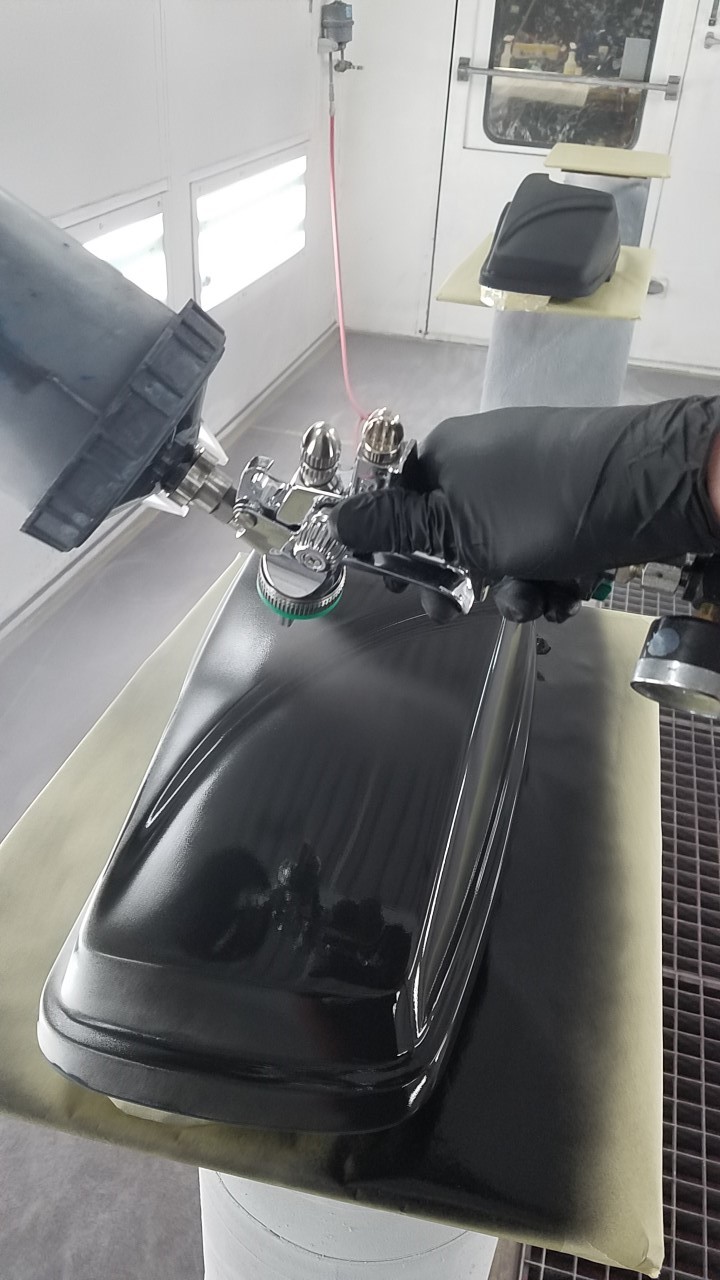
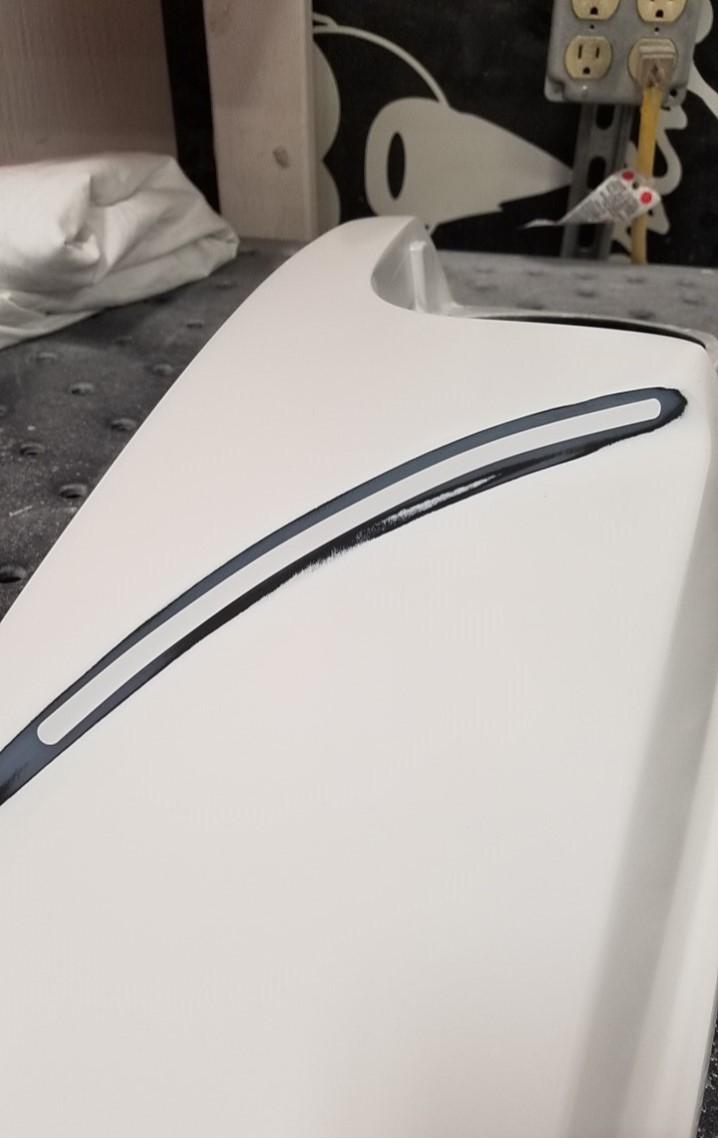
We recommend starting with a black sealer or base to cover up any unmasked area to prevent light from bleeding through the paint. After the sealer flashes, apply your base coat, then mid-coat (if applicable).

10) Once dry, illuminate the LEDs by using a fused 12v source to light up the LEDs to ensure proper coverage. No light should bleed through your masking at this point.

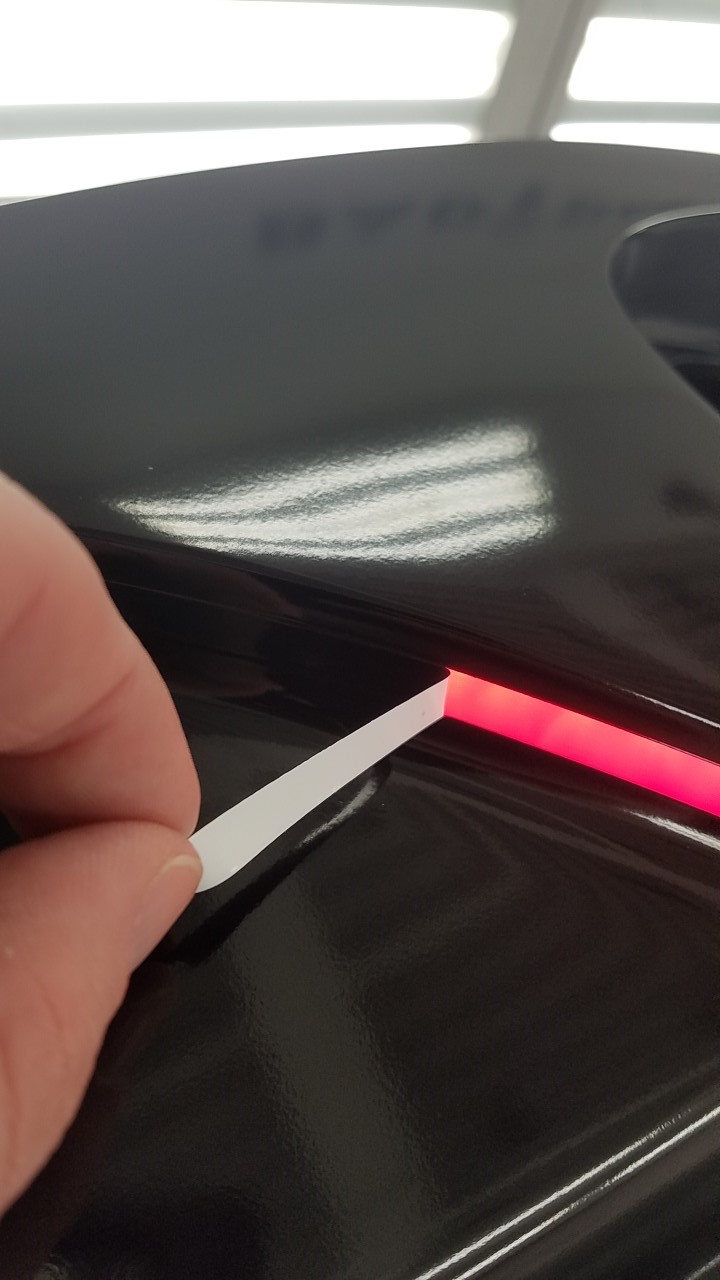
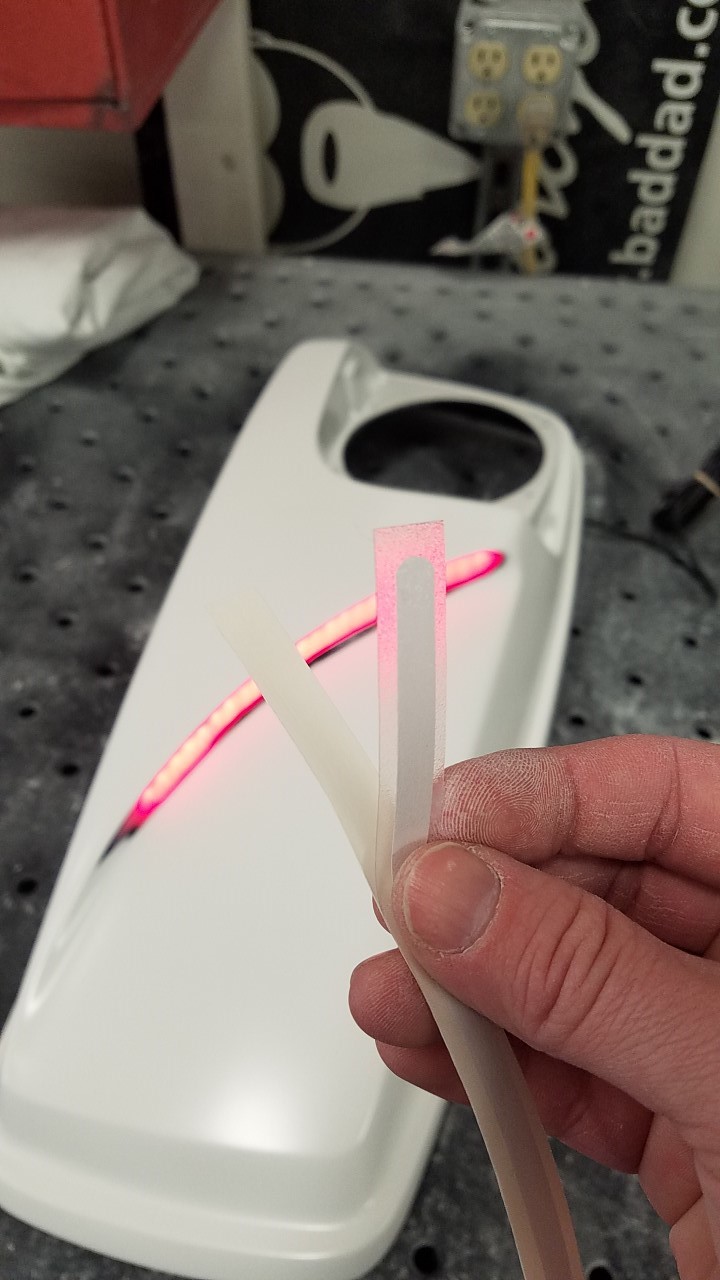
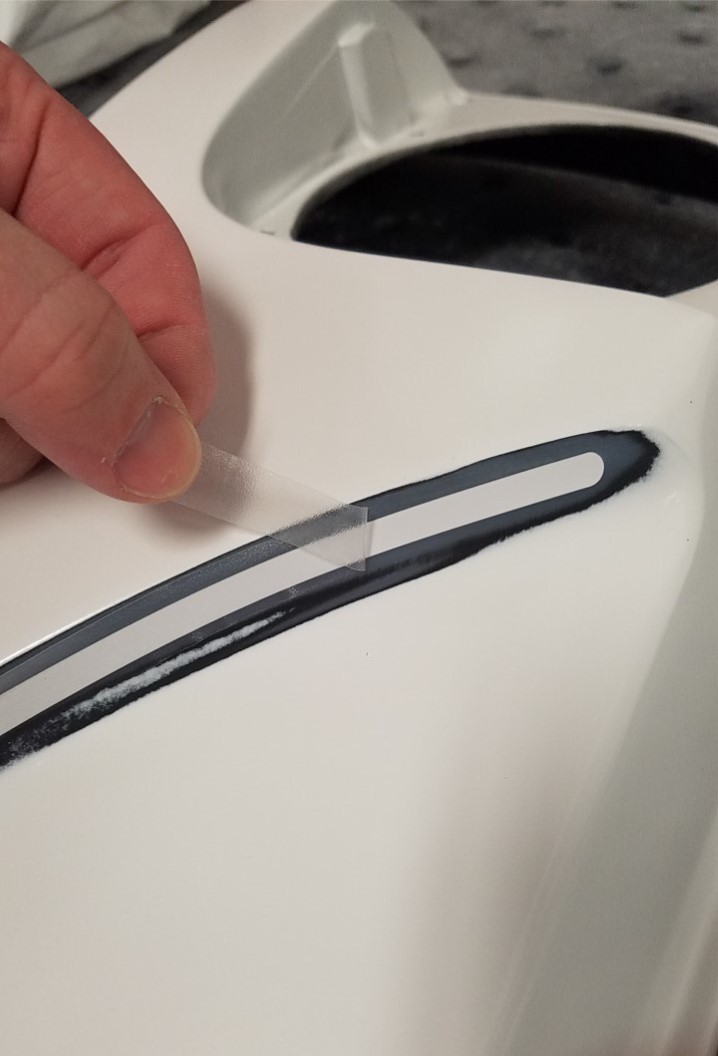
If no light bleeds through, you can peel out your masking material. This leaves behind the exposed lens material and the light is able to shine through the lens in the lid.

11) Next, reapply your paint manufacturer's recommended plastic adhesion promoter over the exposed lighted area to ensure proper paint adhesion to the exposed lens.

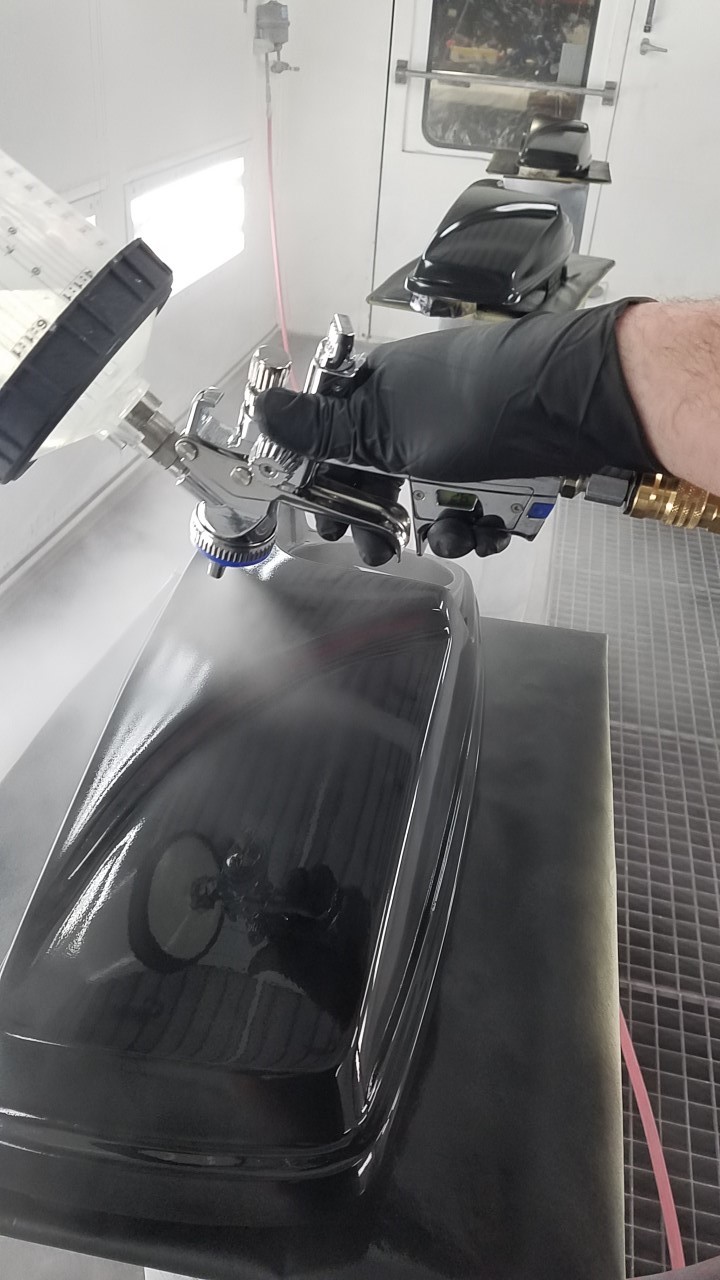
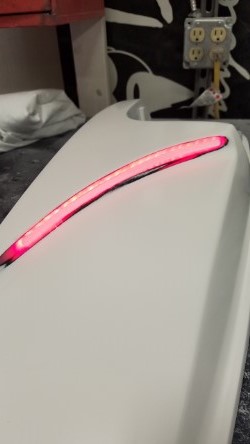
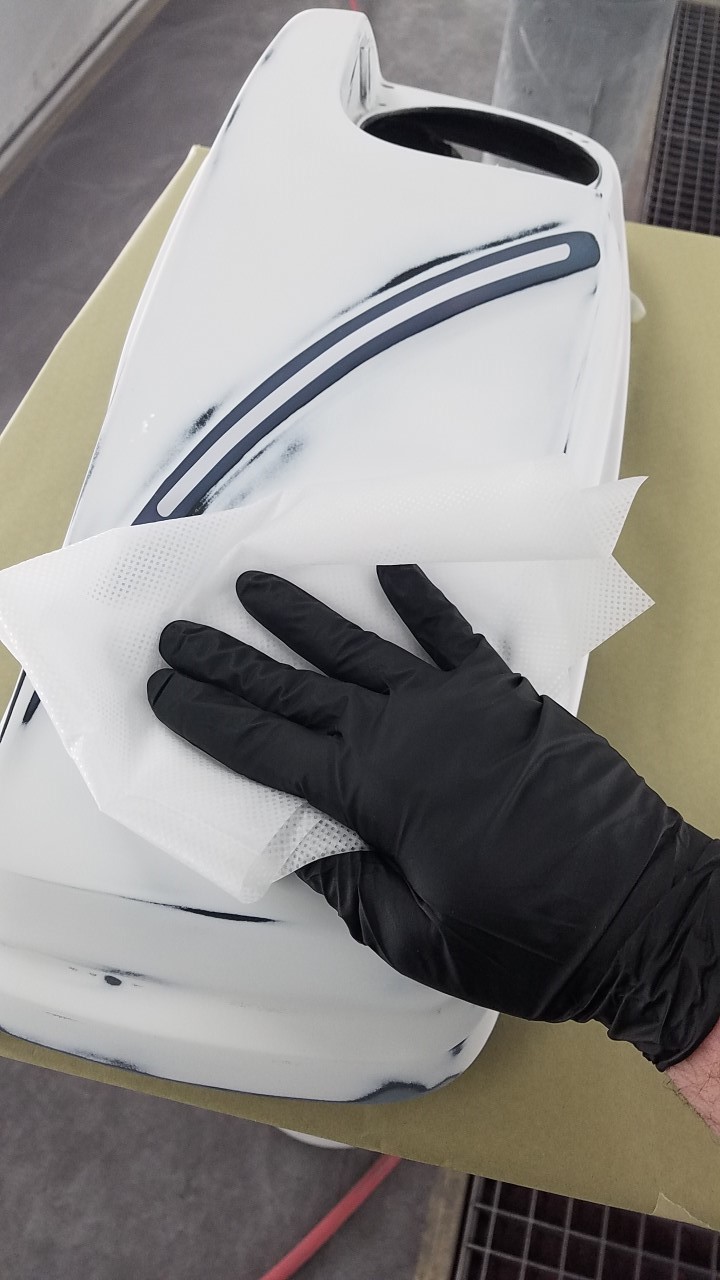
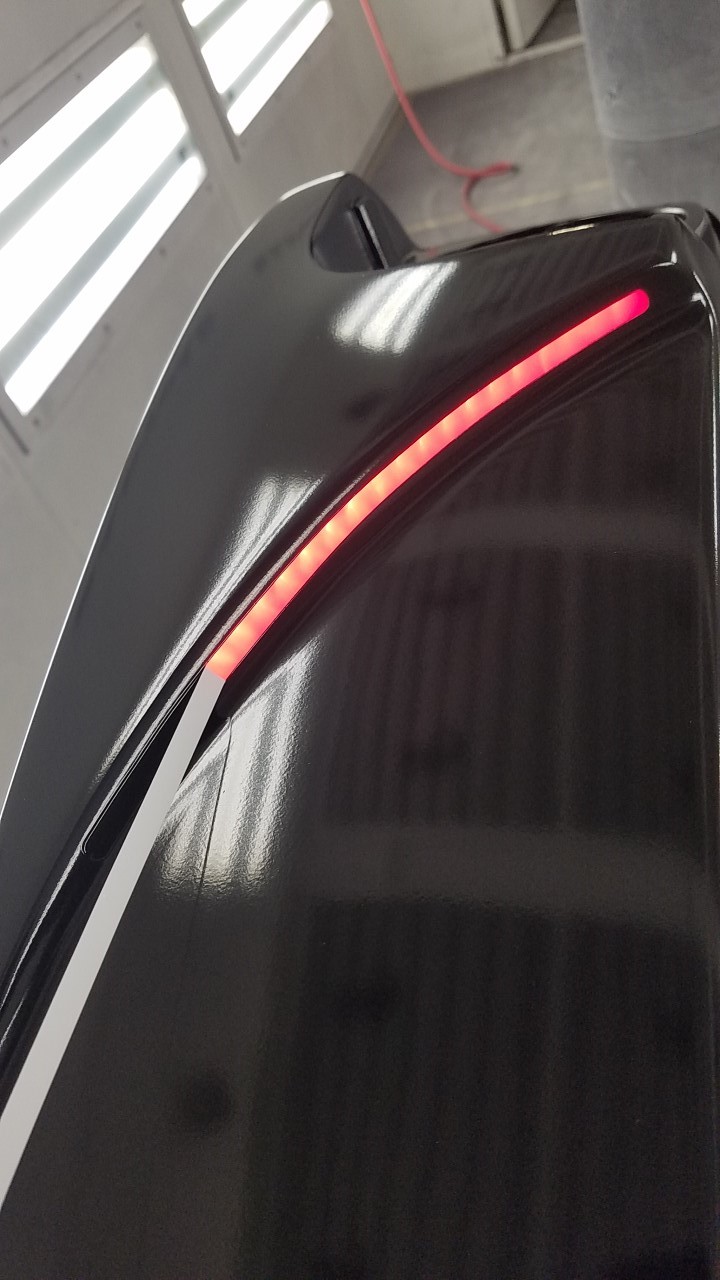
Finish by using your paint manufacturer's recommended clear coat over the entire lid, including the lens & LED area. This will also seal your paint edge and protect your lens. Not clearing over the lens may result in failure, cracking, and/or discoloration of the lens.

No Picture
12) You can finish off the paint work once the clear has cured. If a flatter paint edge is desired for the lighted area, you can wetsand the lid with 600-800 grit then clear the lids a second-time to build up your finish clear for a smoother paint line.
13) Finally, wet sand & buff the lids once the clear is finished and dry.