Order online or by
calling 260.407.2000


Competition Series Softail Bracket Kit
Print Instructions
|
Add a set of Stretched Bags or Competition Series Bags to your Softail with this great bolt-on bracket kit. |
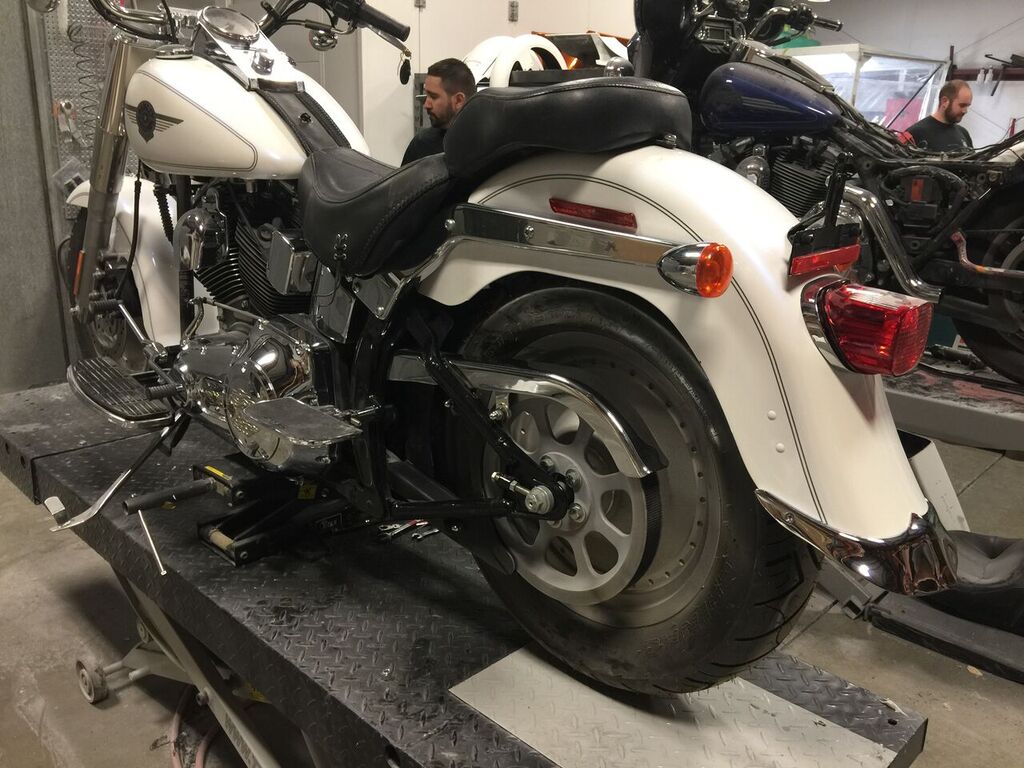
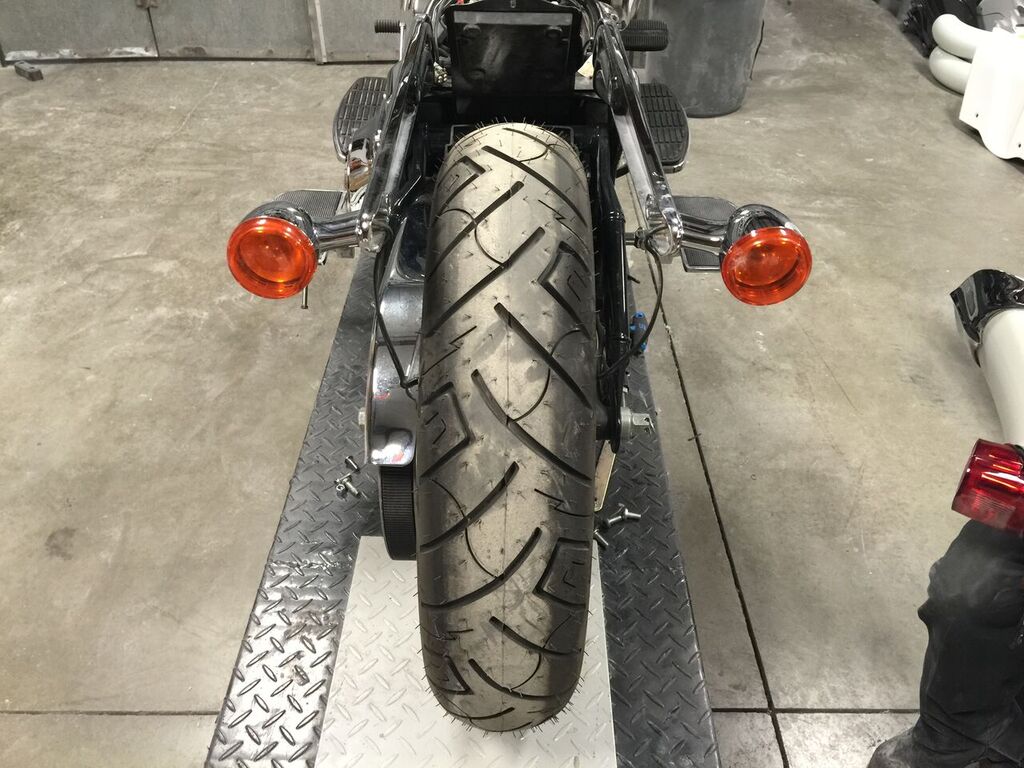
1) This Softail Bracket Kit is designed to mount to the back of any 1986-current Softail model with a 140mm-150mm tire. We will install this Bracket Kit along with Bad Dad's Summit Fender in this tutorial.
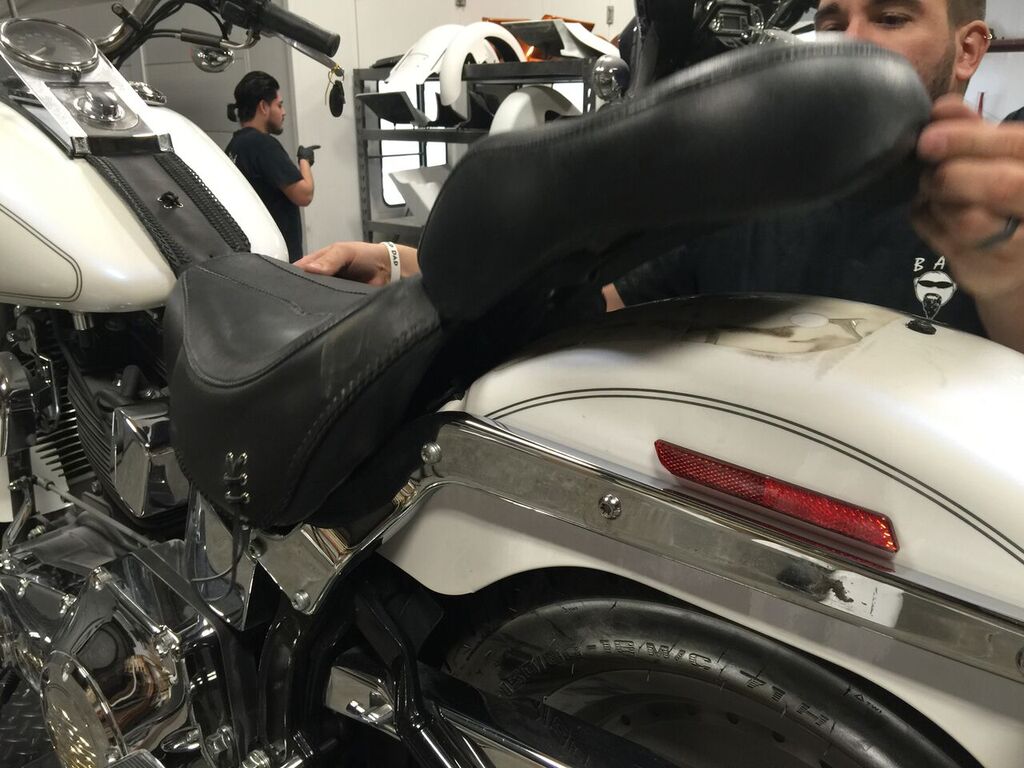
2) Begin by removing the factory seat.
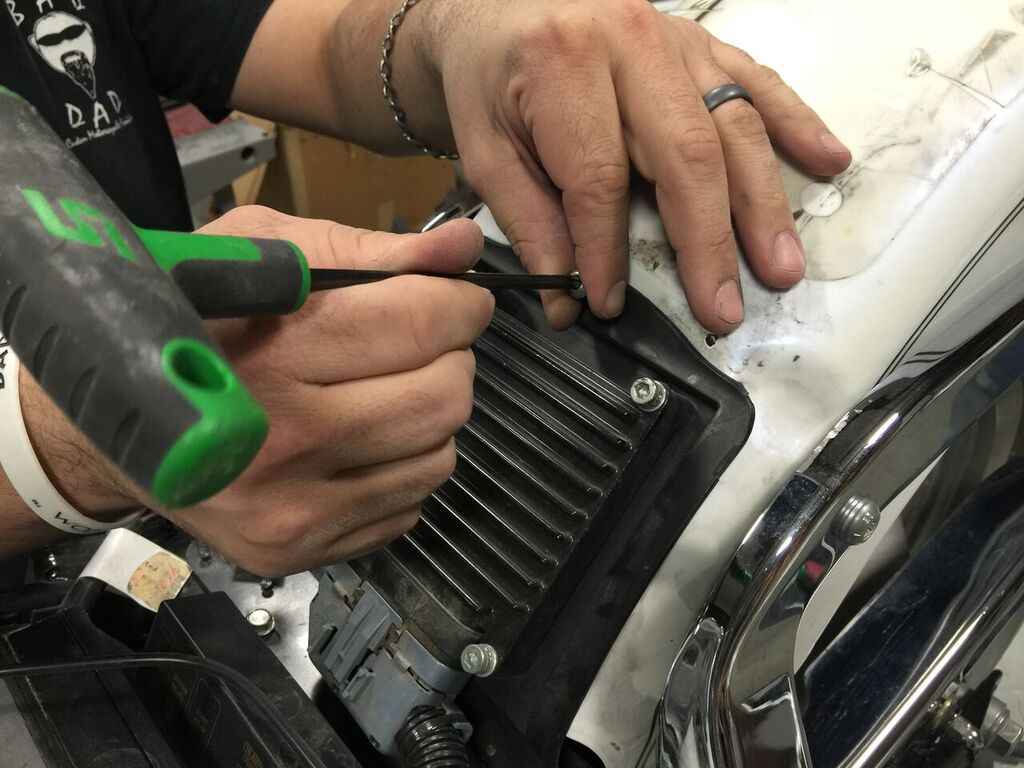
3) Then unbolt the computer from the fender.

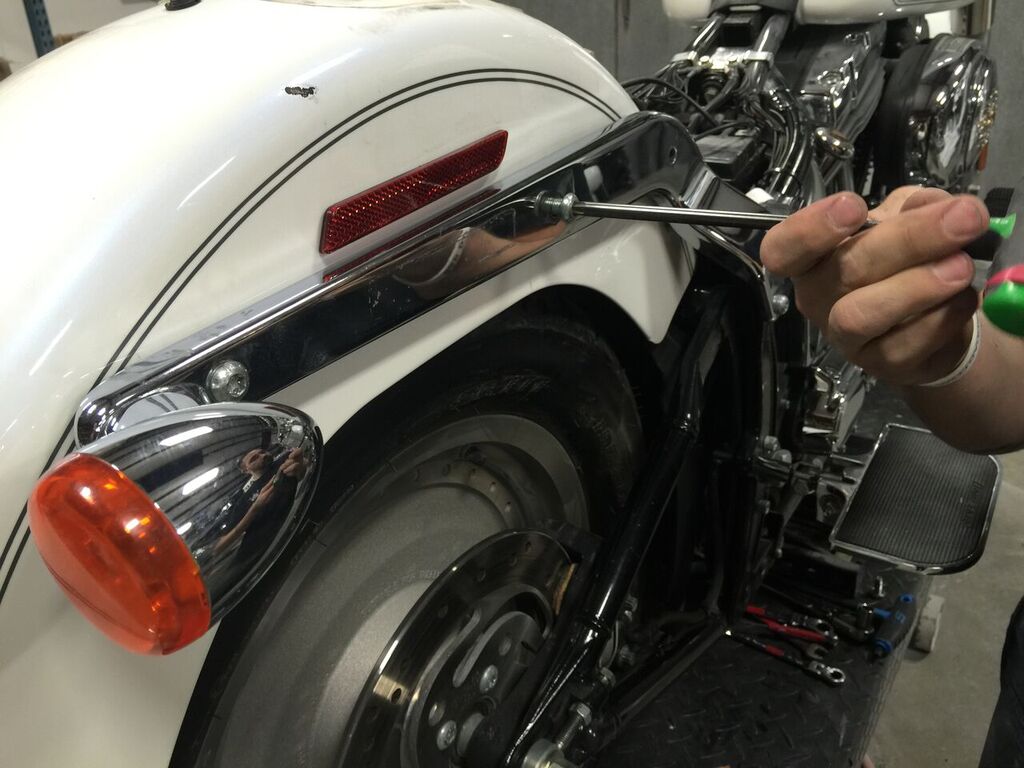
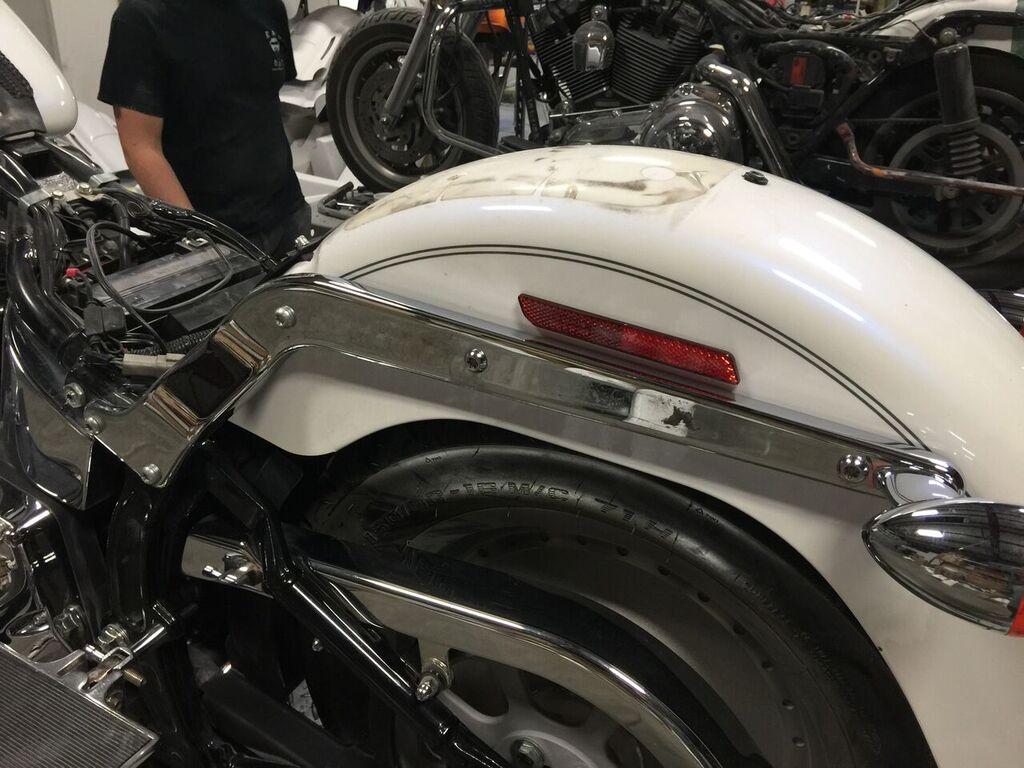
4) Next, remove the rear fender by removing the three (3) bolts that run through the chrome strut cover into the fender.
5) The three (3) bolts are now removed. Next, remove these same bolts from the other side of the motorcycle.
6) With the bolts removed from the previous steps, the chrome strut covers can be pulled away slightly from the fender. Now unplug the turn signals from behind the taillight and remove the wiring from the turn signals.
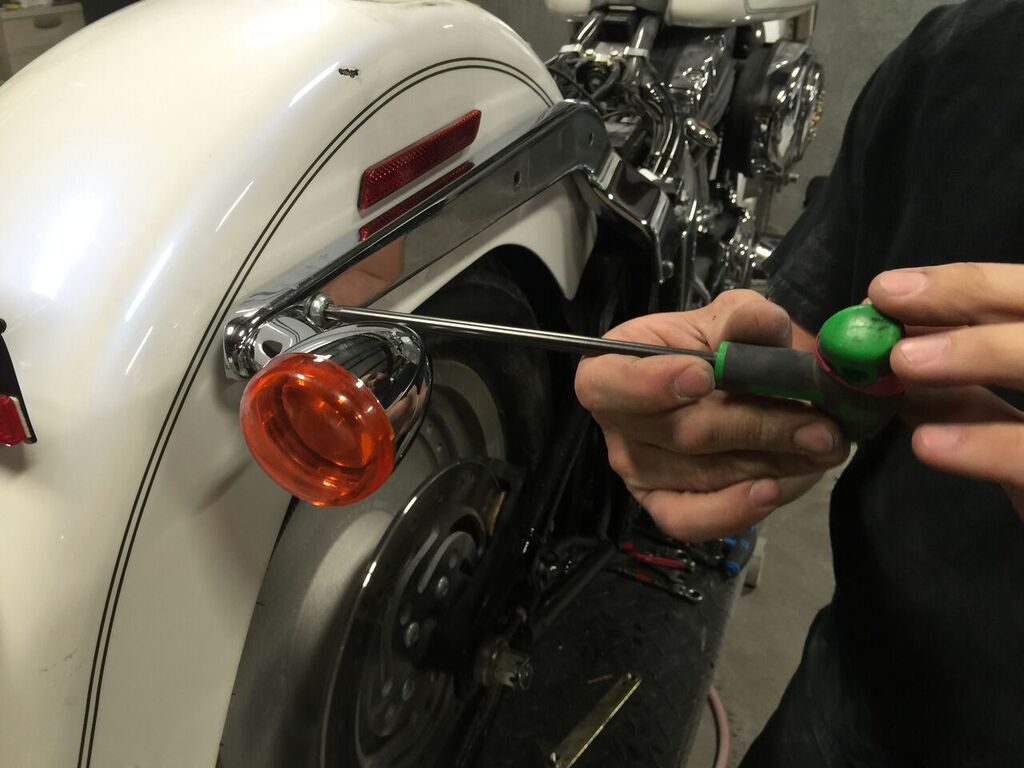
7) Now remove the fender from the motorcycle.
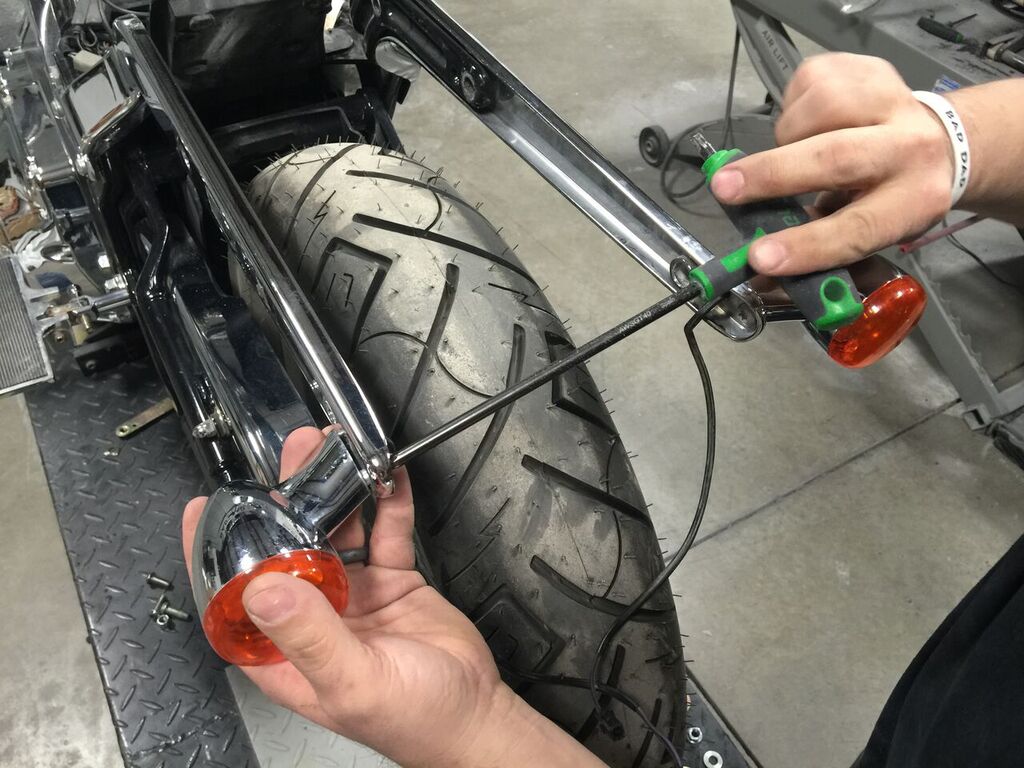
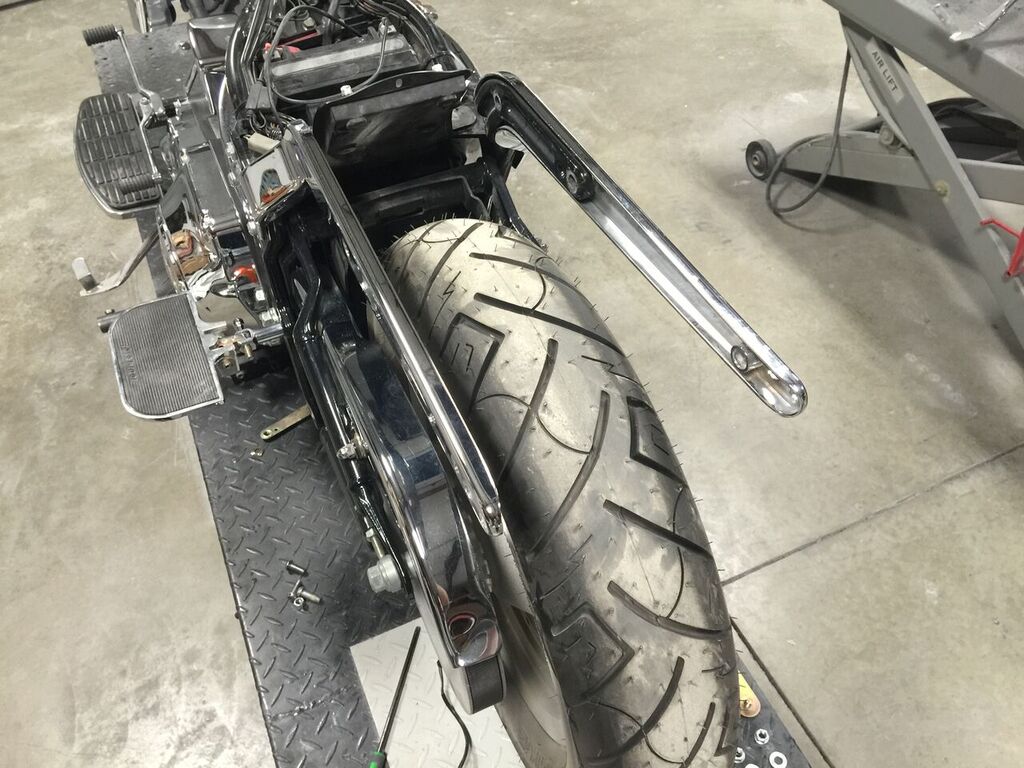
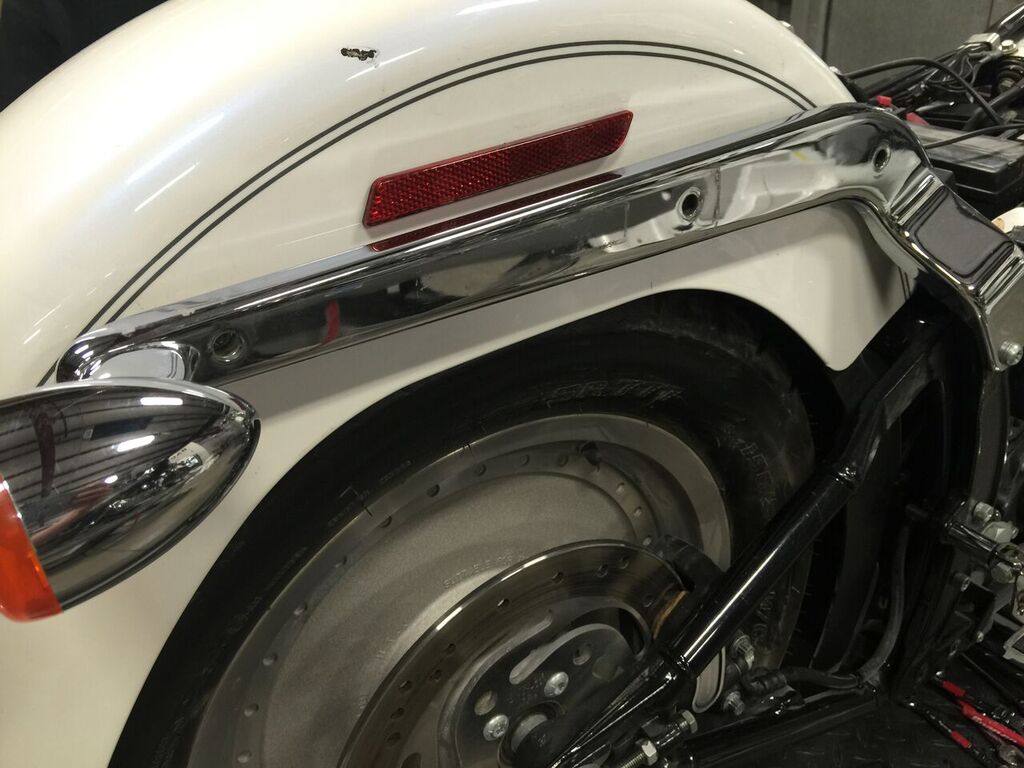
8) Then remove the original turn signals.

9) Next, remove the inner fender brackets from the OEM fender. Later these brackets will be reused inside the Bad Dad fender.
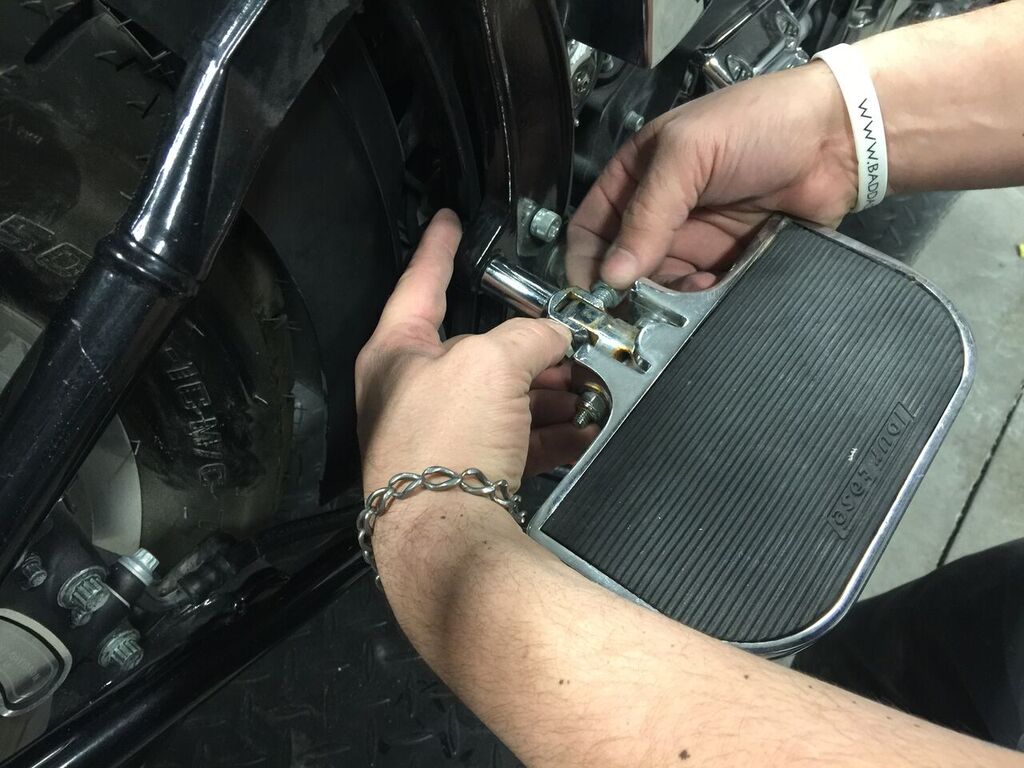
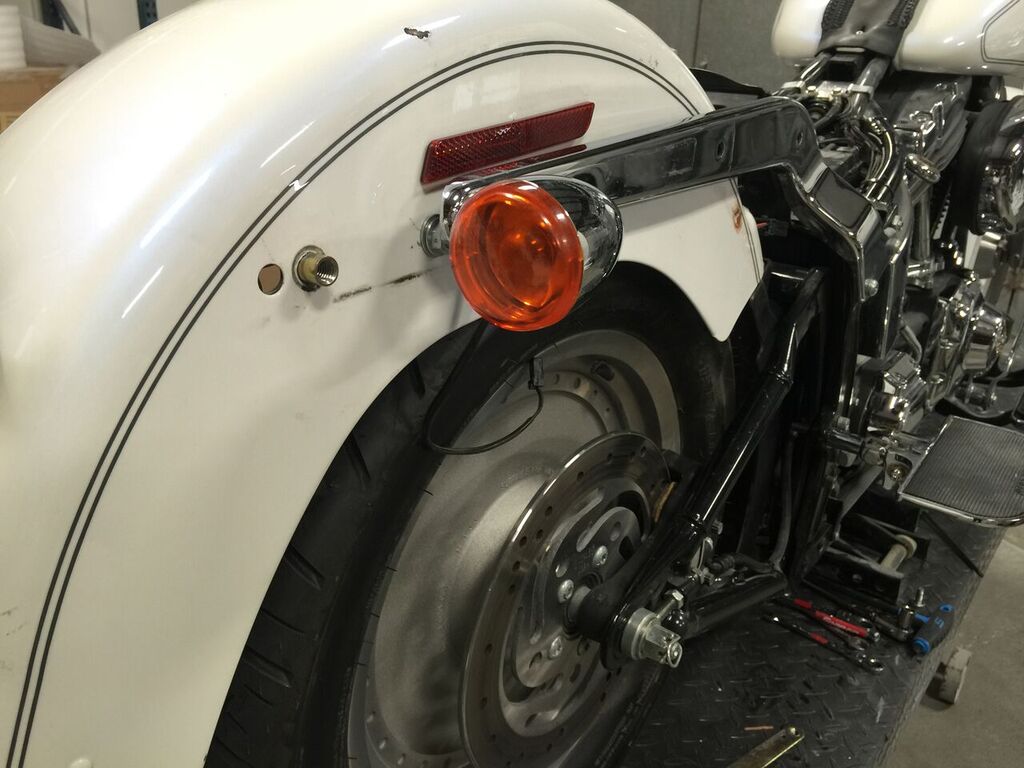
10) Then remove the passenger floorboard or passenger footpeg from both sides of the motorcycle.
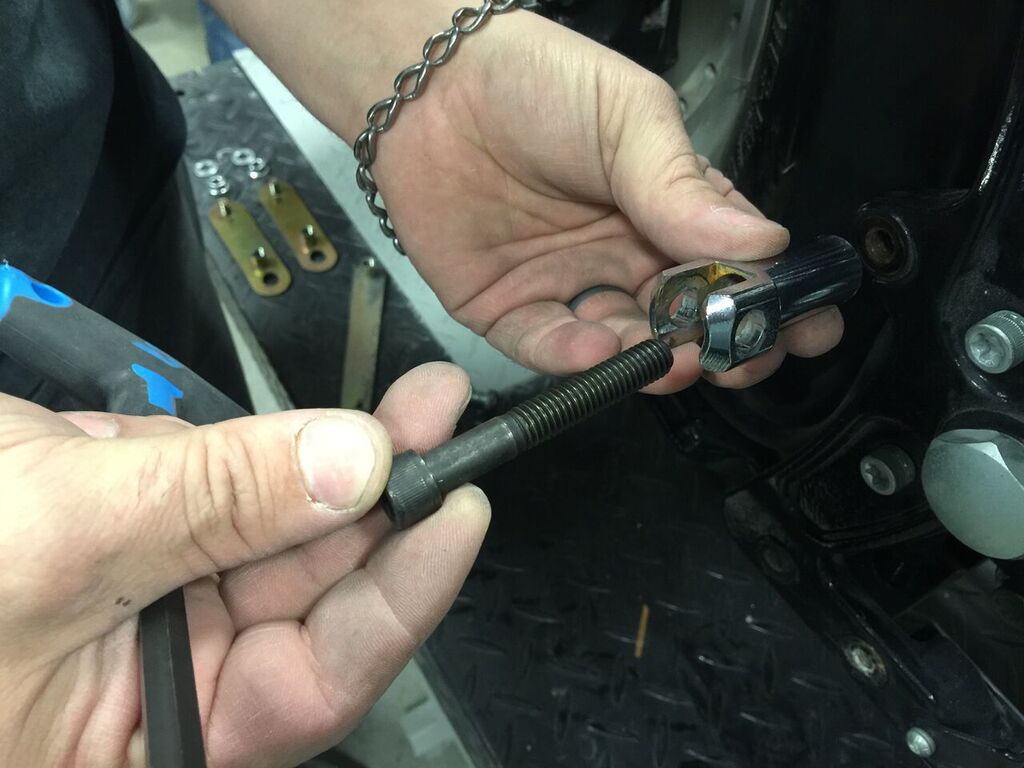
11) And re-install the floorboard or footpeg mount using the included longer bolt.
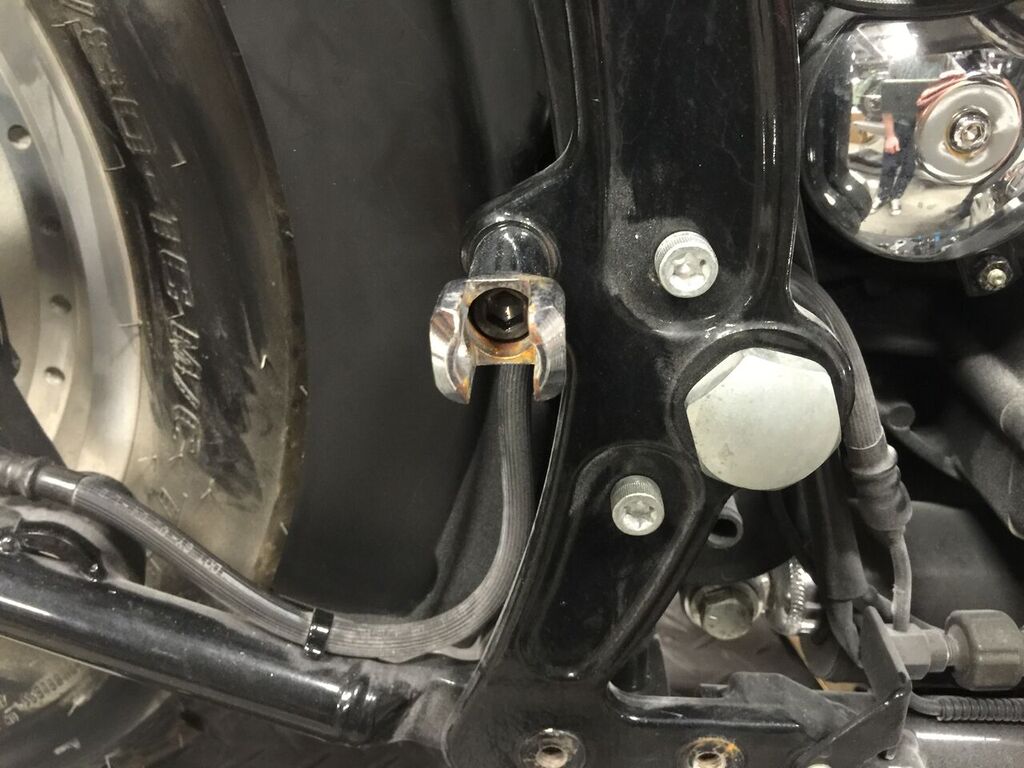
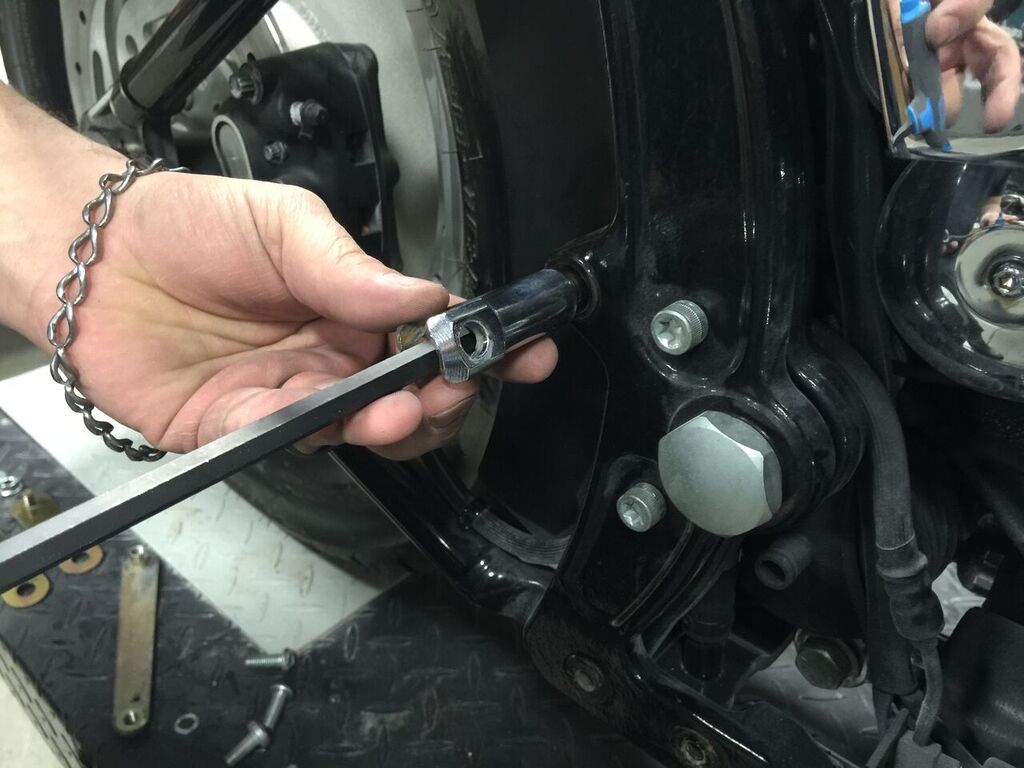
12) Here is a picture with the longer hardware installed.
13) The original fender and original turn signals have been removed and the floorboard or footpeg hardware has been replaced with a longer bolt. Next we will install the rear fender.
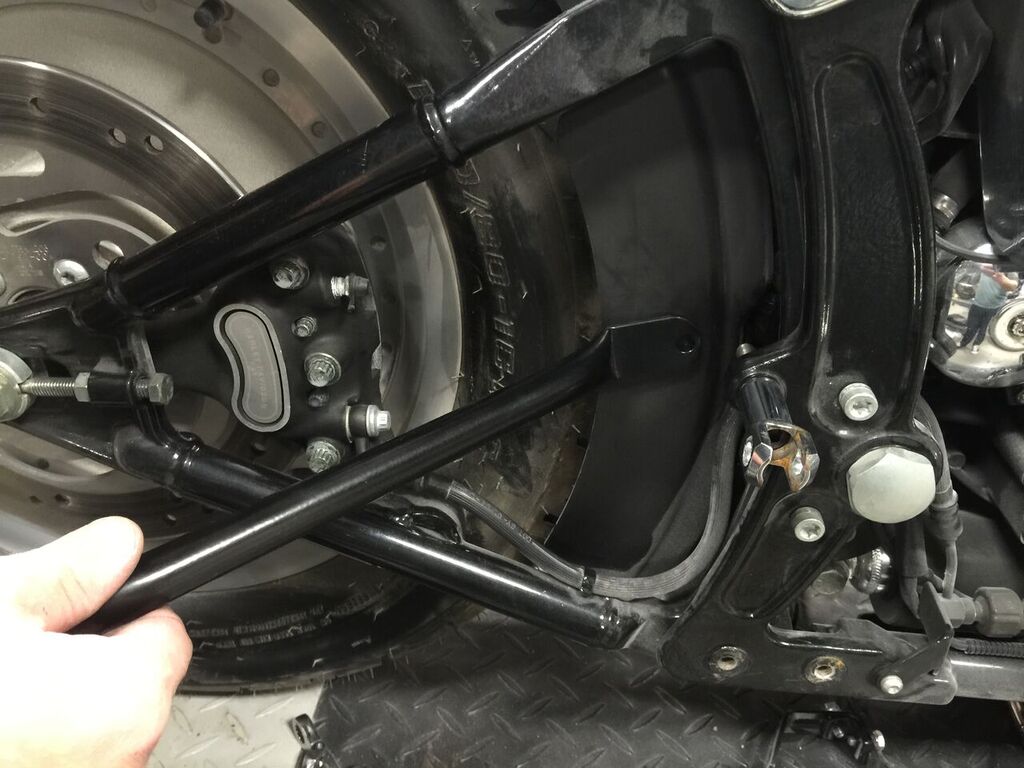
14) Begin by installing the inner fender brackets which were removed in Step 9.
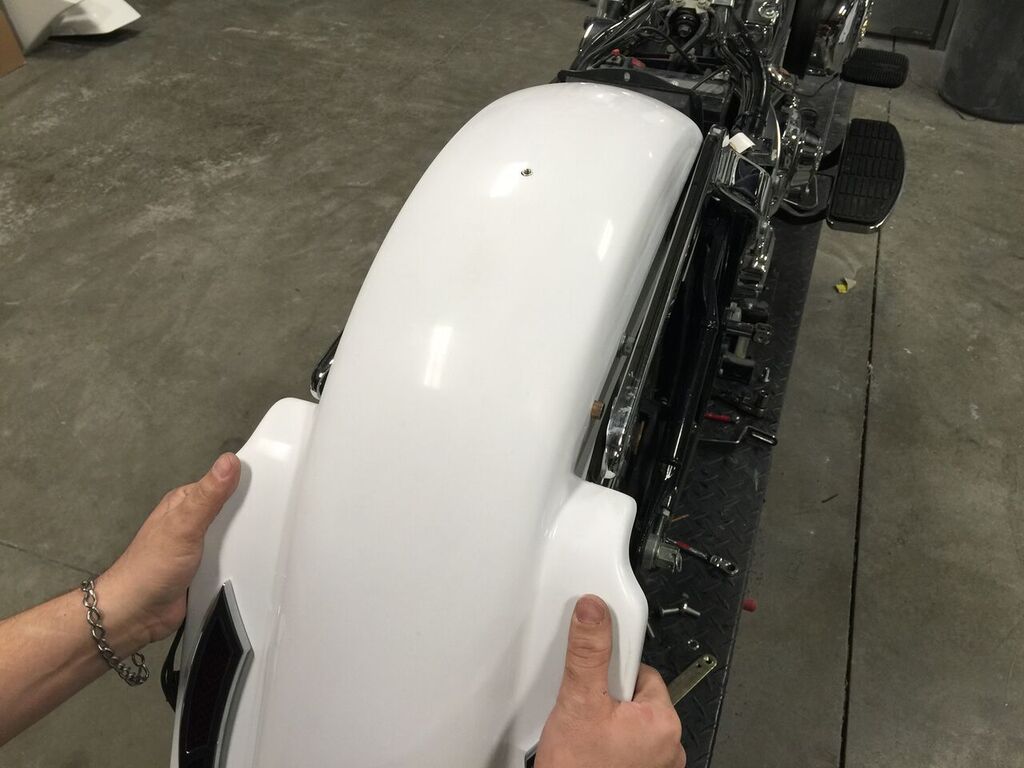
15) Then mount the fender onto the motorcycle.
Note: Do not completely install the fender yet. The fender should only be temporarily mounted at this point.
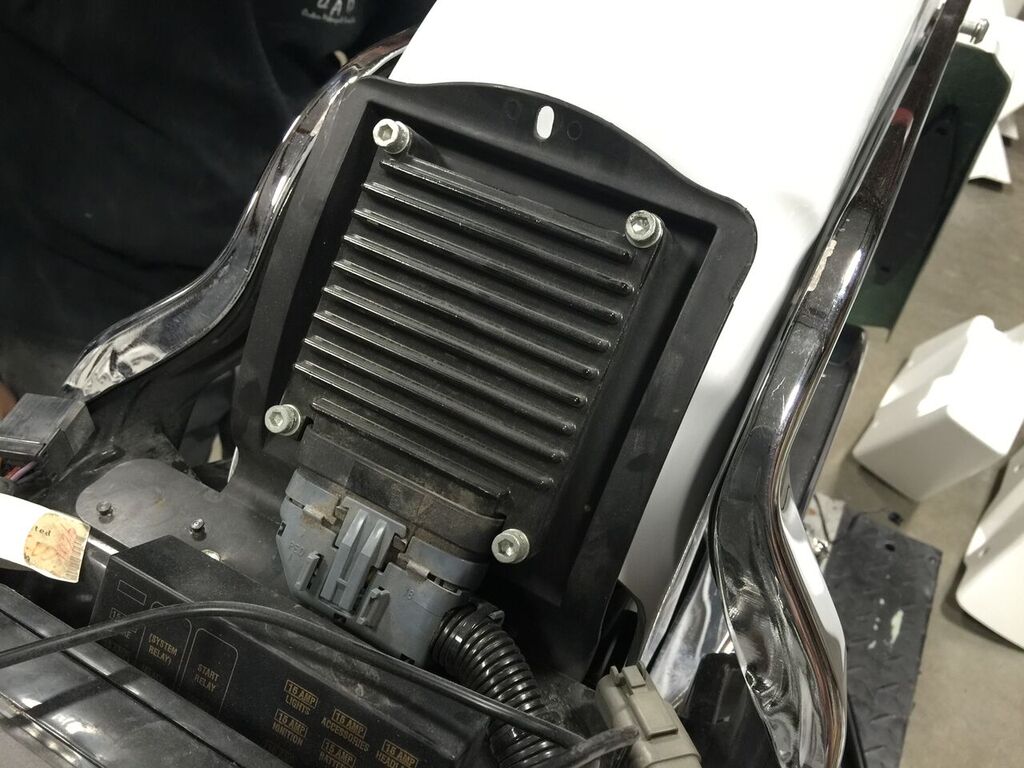
16) Make sure to transfer the ECU into the fender at this point. If your ECU does not bolt directly into the fender then you may need to trim the surrounding area slightly to accommodate the ECU's housing. The size of the ECU housing can vary by model year.
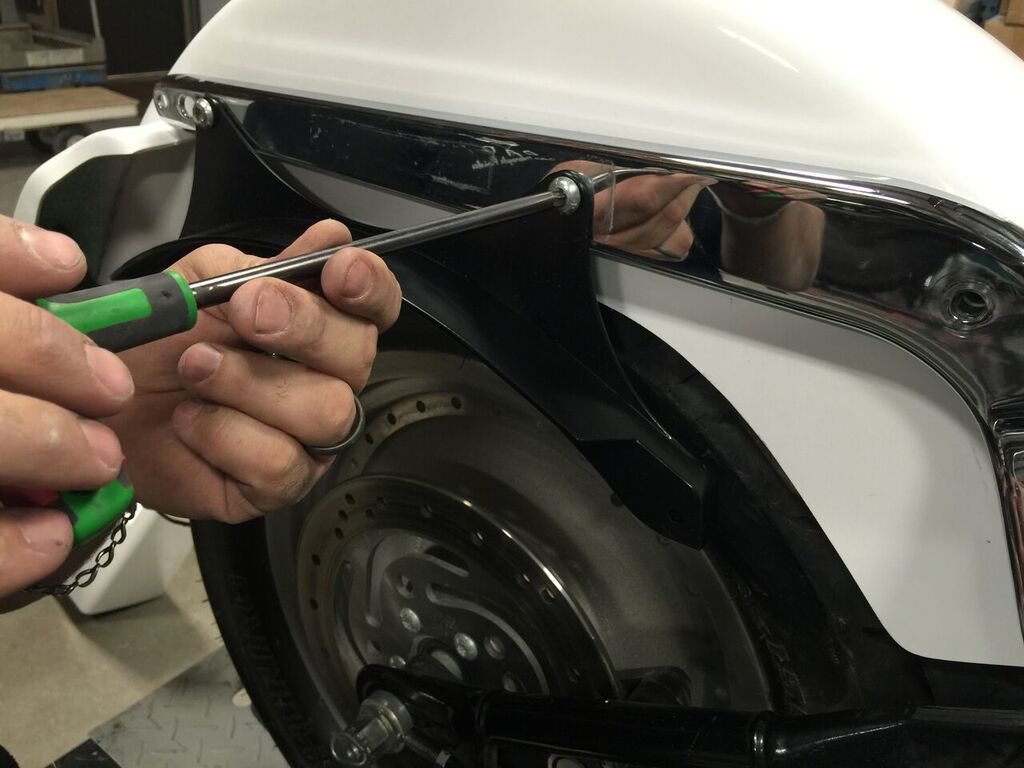
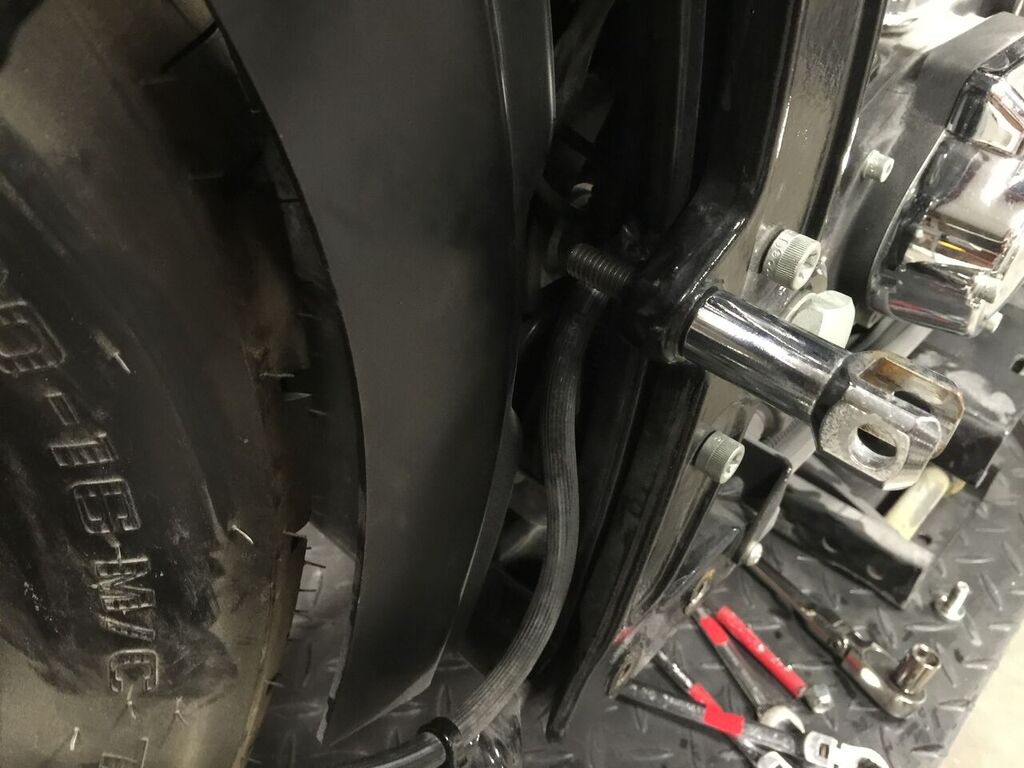
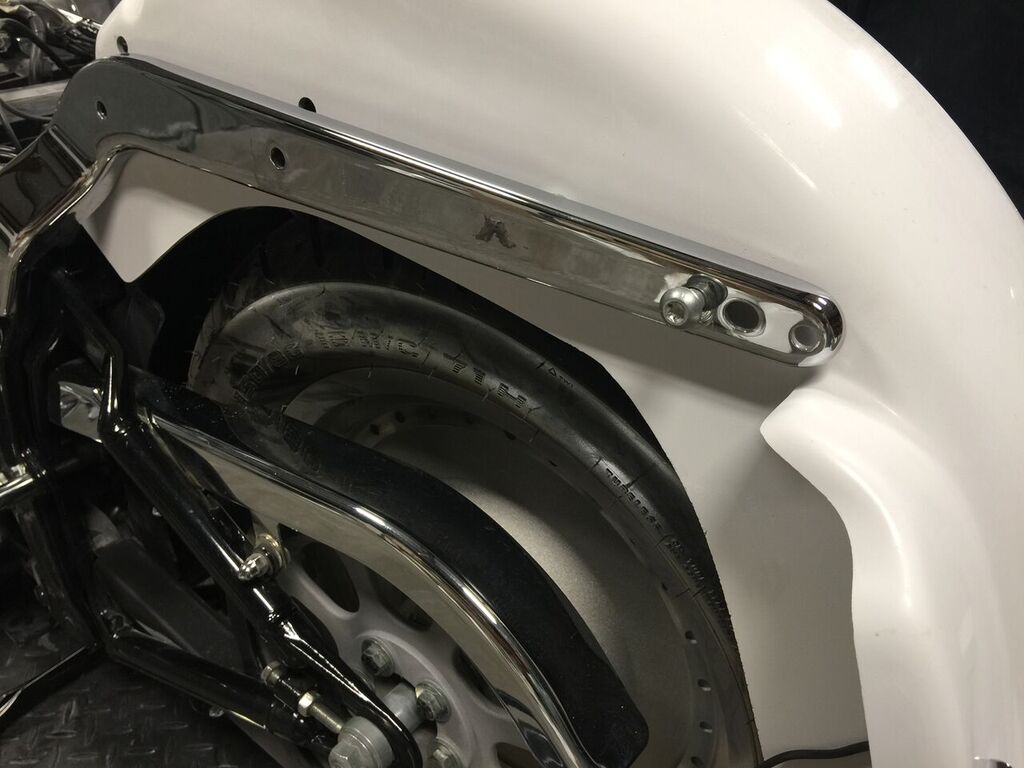
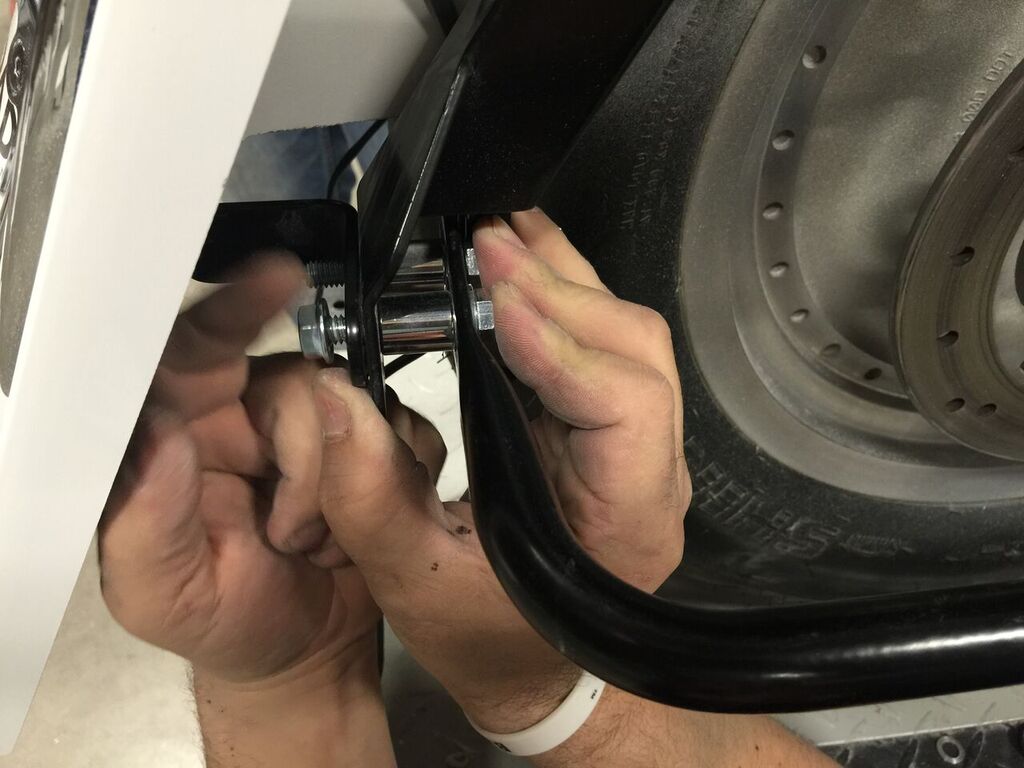
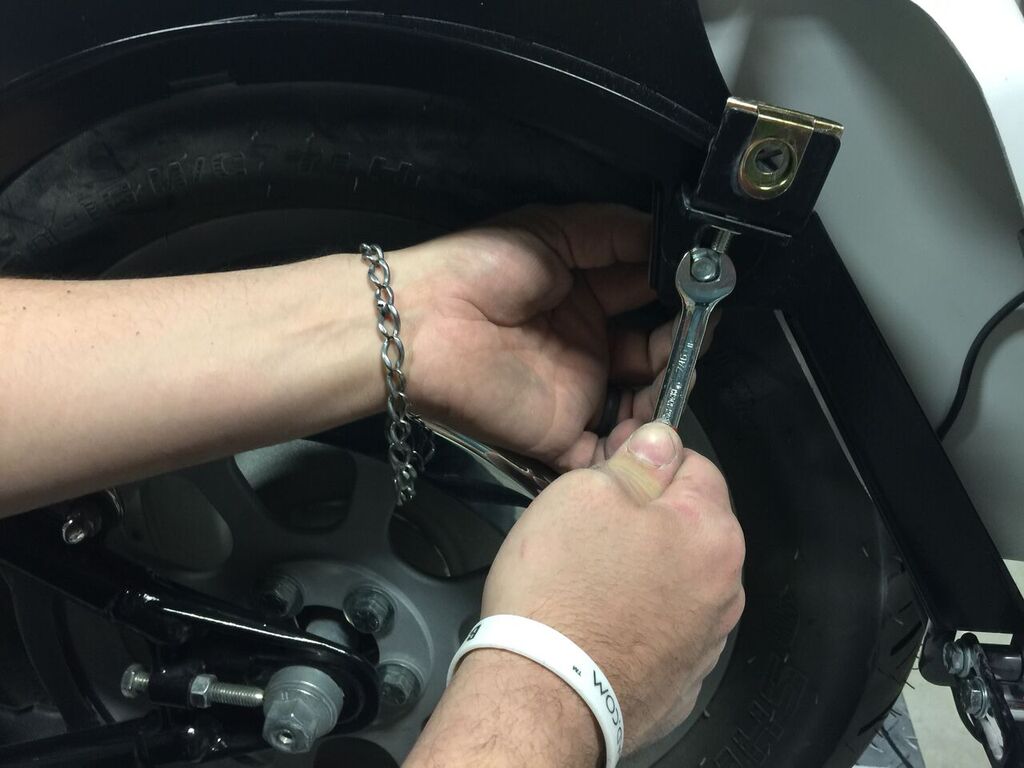
17) With the fender temporarily held in place, begin mounting the Saddlebag Bracket Kit by installing the Upper Saddlebag Bracket onto the chrome strut cover. You will reuse the original bolts for attaching the upper bracket, strut cover, and fender. First install the bolt into the rear hole of the upper bracket, then install the bolt into the front hole while re-installing the inner fender bracket. Last, tighten both the front & rear bolts of the upper rail.
18) Then re-install the front bolt into the chrome strut cover. All three bolts should be installed.

19) Install the Upper Saddlebag Bracket on both the left & right sides of the motorcycle.
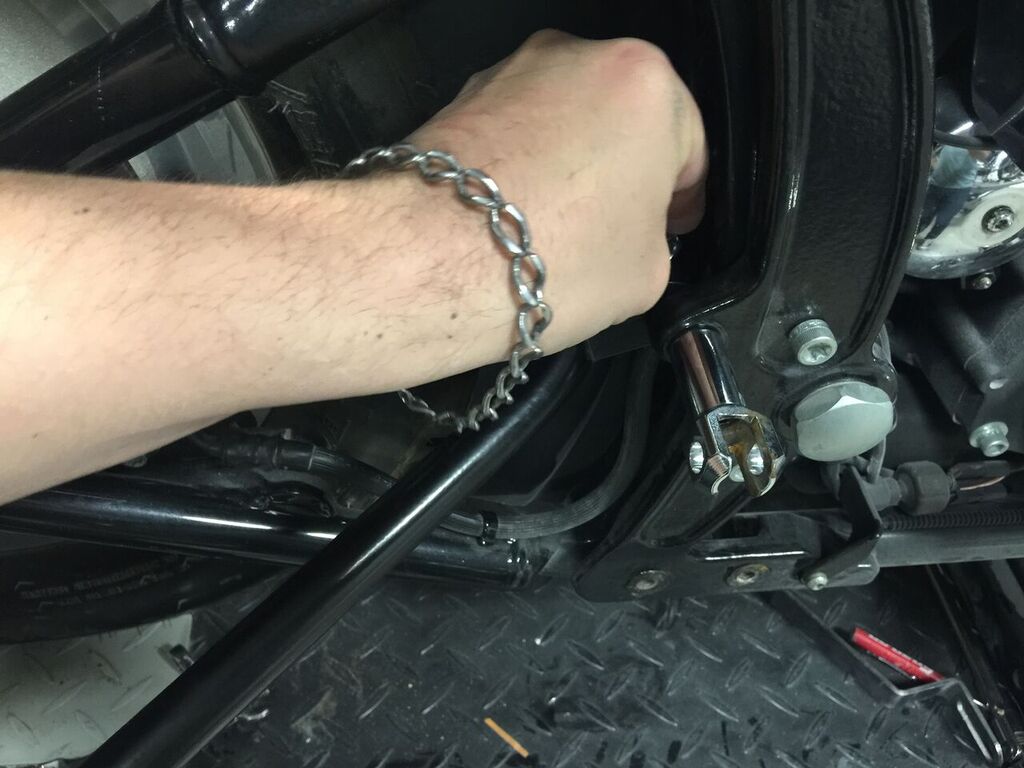
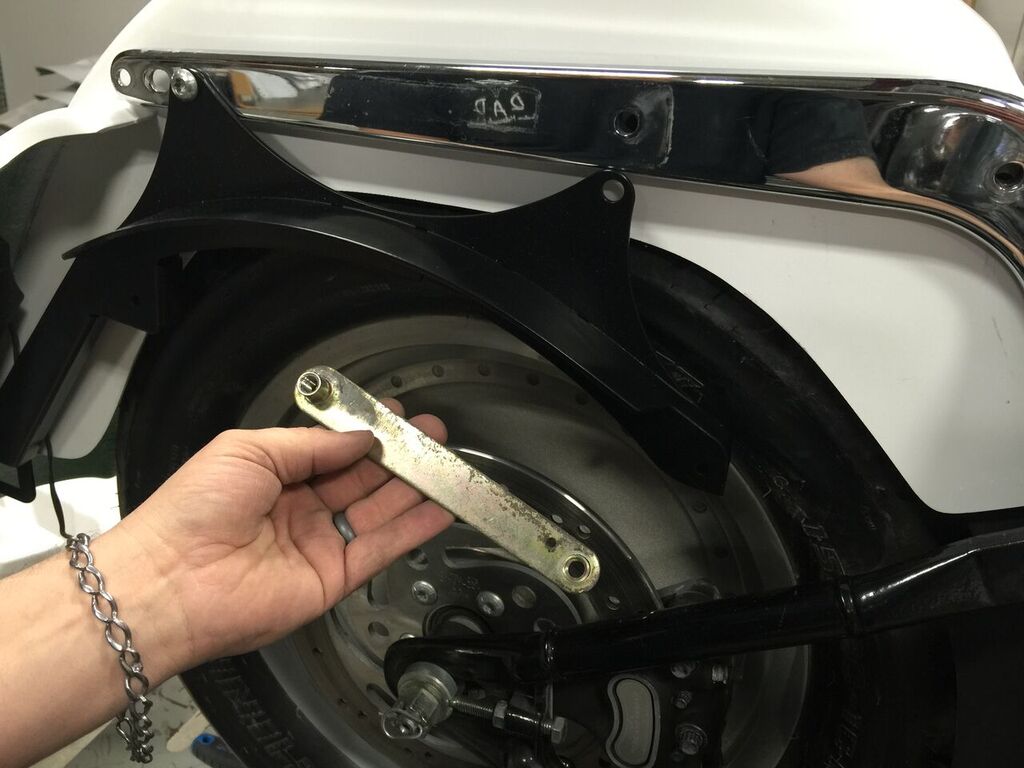
20) Next, install the Lower Saddlebag Rail. First, attach the front of the bracket at the longer bolt which was installed in Step 11.

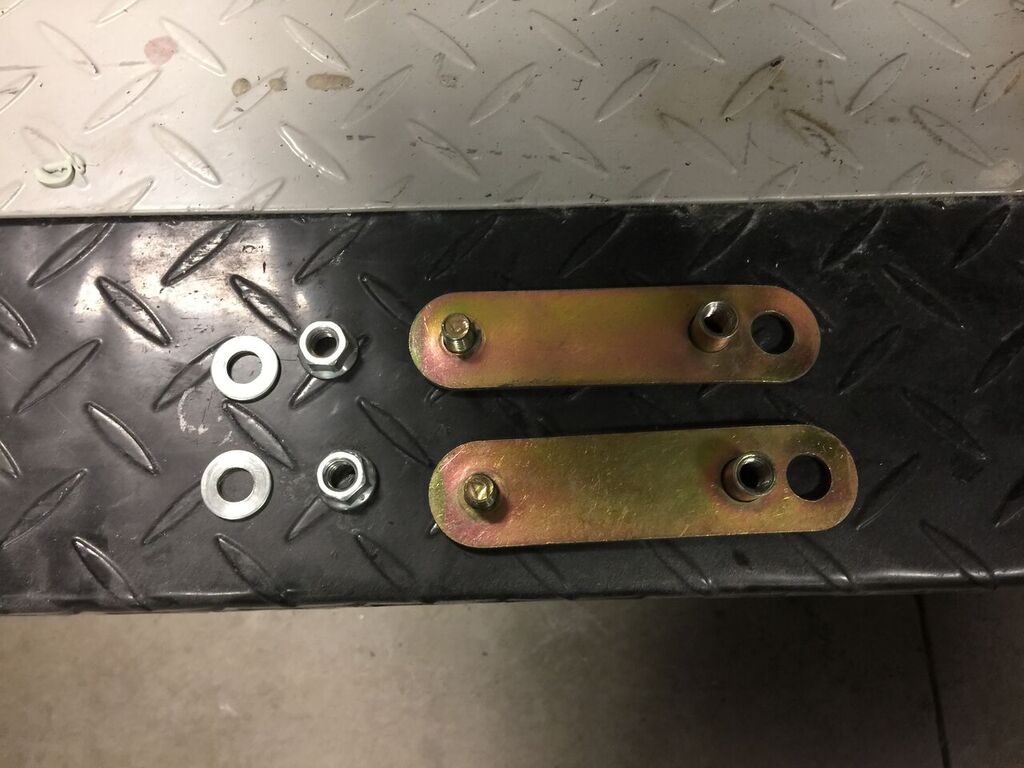
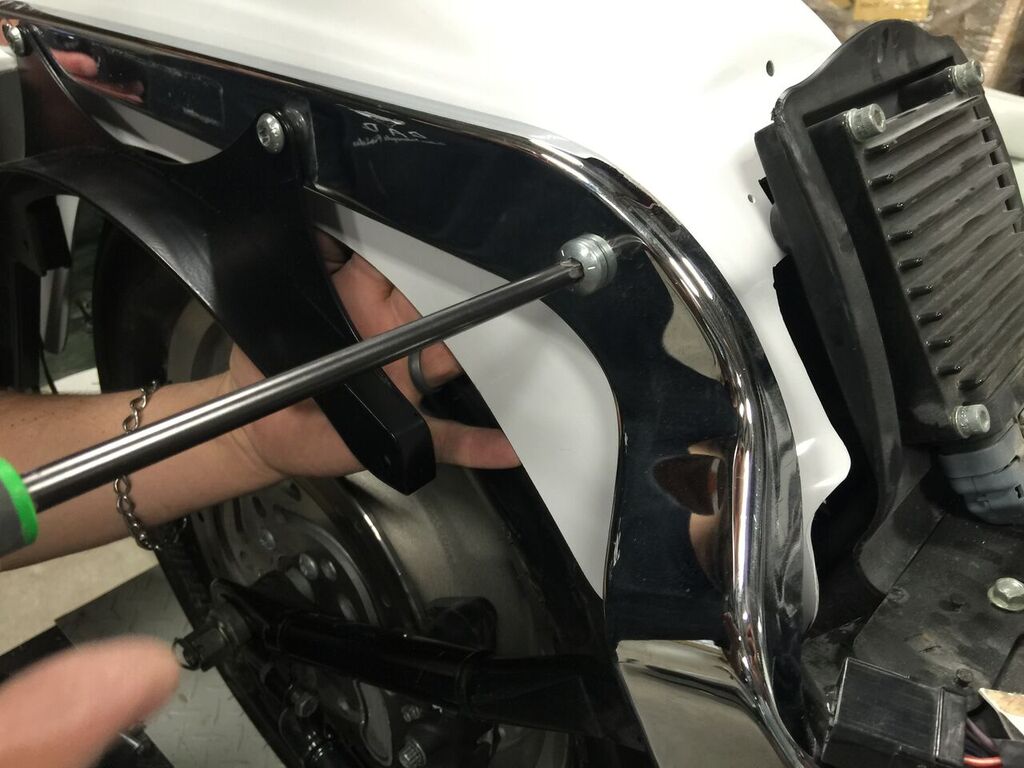
21) Then temporarily attach the Upper Saddlebag Bracket with the Lower Saddlebag Rail by using the included hardware & spacer assembly.
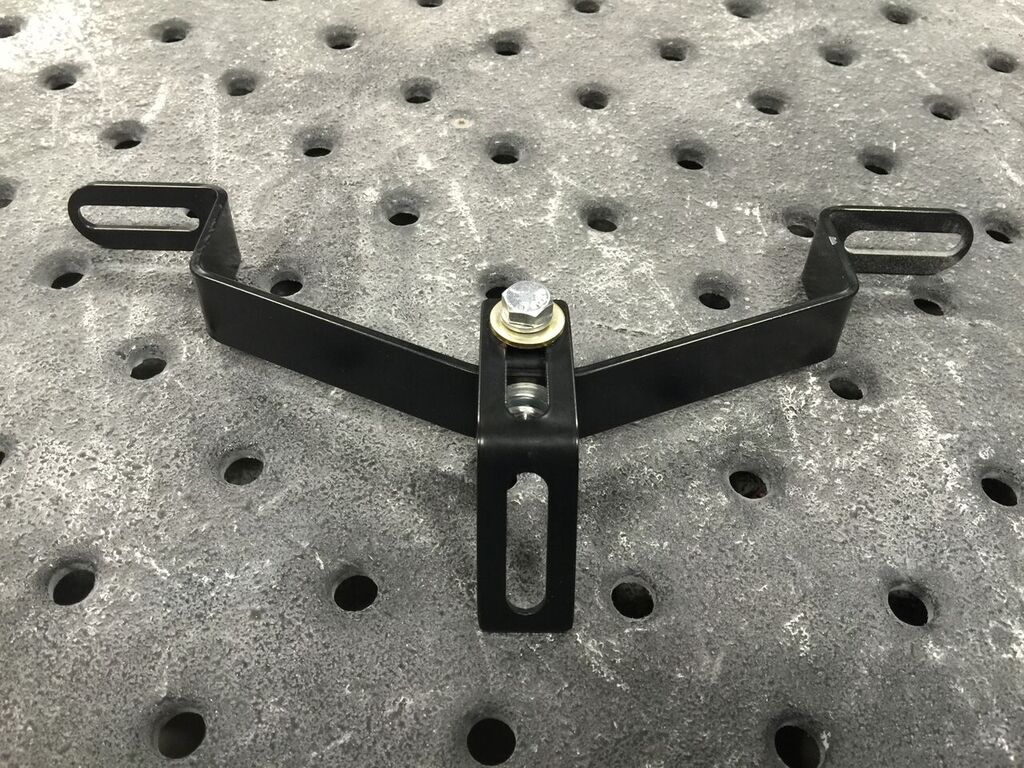
22) Now install the included Bumper Bracket. The Bumper Bracket is used to connect the left-side & right-side rail assemblies together. The Bumper Bracket will also attach to the Summit Fender or Competition Series Fender in a later step.

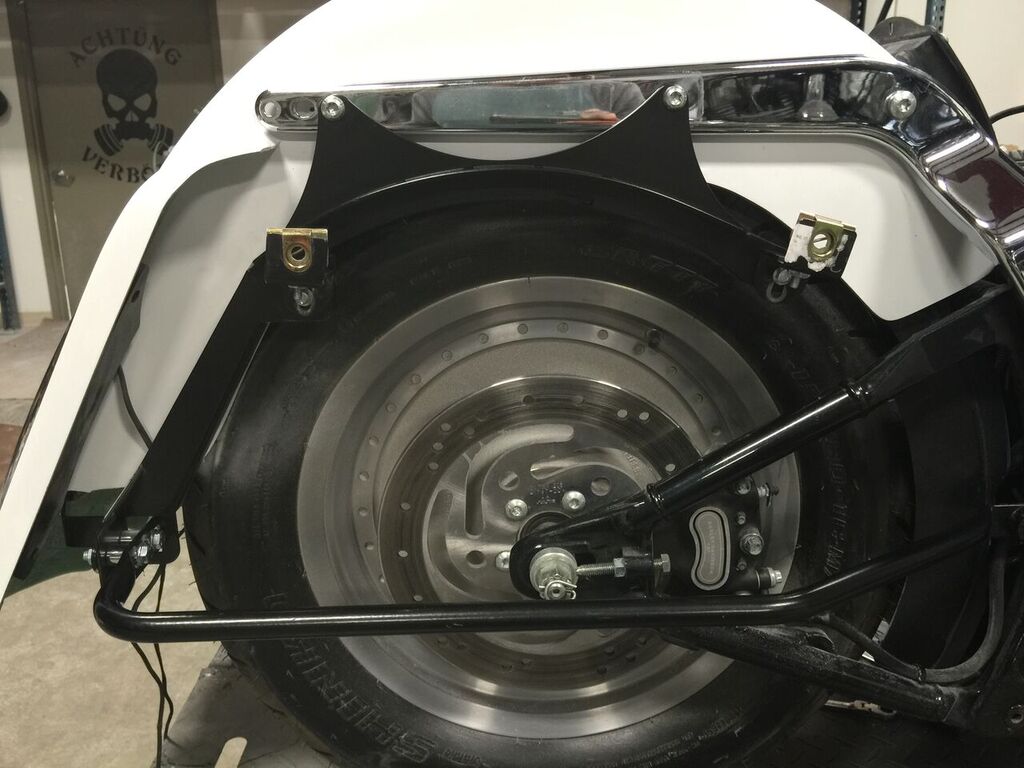
23) Starting at the rear of the motorcycle and moving forward, the correct order for the brackets should be:
1. Bumper Bracket
2. Upper Saddlebag Bracket
3. Lower Saddlebag Rail
The chrome spacer should be used in the gap between the Upper Saddlebag Bracket and Lower Saddlebag Bracket
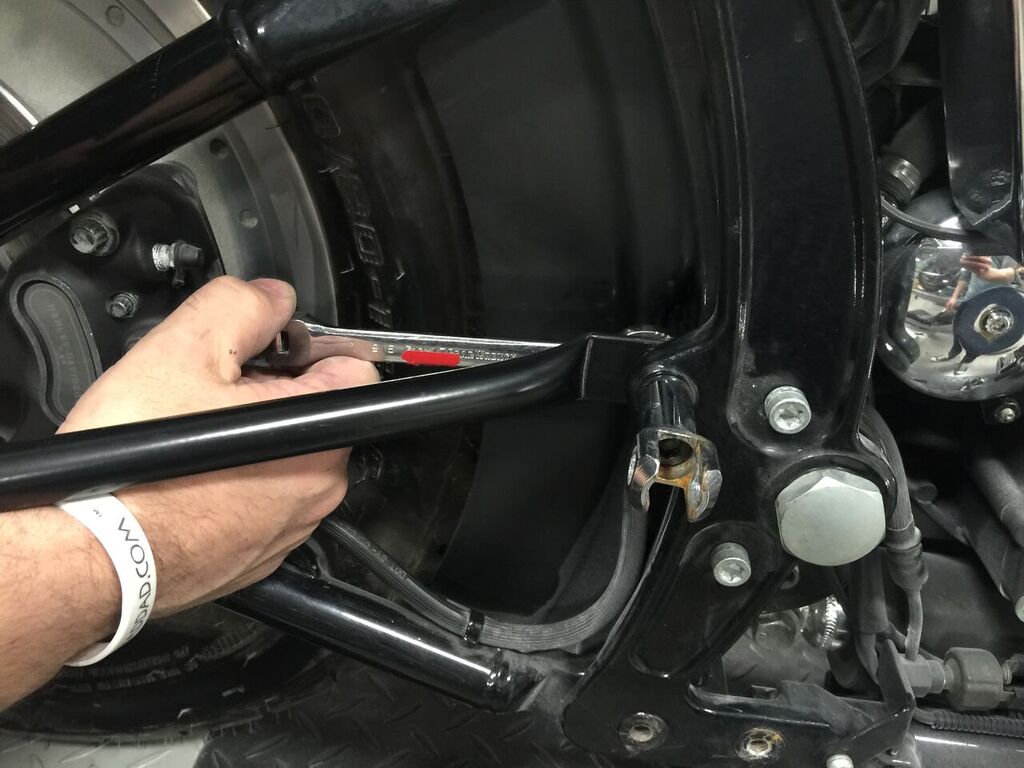
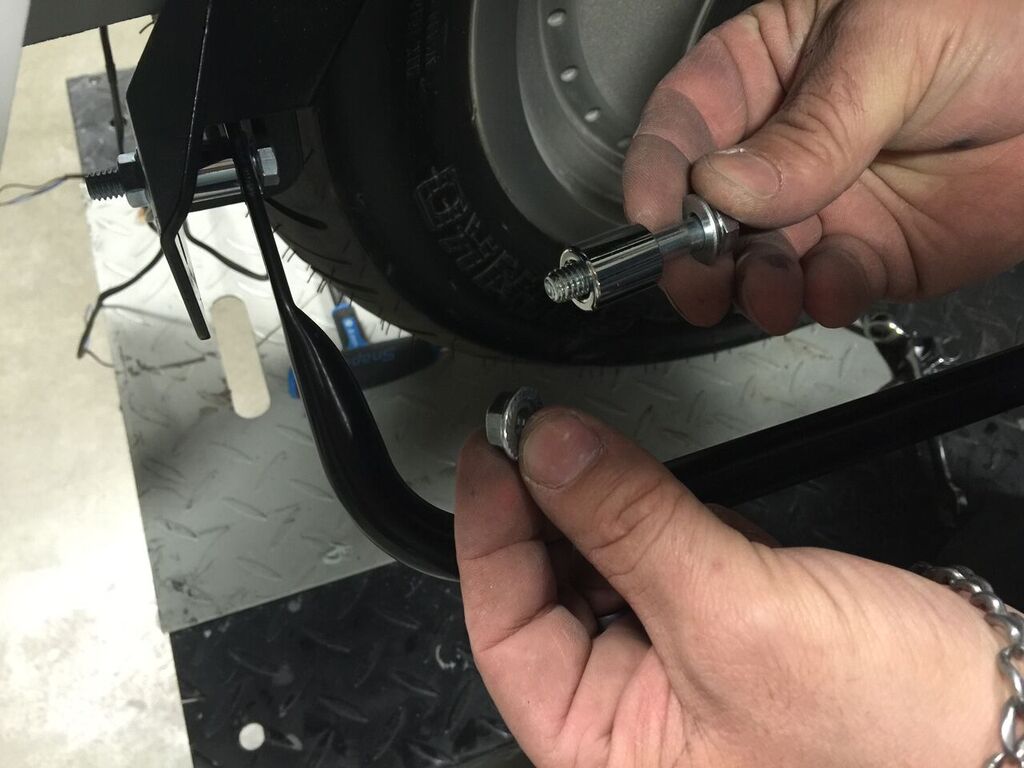
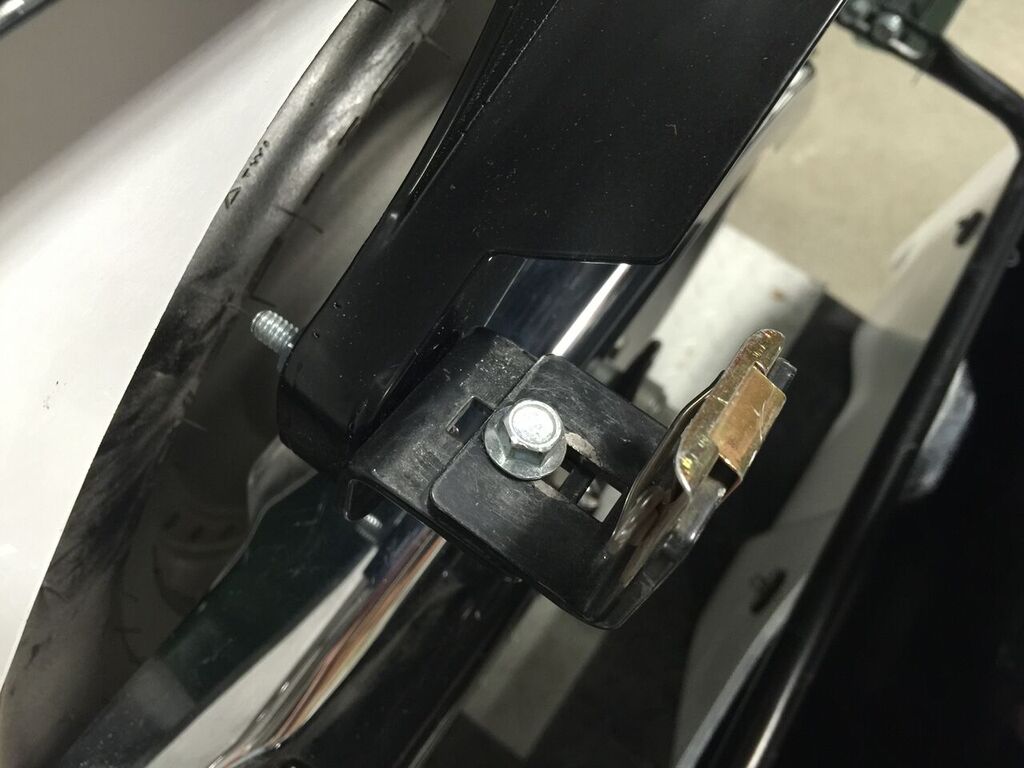
24) Now tighten the front mount of the Lower Saddlebag Bracket by torquing the hardware of the floorboard or footpeg.
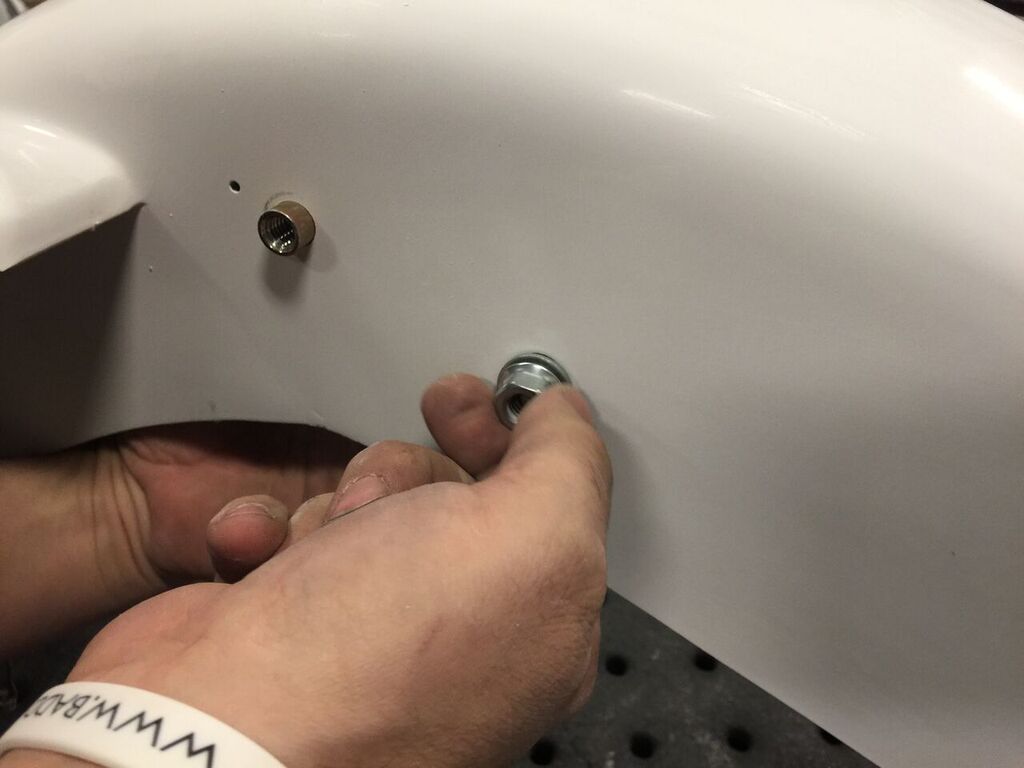
25) Then attach the Bumper Bracket to the fender stud.

26) And install the four (4) Saddlebag S-Bracket Assembly.
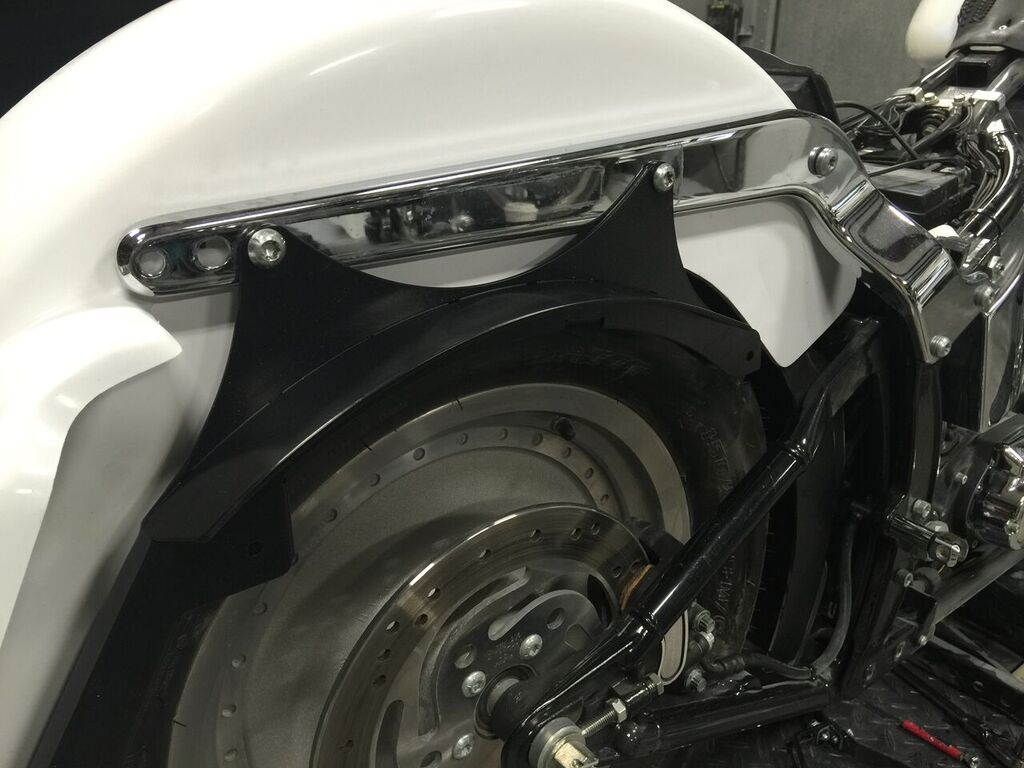
27) Now the Upper Saddlebag Bracket, Lower Saddlebag Rail, Bumper Bracket, and Saddlebag S-Bracket Assemblies are installed.
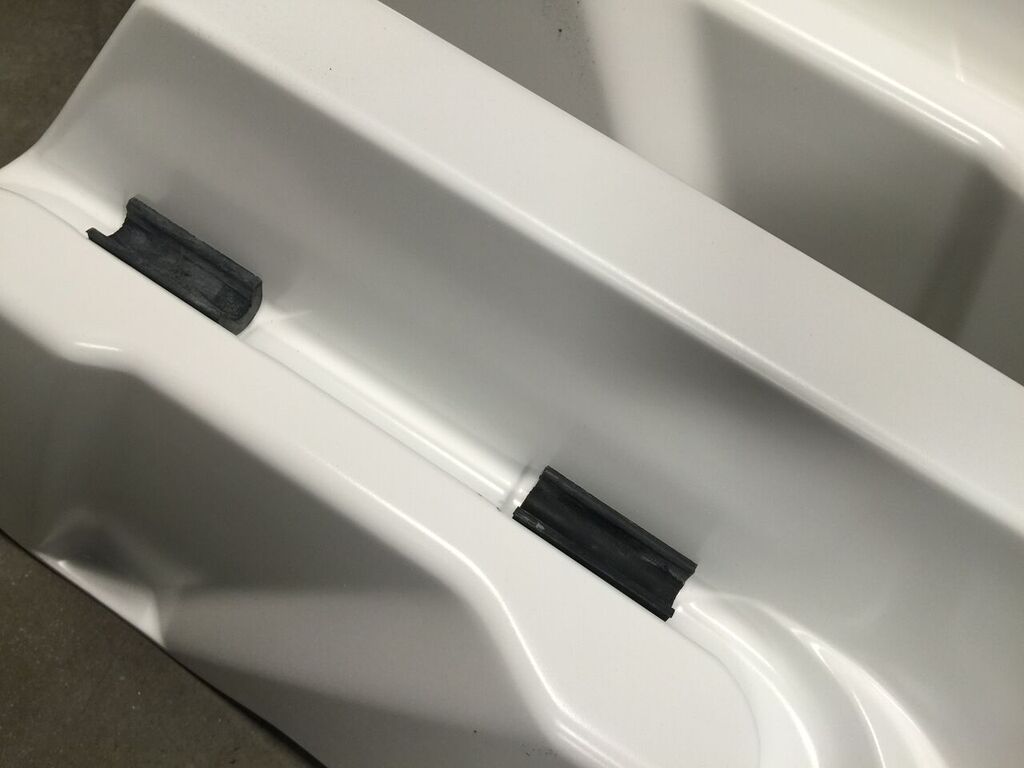
28) Next, install the saddlebags by installing the rubber cushions in the bottom of the saddlebag and the rubber grommets in the back of the saddlebag.
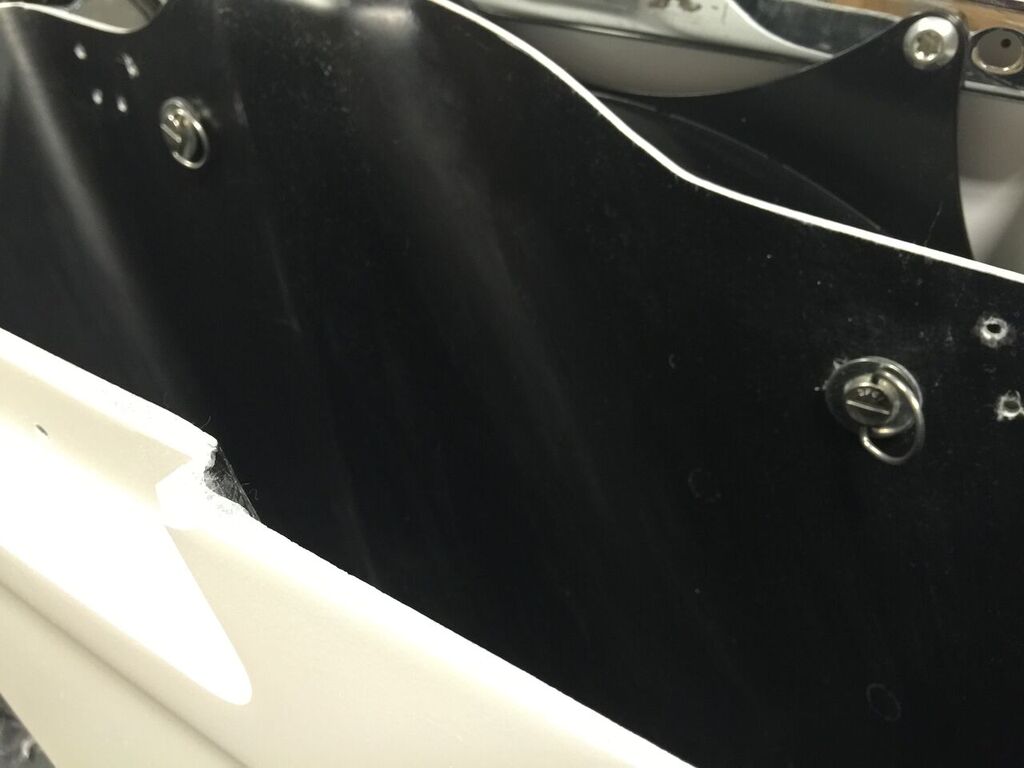
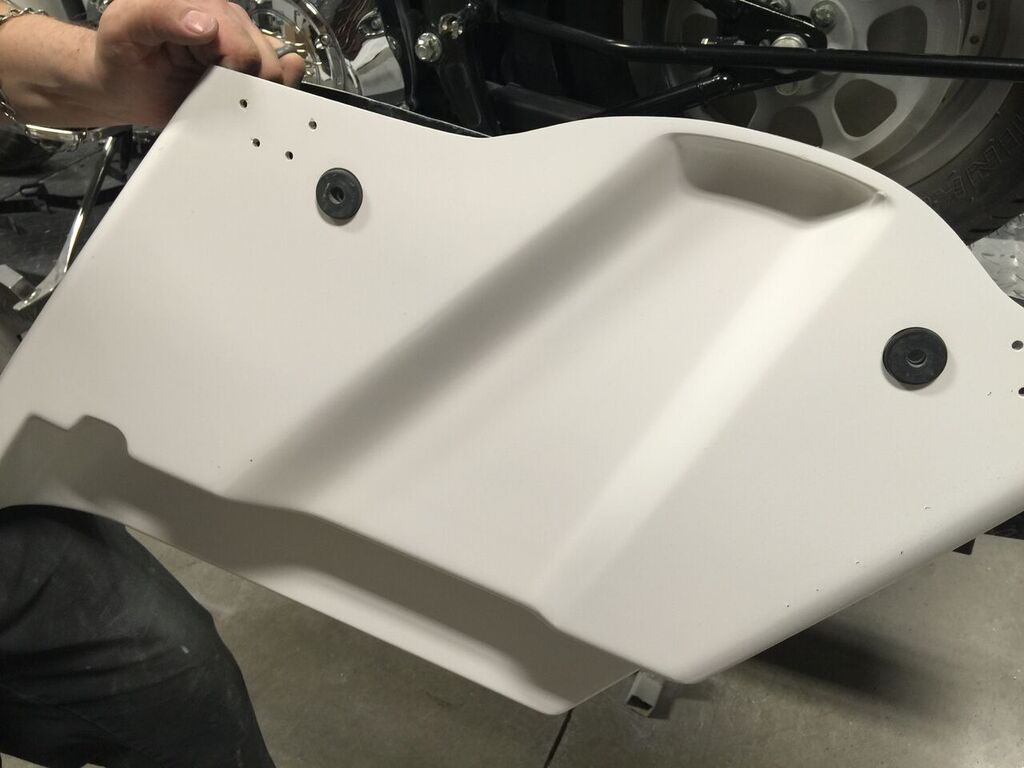
29) Then pin in the saddlebags on the rails.
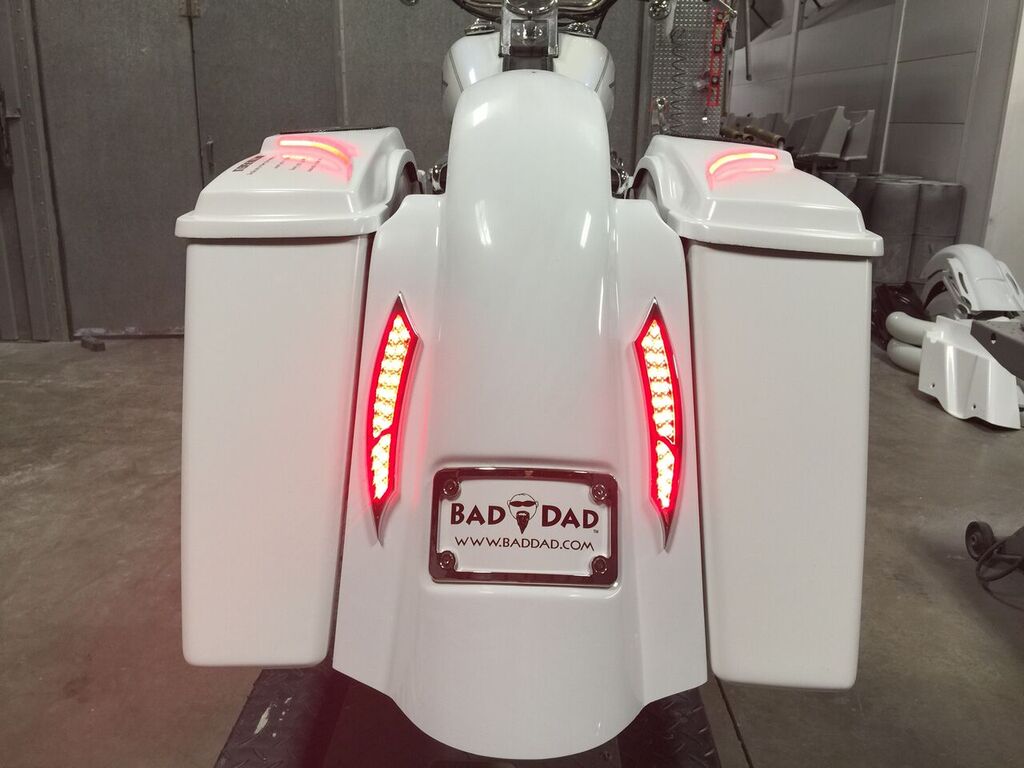
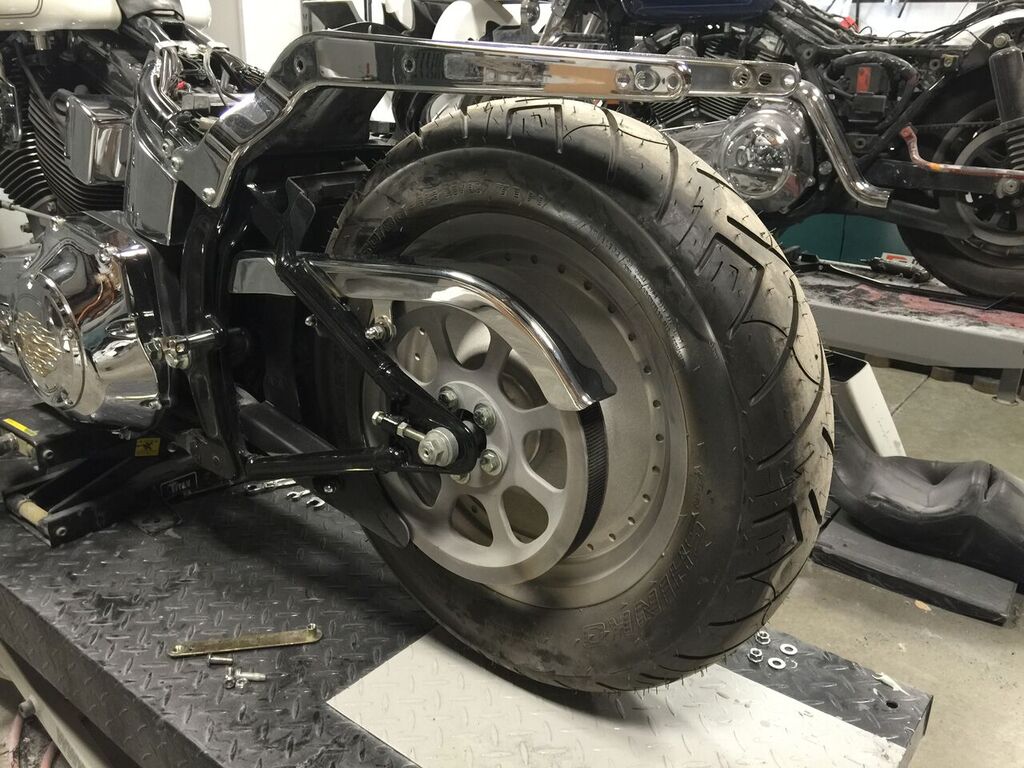
30) The Saddlebag Bracket Kit, Stretched Bags, and Fender are now installed.
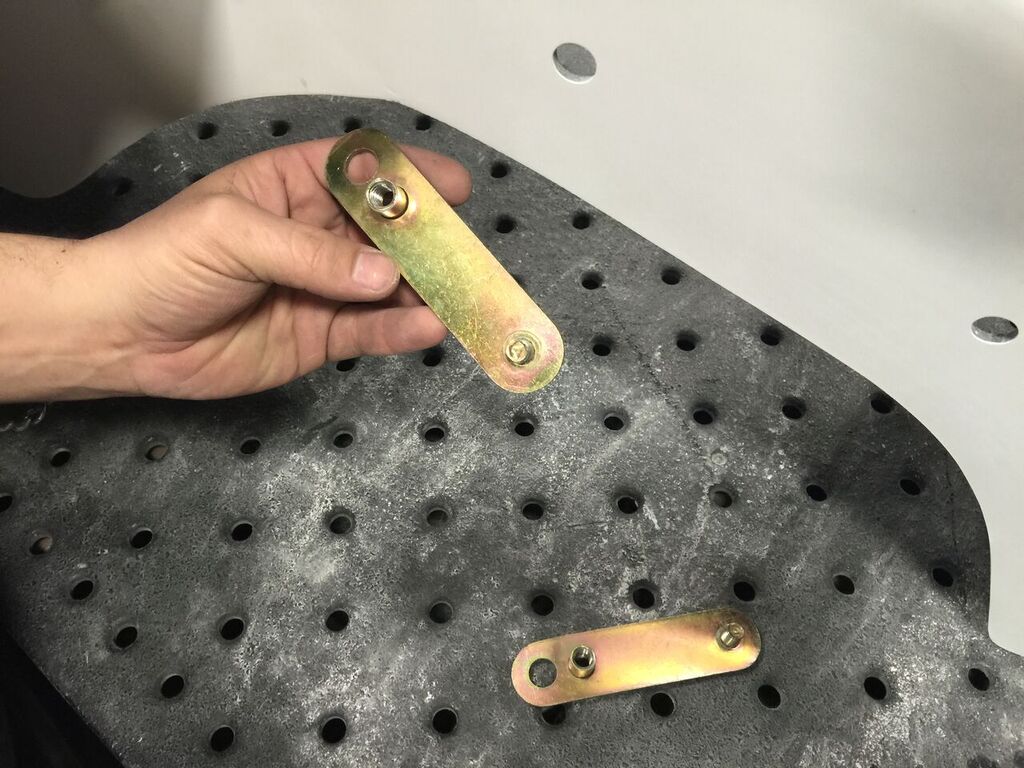
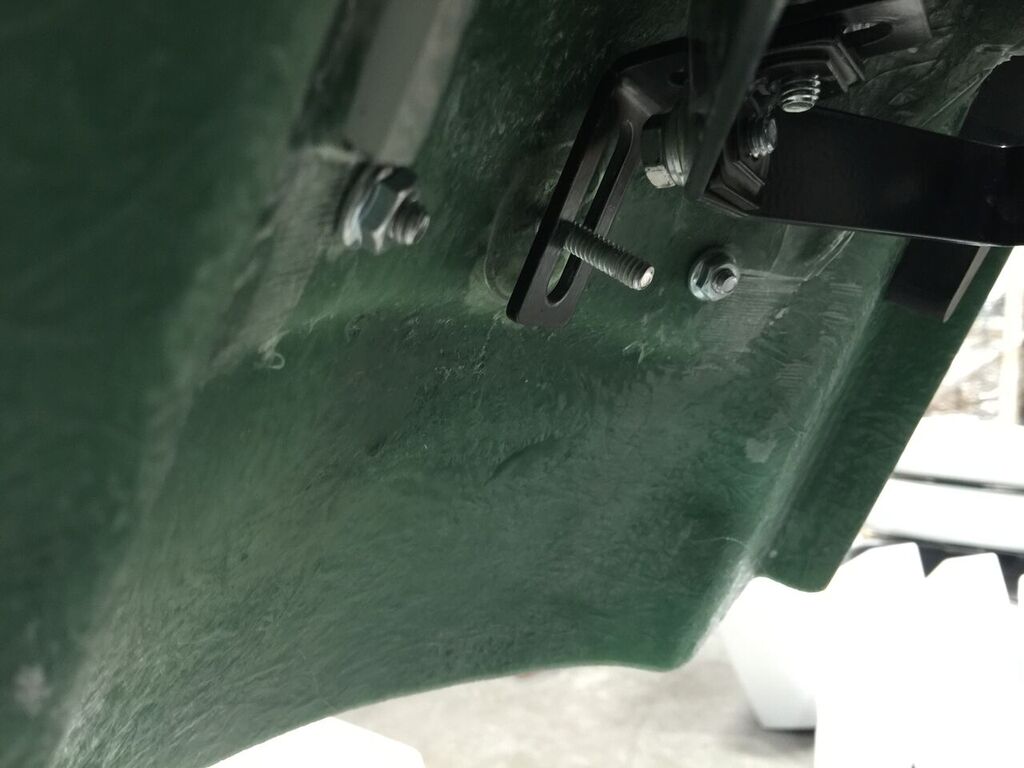
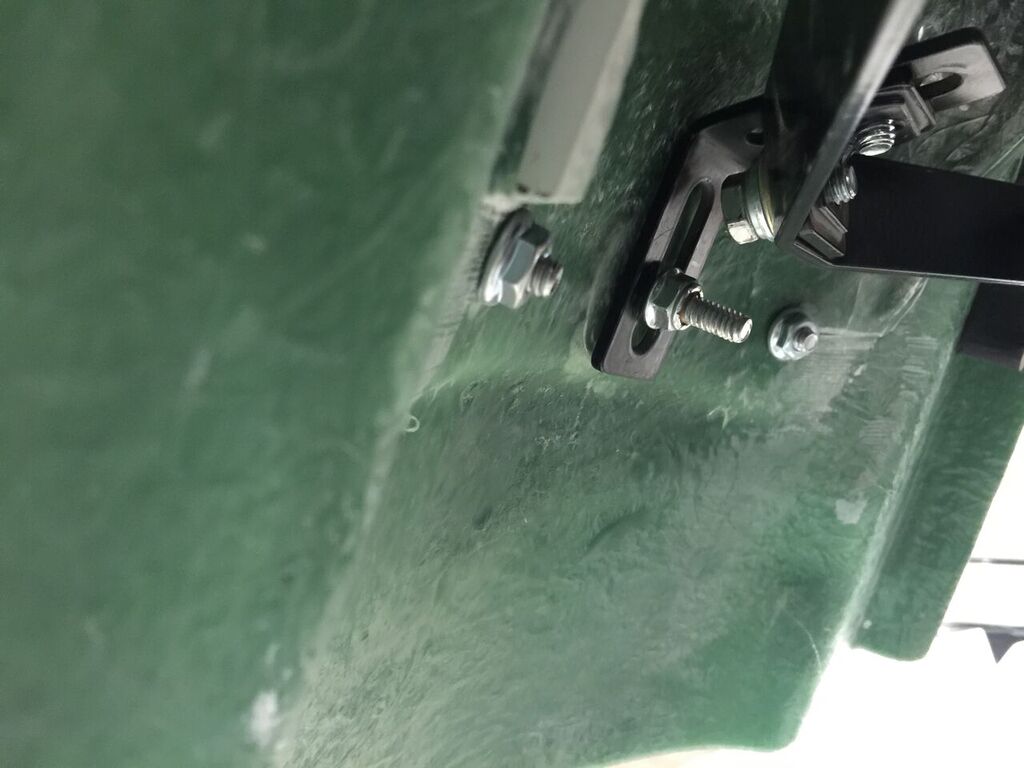
31) Installation Tip: The Bumper Bracket and S-Bracket Assemblies are each adjustable. These can be used to widen or tighten the gaps between the fender and saddlebags. Adjust the Bumper Bracket to widen or tighten the gap at the bottom and adjust the S-Bracket Assemblies to widen or tighten the gap at the top.
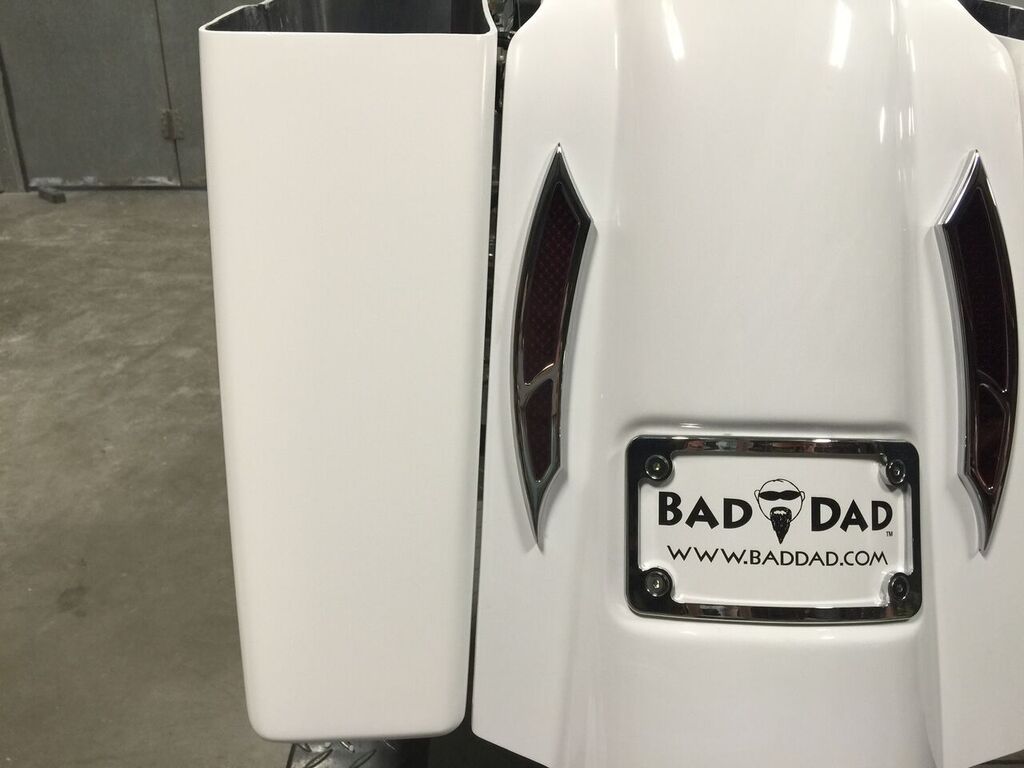
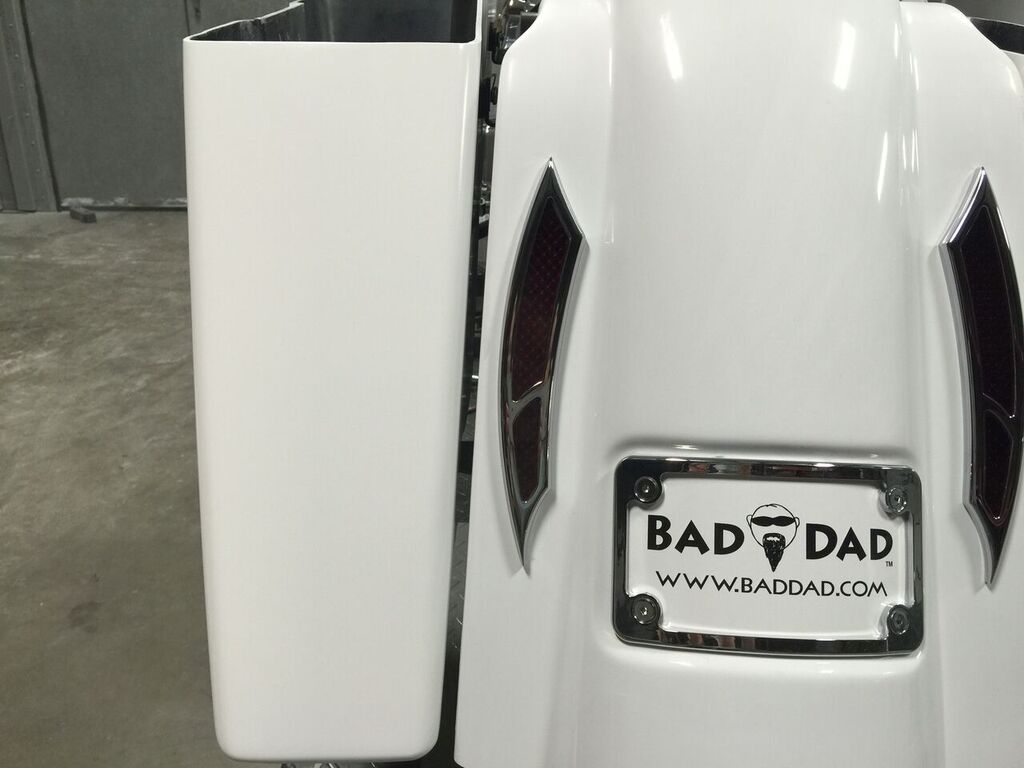
32) Installation Tip: These photos show the same parts installed with the Bumper Bracket and S-Bracket Assemblies adjusted to different settings. The photo on the left shows the brackets at their tightest settings and the photo on the right shows the brackets at their widest settings. These brackets provide over 3/8" of adjustment.
33) The adjustability of these brackets allow you to optimize the bracket settings for your specific project. We recommend a 1/4" gap between the fender & bags, as shown. This allows the parts to move freely with the natural vibrations of the motorcycle.
Finished!
Sign Up for Updates on our Newest Parts, Current Projects & Latest Builds