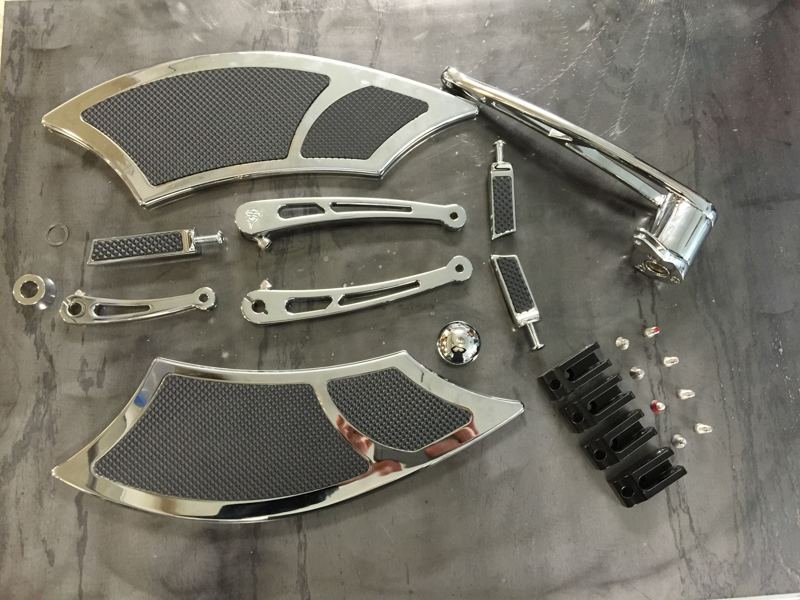
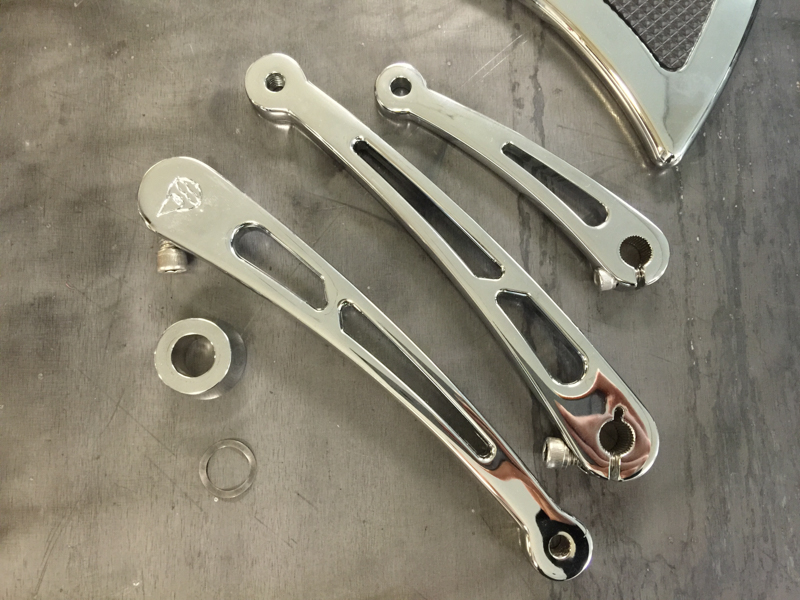
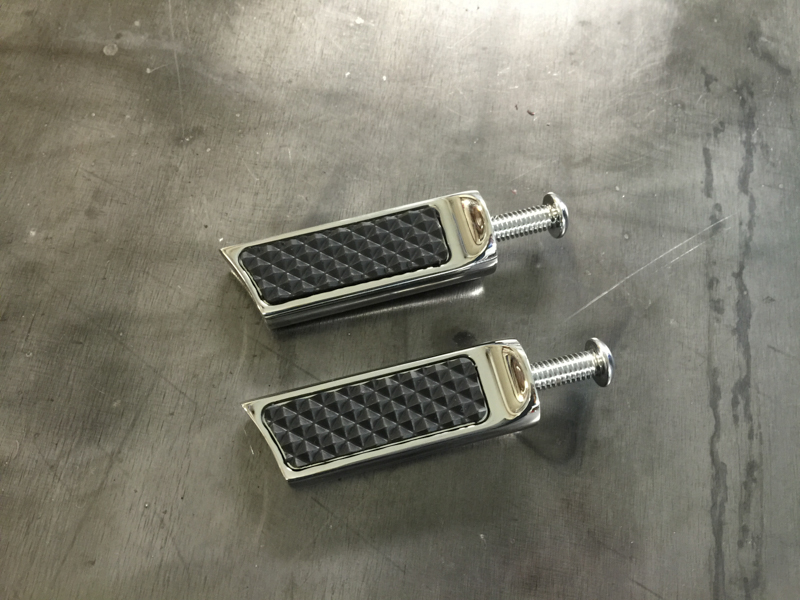
1) Here are the items we will install. The items shown here include the 992 Floorboards, Brake Arm, Brake Peg, Brake Nut, Front & Rear Shift Arms, Shift Pegs, Inner Shift Arm, Shift Arm Spacer, Spring Washer, and the Floorboard Mounting Brackets with Hardware.
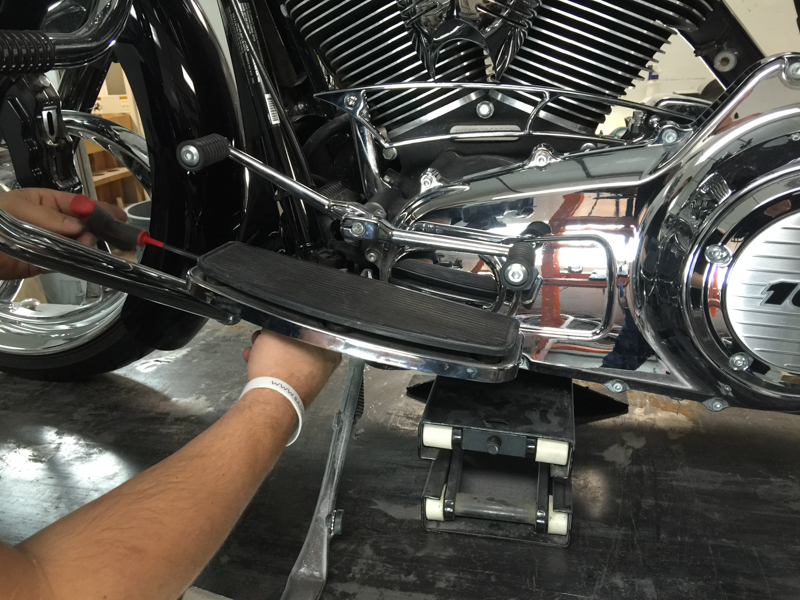
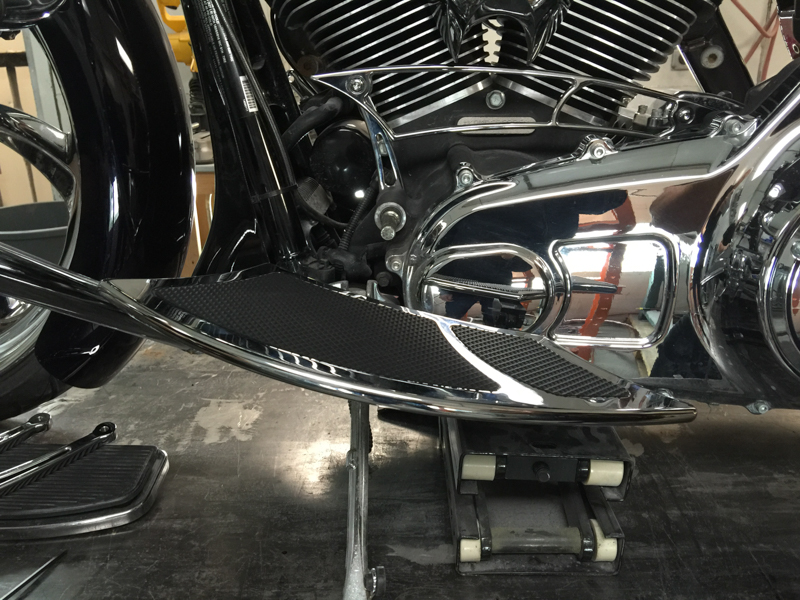
2) Begin by removing the original floorboard.
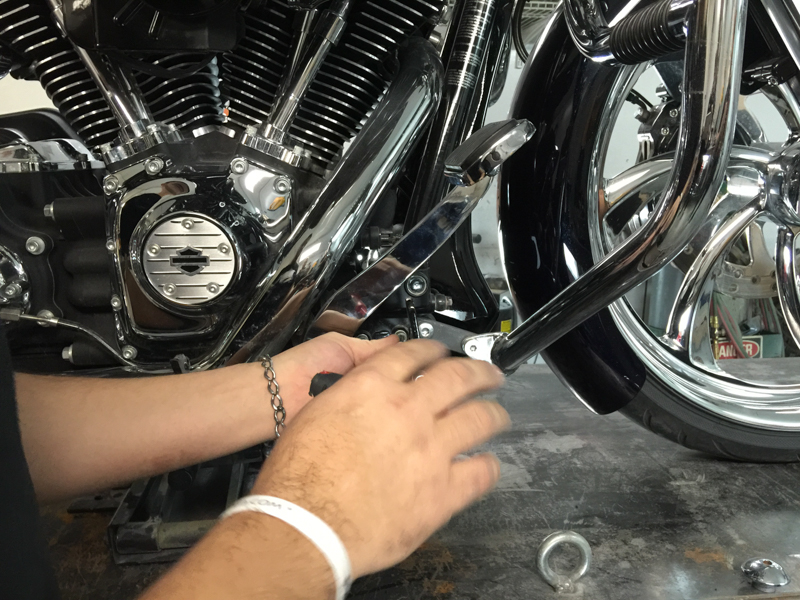
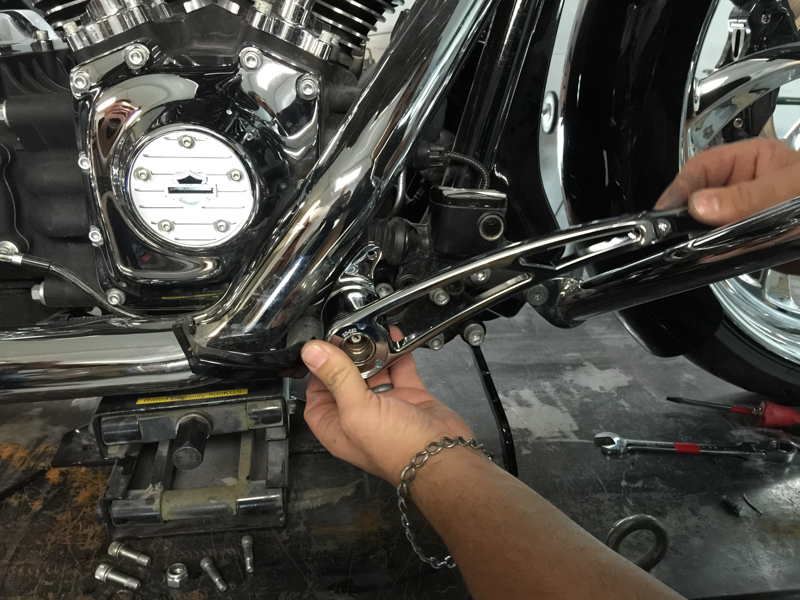
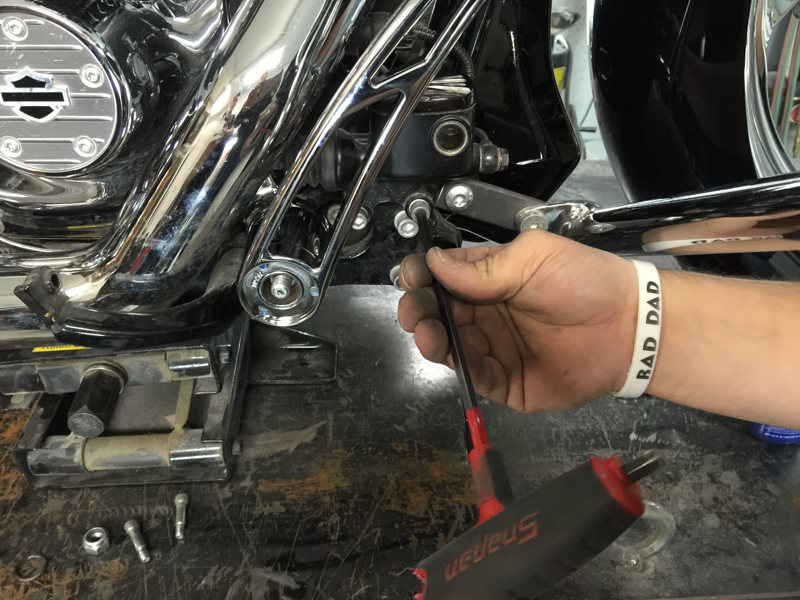
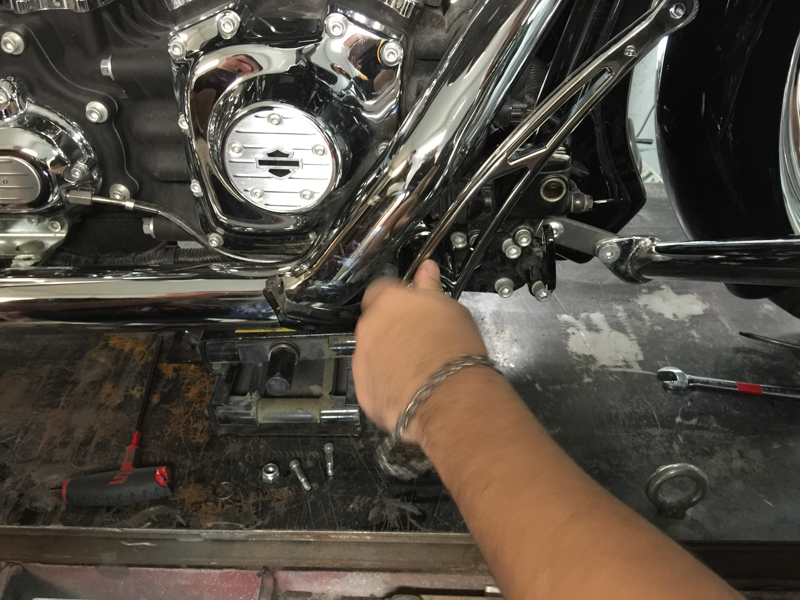
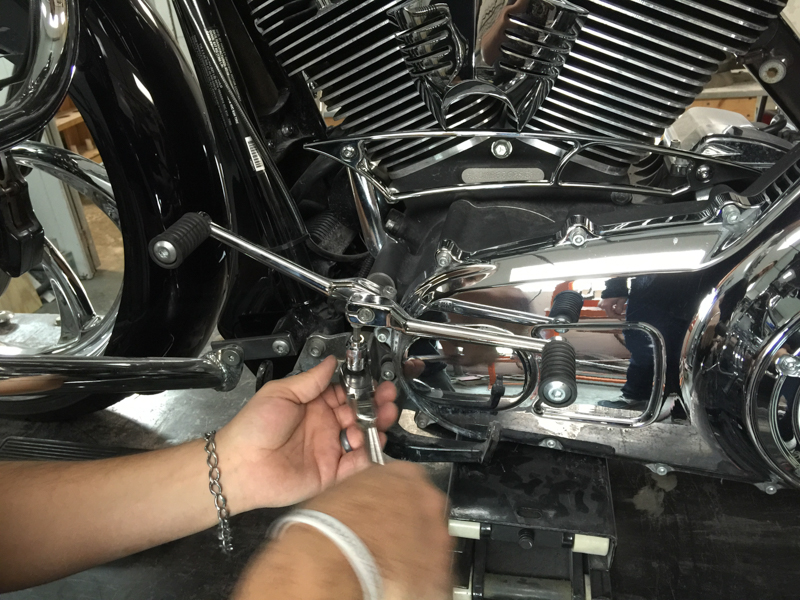
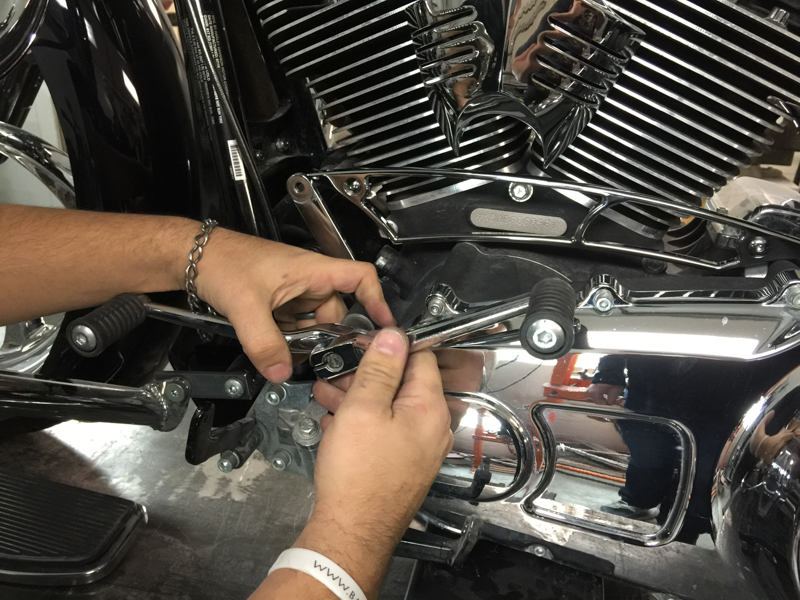
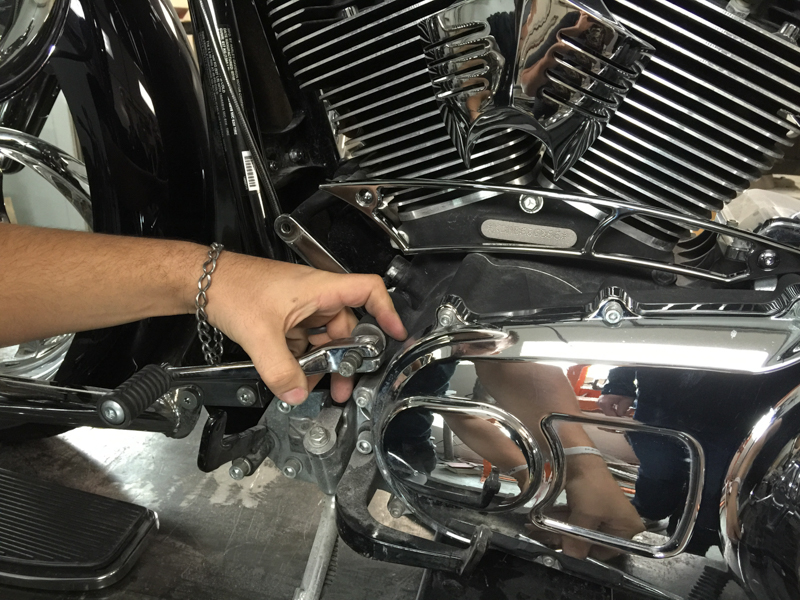
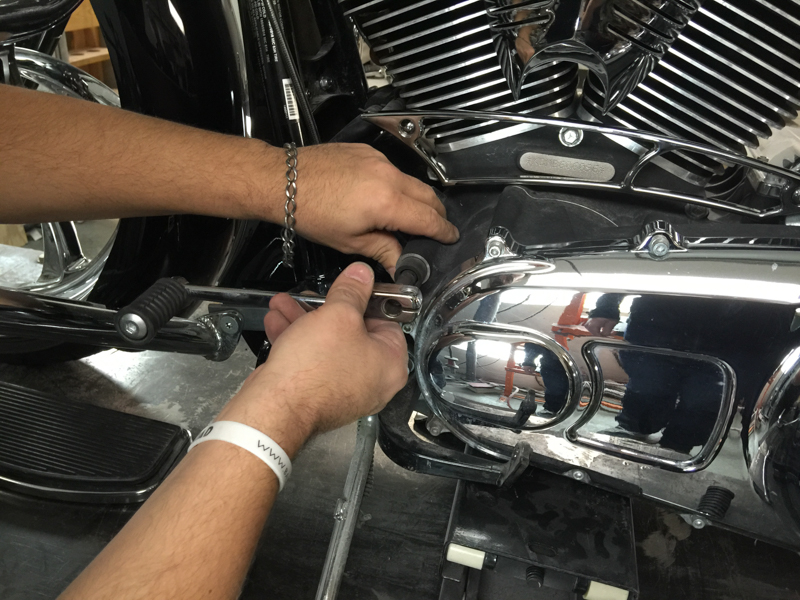
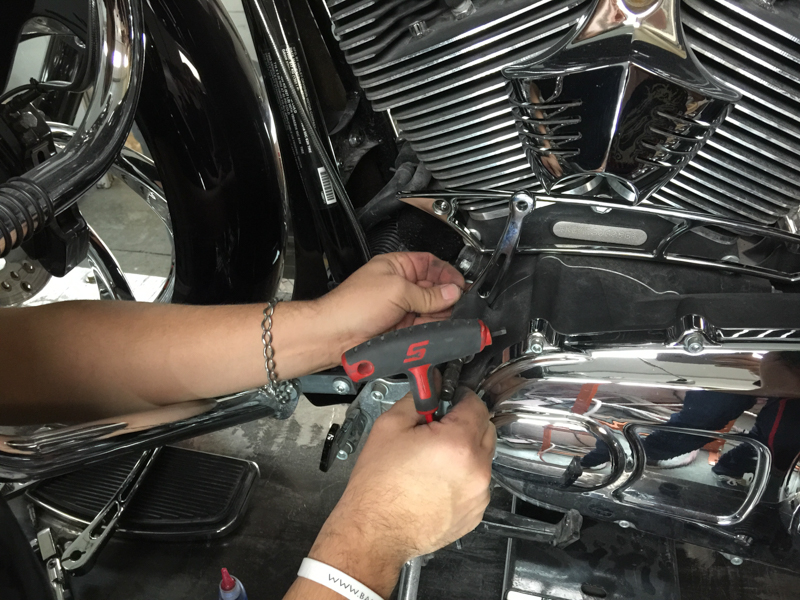
3) Then remove the brake nut from the brake arm (left photo) and remove the two lower bolts from the bottom of the rear master cylinder (right photo).
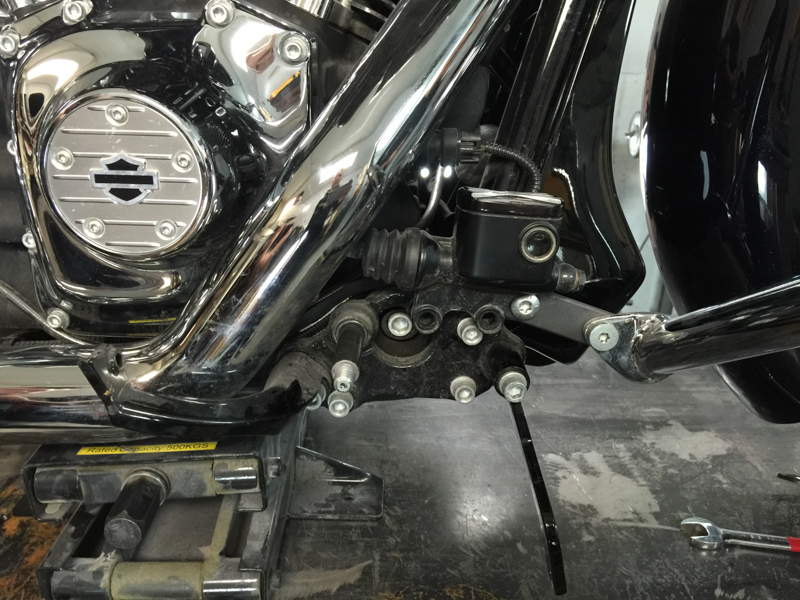
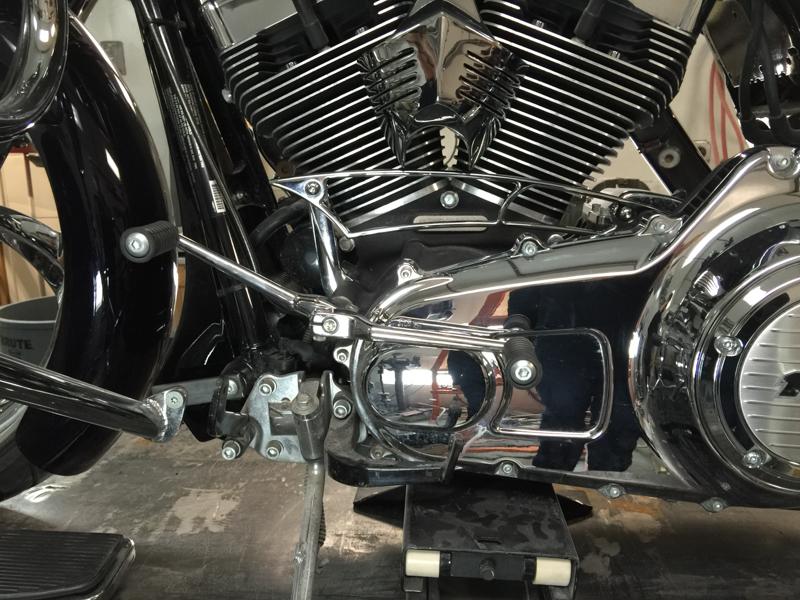
4) The nut is now removed from the brake arm and the bolts are removed from the bottom of the master cylinder.
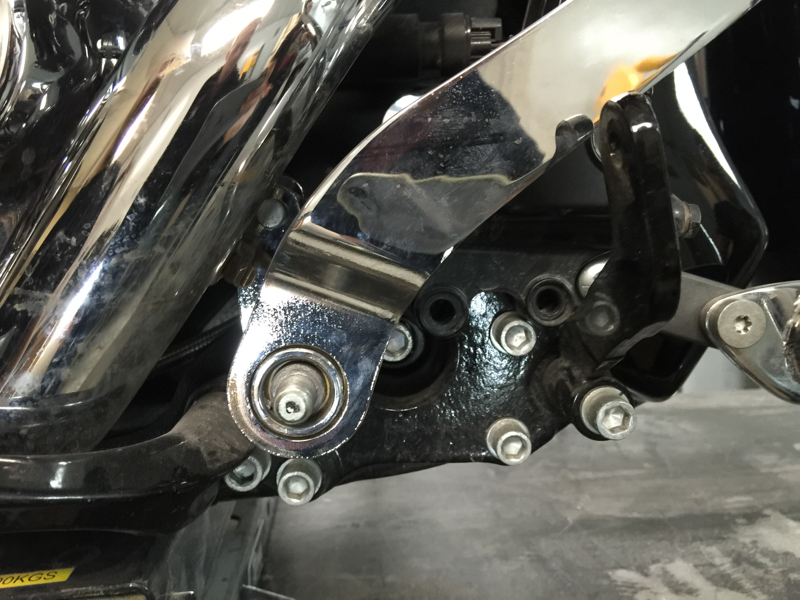
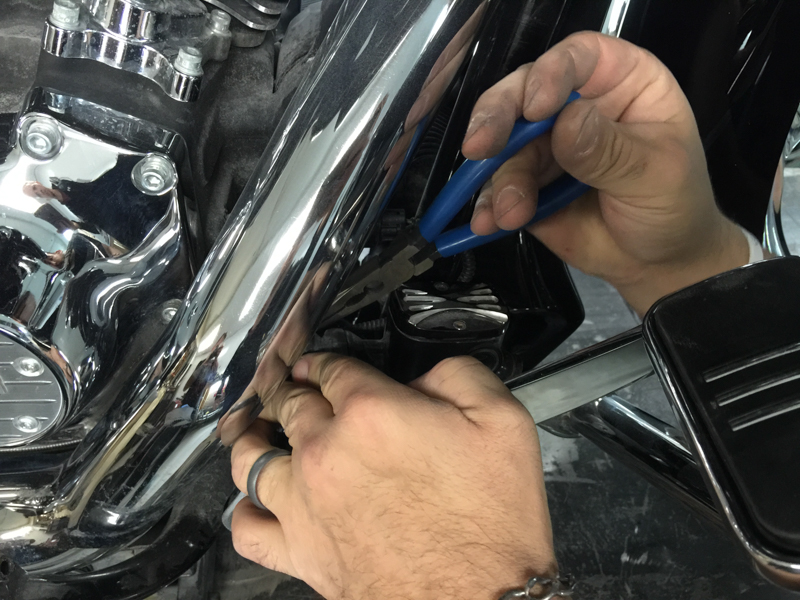
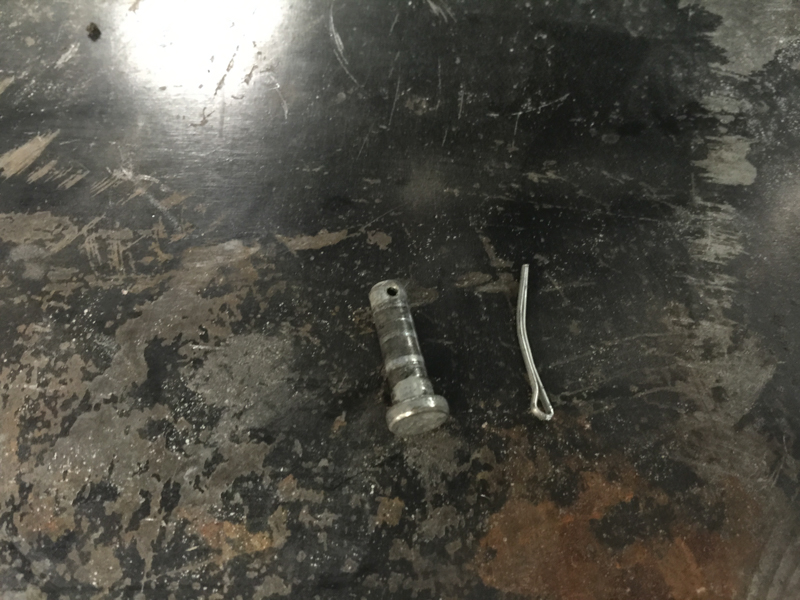
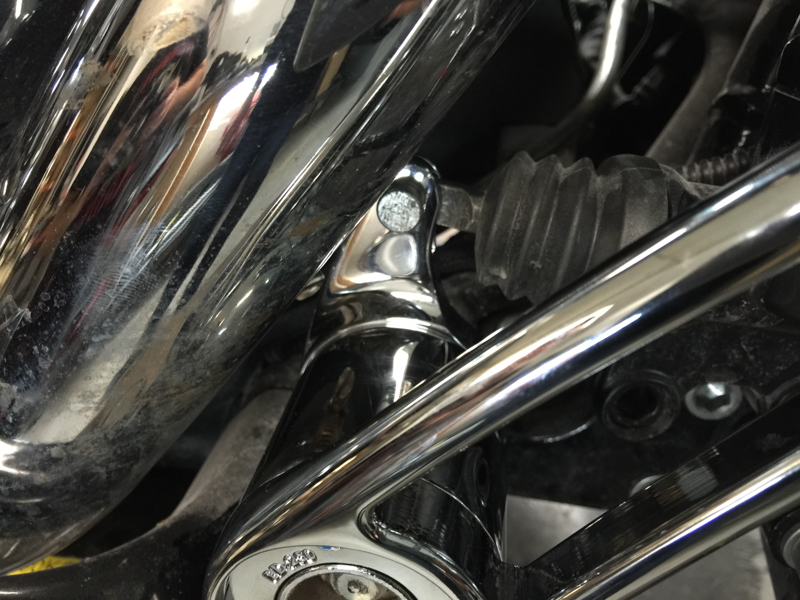
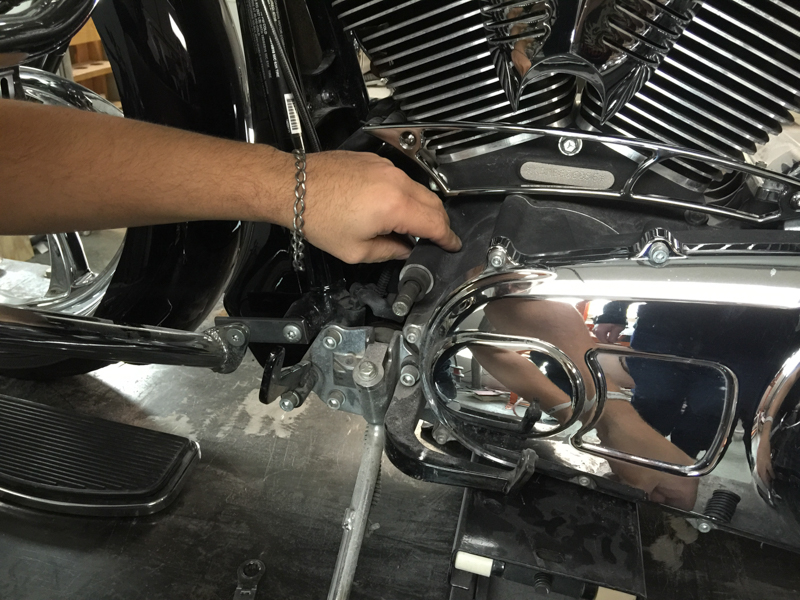
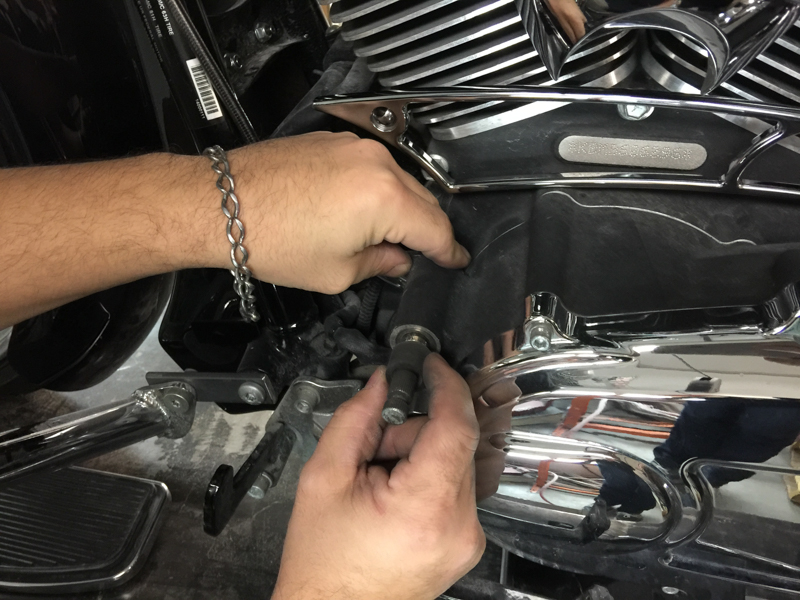
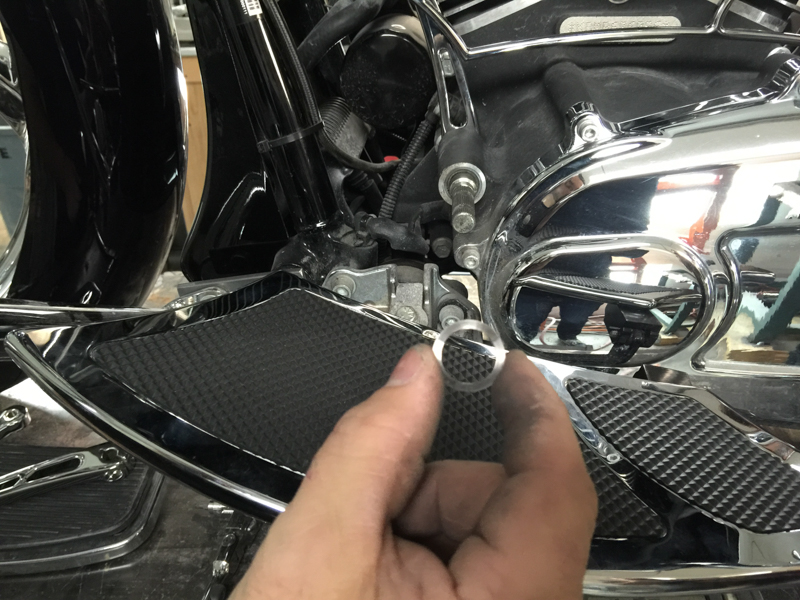
5) Next, remove the cotter pin and stud from the rear brake master cylinder.
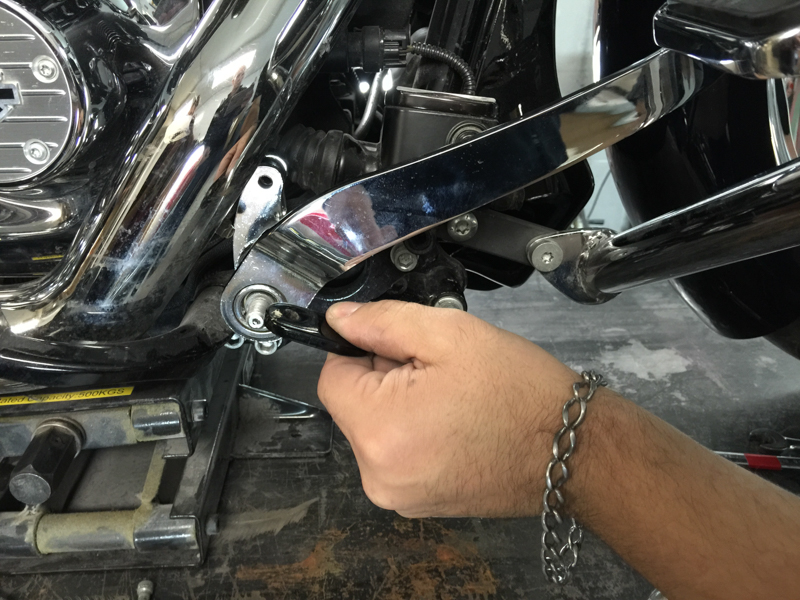
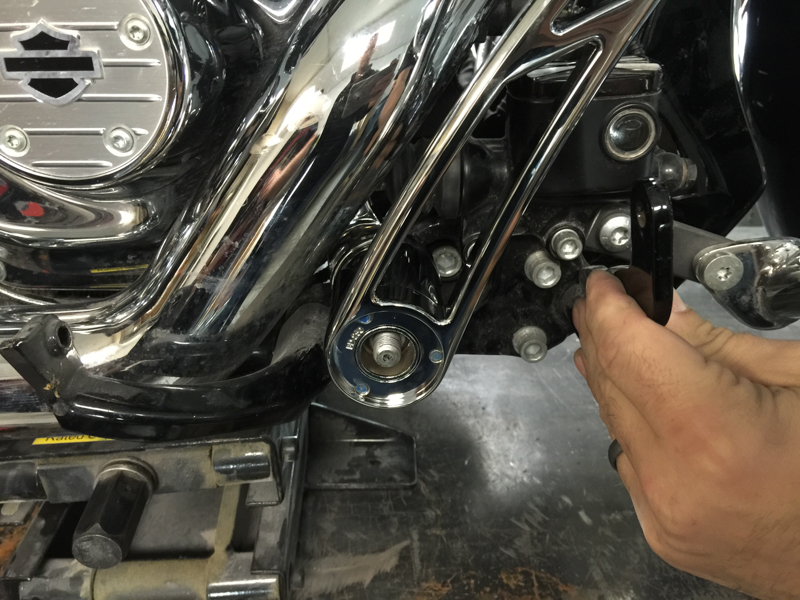
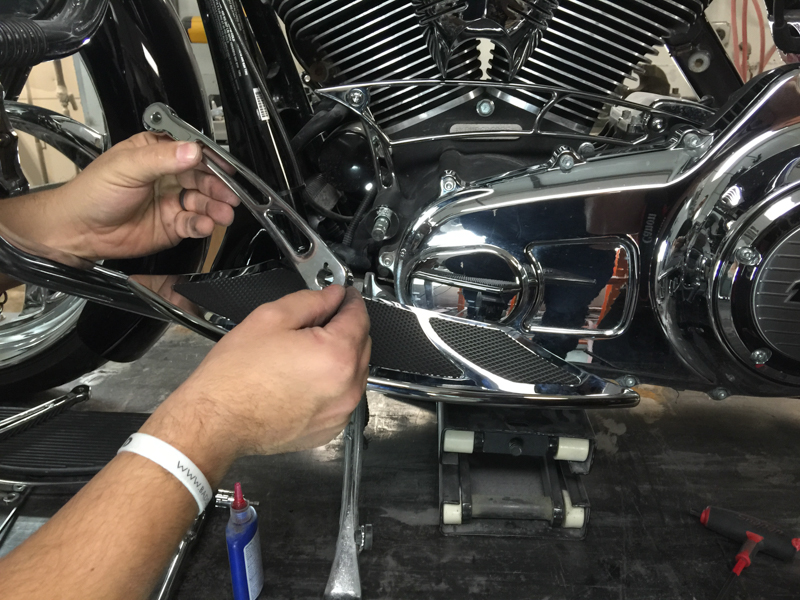
6) Then remove the original brake arm.
Tip: It may be helpful to loosen the front floorboard mount to provide more space for removing the brake arm.
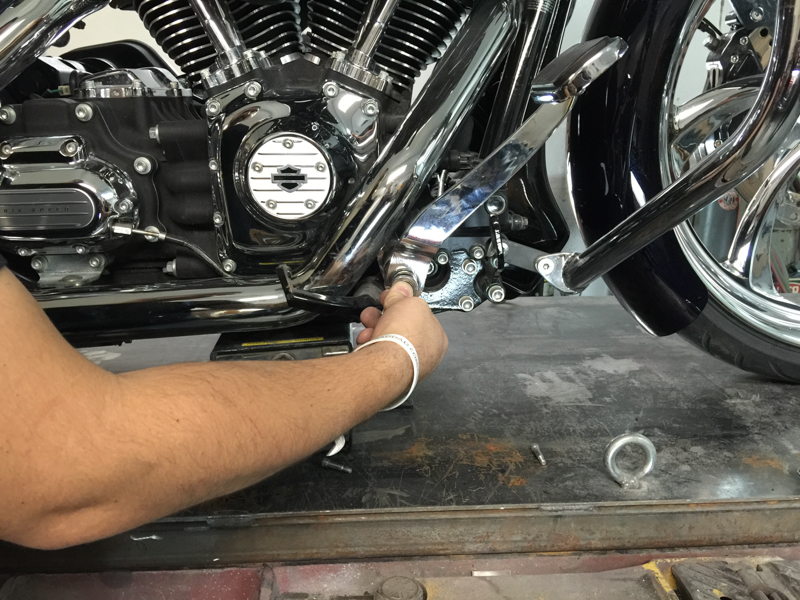
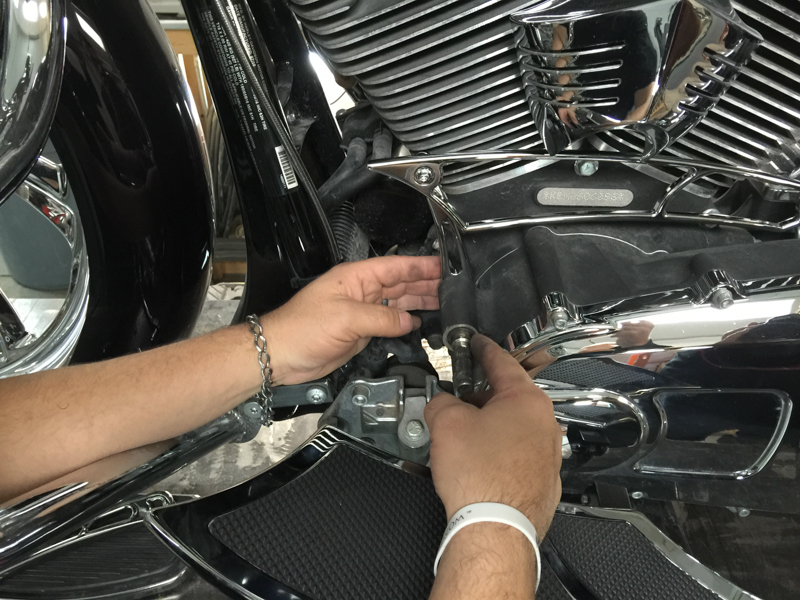
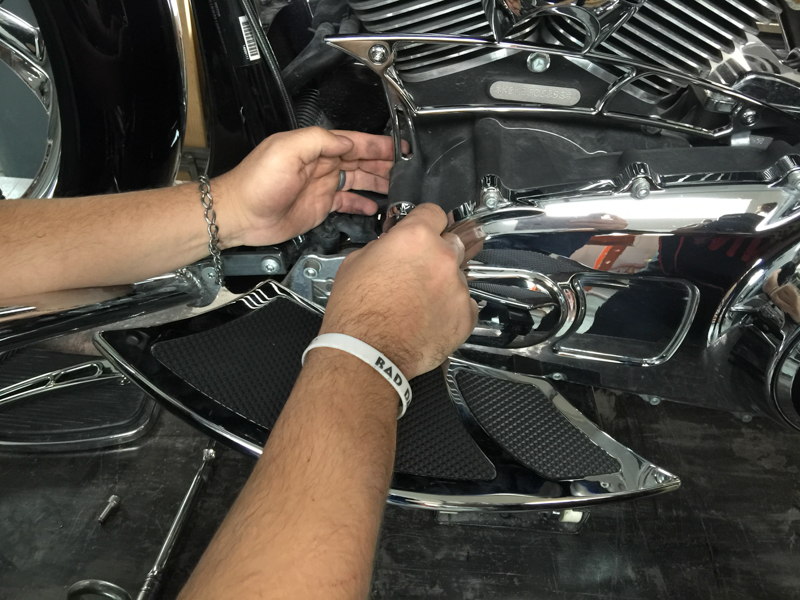
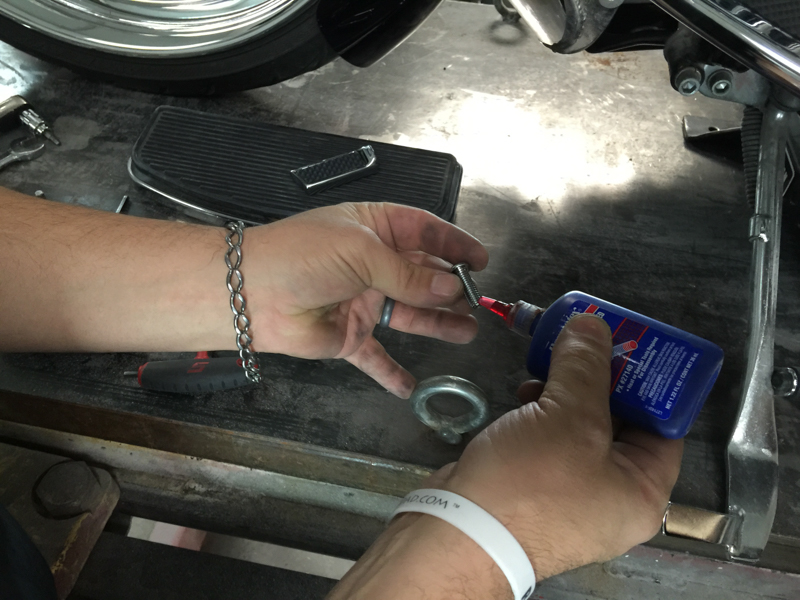
7) Now the new custom brake arm can be installed.
Do not reuse the factory o-rings. The Bad Dad Brake Arm uses a lubricated bushing so the factory o-ring is not needed. Discard the original o-rings.
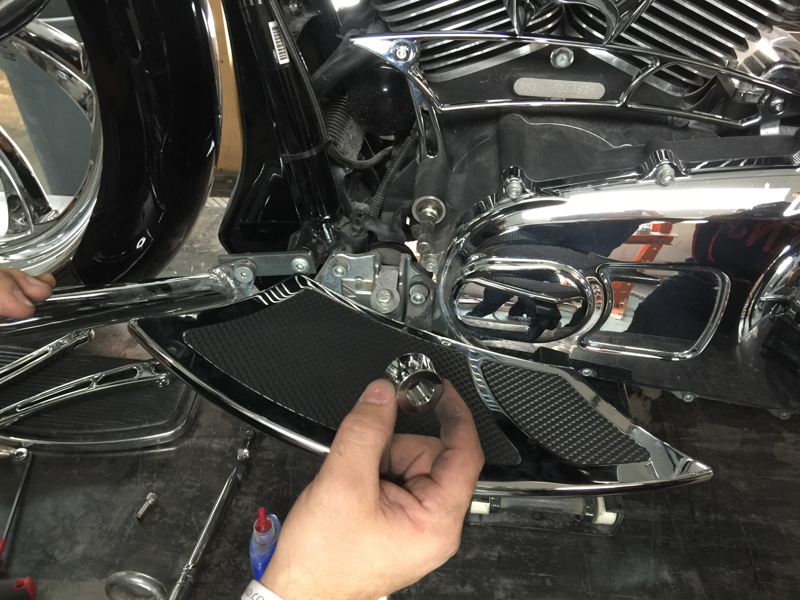
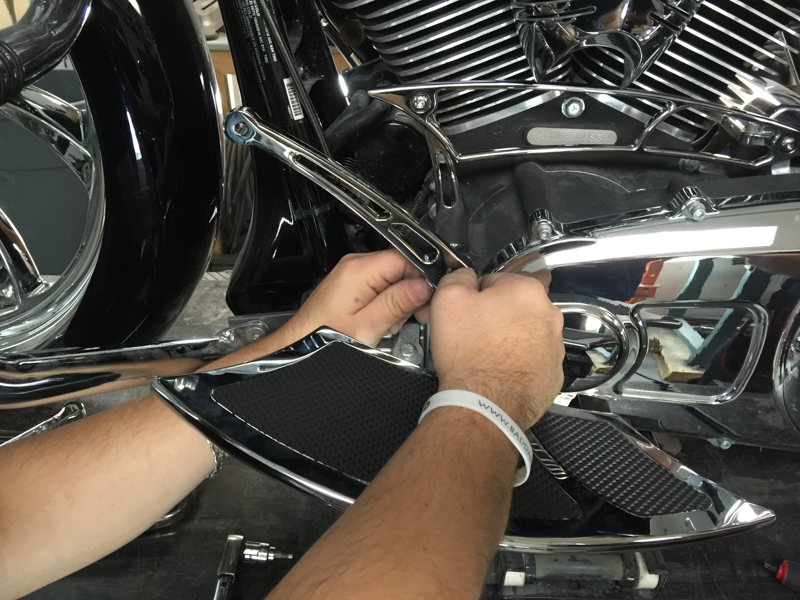
8) Re-attach the master cylinder by installing the rear master cylinder stud.
9) And re-install the cotter pin.
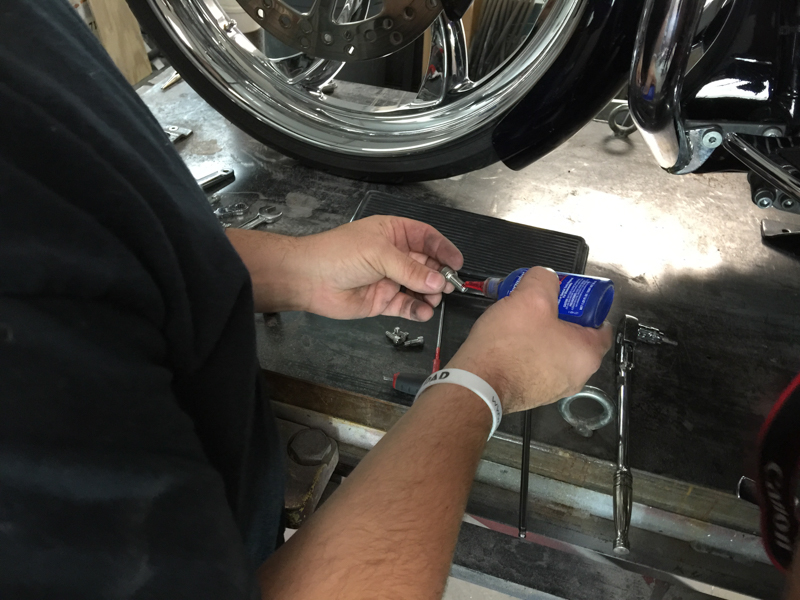
10) Next, use red threadlocker to re-install the lower master cylinder bolts.
11) If you loosened the front floorboard mount in Step 6, you should tighten the loose mount now.
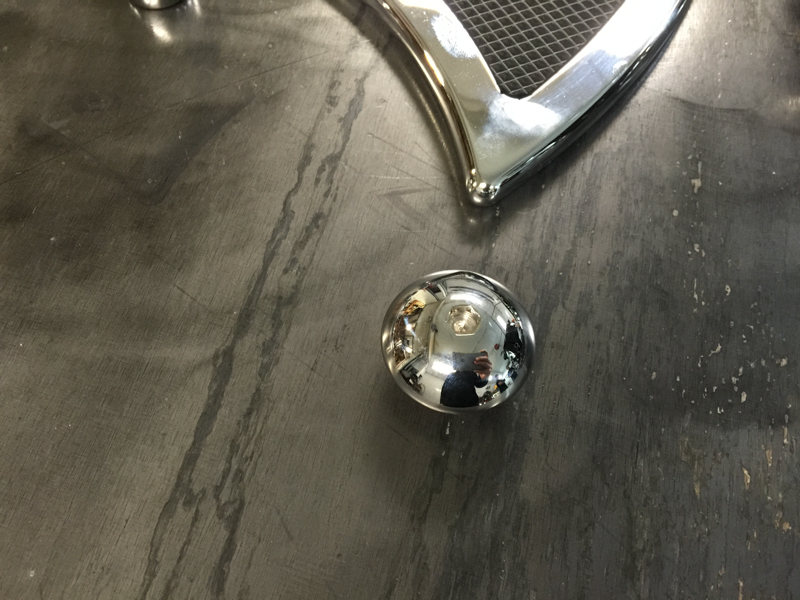
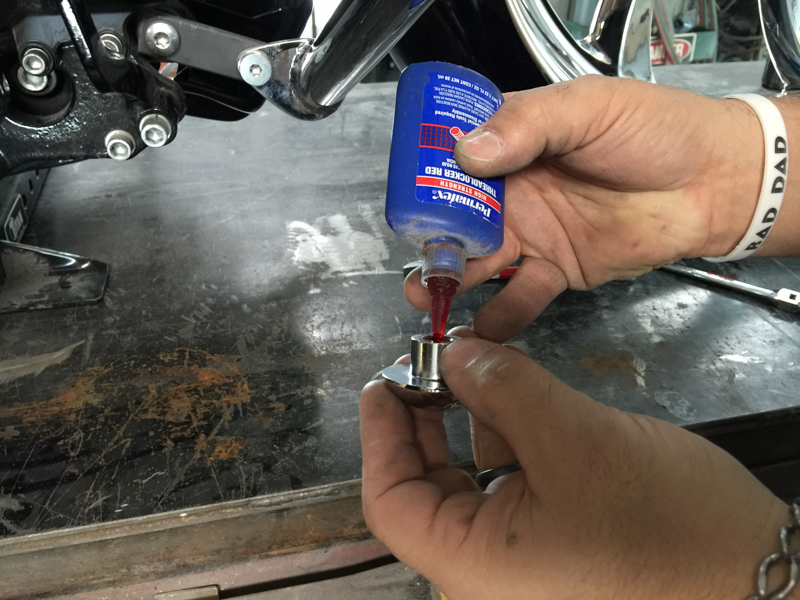
12) Now use red threadlocker to install the new custom brake nut.
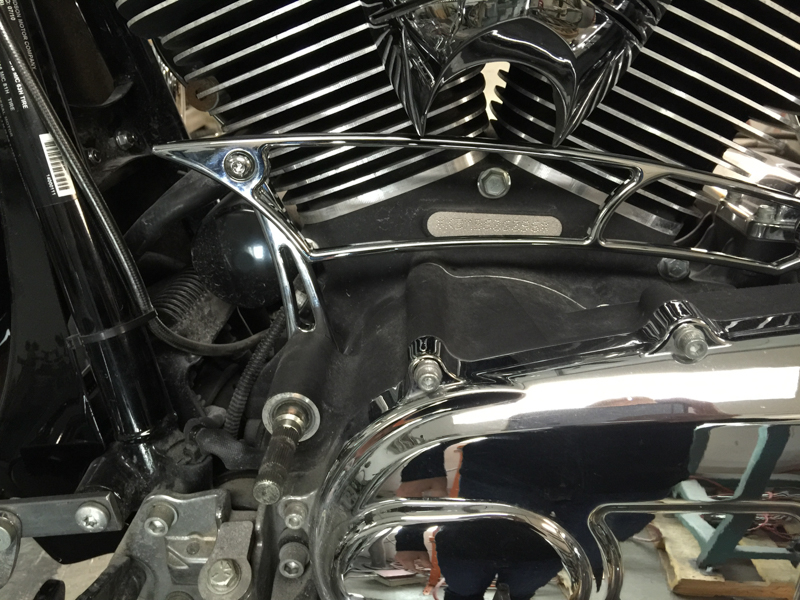
13) The custom brake arm and custom brake nut are now installed.
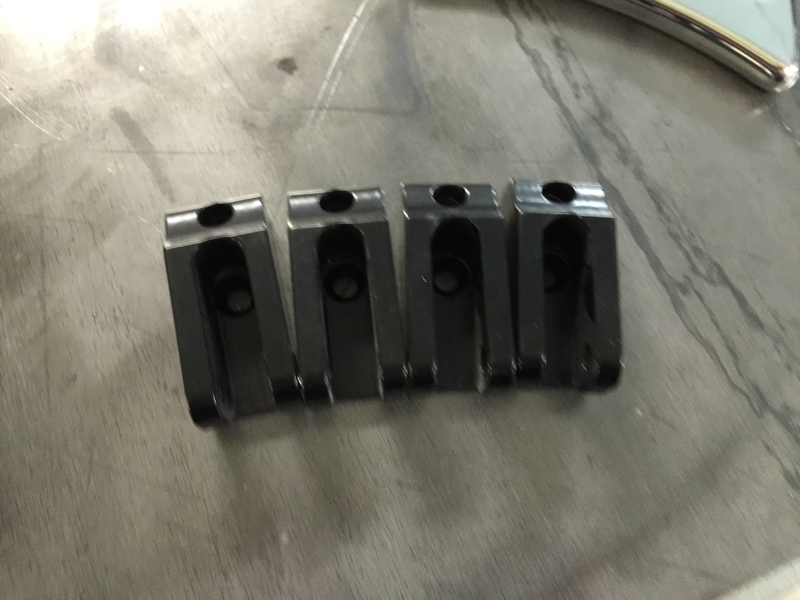
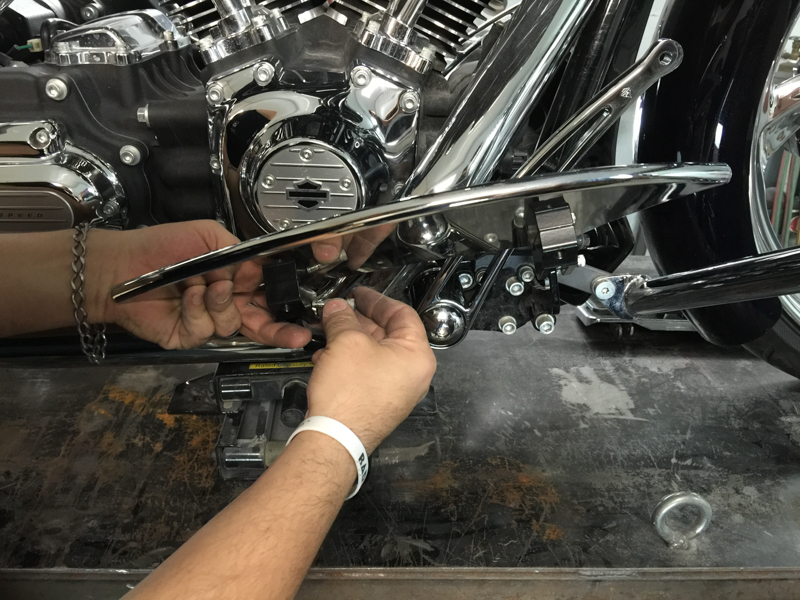
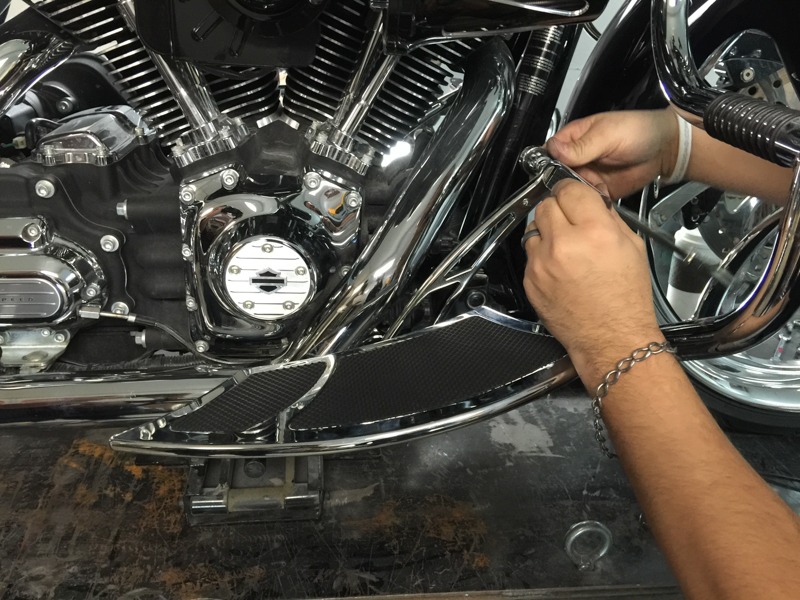
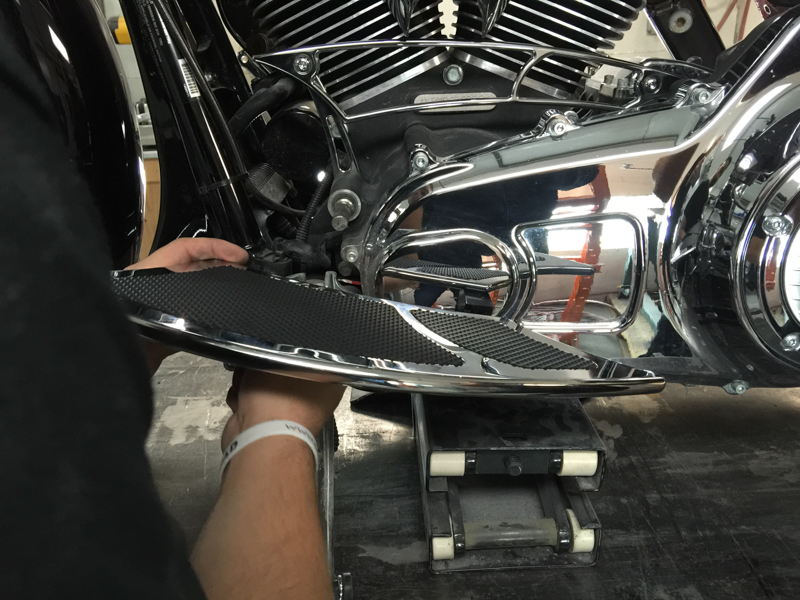
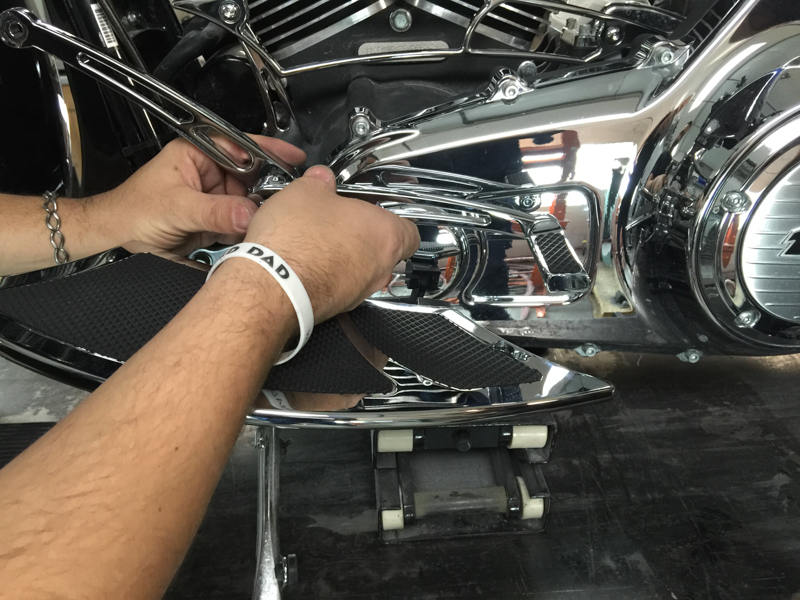
14) Next, install the right-side floorboard by using two of the Floorboard Mounts and the included hardware.
Note: Install the mounts onto the floorboard first, then install the floorboard and mount assembly onto the motorcycle.
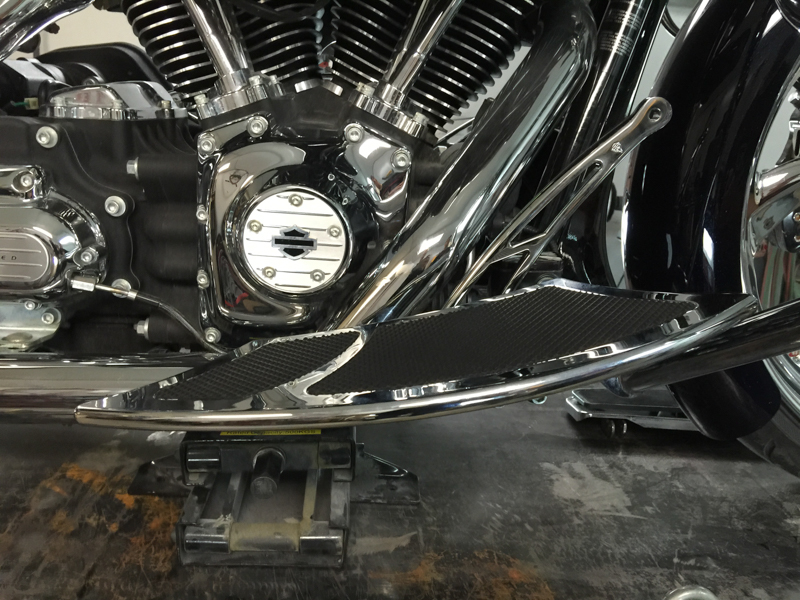
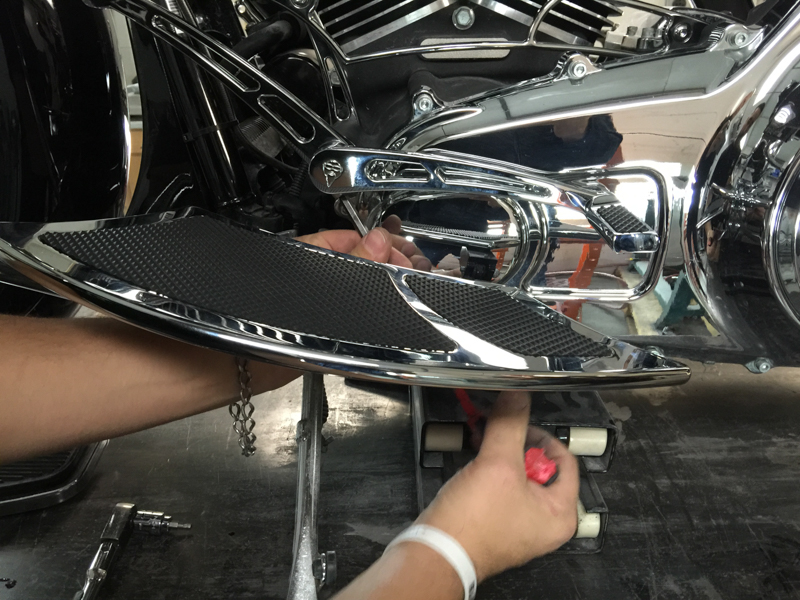
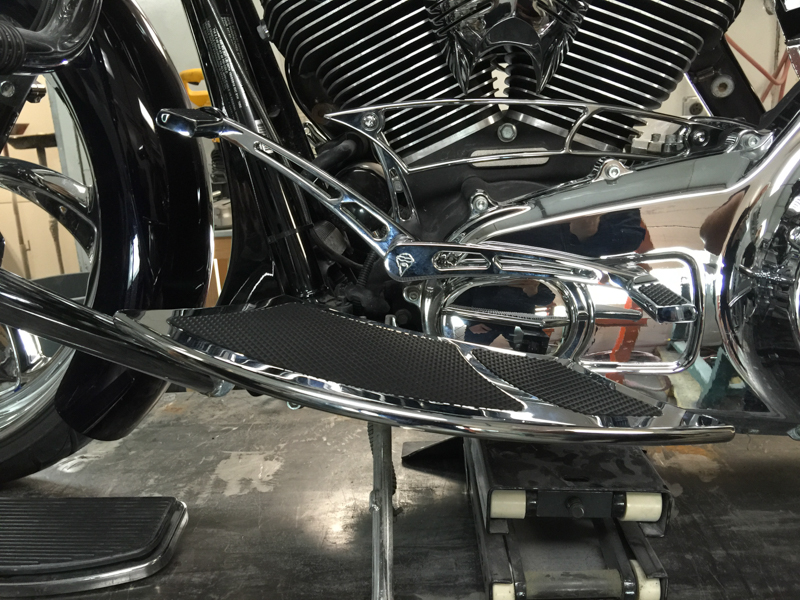
15) The right-side floorboard and brake arm are now installed.
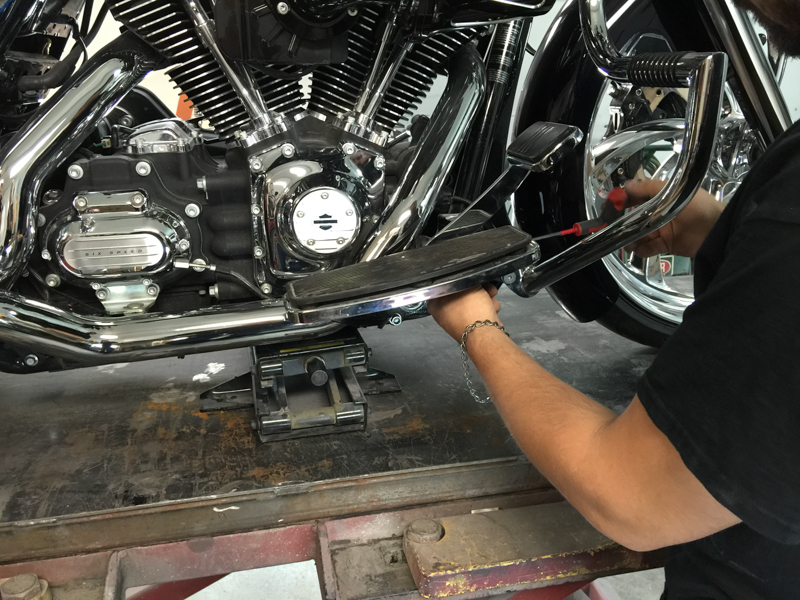
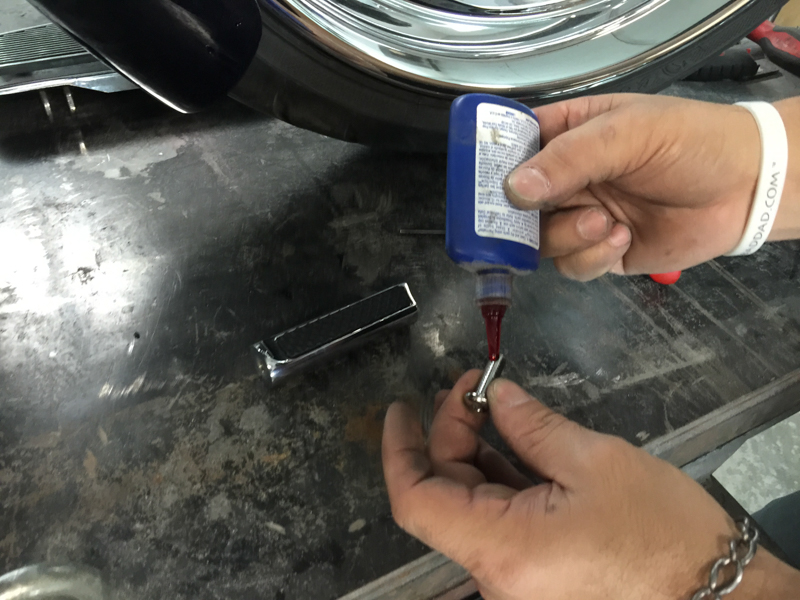
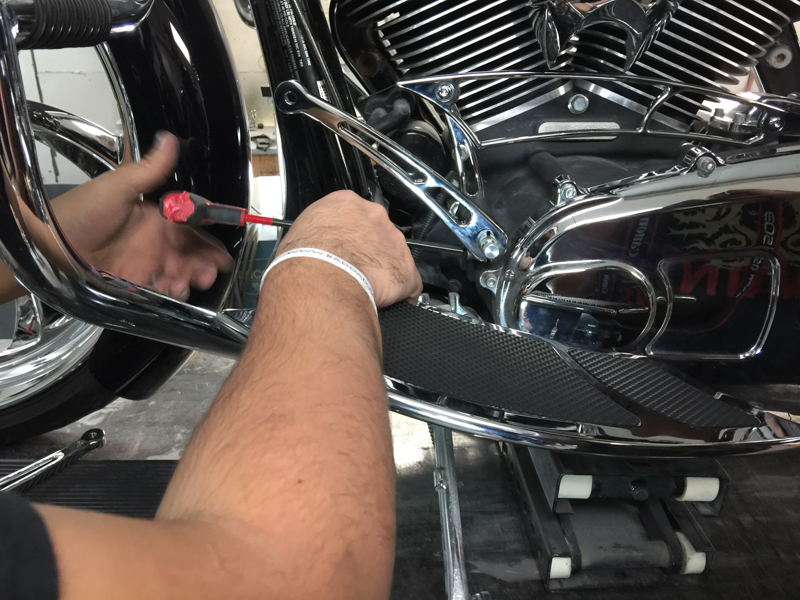
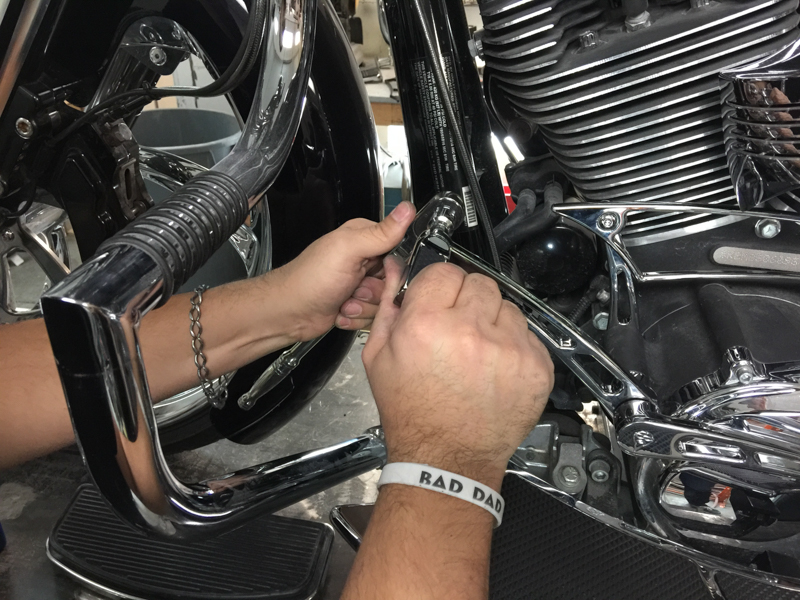
16) Now install the brake peg onto the brake arm by using red threadlocker.
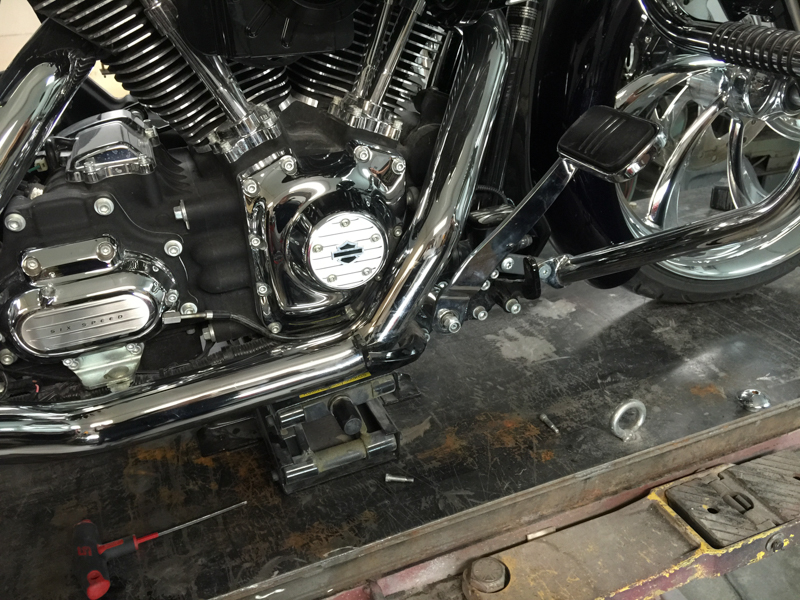
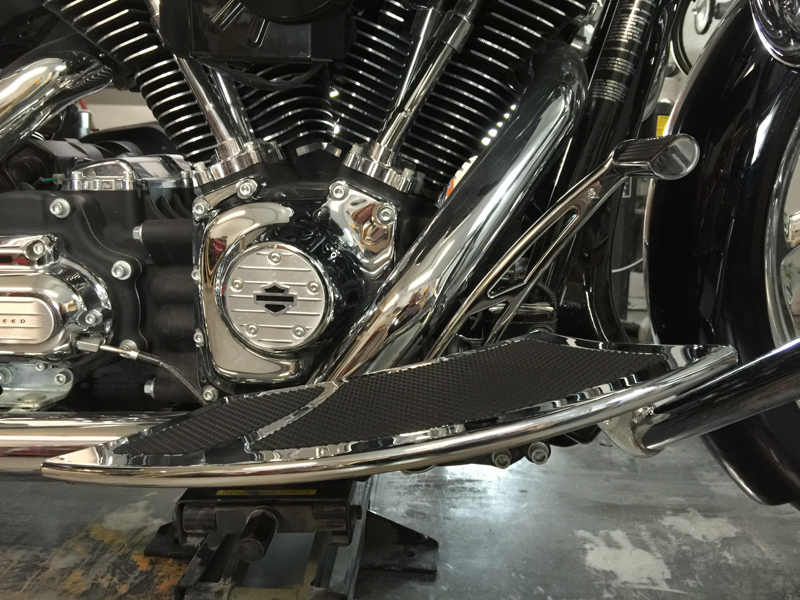
17) The right-side floorboard and brake assembly are now installed.
18) Next, begin working on the left-side of the motorcycle by removing the floorboard.
19) Then loosen the original shift arms.
20) Remove the inner shift arm at the transmission and at the shift linkage.
21) Then remove the original heel shift arm.
22) Then remove the original toe shift arm.
23) And remove the shift arm spacer.
24) Now we will install the new inner shift arm, the heel and toe shift arms, the shift arm spacer, and spring washer.
25) First install the inner shift arm. The inner shift arm should be placed between the shift linkage and the engine (as shown).
Note: Torque the 1/4-20 bolt that attaches the inner shift arm to the transmission's shift shaft to 16-18 ft-lbs. Improperly torquing this hardware will strip out the inner shift arm.
26) Next, using red threadlocker, install the floorboard by using the remaining Floorboard Mounts and hardware from Step 14.
Note: Install the mounts onto the floorboard first, then install the floorboard and mount assembly onto the motorcycle.
27) Now the inner shift arm and floorboard are installed.
28) Next, install the spring washer onto the shift shaft.
29) Then install the included spacer onto the shift shaft.
Note: The narrow end of the spacer faces the engine.
30) Then install the toe shifter.
Tip: Make sure the bolt holes align with the grooves in the shift shaft when installing.
31) And then use red threadlocker to tighten the hardware on the toe shift arm.
32) If you are using the heel shifter, you will want to install the rear shift peg before installing the heel shift arm. Use red threadlocker to install the shift peg onto the heel shift arm.
33) Then slide on the heel shift arm. Use red threadlocker on the bolt when installing the shift arm.
Tip: Make sure the bolt holes align with the grooves in the shift shaft when installing.
34) Next, install the front shift peg. Use red threadlocker to install the peg onto the toe shift arm.
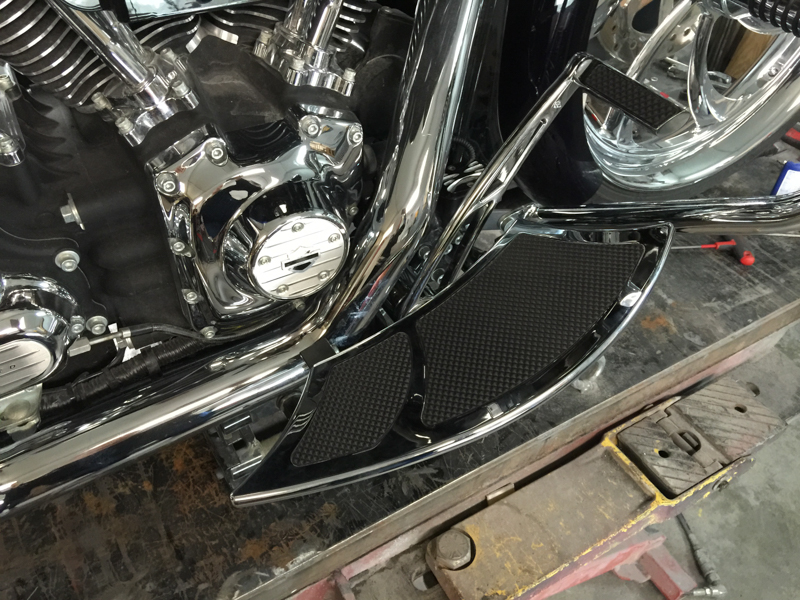
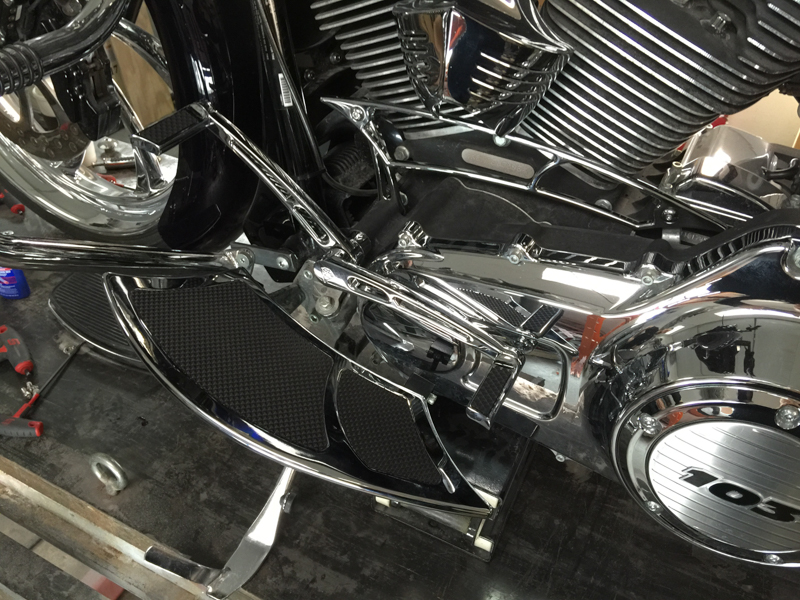
35) Now the floorboard, inner shift arm, heel-toe shifters, and shift pegs are installed.
36) The Forward Control Kit is now installed. Before riding, make sure the shift assembly freely moves through all of the gears. Also make sure the brake pedal engages firmly before riding.