Order online or by
calling 260.407.2000


992 Taillights
Print Instructions
|
This tutorial will show you how to install your custom taillights for your bagger project. These instructions are the same for installing Bad Dad's custom taillights on all Road Kings, Street Glides, Road Glides, Ultra Classics, Softails, and Metric bikes. |
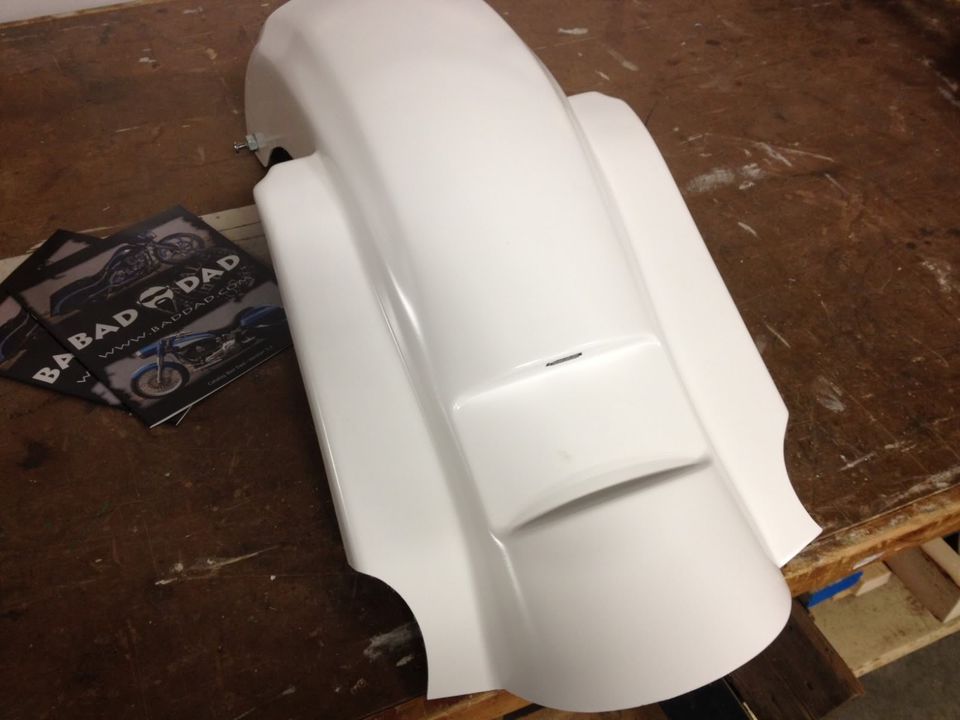
1) Bad Dad's 992 Lights are ideal for the side flanges of your fender or the back of your saddlebags. This tutorial will illustrate installation into the flanges of Bad Dad's Summit Fender, although the process shown here is transferable to any other project you may have.
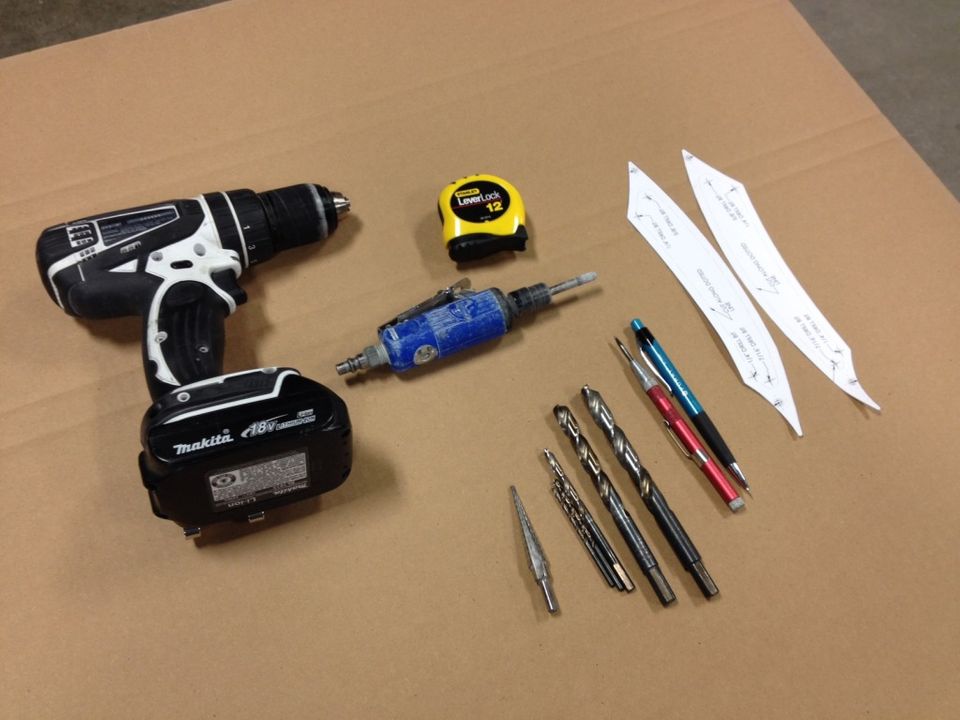
2) You will need an assortment of tools for this project, including a drill, a slow speed cutting tool (preferably a dremel), different sized drill bits, a marker, and a measuring tape. You will also need the taillight template included with your 992 Taillights.
Drill bits needed: 3/16", 7/32", 1/4", 7/16", & 5/8".
Caution:Do not use a punch on an ABS, fiberglass, or composite product. You will damage the product surface if using a punch.
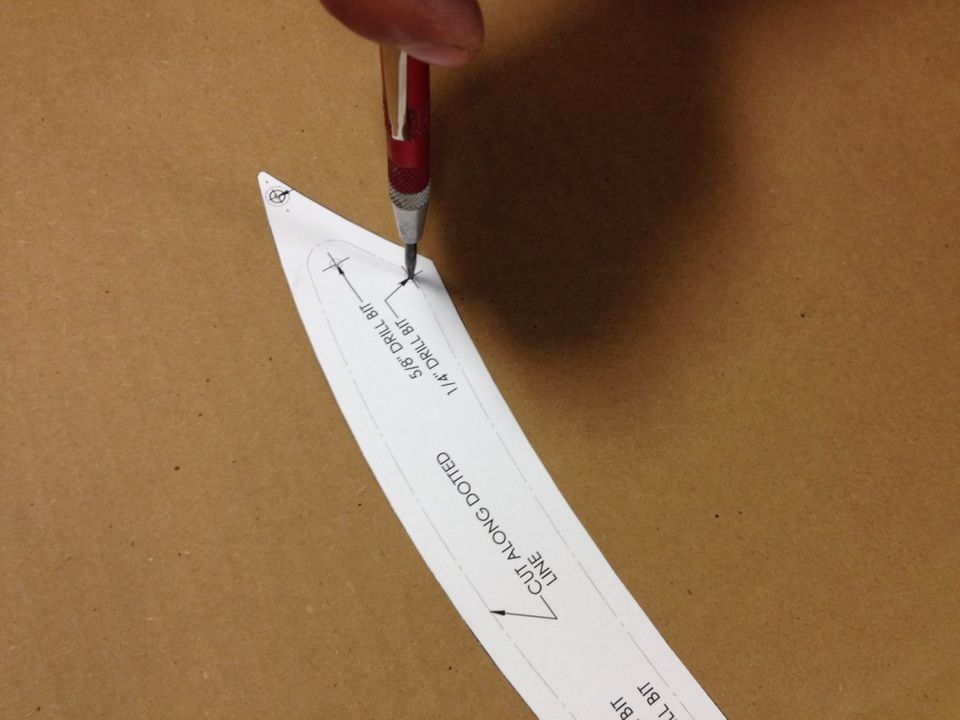
3) Begin by cutting out the paper template found on the backside of your printed instructions. Next, use a sharp object (like a punch) to open the pilot holes indicated on the template.
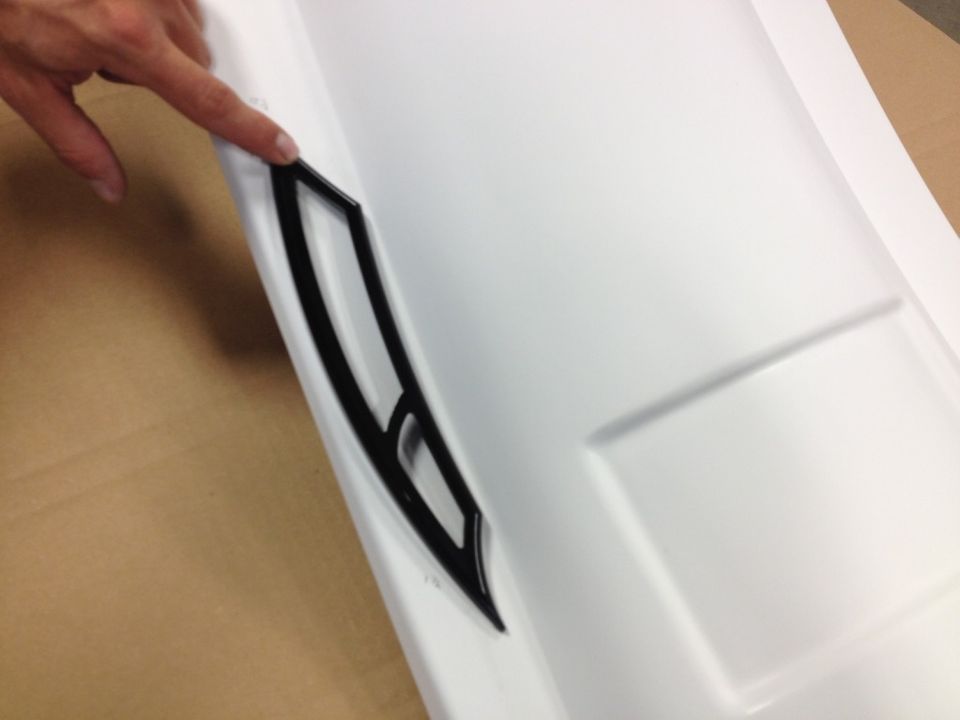
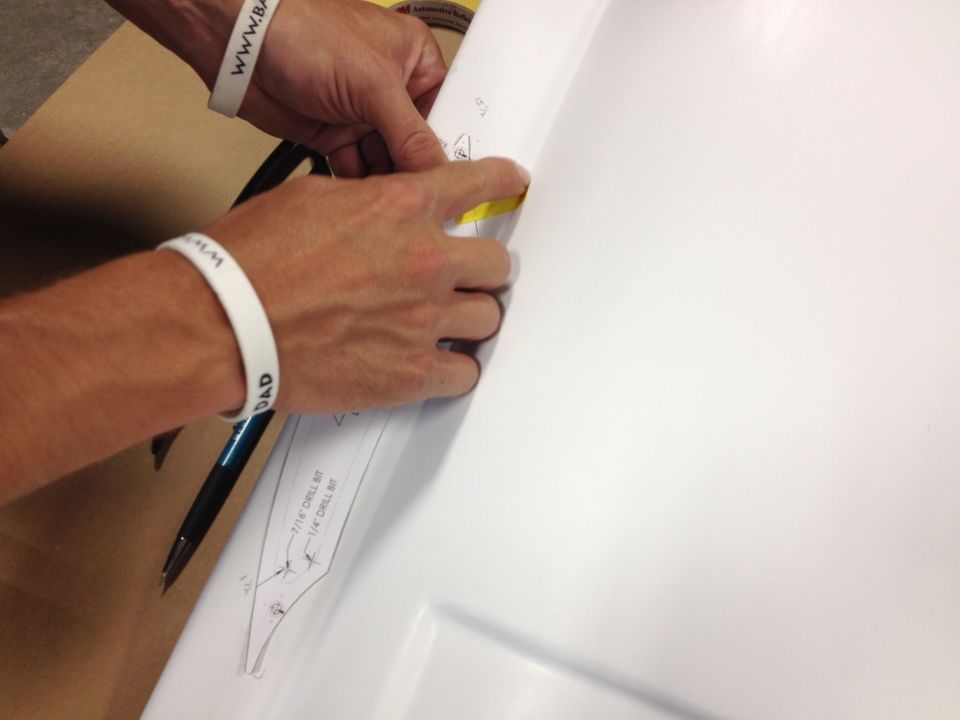
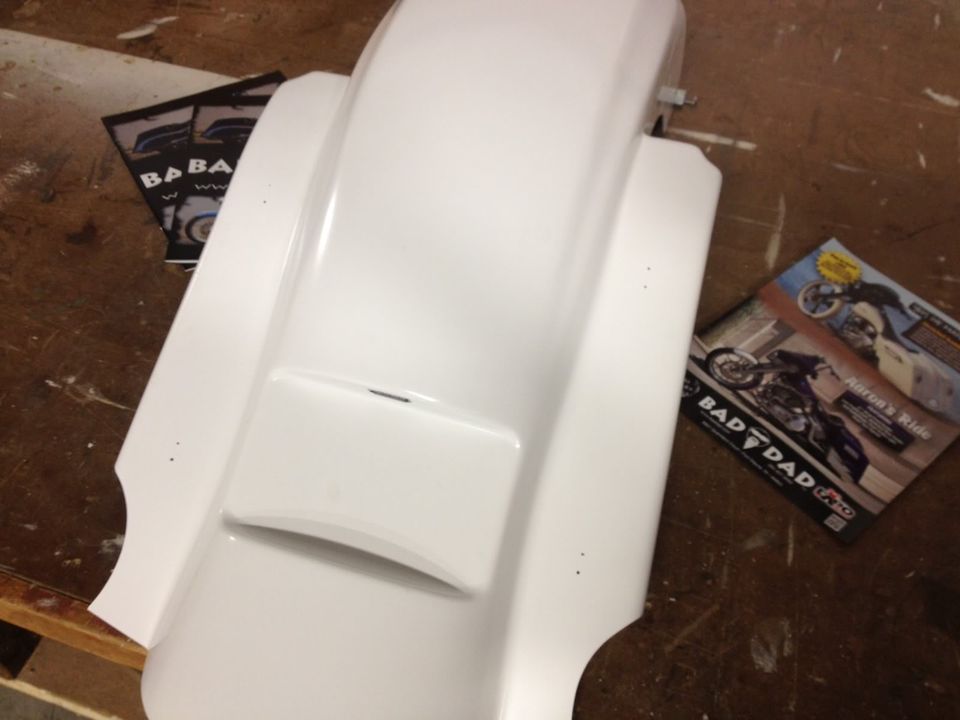
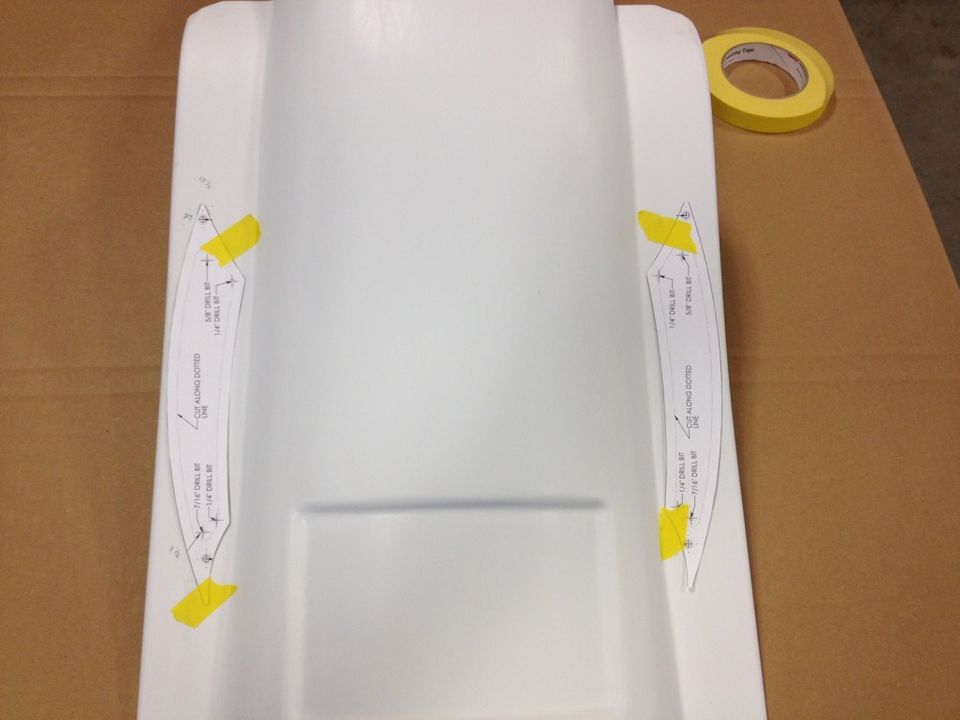
4) Begin by positioning your taillight onto the fender to find the mounting location you prefer. After locating and marking your mounting position, attach the supplied template to use as a guide when drilling & cutting your holes.
Make sure the template is positioned symmetrically on both sides of the fender.
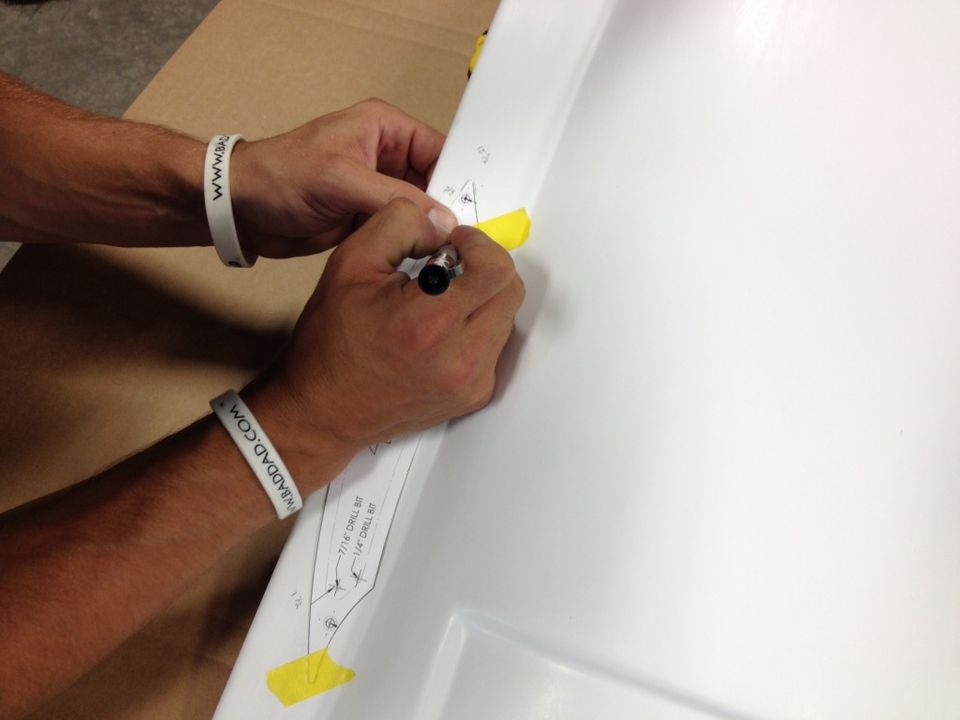
5) With your templates in place, use a marker to mark the eight (8) pilot holes for each taillight.
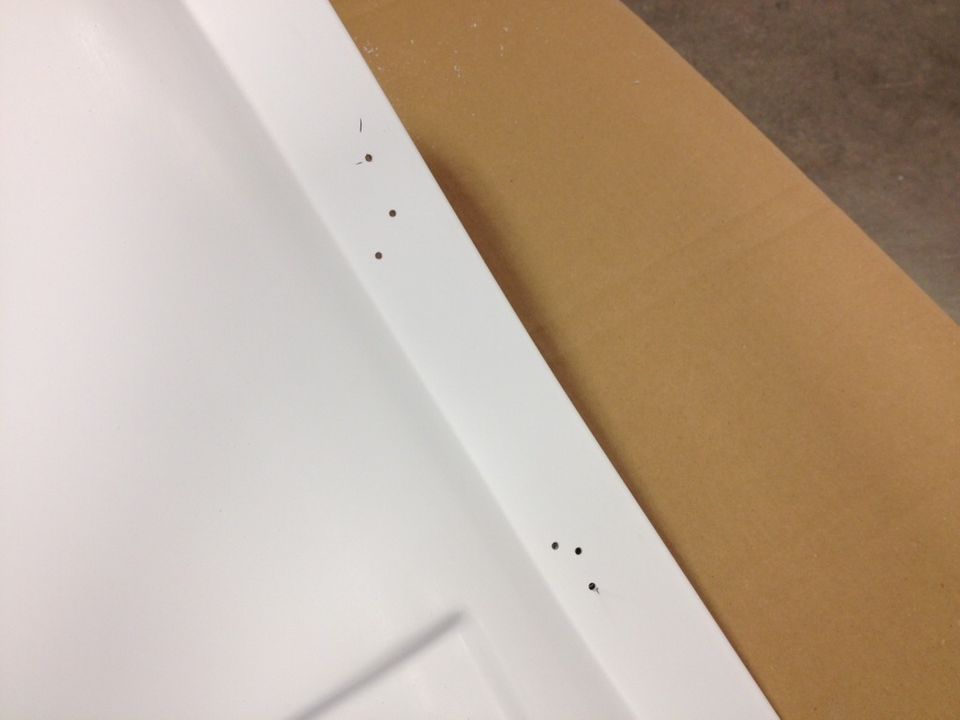
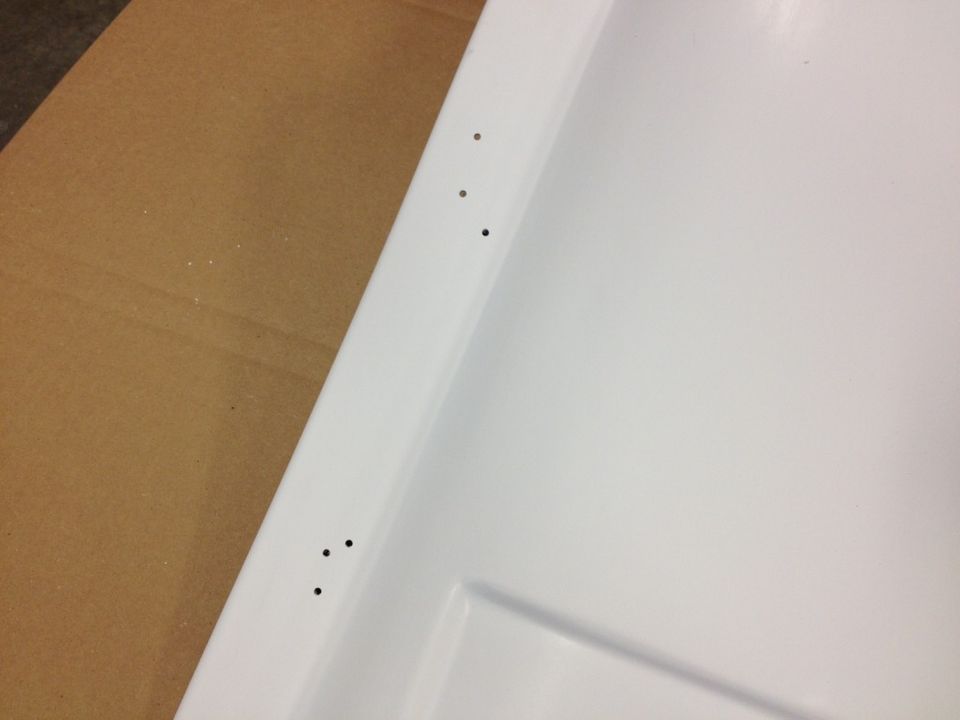
6) Then drill each of the pilot holes with a 3/16" drill bit.
Note: You must use a 3/16" drill bit.
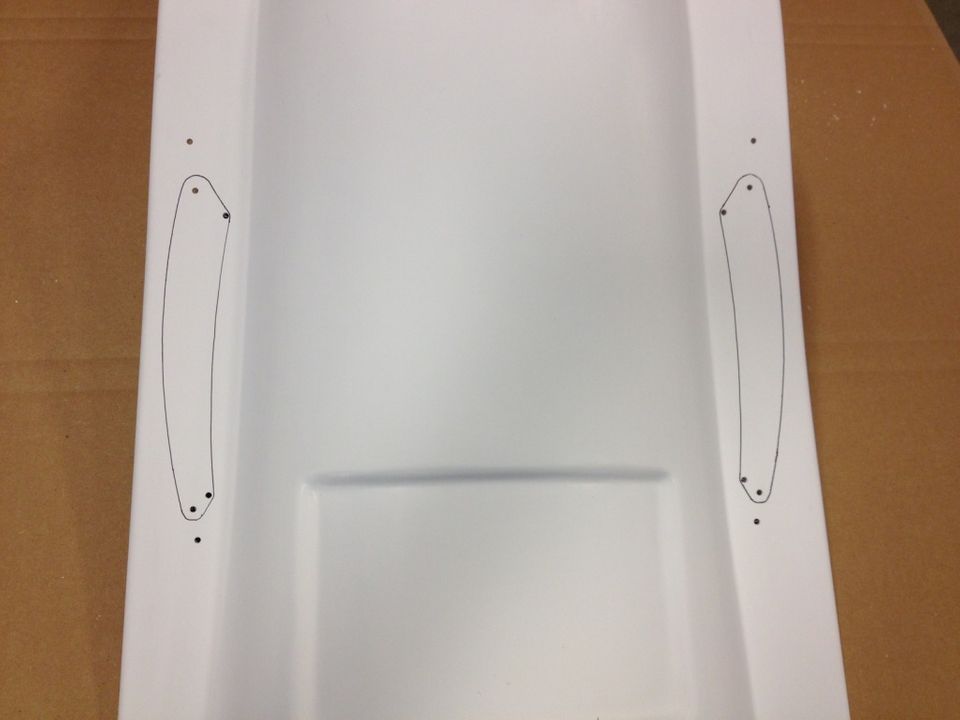
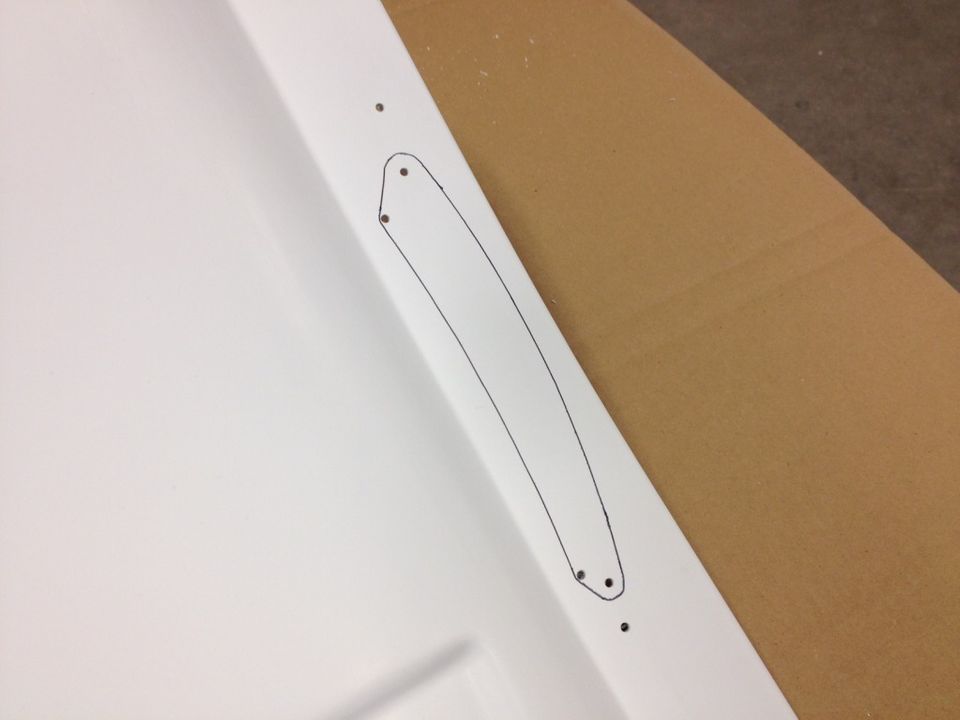
7) After the pilot holes are drilled, cut down the taillight template so you can trace the dotted lines from the template. Use a marker to trace the outline of the template onto the fender. This outline will guide you for making your final trim with your dremel.
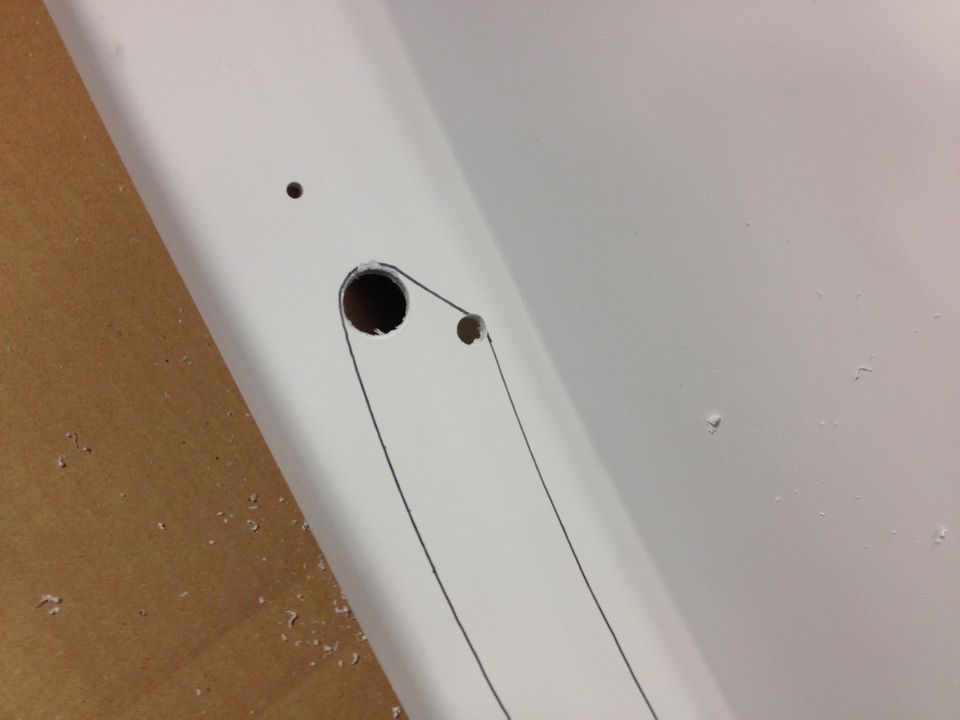
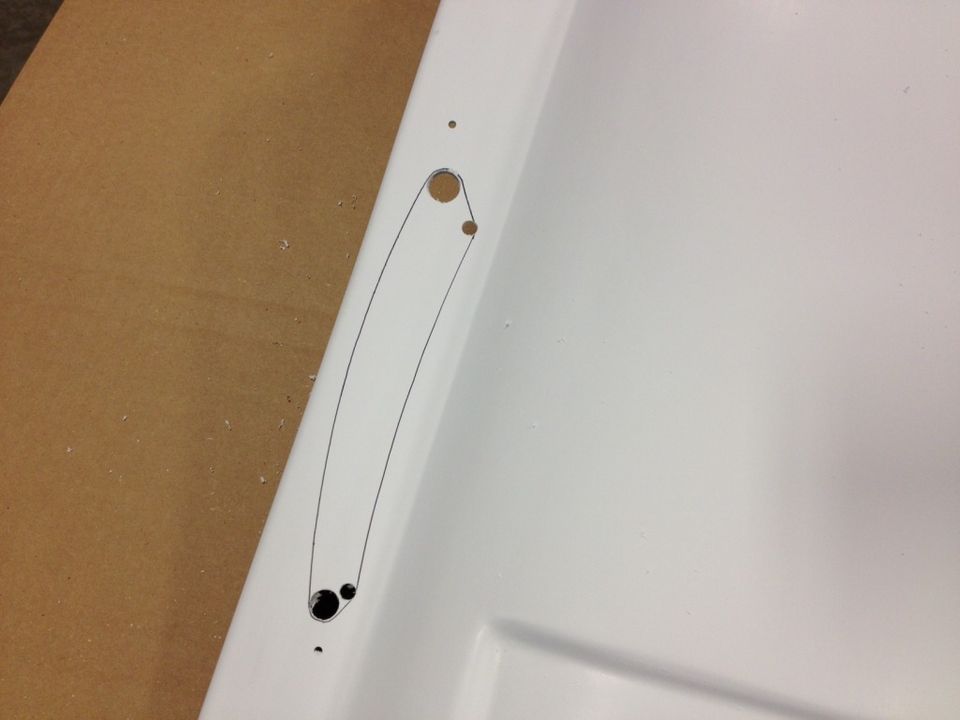
8) Then drill out each of the pilot holes using the appropriate sized drill bits as indicated on your taillight template. It is important that the correct drill bits are used. These sizes are designed to provide the appropriate radius at each corner of the custom taillight.
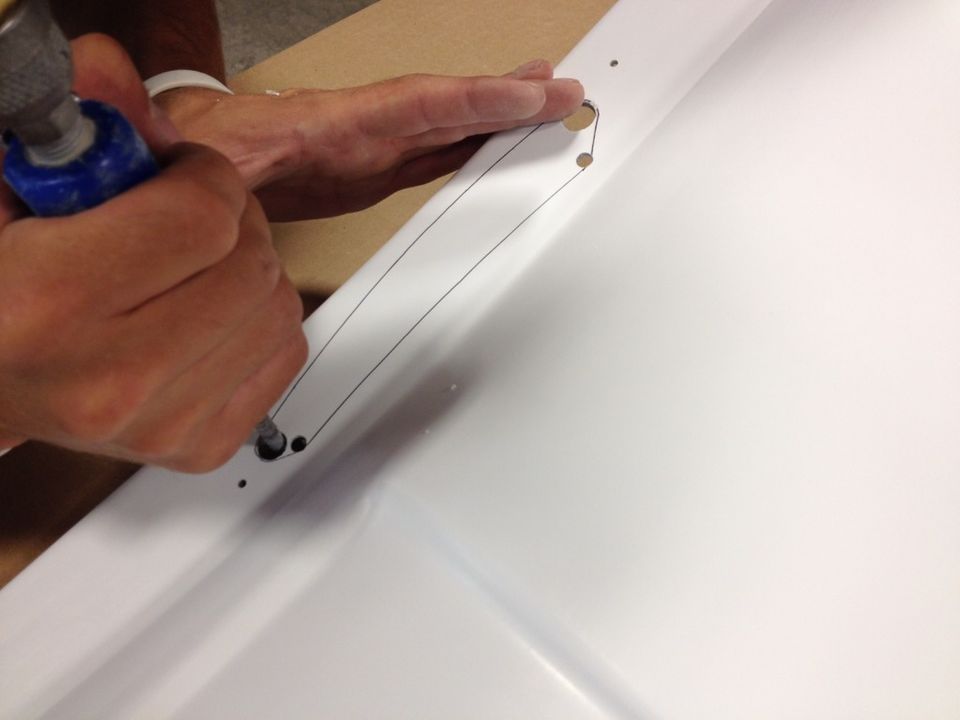
9) Next, use your dremel to cut the taillight hole into the fender. Use the dremel to trace along the lines you marked in the previous steps and connect each of the pilot holes.
Note: Do not cut into the 7/32" holes at the top and bottom. These holes are used for mounting the taillights; only cut along your traced lines.
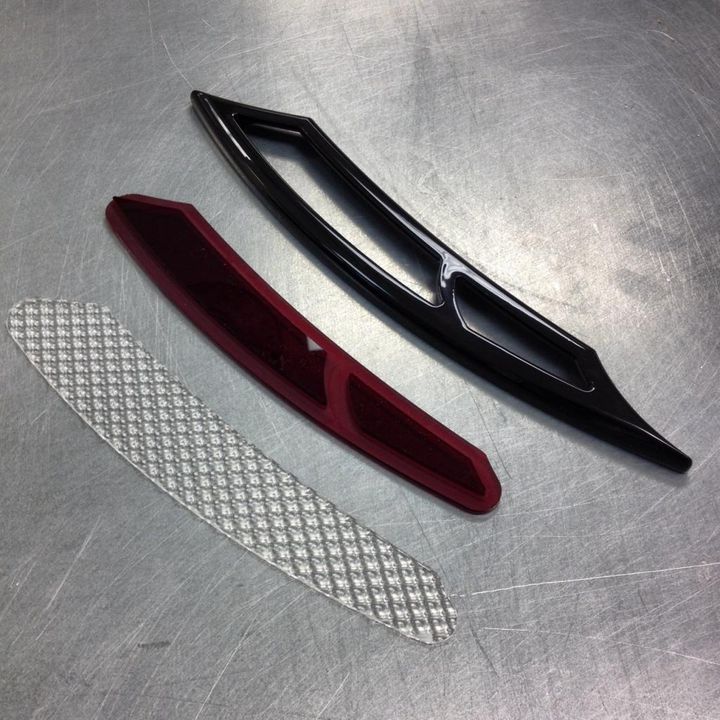
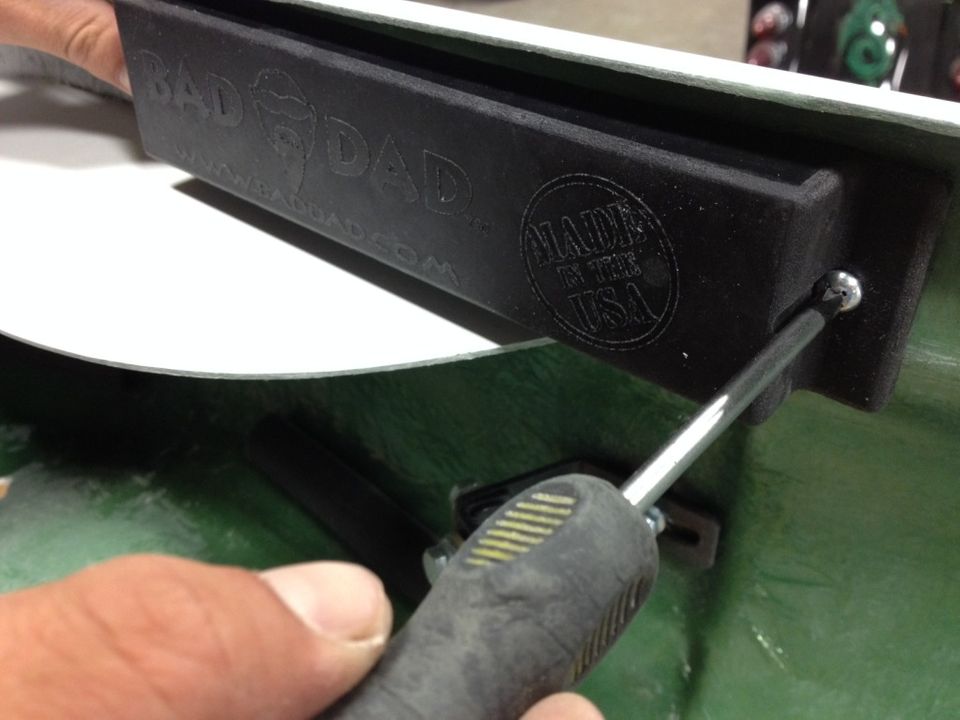
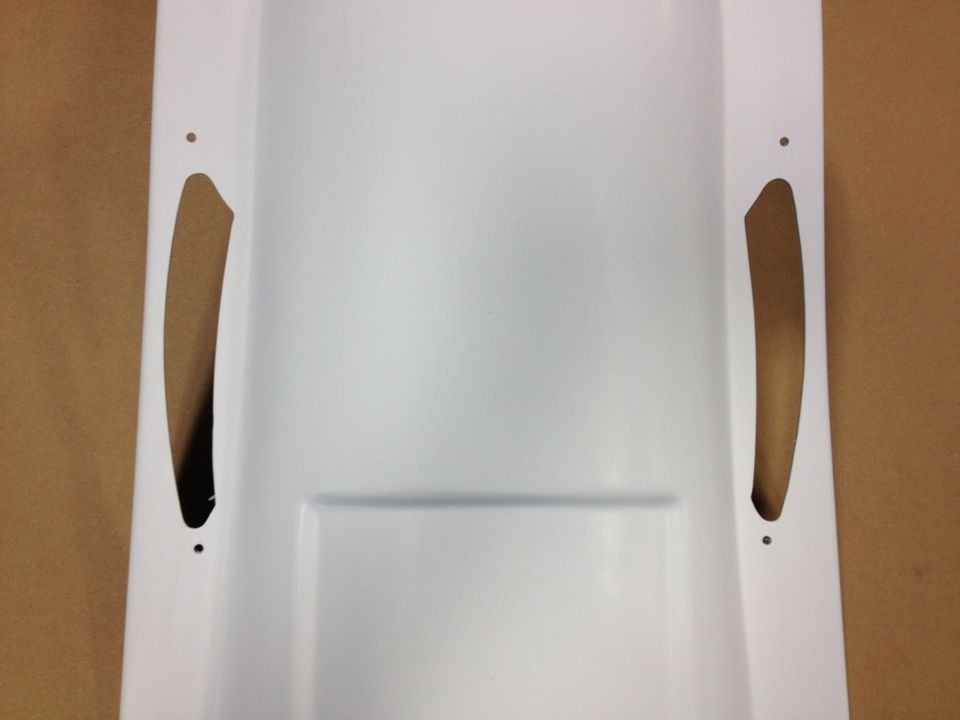
10) Finally, mount the taillight to the fender. The taillight housing will mount from the backside of the fender. The taillight bezel, machined red lens, and clear defractor lens will mount from the topside of the fender.

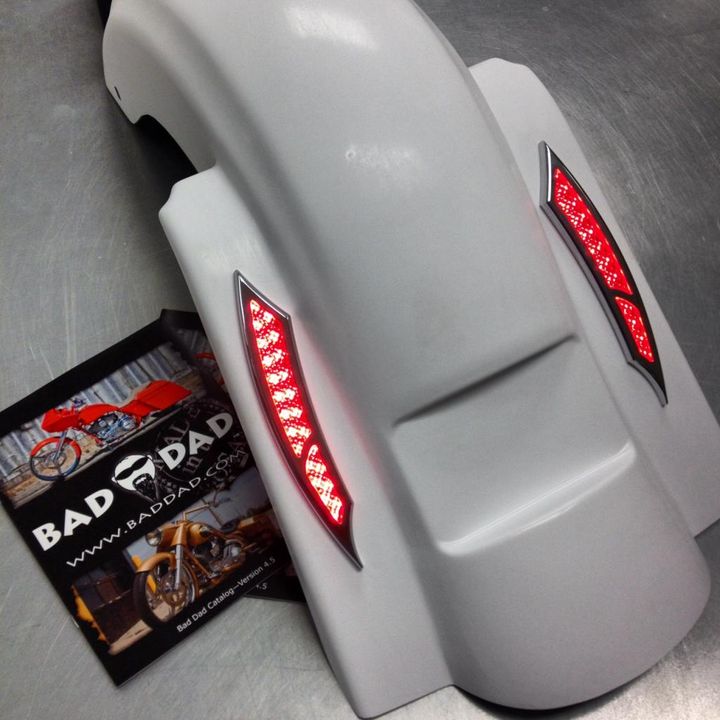
11) Finished.
Sign Up for Updates on our Newest Parts, Current Projects & Latest Builds