Order online or by
calling 260.407.2000


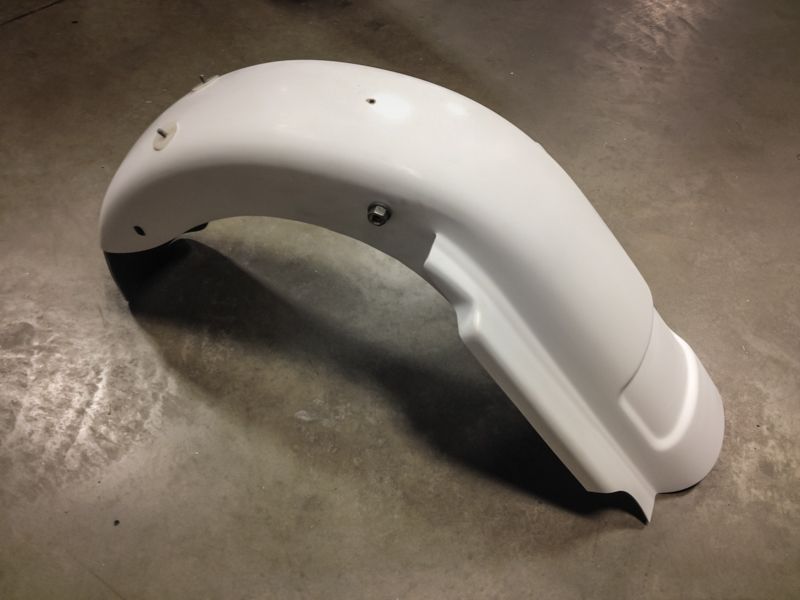
1997-2008 Summit Fender
Print Instructions
| Bad Dad's Summit Rear Fender is a great rear fender for your custom bagger. The Summit Fender bolts-on in place of the stock fender and is compatible with all of your detachable docking accessories. Here are the instructions for removing the stock fender and installing the Summit Fender. |
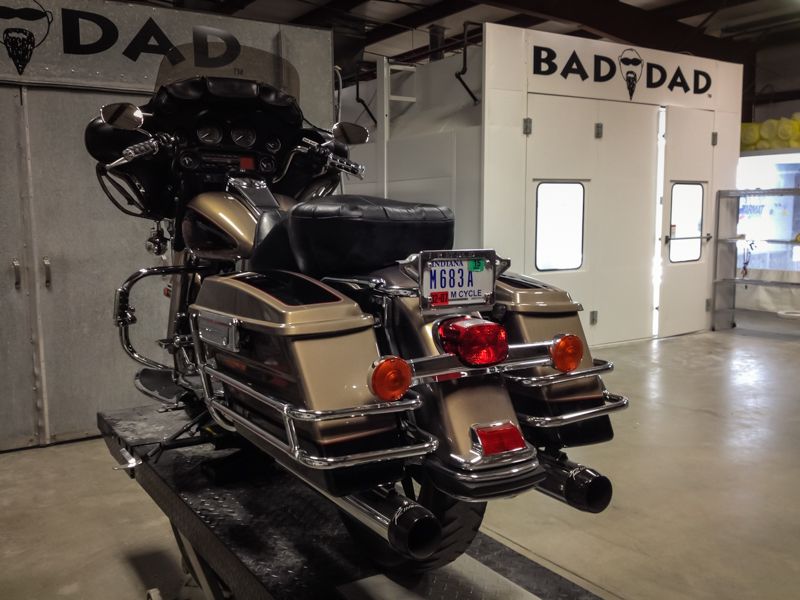
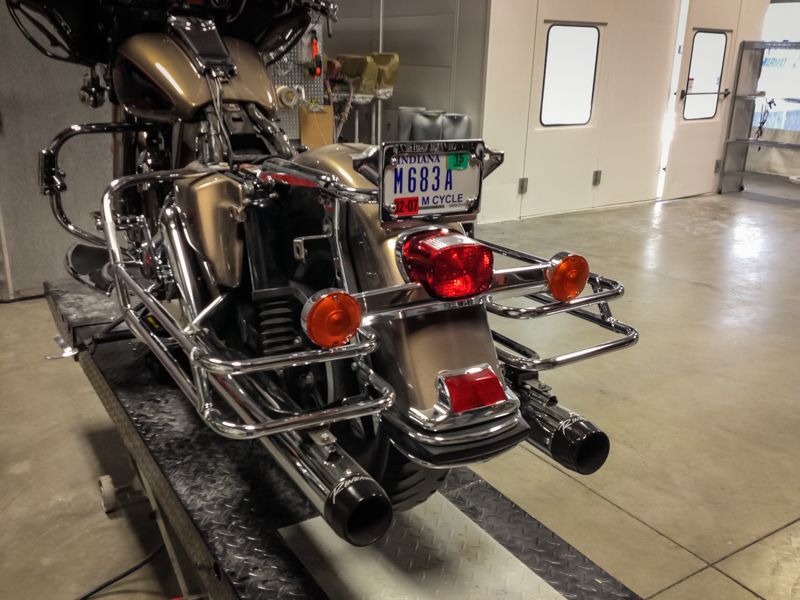
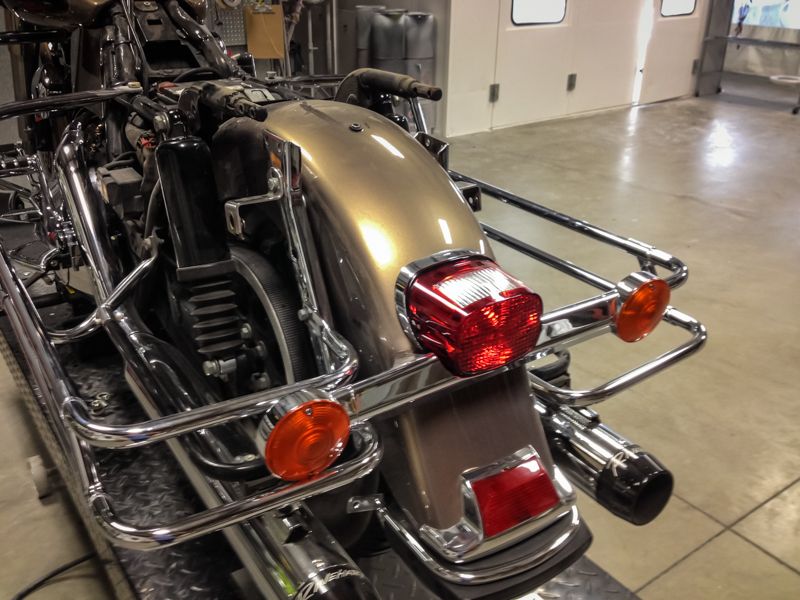
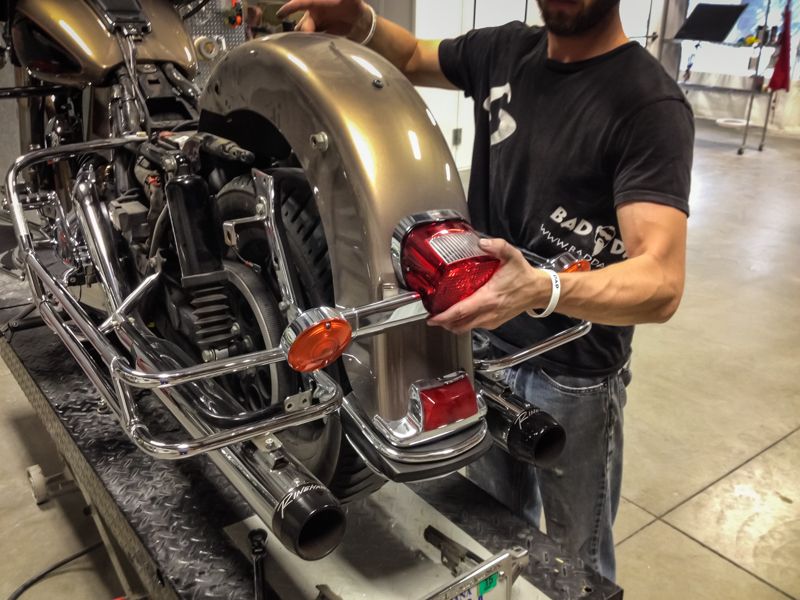
1) Here is the back of the stock bike. Begin by removing the seat.

2) And remove the saddlebags.

3) Then remove the chrome strut covers. You will reuse the strut covers with the Summit Fender.
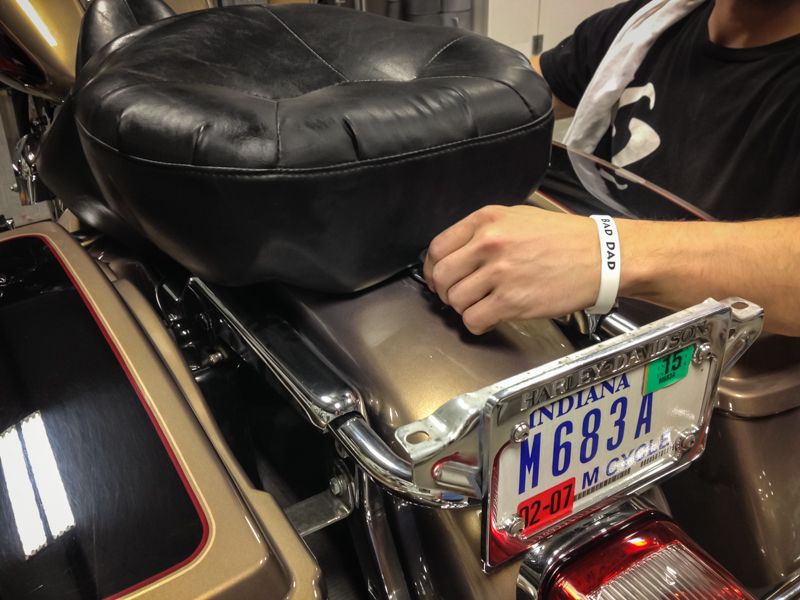
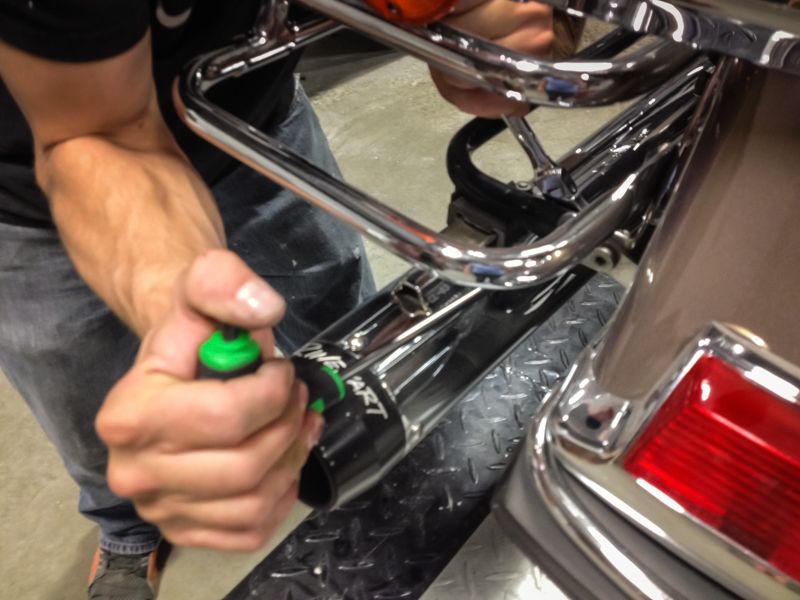
4) Next remove the license plate bracket from the back of the motorcycle. Remove the upper bolts first.

5) Then remove the lower bolts.
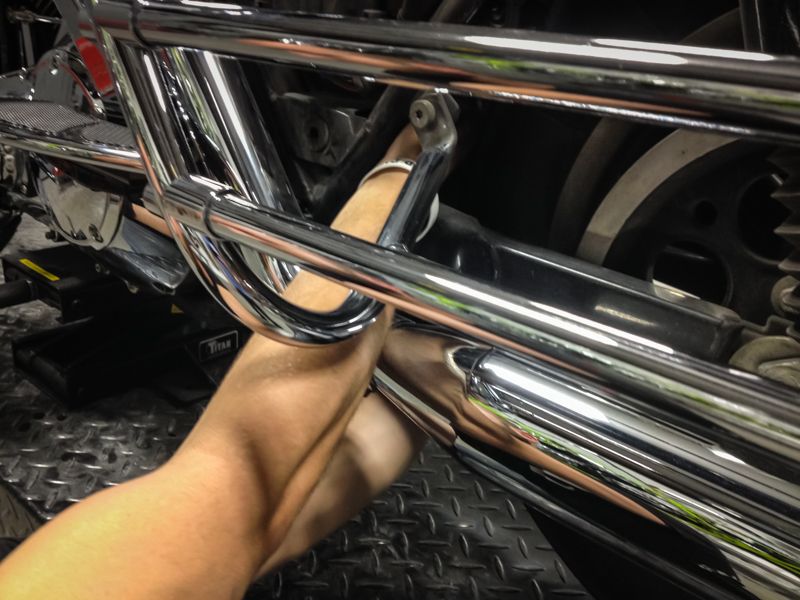
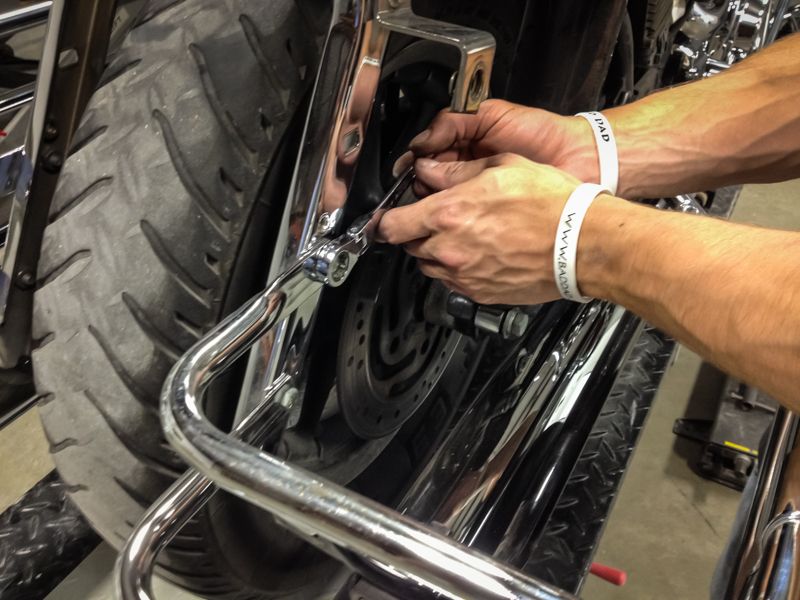
6) Next remove the bumper bracket (both internal or external style). You will replace the original bumper bracket with the bracket included from Bad Dad.
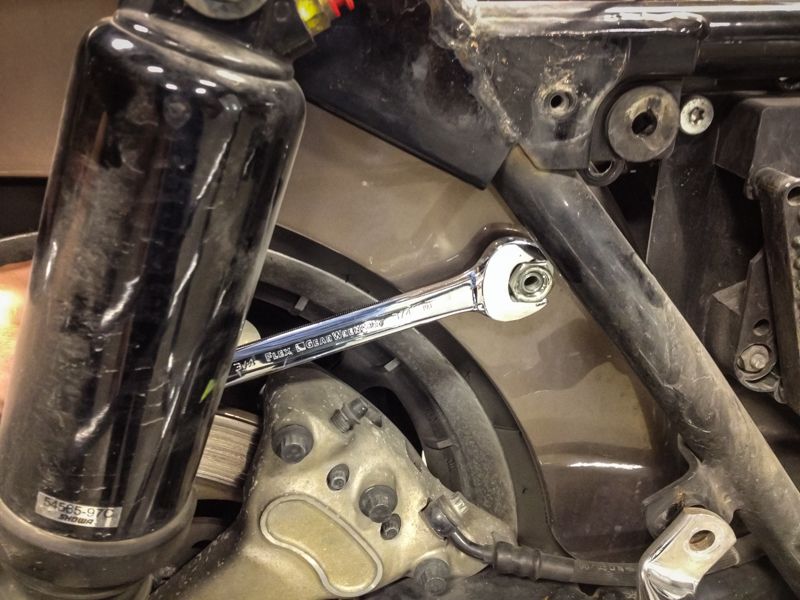
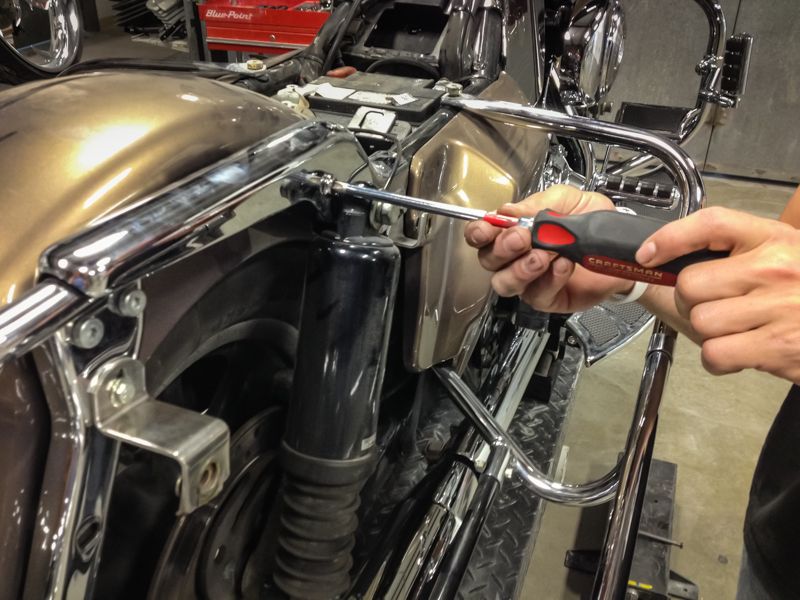
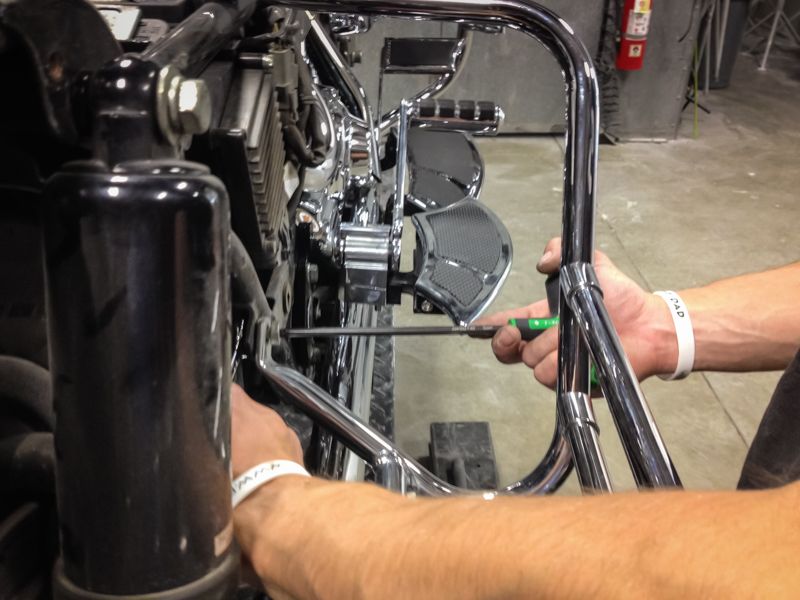
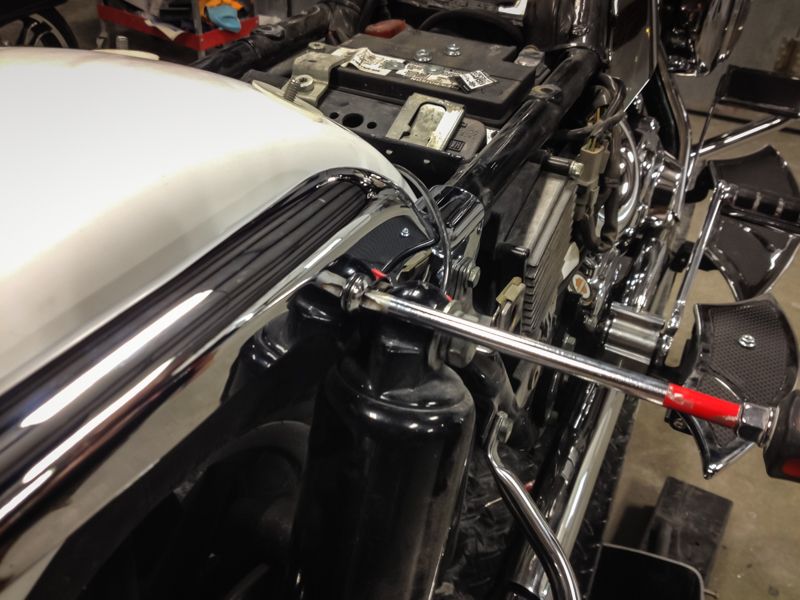
7) Now we will prepare to remove the OEM fender from the motorcycle. Remove the side covers then remove the bolt that secures the front of the OEM fender to the battery box. Then remove the bolts from the front of the fender.
8) The OEM fender should be completely loose inside the frame. Remove the OEM fender.
9) Saddlebag Guard Models only: If you have saddlebag guards then those can be removed now. If you do not, skip to step #12.
10) Saddlebag Guard Models only: You will have also removed the lower saddlebag rail while removing the saddlebag guards. You can install a non-guarded lower saddlebag support at this time. This is the same support as found on the Street Glide & Road Glide models.
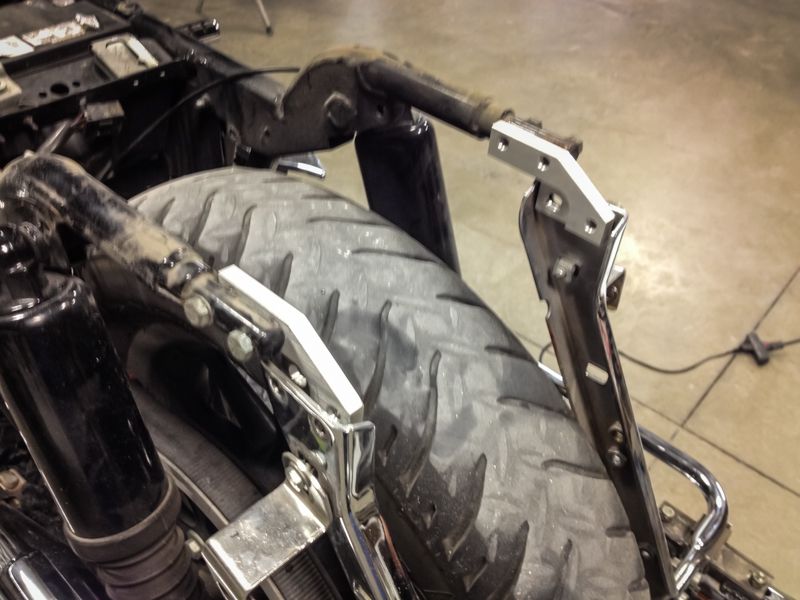
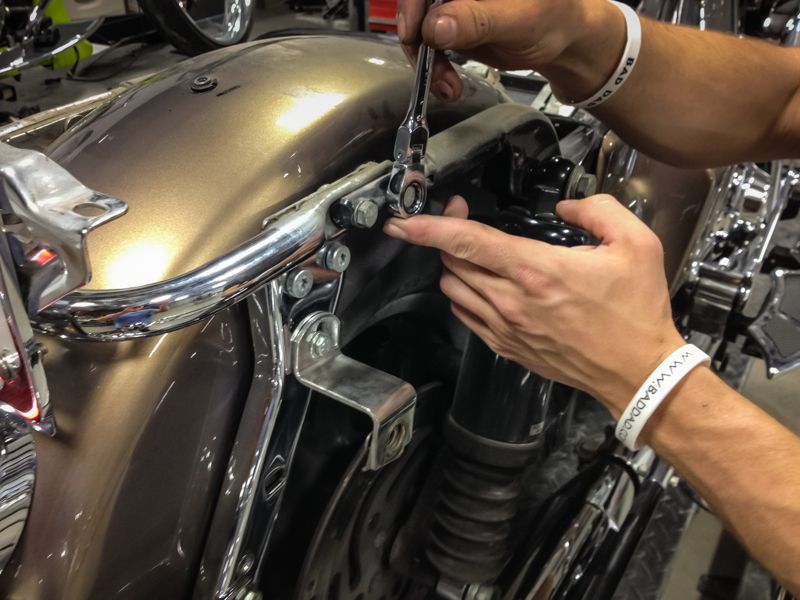
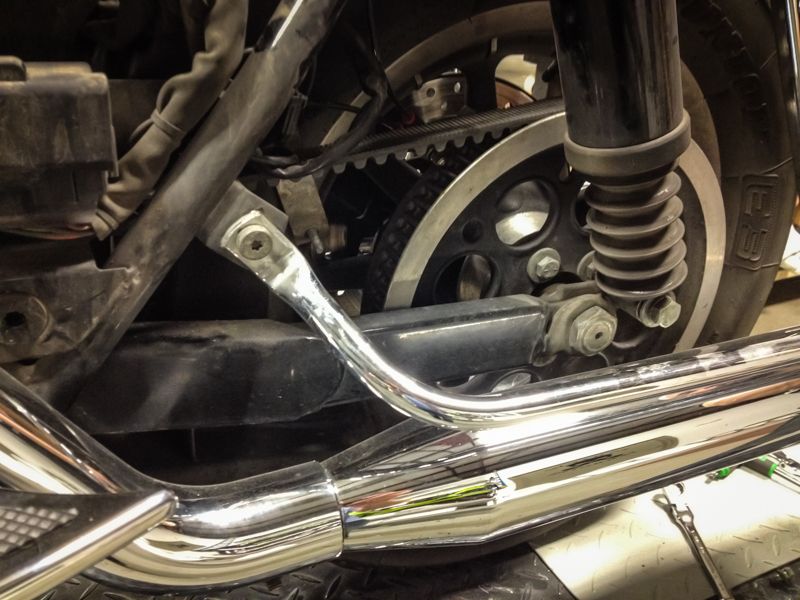
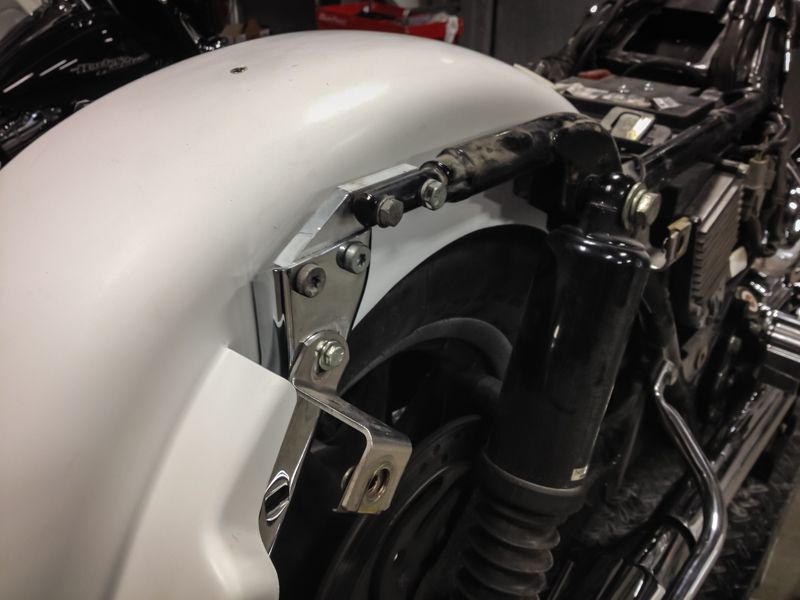
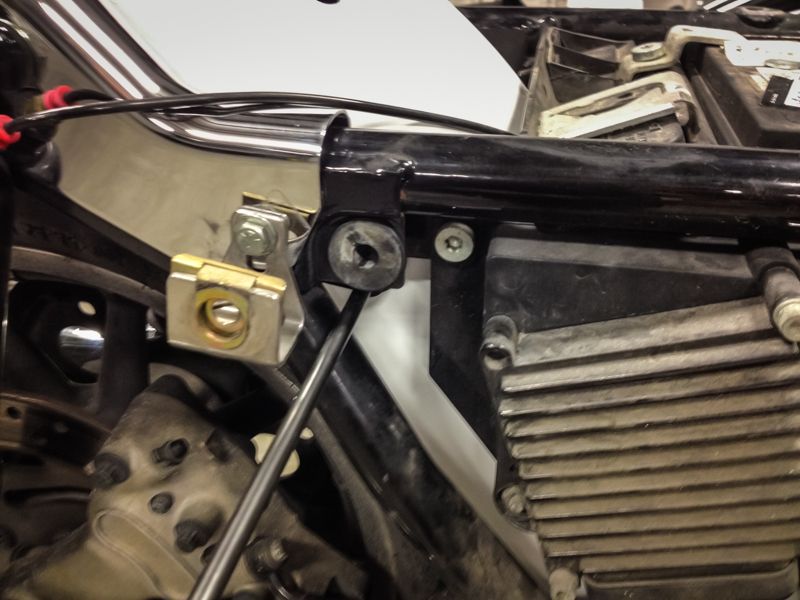
11) The saddlebag rails are disconnected from the rear struts because the license plate bar has been removed. Bring the saddlebag rails back into alignment by attach the saddlebag rails & struts by either (a) attaching Bad Dad's Eliminator Bracket or (b) utilizing the OEM license plate bracket.
We will use Bad Dad's Eliminator Bracket during this tutorial.
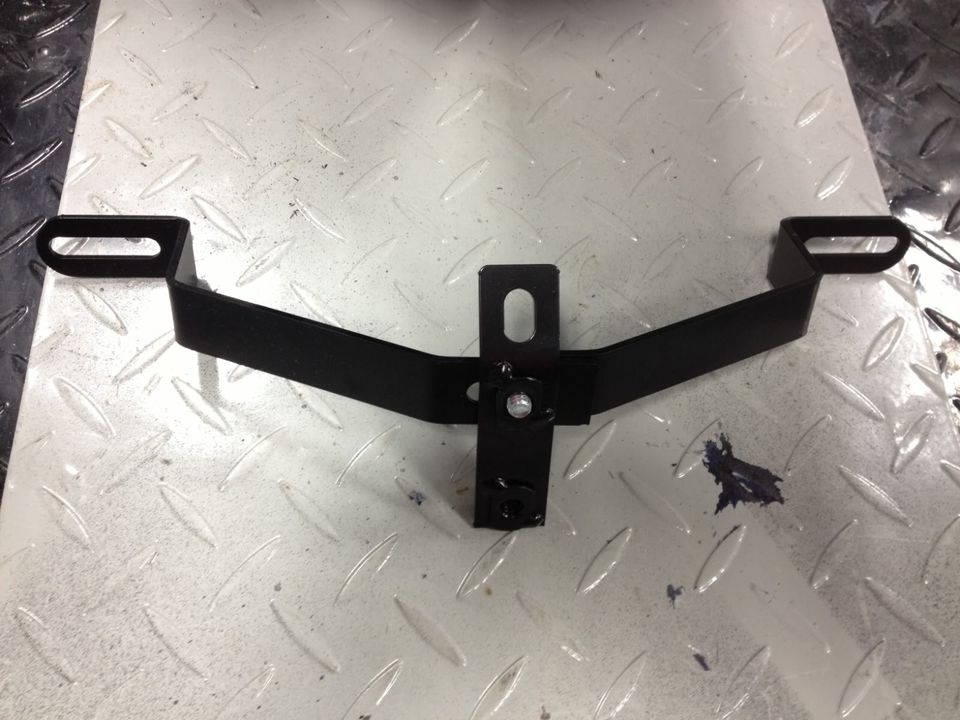
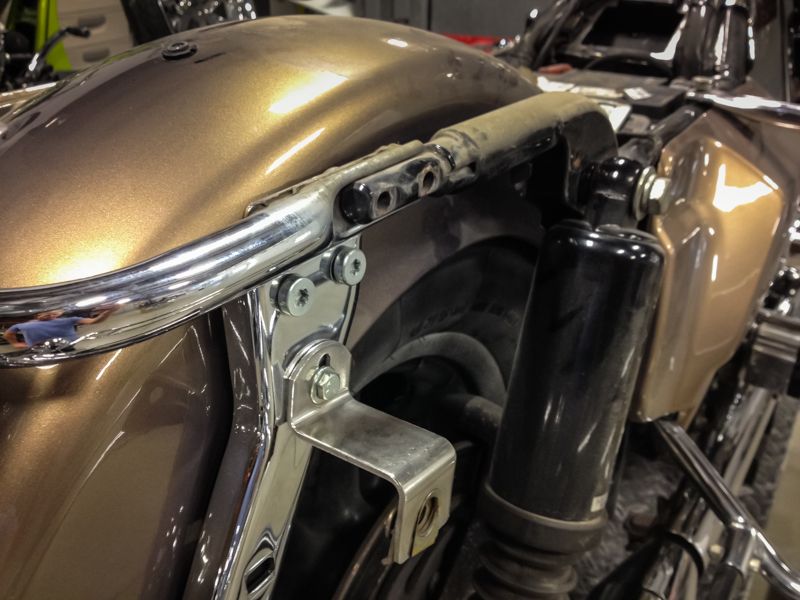
12) Next install the custom adjustable Bumper Bracket which Bad Dad included with your Summit Fender.
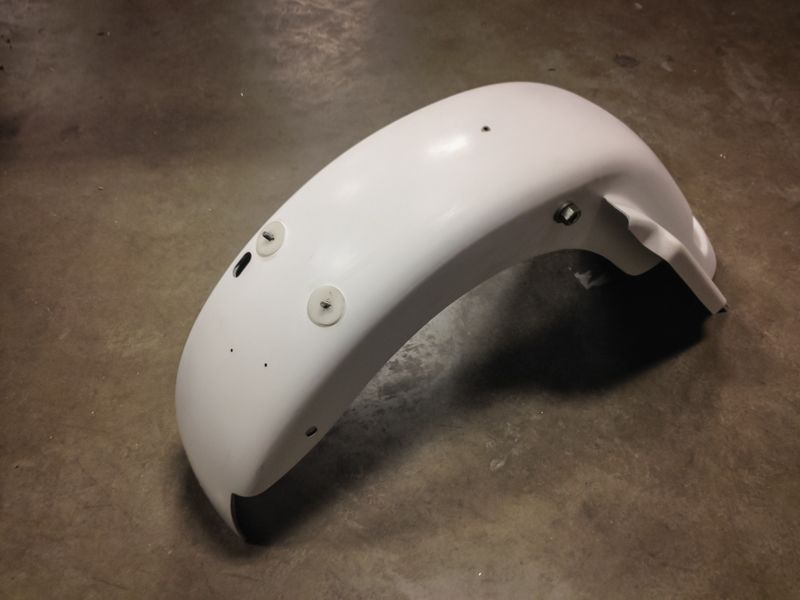
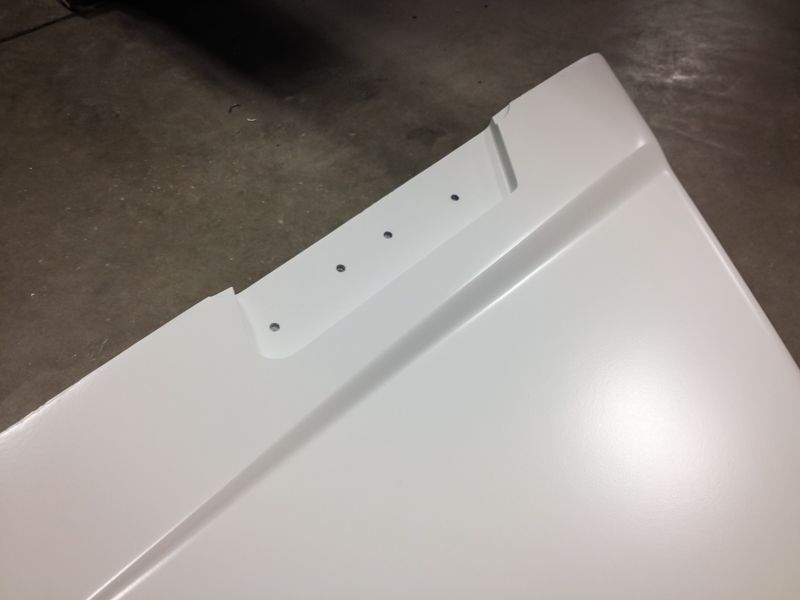
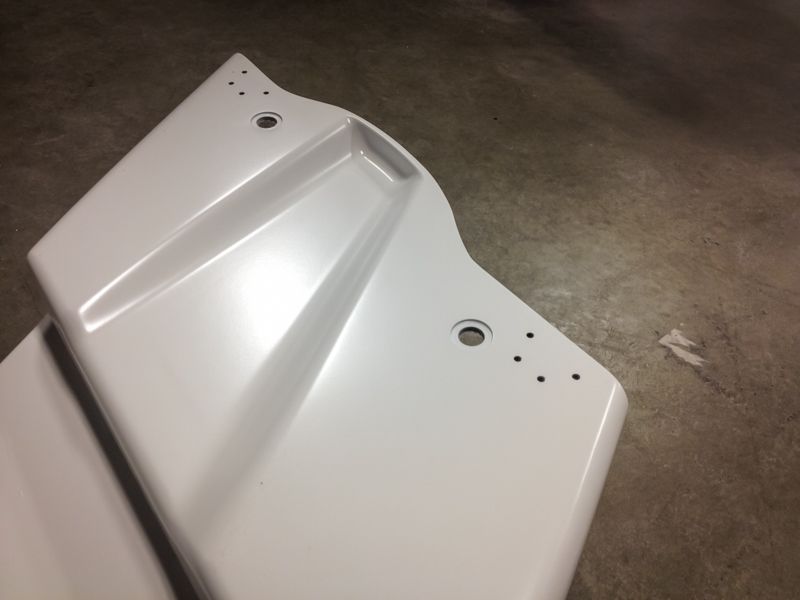
13) With the OEM fender removed, transfer the wire loom studs and four (4) mounting bolts from the OEM fender to the Summit Fender.
Bad Dad pre-drills and pre-fits all of the mounting holes for you. This makes the Summit Fender an easy bolt-on part.
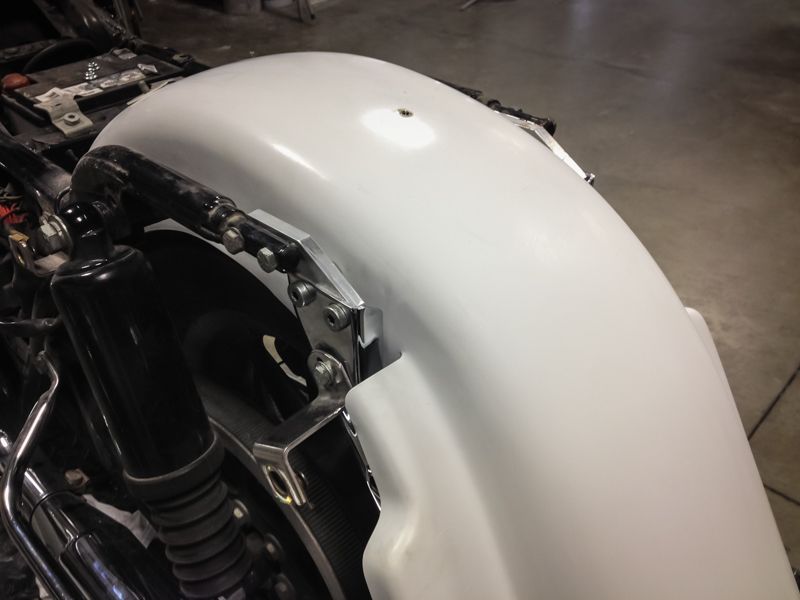
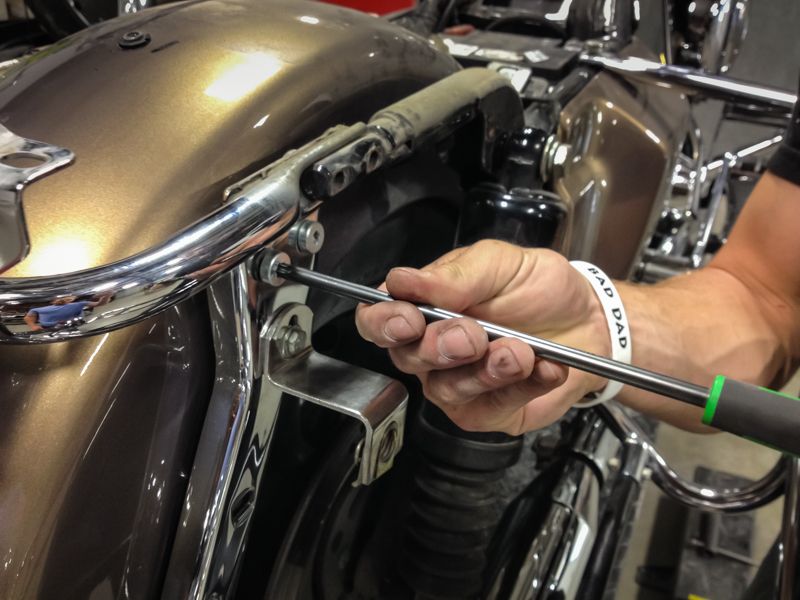
14) Then bolt the Summit Fender into the frame utilizing all of the original hardware.
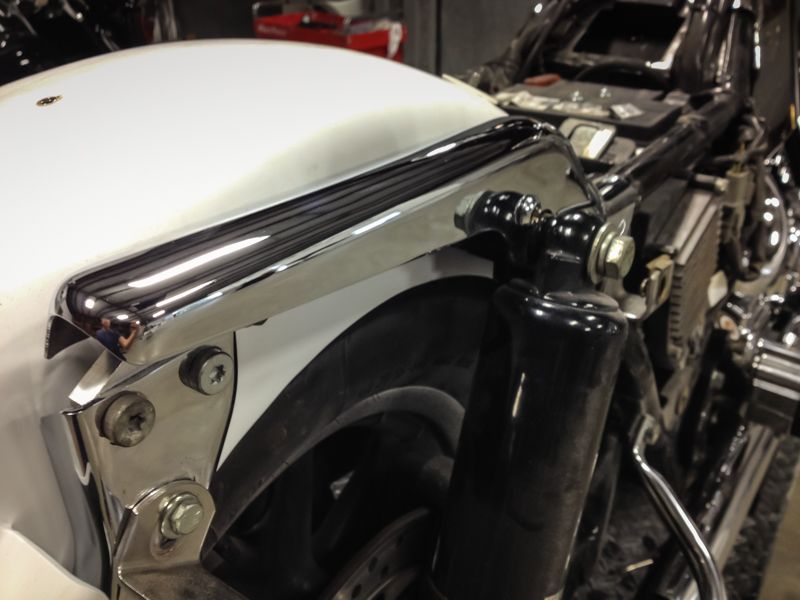
15) Re-install the chrome strut covers.

16) And tighten all of the OEM mounting hardware.
No Picture
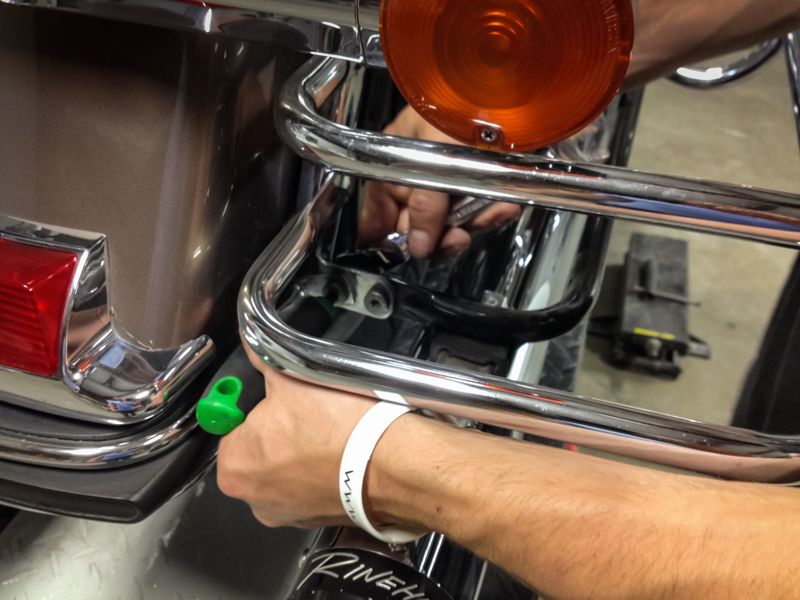
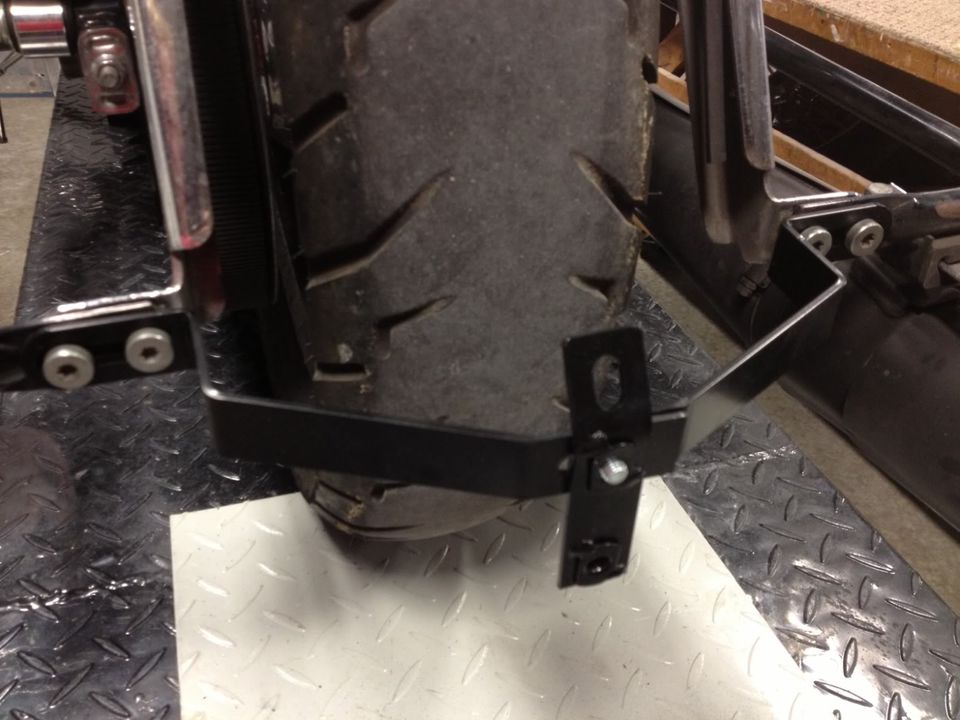
17) Once the Summit Fender is installed, attach the mounting stud on the backside of the fender into Bad Dad's bumper bracket.
18) You can now install your Stretched Bags at this time. All of the mounting holes in Bad Dad's Stretched Bags are pre-drilled & pre-fit prior to shipping to you.
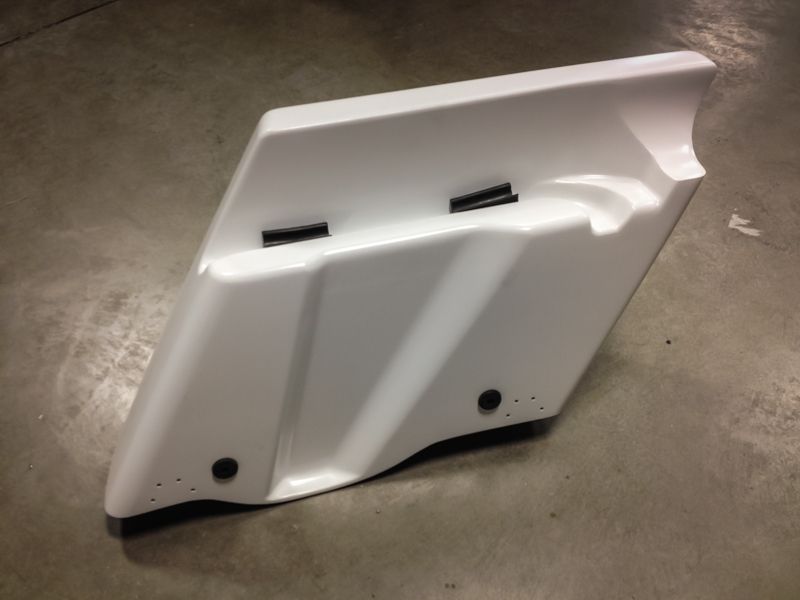
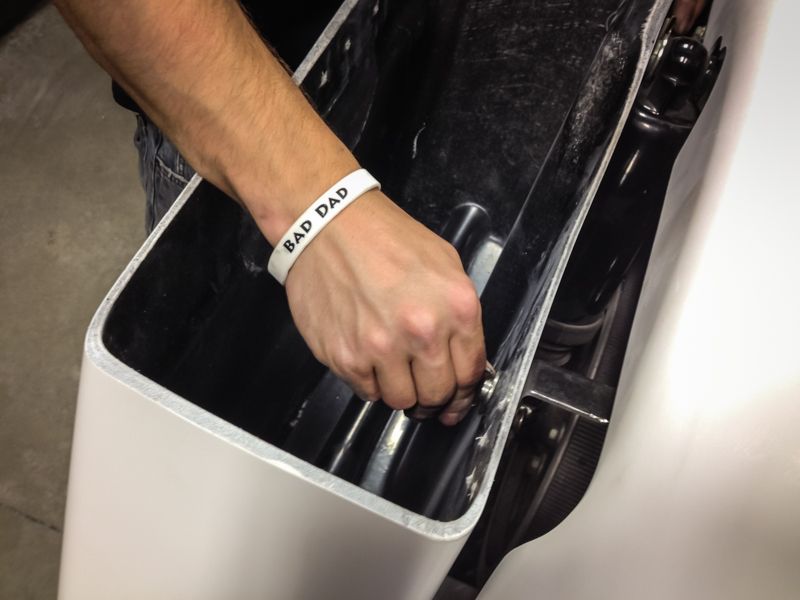
19) Transfer over your saddlebag bushings & grommets and install your Stretched Bags.
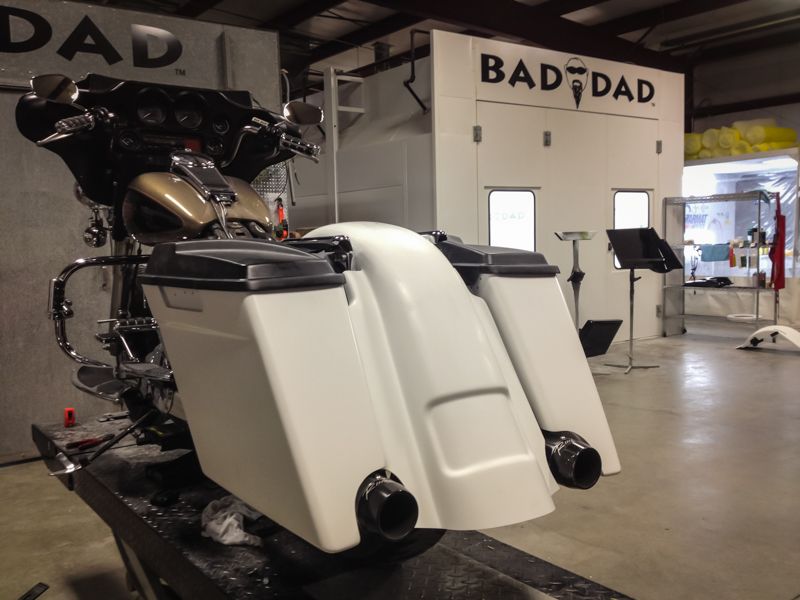
20) Your Summit Fender and Stretched Bags are now installed.
Sign Up for Updates on our Newest Parts, Current Projects & Latest Builds