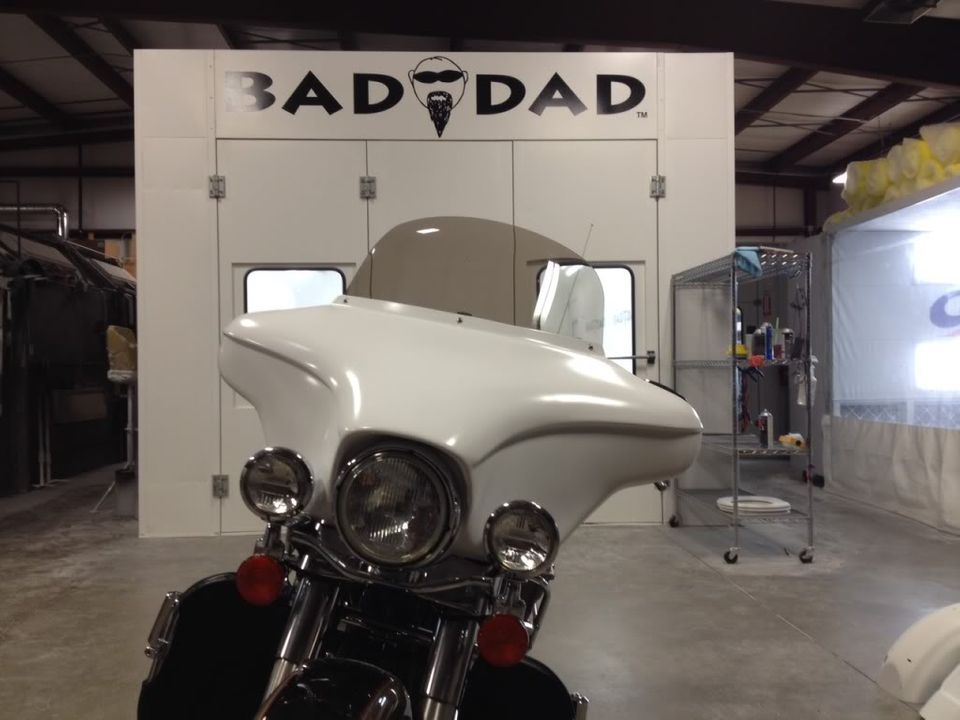
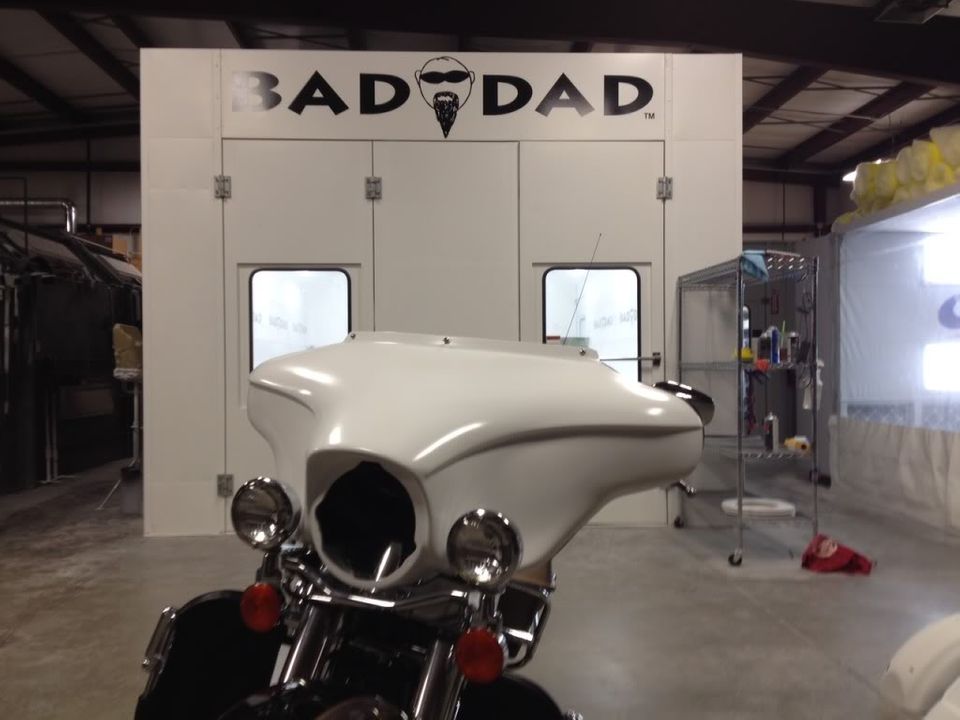
Classic Series Fairing
Print Instructions
|
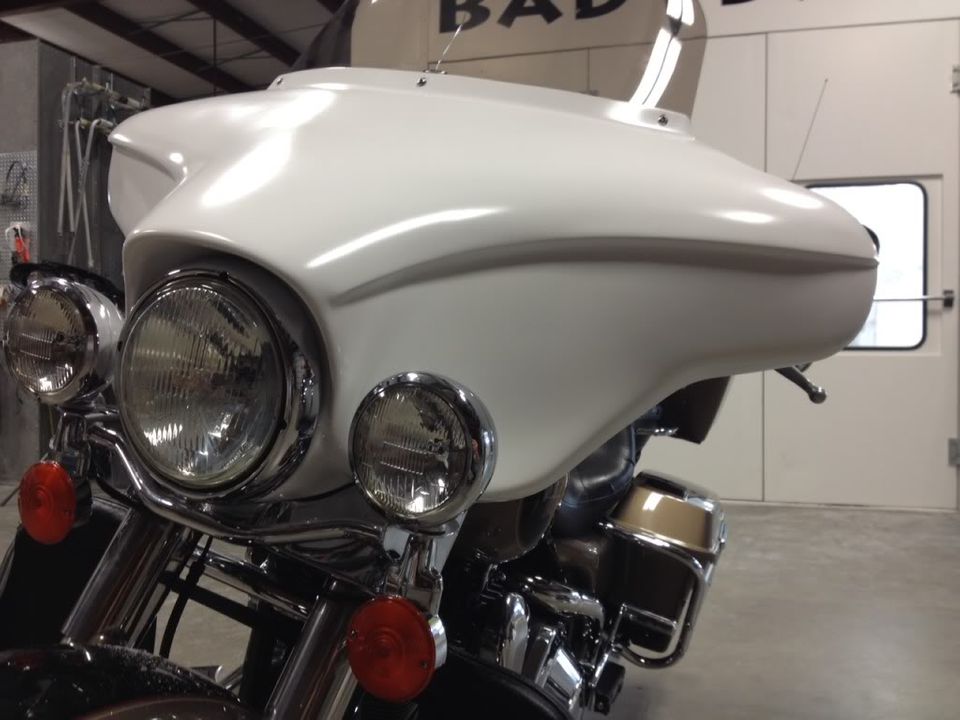
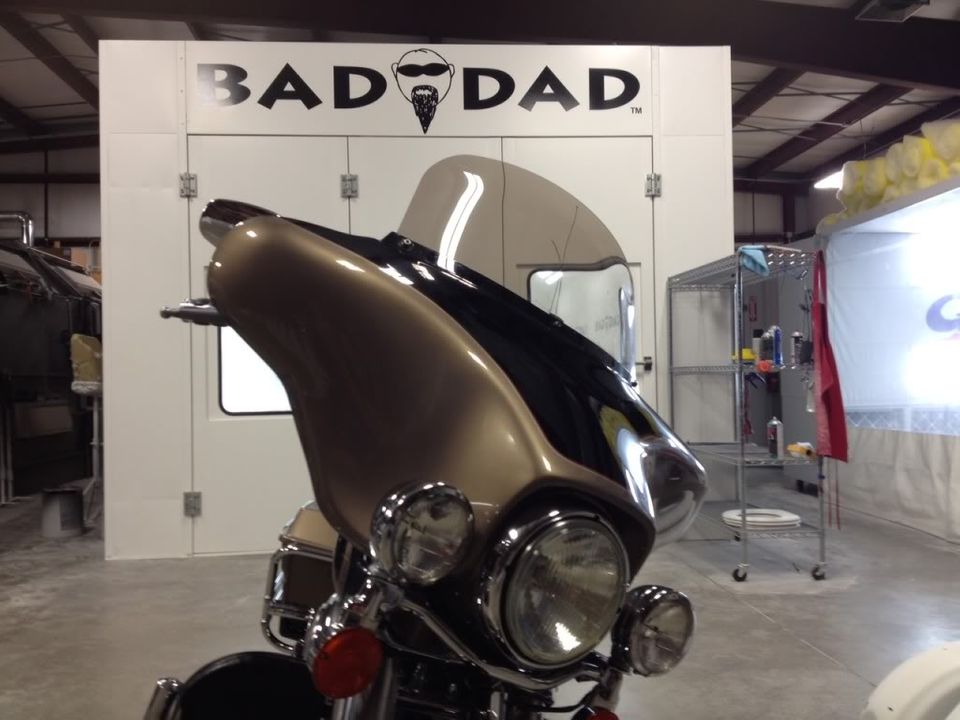
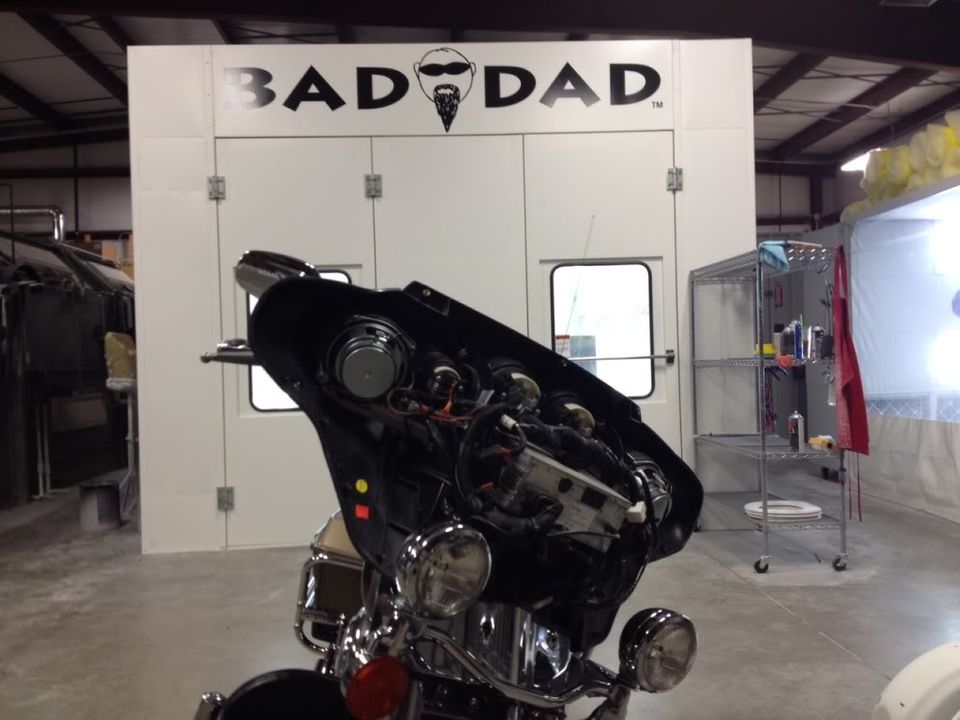
Bad Dad's Classic Series Fairing is a great way to customize the front of your bagger. The Classic Series Fairing is a bolt-on part that installs with all of the OEM mounting hardware Note:It is important that all fairing hardware including the spot lamp hardware is loosened during installation. These items will be re-tightened during the assembly as shown below. |
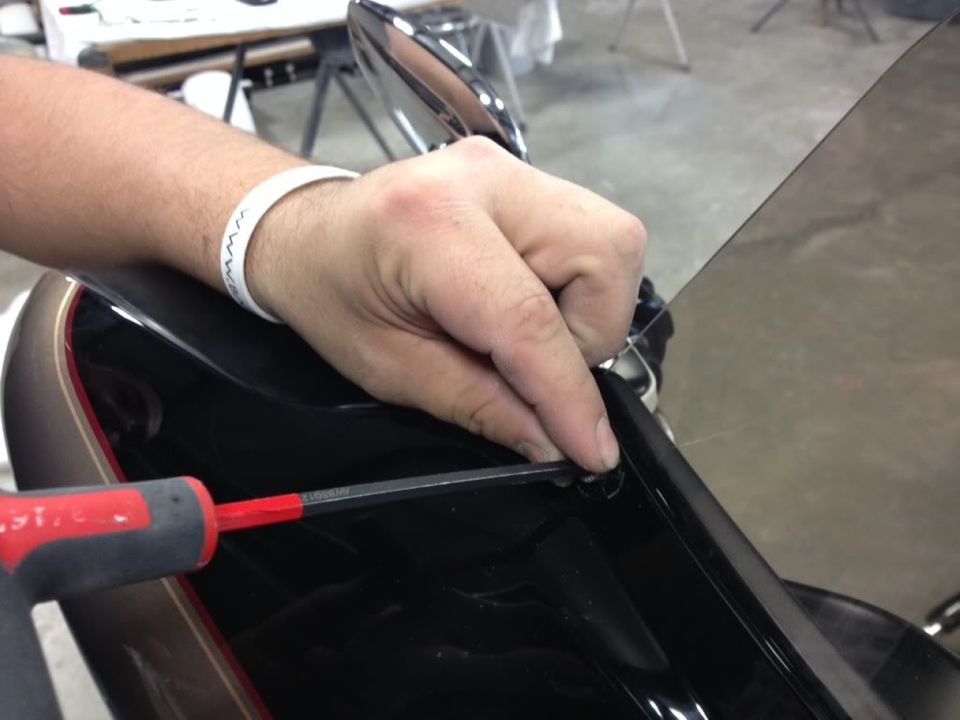
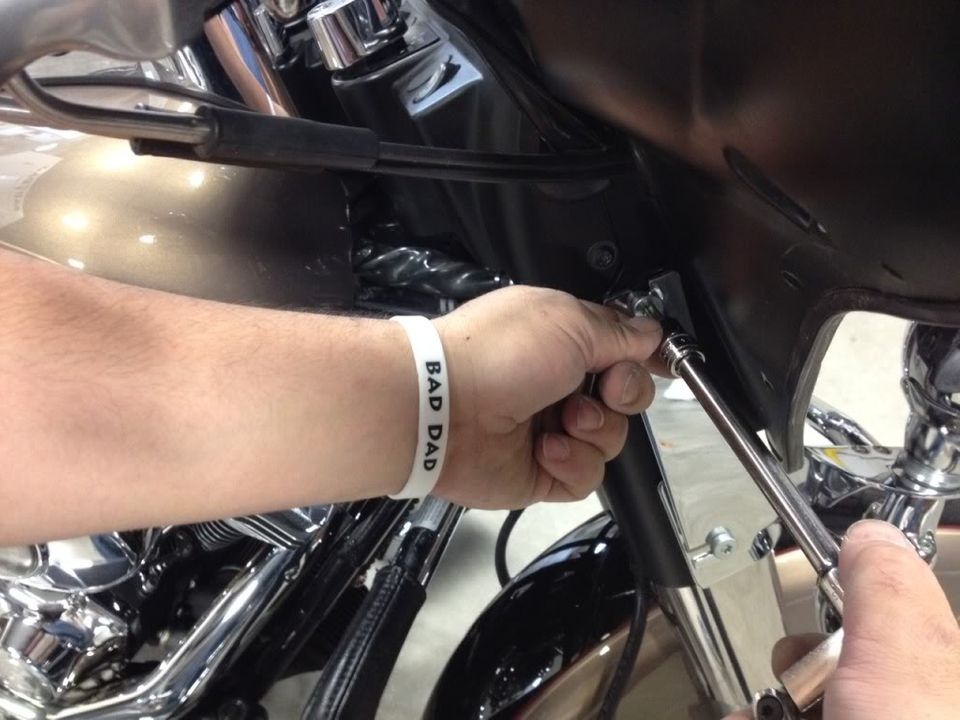
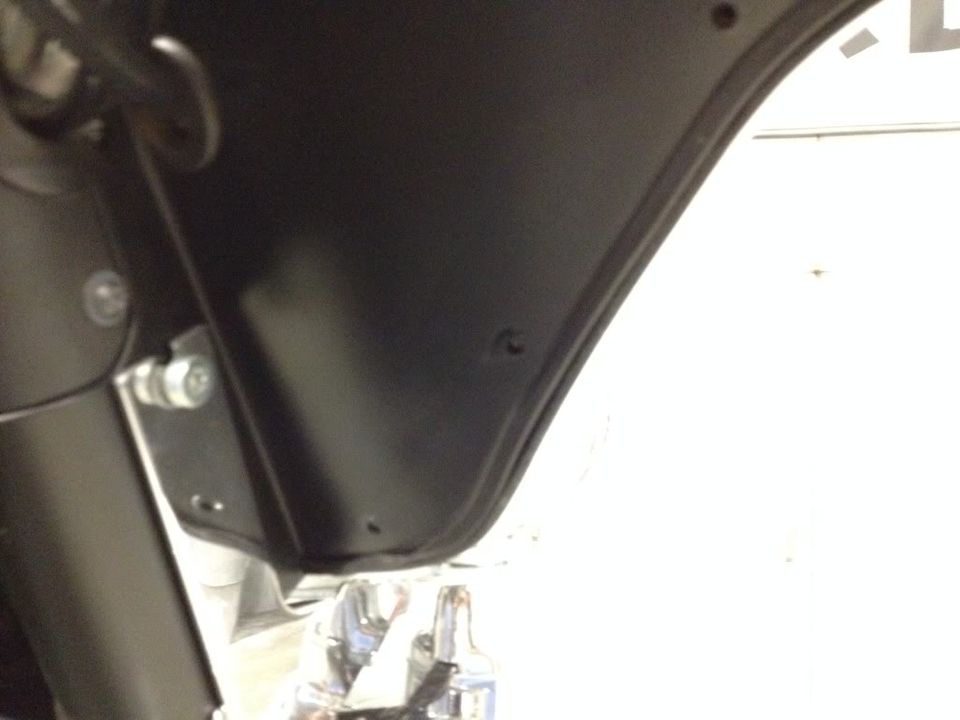
Note: This step is important to help unload the pressure along the bottom of the fairing.
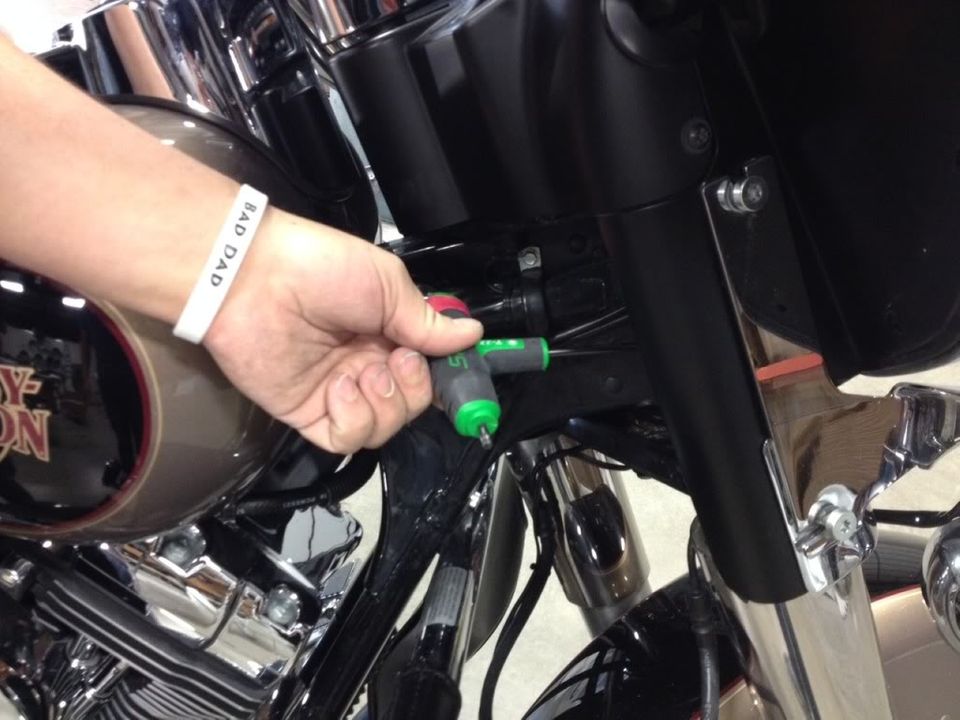

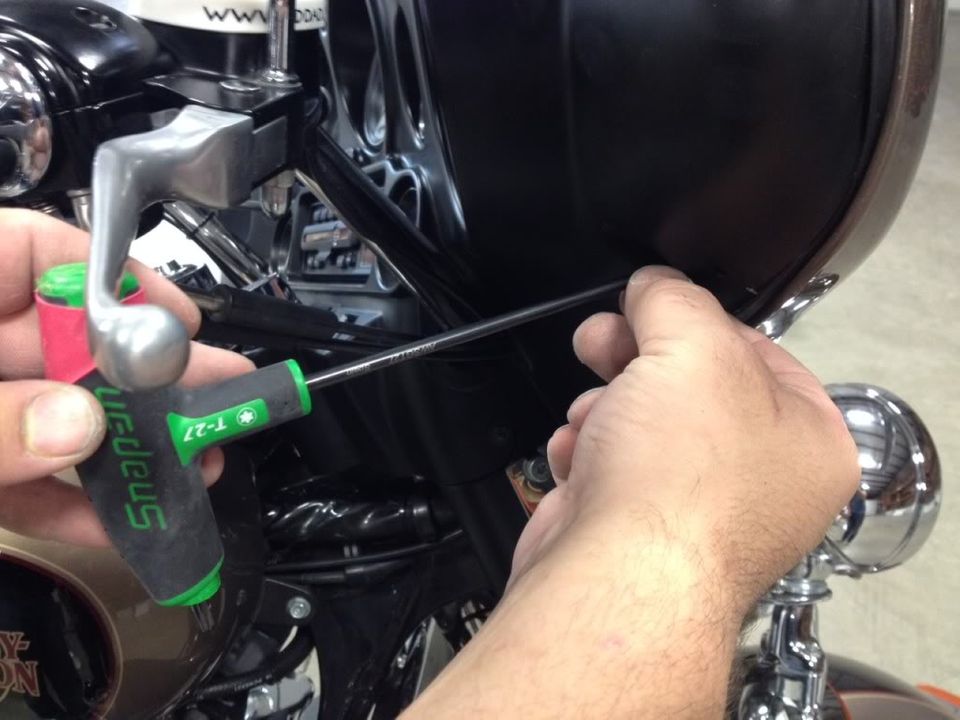
Note: Keep all of these bolts loose until all of the mounting bolts are loosely in place.
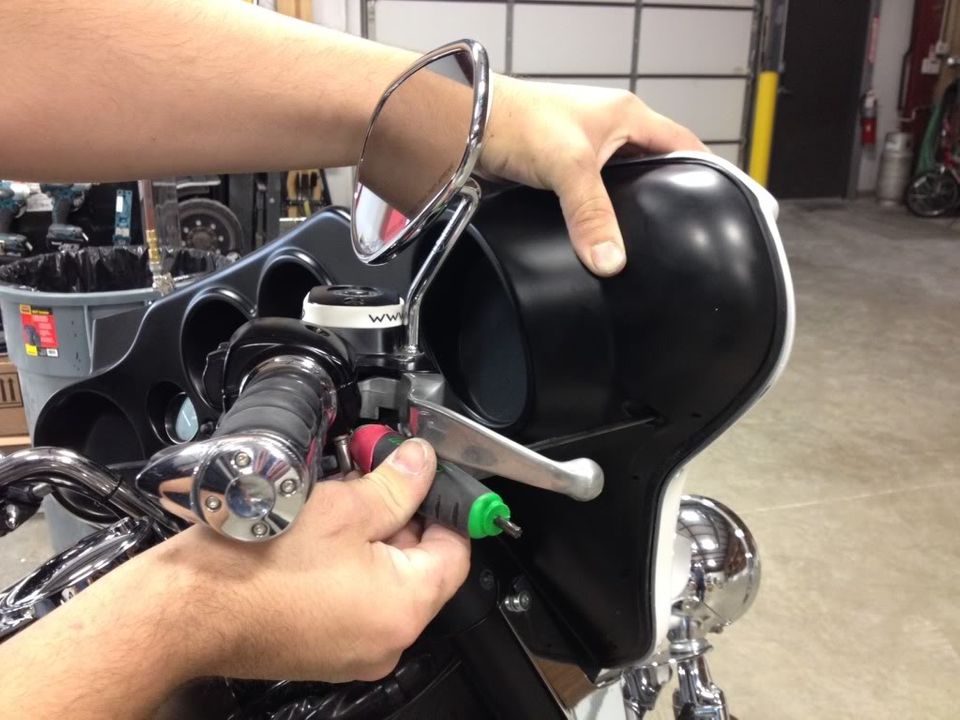
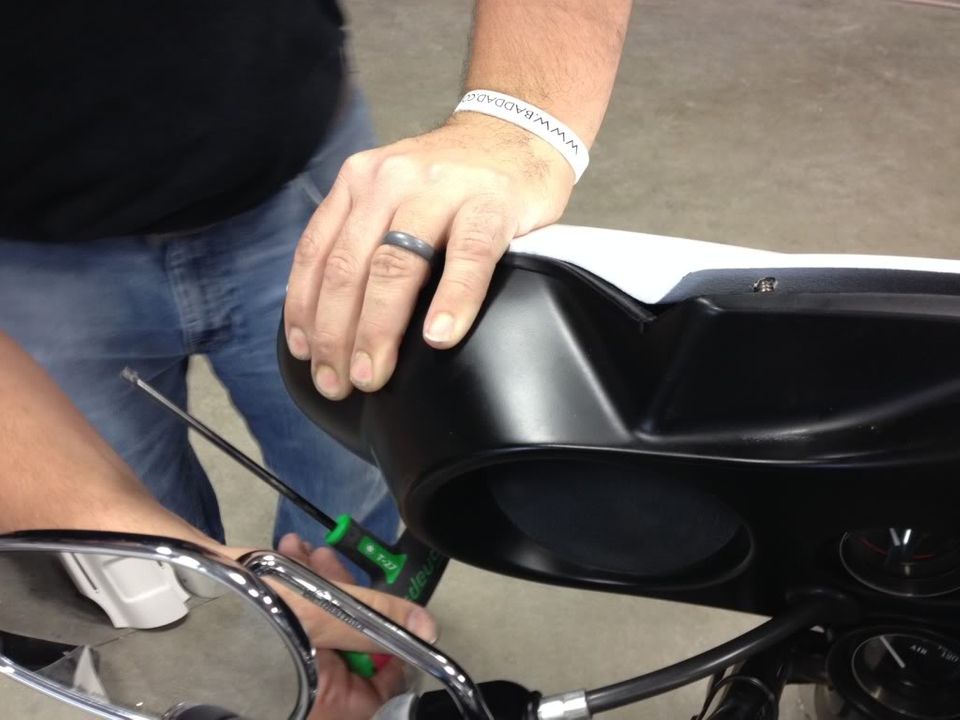
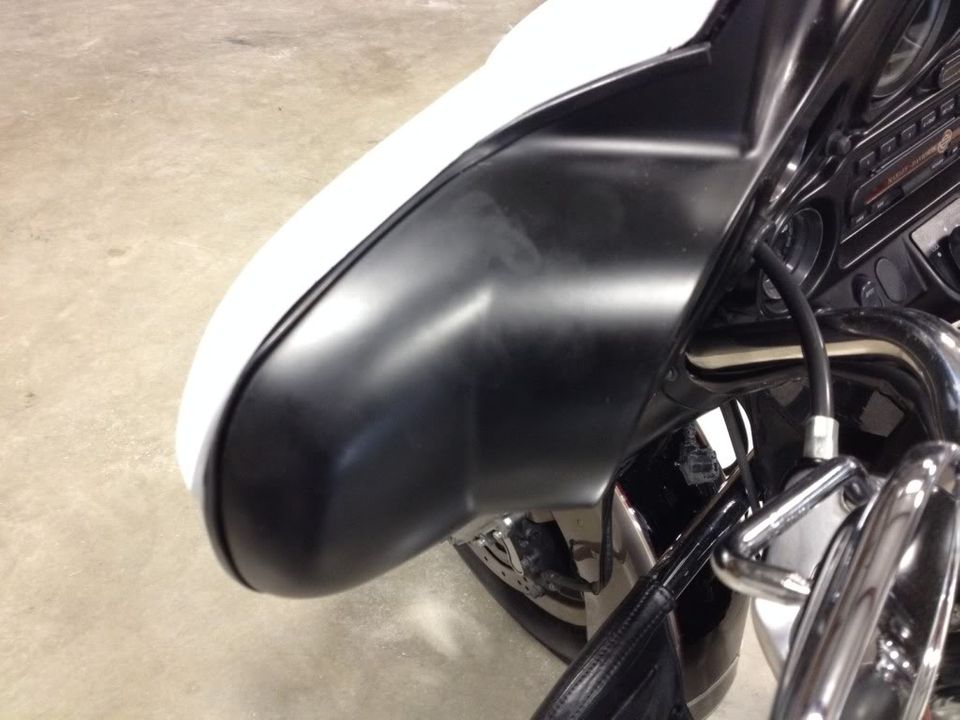
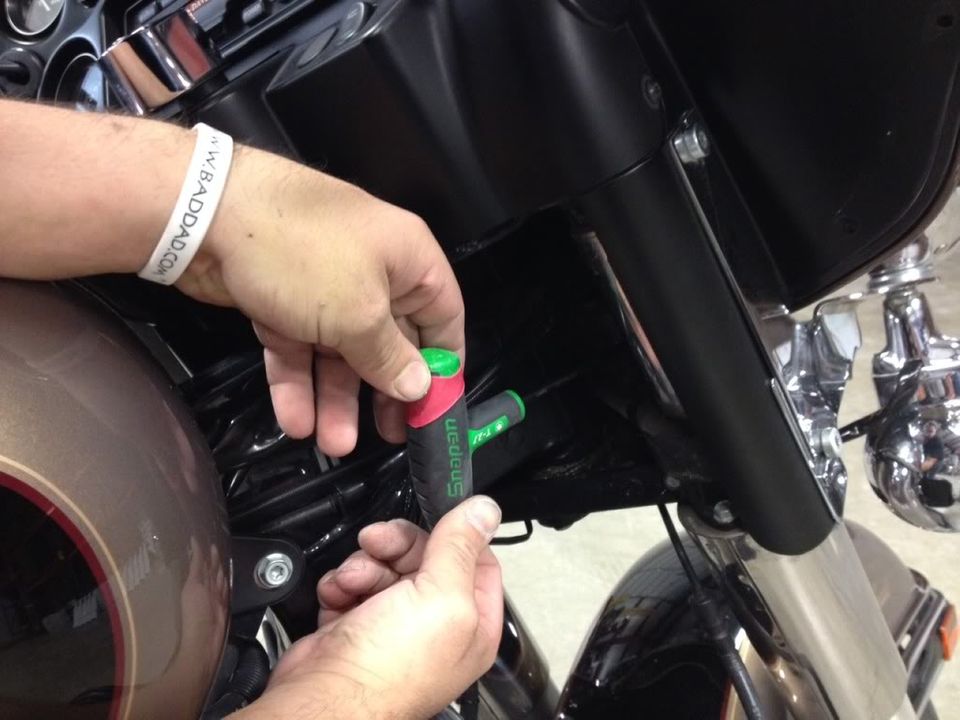
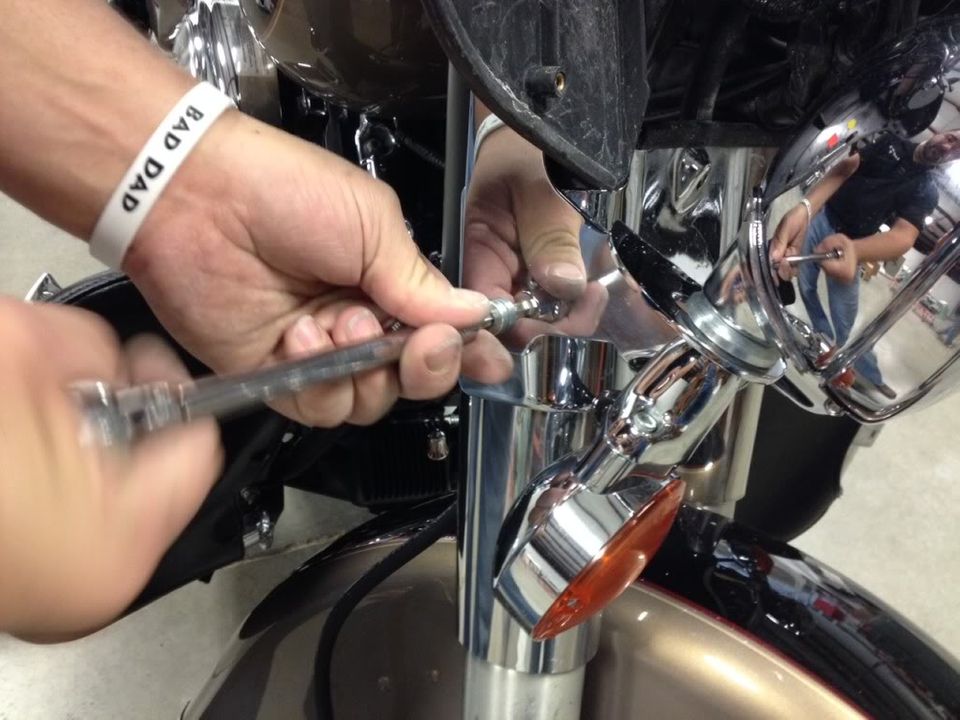
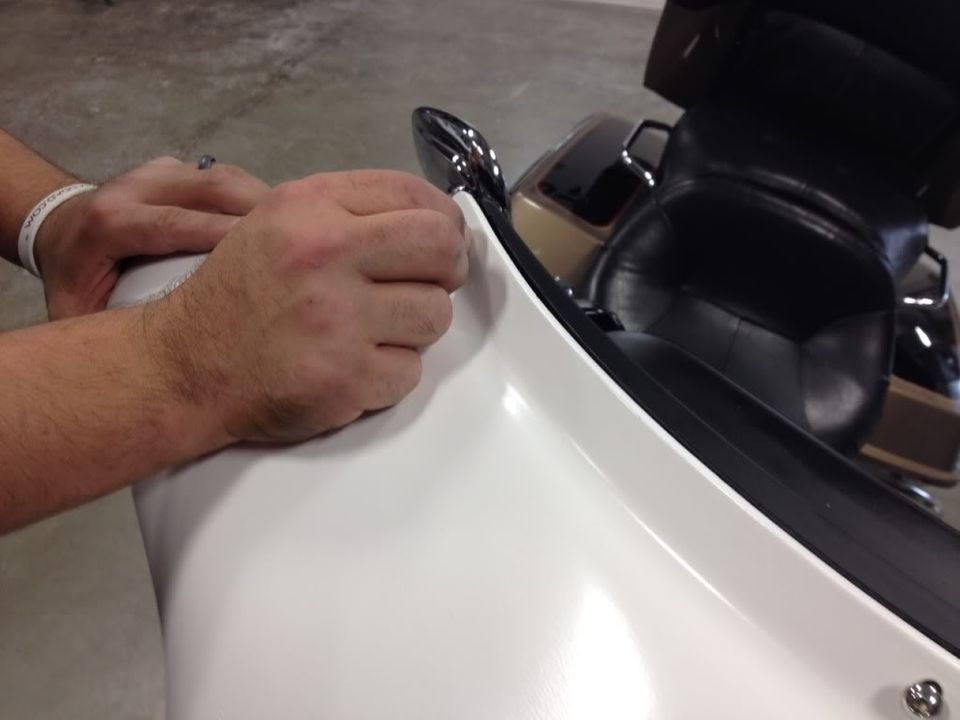
Recommended tightening sequence: (1) tighten the two bolts under the mirrors; (2) tighten the two bolts at the bottom of the fairing; (3) tighten the three bolts along the top of the windshield; and (4) tighten the bolts along the spot lamps.