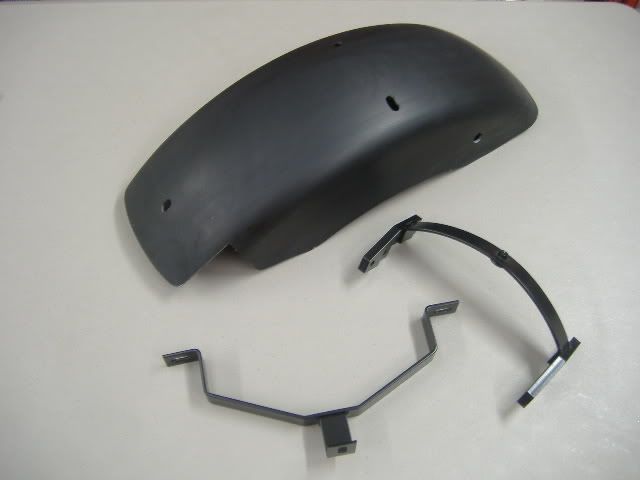
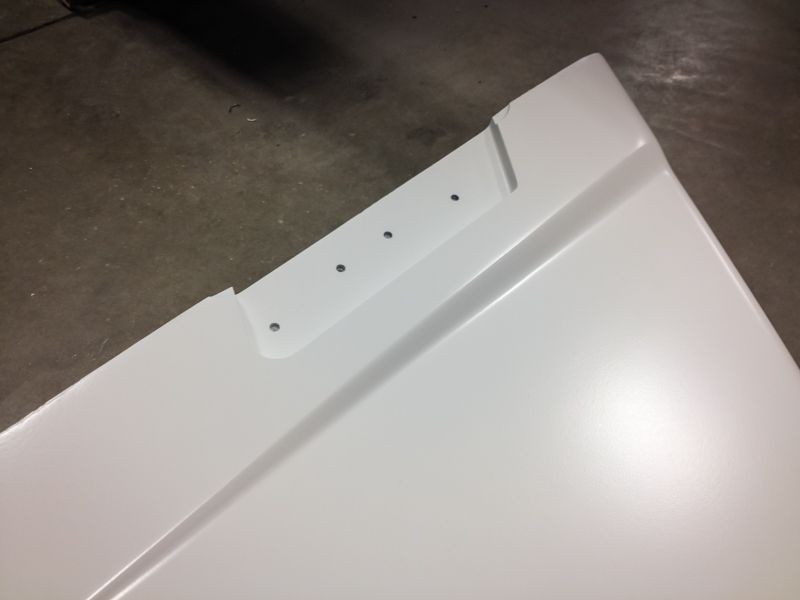
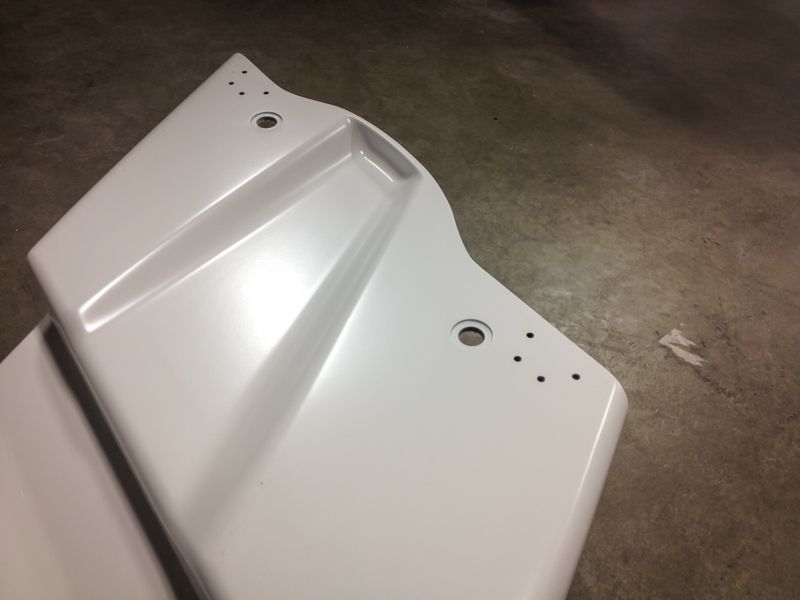
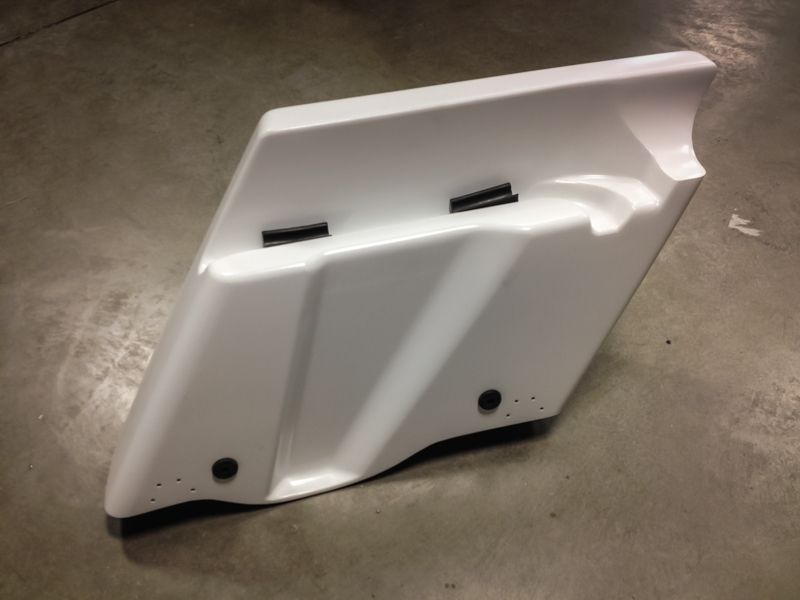
1) Here are the main components in the Fender Eliminator Kit:
A. Fender Splash (shown at top)
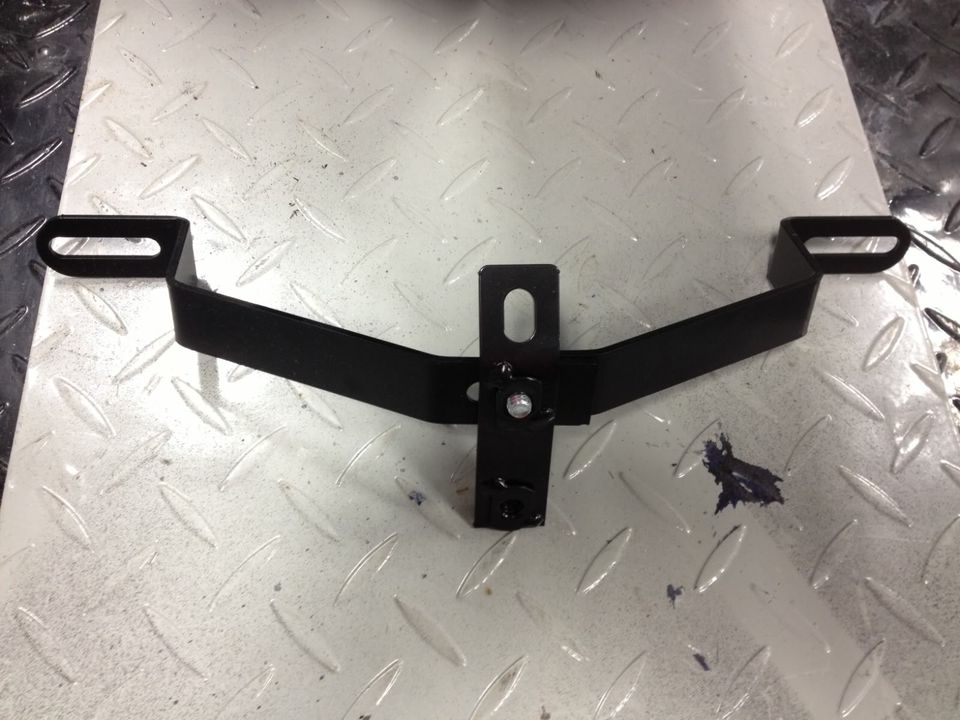
B. Upper Mounting Bracket (shown at right)
C. Adjustable Bumper Bracket (shown at left)
2) Begin by removing the bike's saddlebags & lids, side covers, and stock taillight assembly.
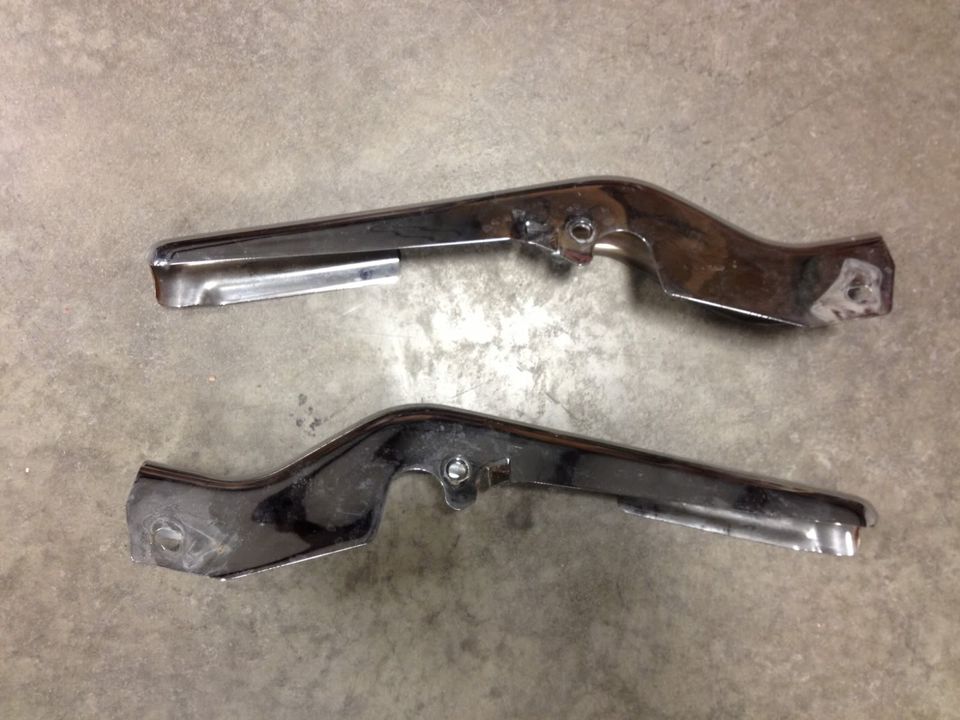
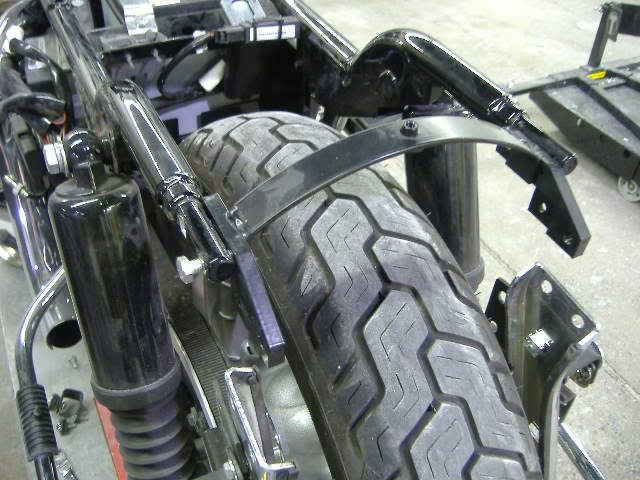
3) Then remove the U-shaped saddlebag mounting fasteners found in front of the shocks. Now completely remove the chrome strut covers from the bike.
4) Here are the removed strut covers. You will not be reinstalling the strut covers with Bad Dad's Bagger Series Fender.
5) Next remove the chrome grab hoop from the rear of the motorcycle. (Note: this hoop may have been previously removed by you or the previous owner).
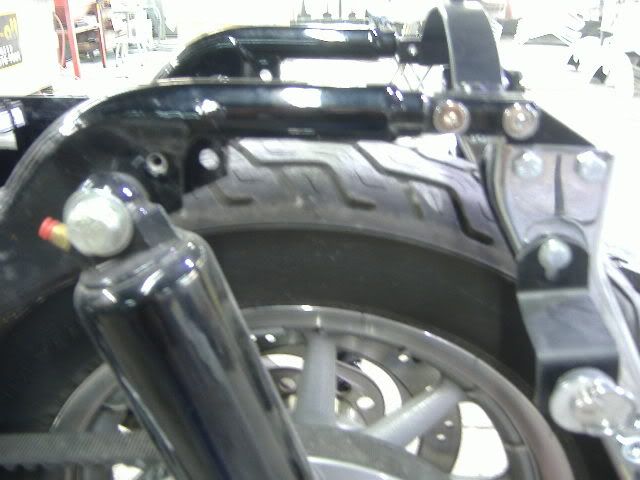
Remove the four bolts from each side (two upper bolts and two lower bolts). The lower saddlebag rail assembly will fall loose when these four bolts are removed.
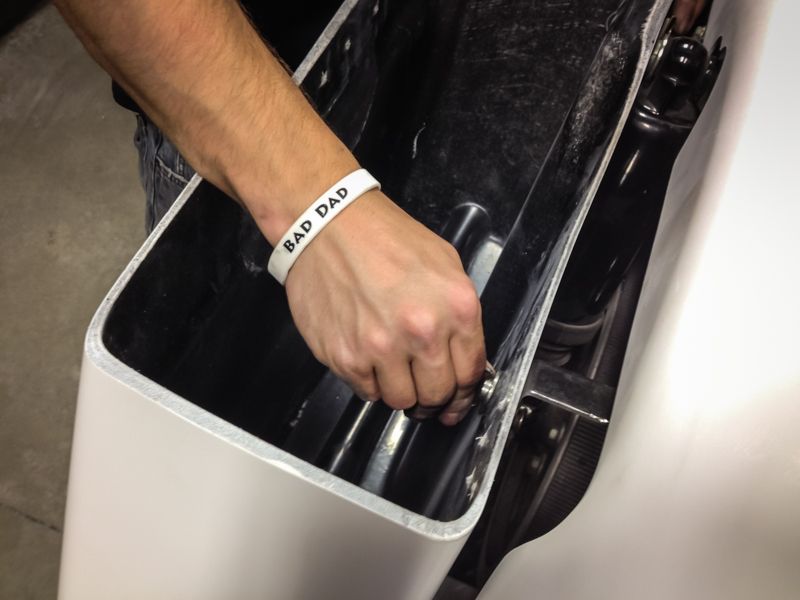
6) Then remove the OEM internal or external bumper bracket from the rear of the bike. The OEM bumper will be attached by a center mounting stud and also where the OEM bumper attaches to the lower saddlebag rails.
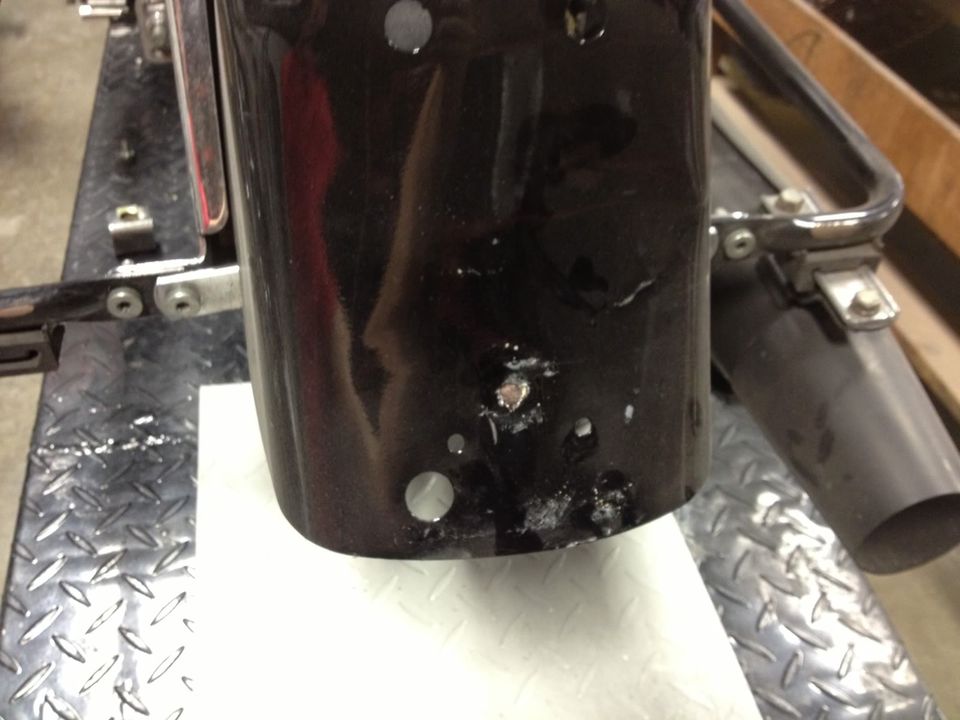
7) You can now completely remove the stock fender from the motorcycle.
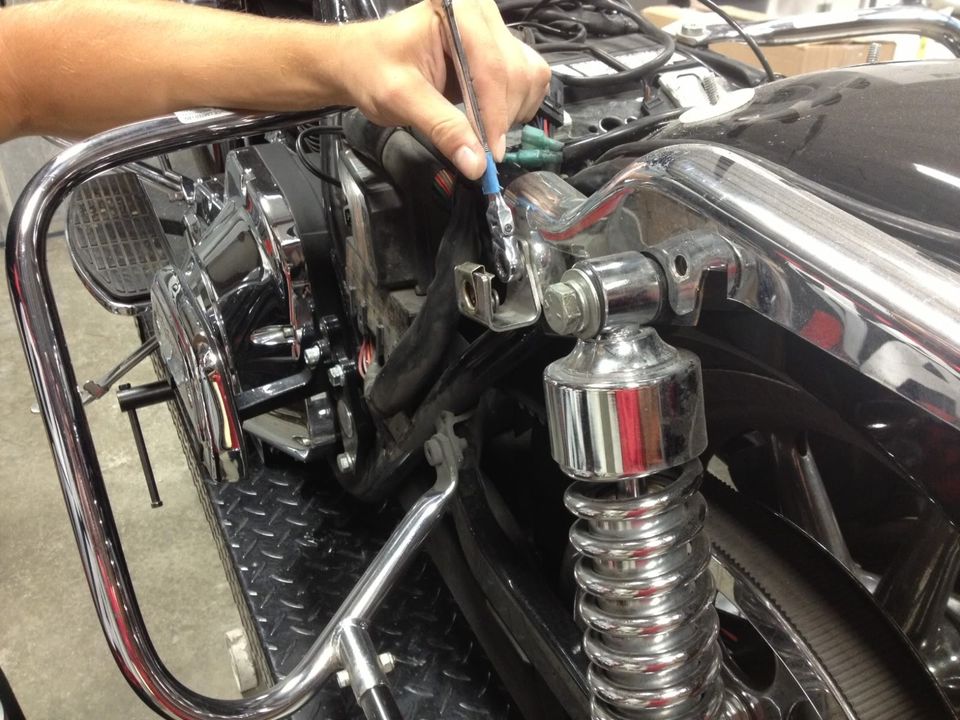
8) With the stock fender removed, unbolt the two studs and wire harness bracket from the front of the stock fender. Then transfer this hardware to the Fender Splash from the Fender Eliminator Kit (pictured here).
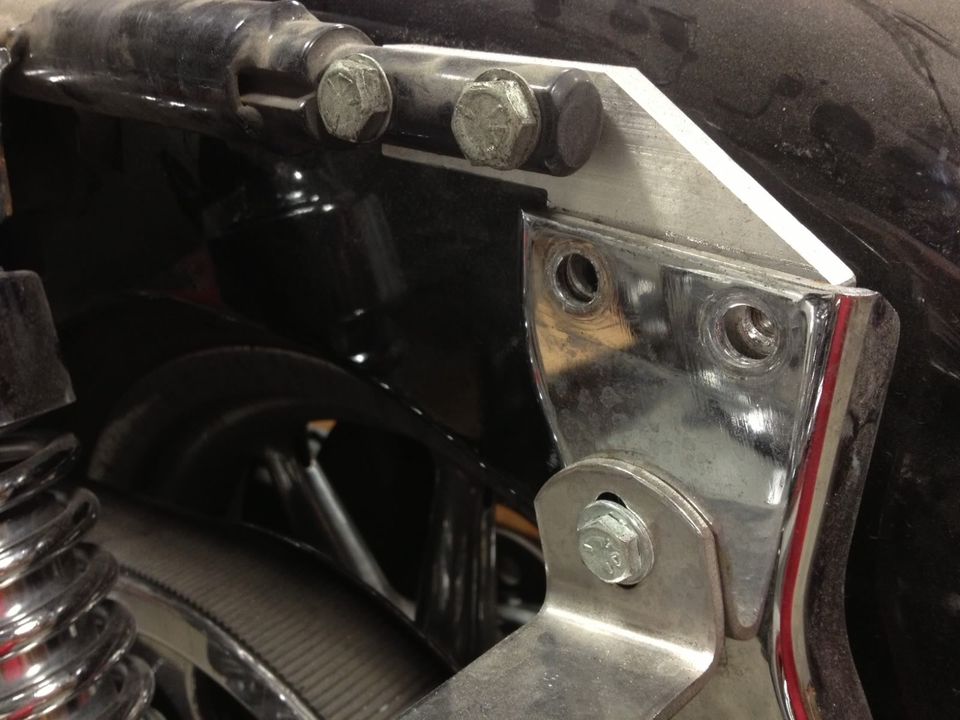
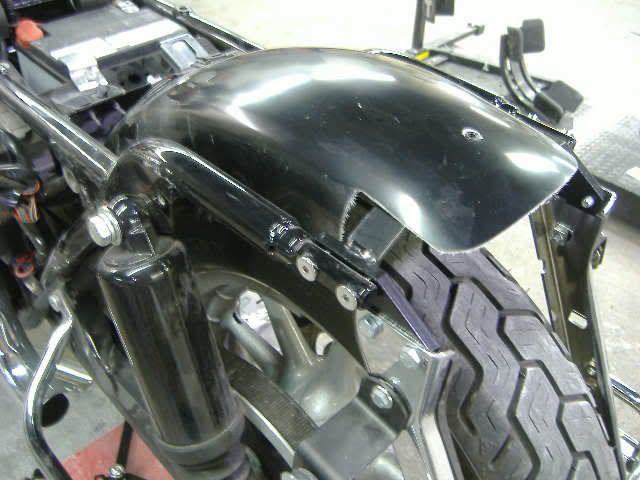
9) Now install the Upper Mounting Bracket of the Fender Eliminator Kit into the bike's frame rails. Attach the two upper bolts at the frame rails and the two lower bolts at the chrome saddlebag support rail.
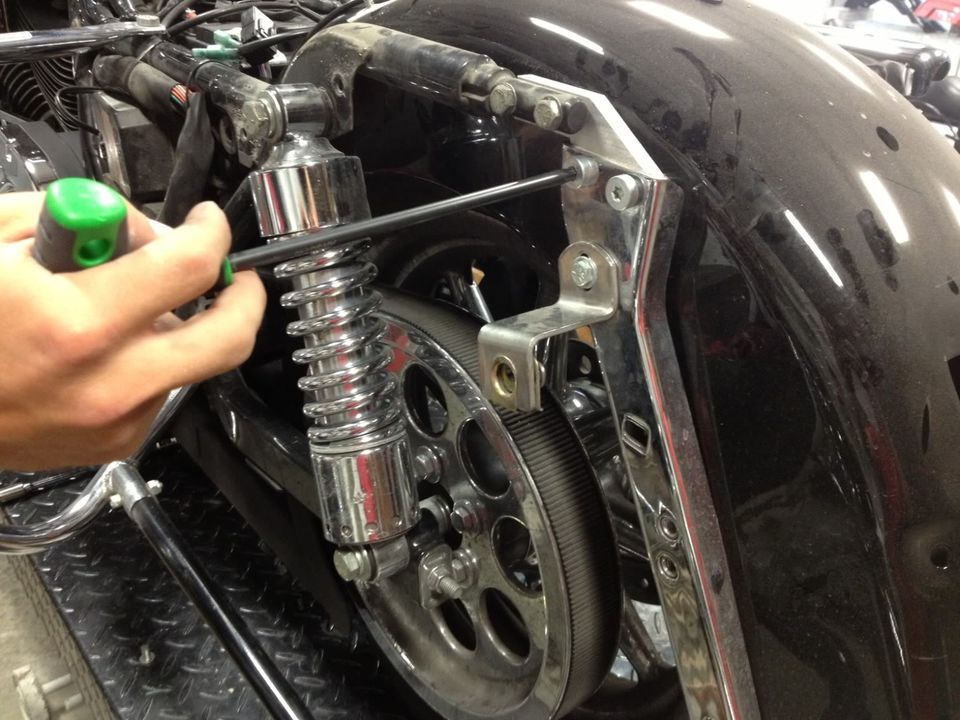
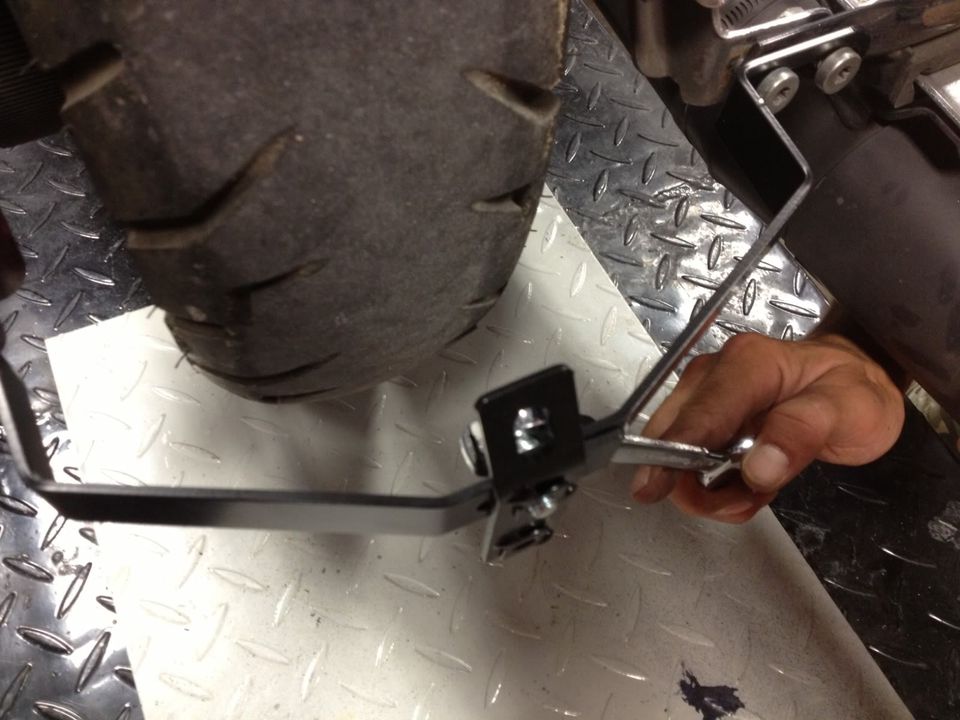
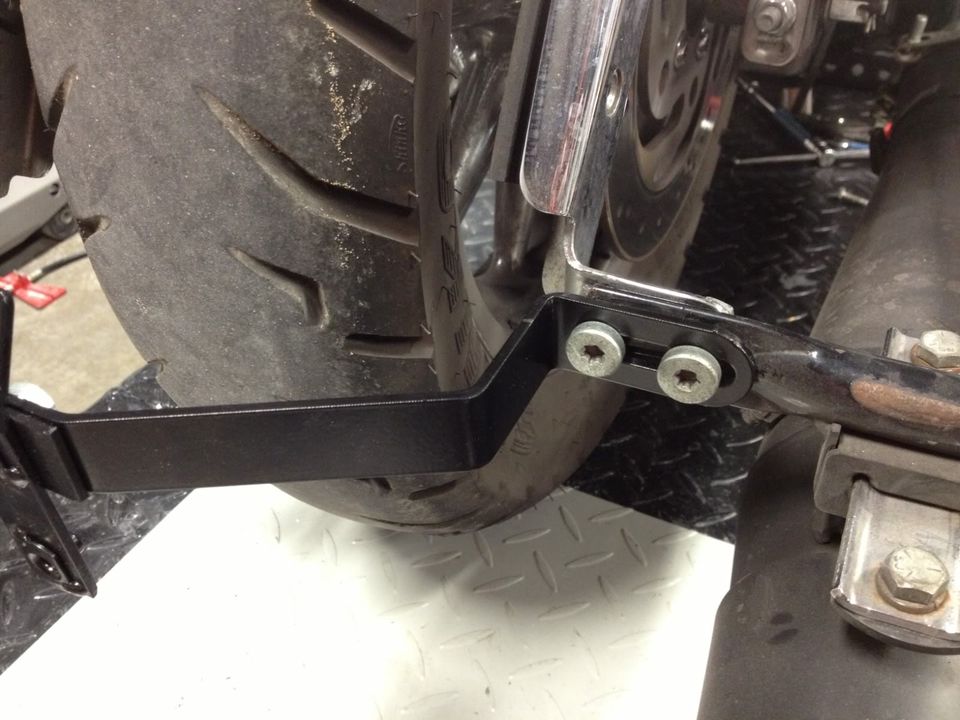
10) Next install the Adjustable Bumper Bracket supplied with Bad Dad's Fender Eliminator Kit. Install the bracket by attaching it at the lower saddlebag rails in the same location where the OEM bumper was removed.
11) Installation Note: Bad Dad's Adjustable Bumper Bracket is designed with multiple adjustment points to allow you to compensate for the variance in the OEM saddlebag mounting brackets. Bad Dad's bumper is adjustable at the center mounting tab (pictured left) and at the slotted ends of the bumper (pictured right). You can use these to adjust the positioning of the saddlebag rails after installation is completed if necessary.
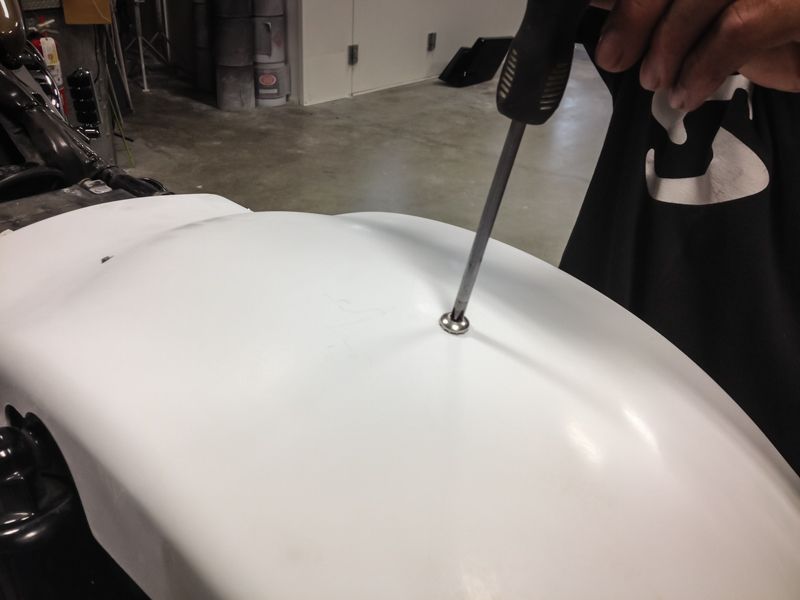
12) Now position the Fender Splash onto the motorcycle. The two mounting studs transferred from the stock fender in Step 8 should be positioned behind the bike's battery. The center drilled hole in the Fender Splash should be aligned on top of the threaded tab of the Upper Mounting Bracket in the Fender Eliminator Kit.
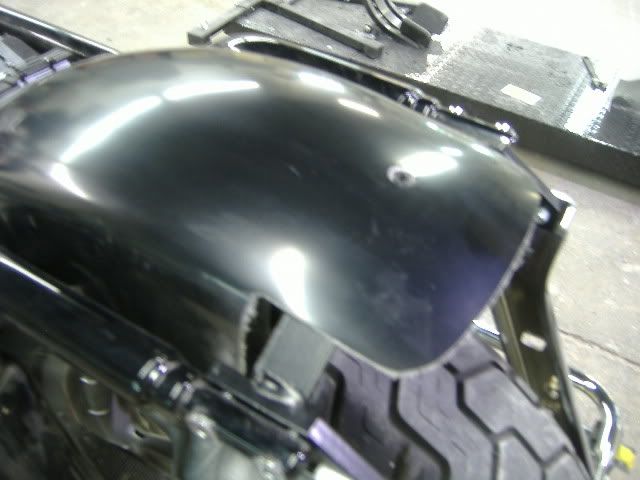
13) Next, transfer two (2) of the mounting bolts from the OEM fender to the sides of the Fender Splash from the Fender Eliminator Kit.
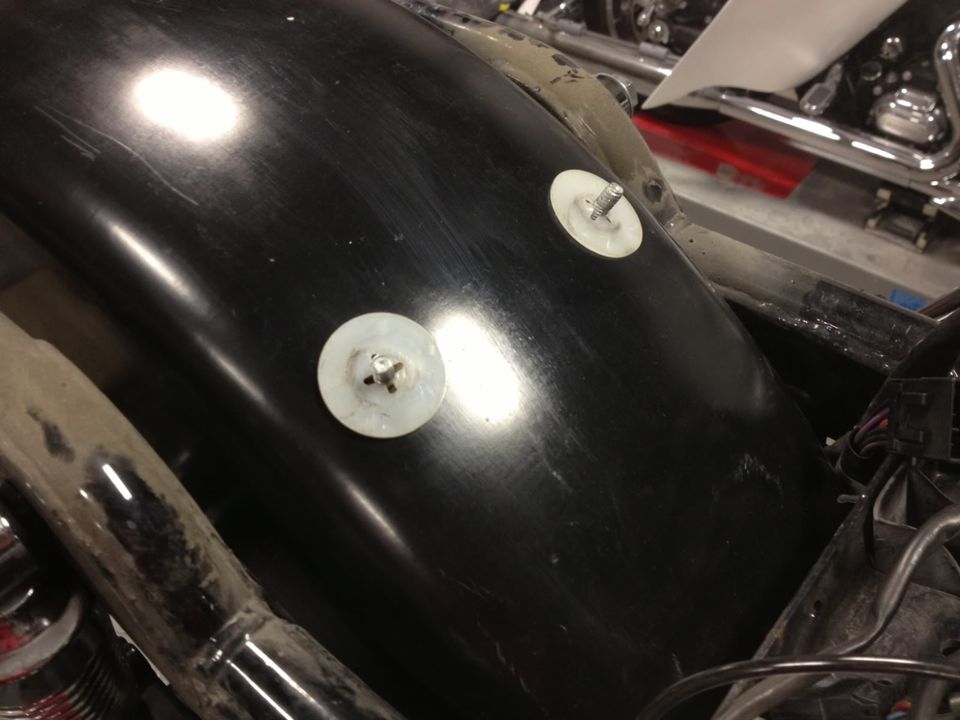
Then, transfer the wire loom studs from the OEM fender to the two (2) mounting studs shown here. These studs will pass through the holes at the front of your Bagger Fender. Each of these holes has already been pre-drilled for you.
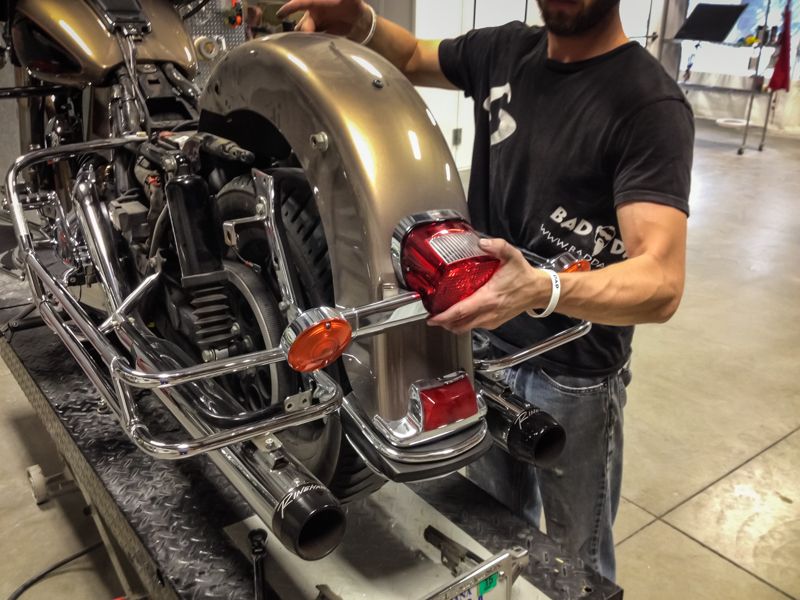
14) Finally, install your new Bagger Fender over the top of the Fender Eliminator Kit. You will secure the Bagger Fender (1) at the two wire loom studs behind the battery; (2) at the rear seat bolt hole when re-installing your seat; and (3) at the mounting tab found on the custom bumper bracket.
15) You can also install your Stretched Bags at this time. All of the mounting holes in Bad Dad's Stretched Bags are pre-drilled & pre-fit prior to shipping to you.
16) Transfer over your saddlebag bushings & grommets and install your Stretched Bags.
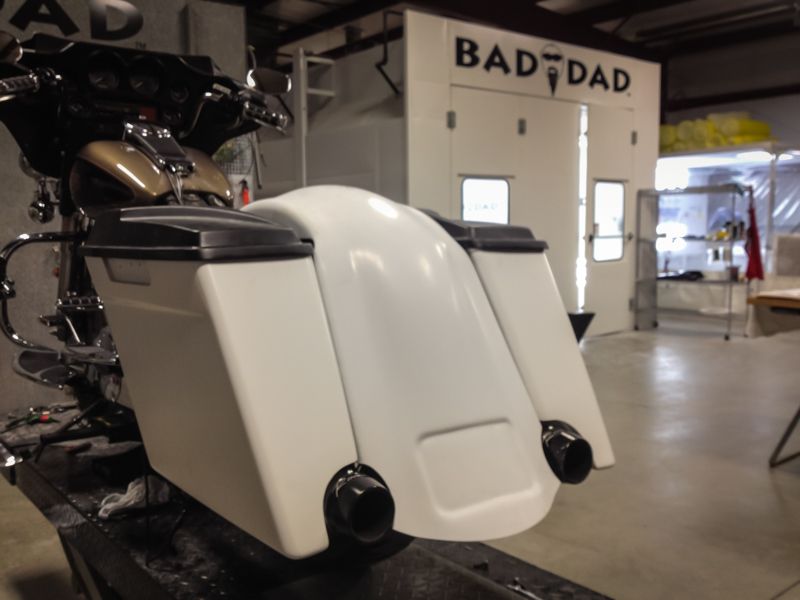
17) Your Bagger Fender and Stretched Bags are now installed.
18) Note: For 1997-2008 models, some OEM seat pans will sit improperly on the Bagger Fender. This can be resolved by cutting a 7-1/2" wide x 4-1/4" deep rectangle directly behind the battery box at the front edge of the Bagger Fender. This will relieve the clearance issue. The specifics of this cut are not too important as the seat will cover the opening with the seat is installed. Bad Dad pre-cuts all mounting holes in the fender prior to shipping your custom order. However, we cannot pre-cut this area prior to shipping as it weakens the front edge of the fender during shipping which increases the chance for shipping damage. YoNote: For 1997-2u will want to make this quick trim if your seat pan requires it.
No Picture
19)
Troubleshooting Help: Alignment variations of the saddlebag rails can cause the perception of fitment problems on the 1997-2008 Touring models. Below are tips for troubleshooting and correcting fitment problems with fender-to-saddlebag gaps and exhaust alignment issues.
Steps 20-21: Saddlebag sits too high
Steps 22-23: Exhaust not centered in exhaust hole
Steps 24-25: Inconsistent gap between fender and bags.
20)
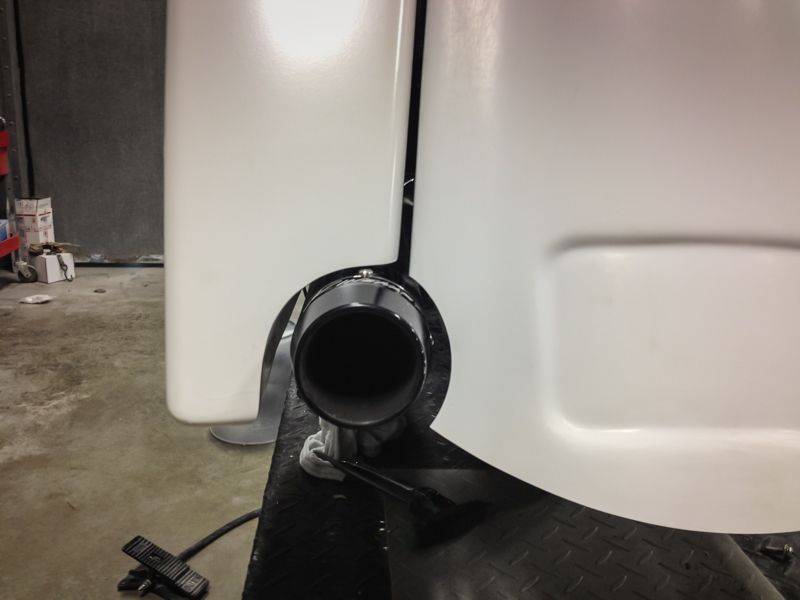
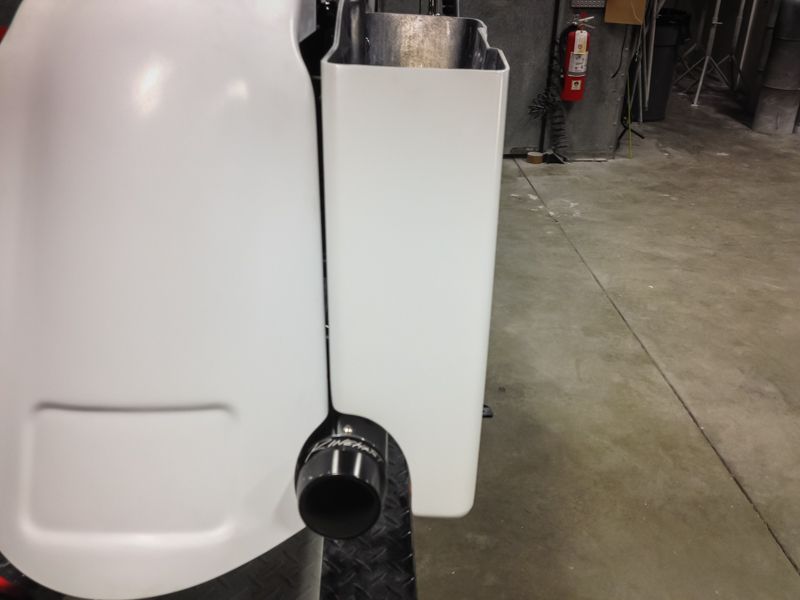
Saddlebag sits too high: The exhaust ports in your Bad Dad parts should be even and symmetrical. The first picture on the left depicts an instance when the ports do not align and one saddlebag sits too high or the exhaust port is misaligned with the fender.
This problem can be caused by the saddlebag isolator rubber not being properly installed in the bottom of the saddlebag. Check to ensure the rubber isolators are properly installed and fully seated into the saddlebag.
21)
Continued: If the rubber isolators are installed properly, the next possible culprit is interference with the exhaust hanger. The picture on the left shows a saddlebag that is not properly seated because the exhaust hanger is too high. This can be corrected by placing a 1/4" spacer underneath the saddlebag rail and above the exhaust hanger. Then re-tighten the hardware to gain the correct fitment you need.
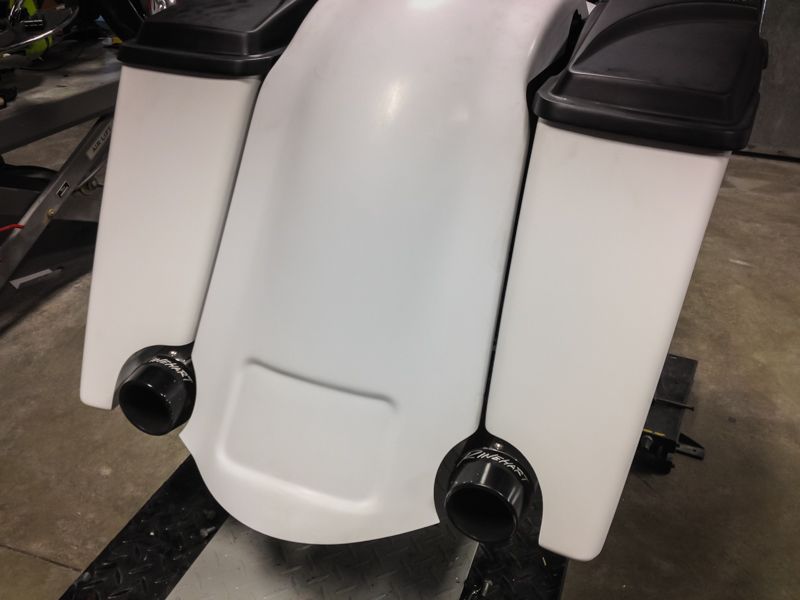
Note: This hanger interference problem is most common with Rinehart exhaust, which is why we used Rinehart pipes for this tutorial. This is not common with other aftermarket pipes but it can exist.
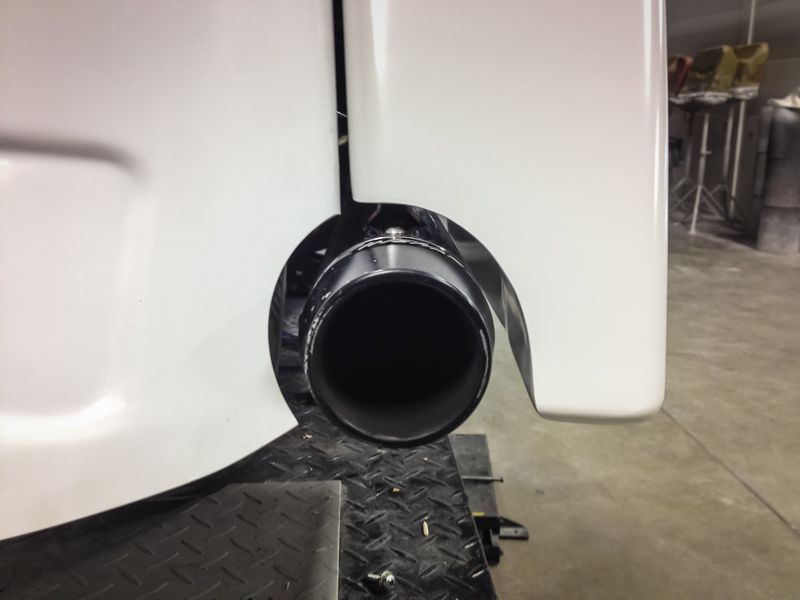
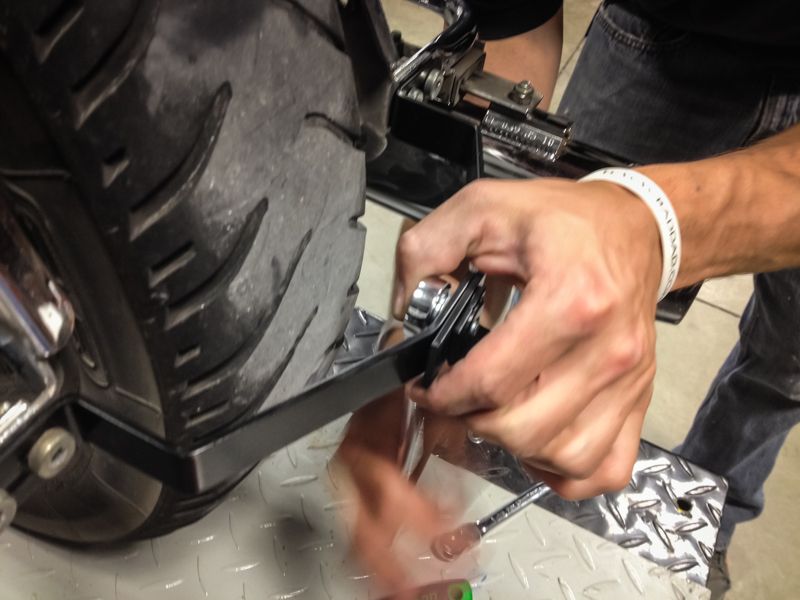
22) Pipes not centered in exhaust hole: The exhaust ports in your Bad Dad parts should be even and symmetrical. If your exhaust is not centered in the exhaust hole then the pipes can be rotated until the pipes are properly aligned. The picture on the left depicts an exhaust pipe that is not centered. This misalignment is due by adjustability in the exhaust mounting method.
23) Continued: The pipes can be aligned by loosening the muffler and then rotating the muffler inside the exhaust port.
24)
Inconsistent gap between fender and bags: It is possible for the spacing between the fender and bags to be inconsistent. This can be caused by the numerous adjustments in the saddlebag mounting brackets on the 1997-2008 Touring models. An example is shown here.
The pictures shown here depict a gap that is inconsistent from top-to-bottom and also larger on the left-side & tighter on the right-side. A much more consistent gap is expected than this.
25)
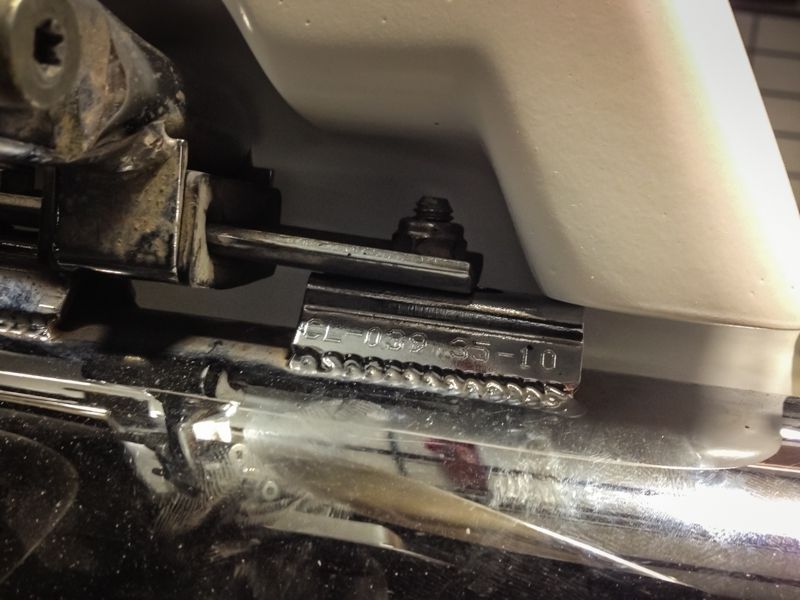
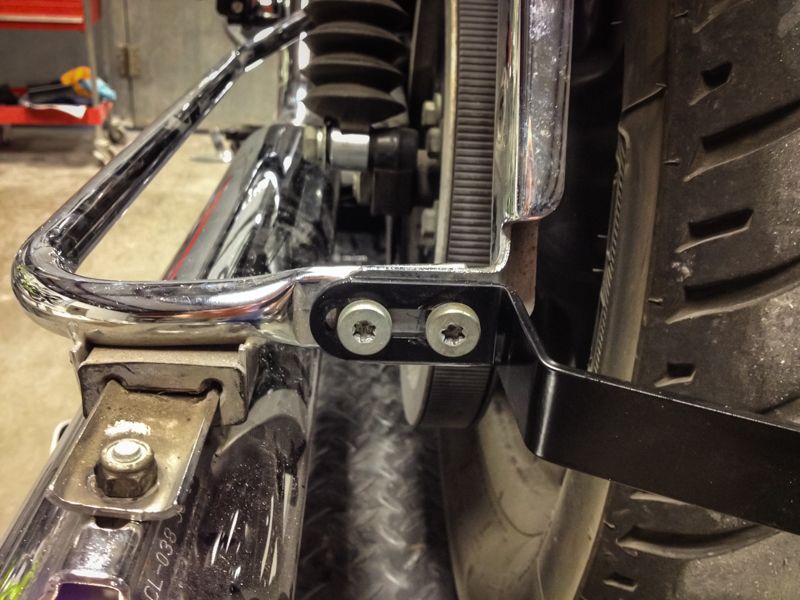
Continued: First check to make sure that the Bagger Fender is positioned squarely on the motorcycle. If it is, you can use the Adjustable Bumper Bracket to dial-in the lower gap between the fender and bags.
The picture on the left shows the slotted ends of the Bumper Bracket; use these slots to move the lower saddlebag rails inboard & outboard as needed. The picture on the right shows the adjustability of the center attachment point which can also be used to widen or shorten the width of the bumper bracket.
No Picture
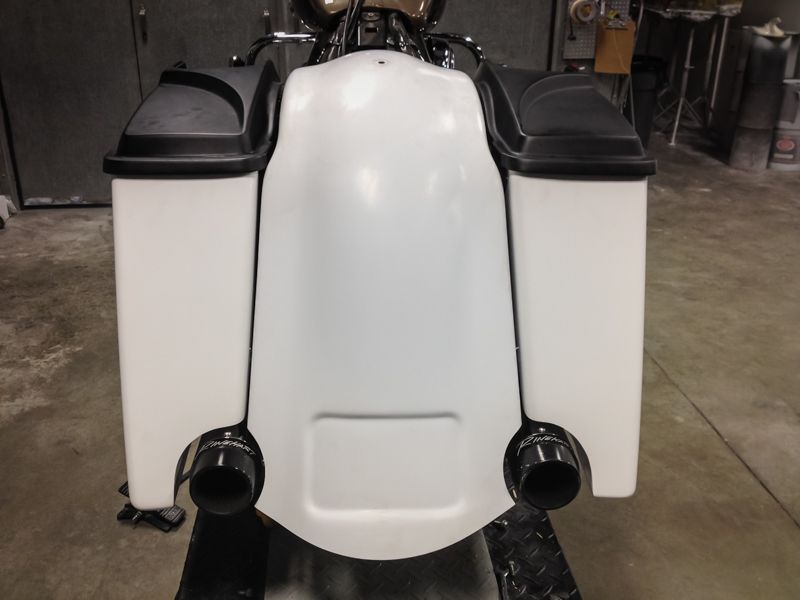
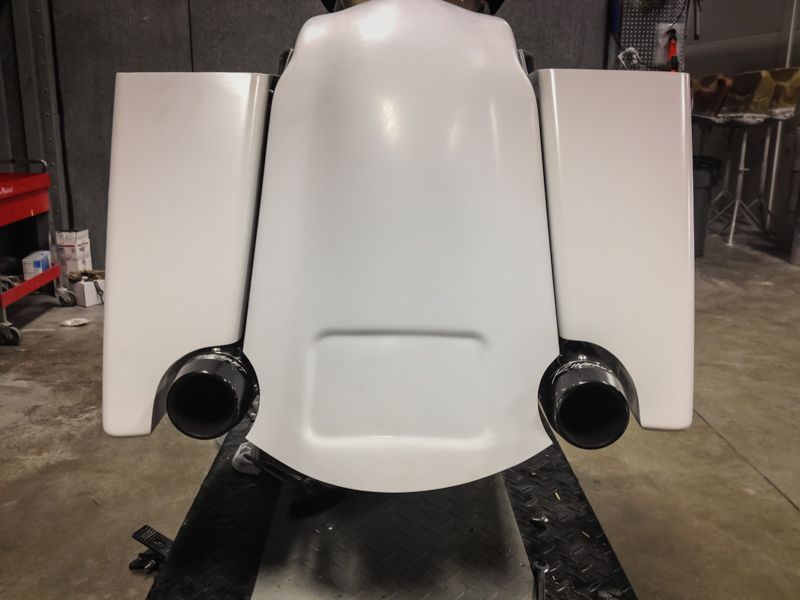
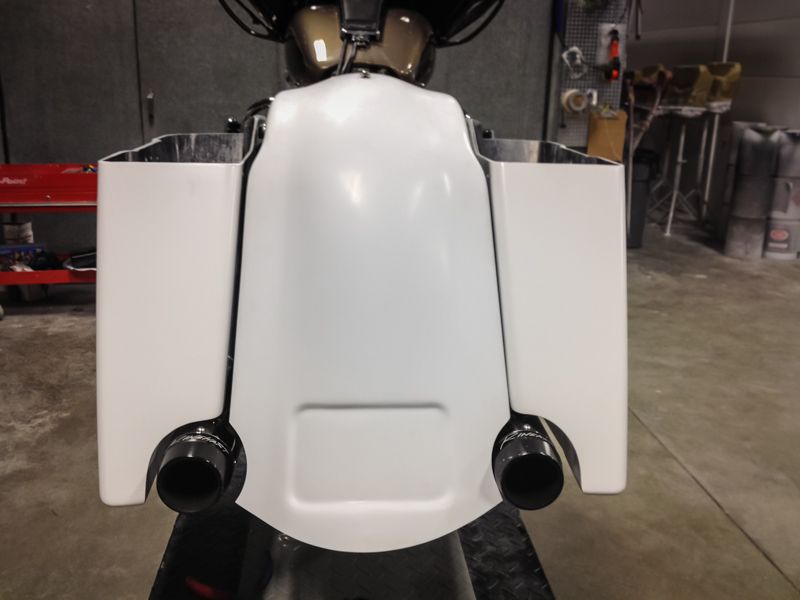
26) Finished. These pictures show the final alignment you should have with your Bad Dad parts installed. The gap between the Bagger Fender & Stretched Bags should be 1/8" to 1/4", the exhaust ports should properly align to make a symmetrical circle, and your exhaust mufflers should be centered inside the exhaust port.