Order online or by
calling 260.407.2000


Extended Clutch Cable
Print Instructions
|
You may need to add a longer clutch cable to your custom bagger if you've recently added a set of custom handlebars. This tutorial will outline the basic steps for replacing the clutch cable on your Road King, Electra Glide, Street Glide, Road Glide, or Ultra Classic.
We will be using a black extended clutch cable from Bad Dad for this tutorial.
Note: Some exhaust headers may need to be removed in order to access the bolts on the front of the clutch cover. Most traditional dual headers do not need to be removed, but the 2-into-1 header on this bike did need to be removed. |
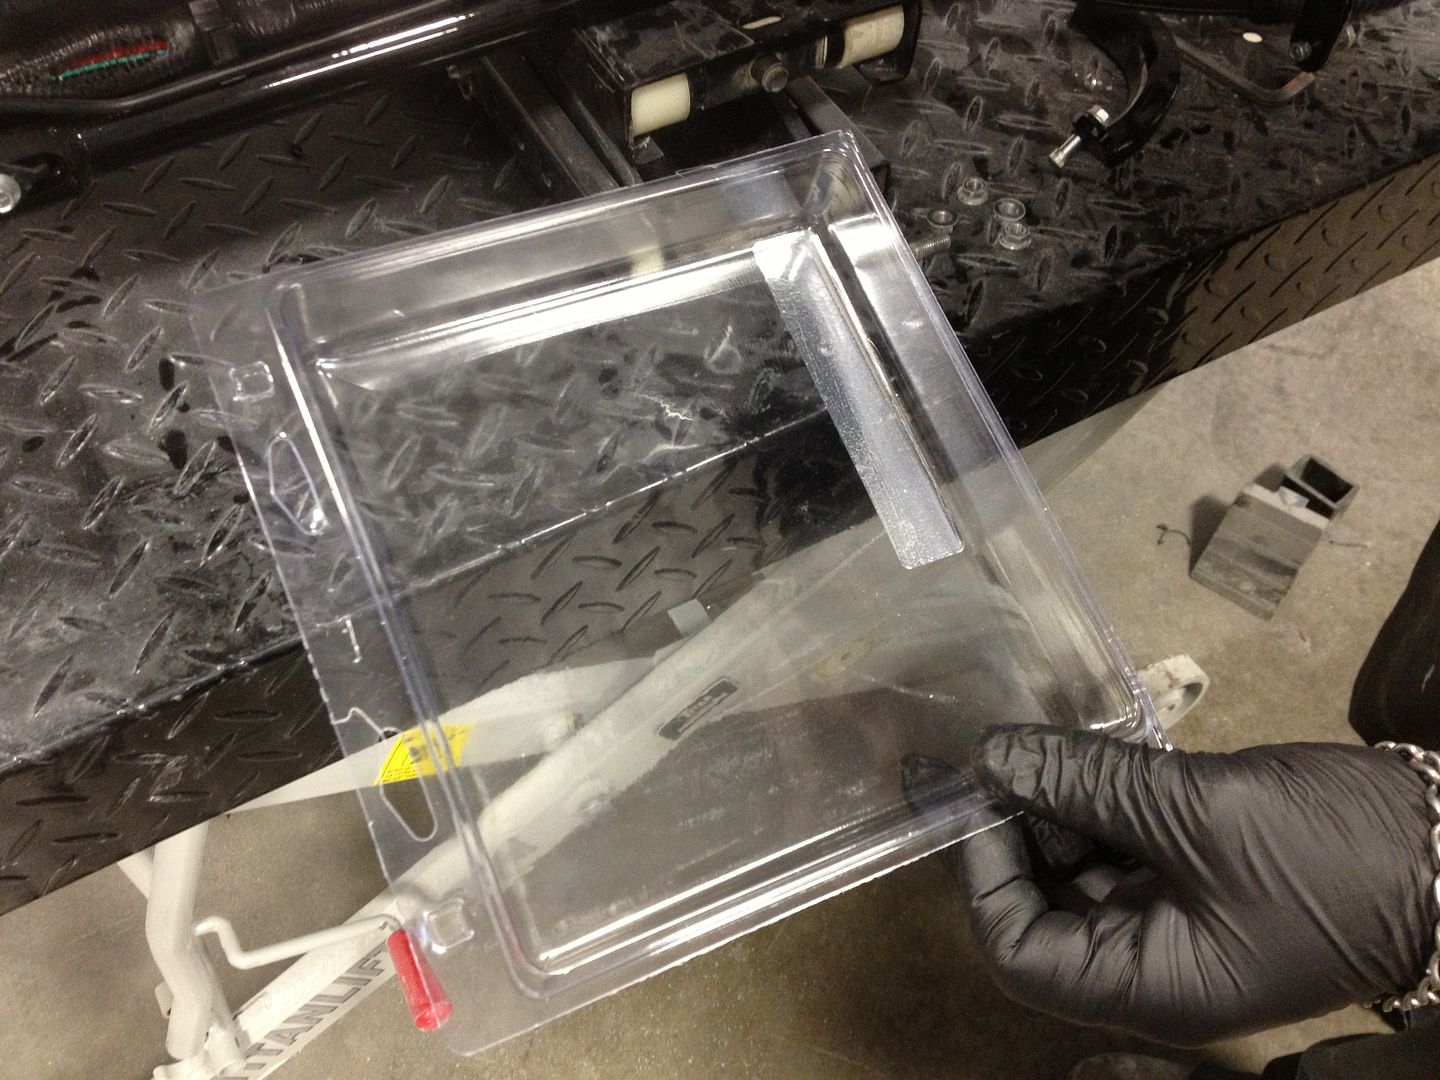
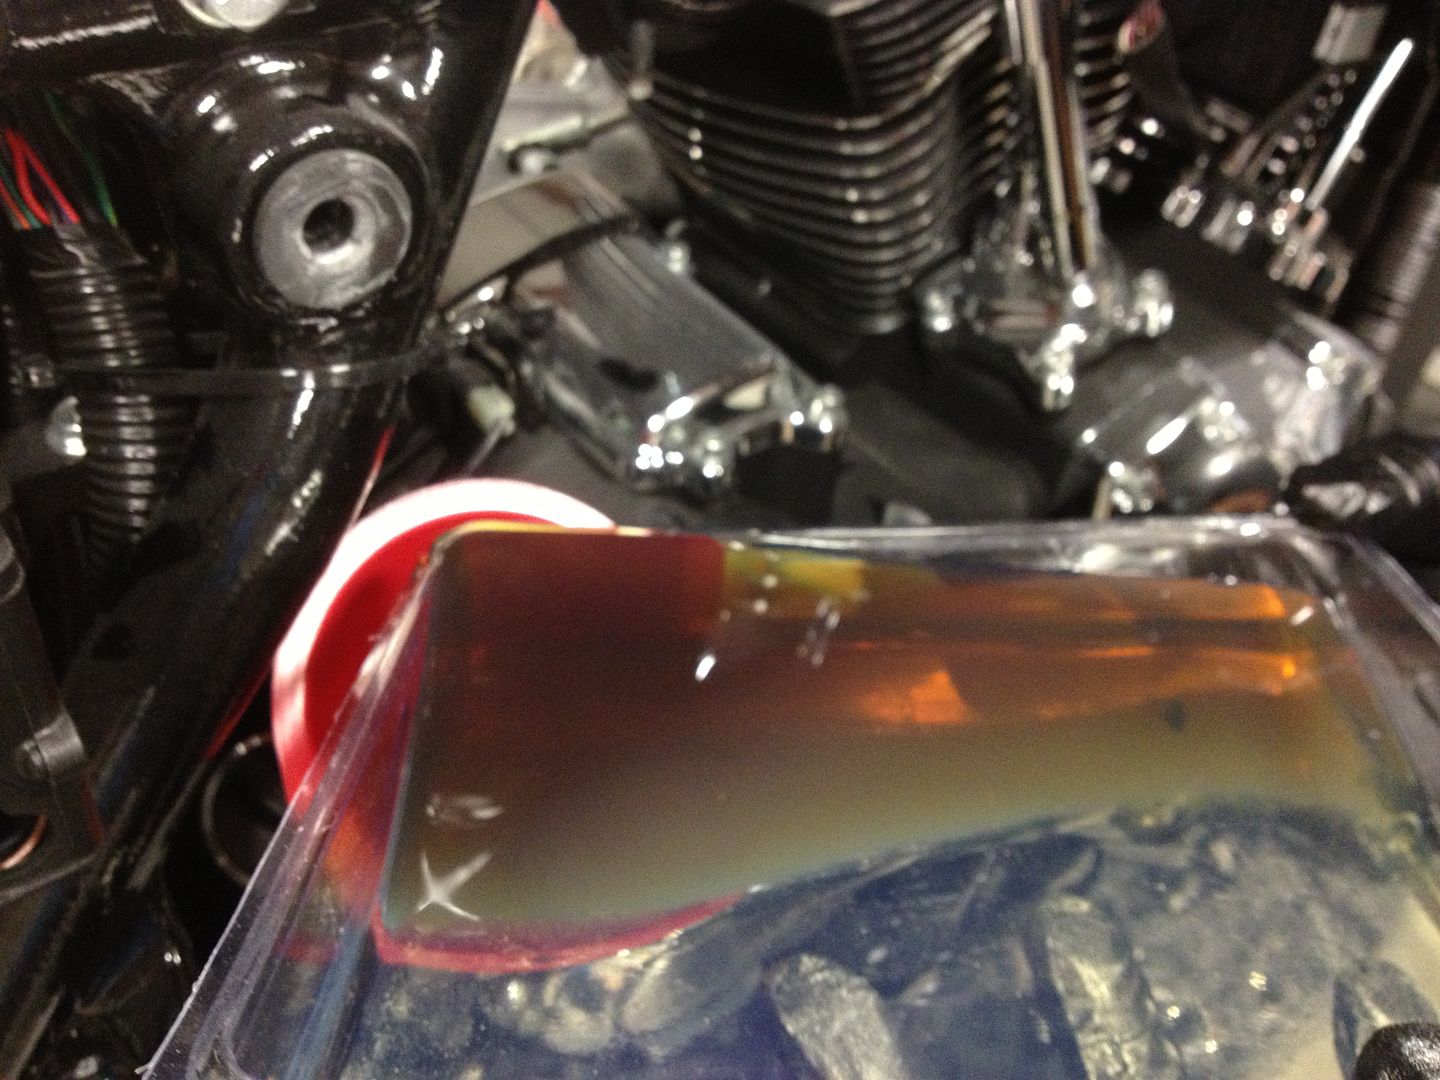
1) Begin removing the original clutch cable from the bike by releasing the clutch cable from the clutch master cylinder. You will spill transmission fluid during this installation so you should use some sort of pan to catch any spilled fluid. You will spill less fluid if the bike is on its kickstand during this installation.
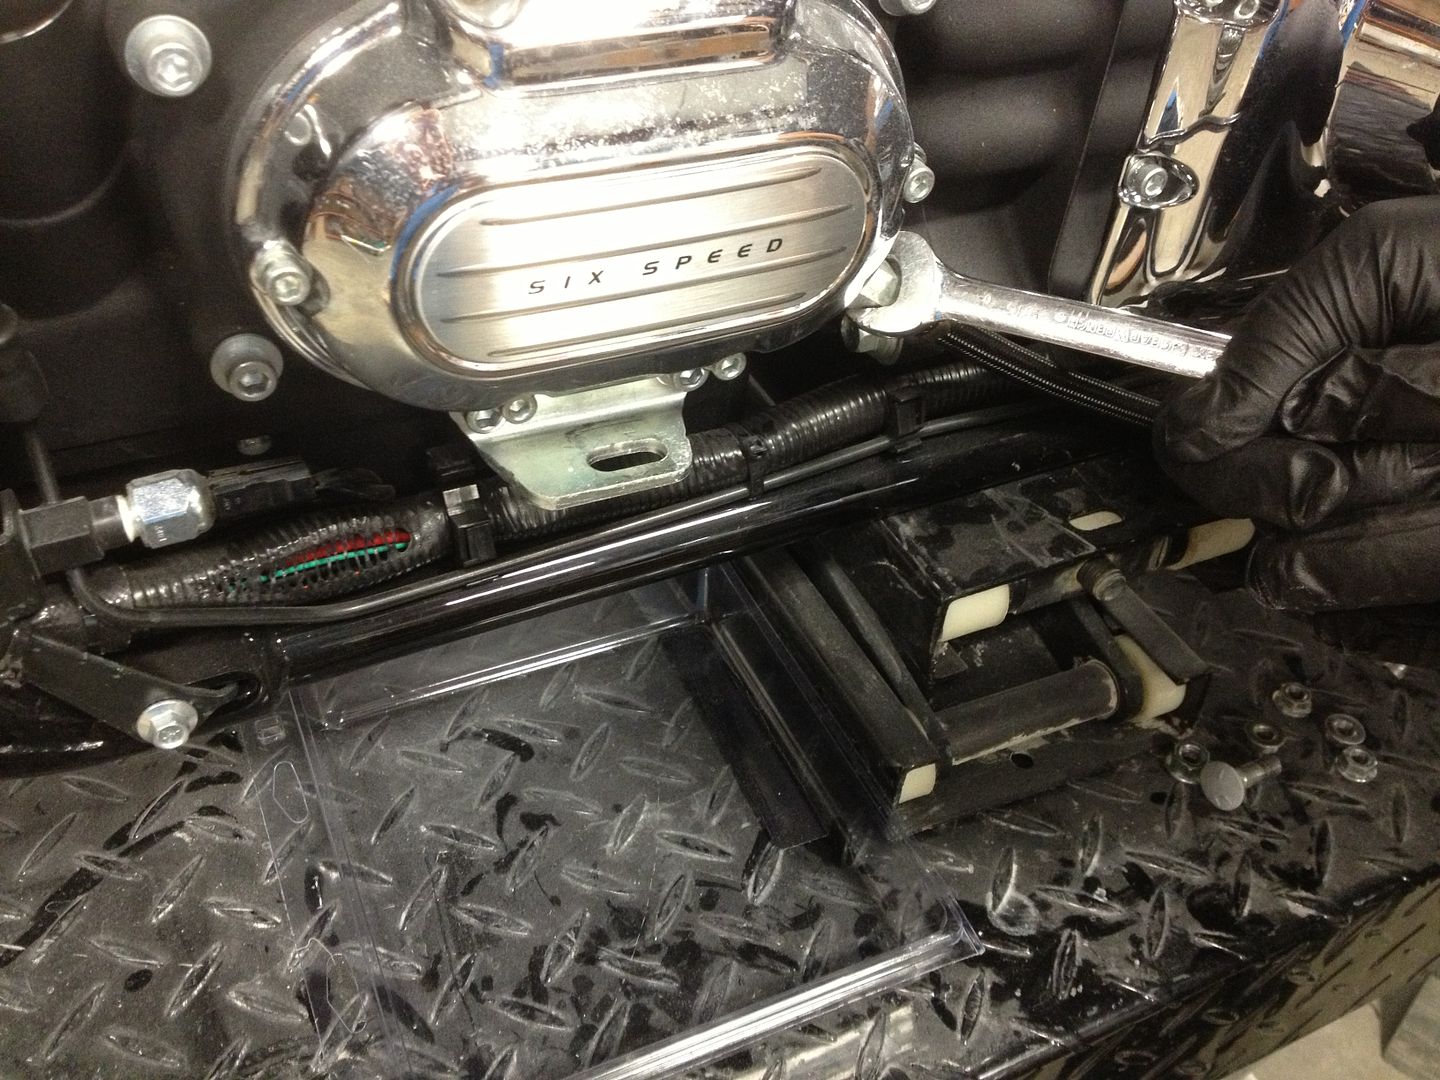
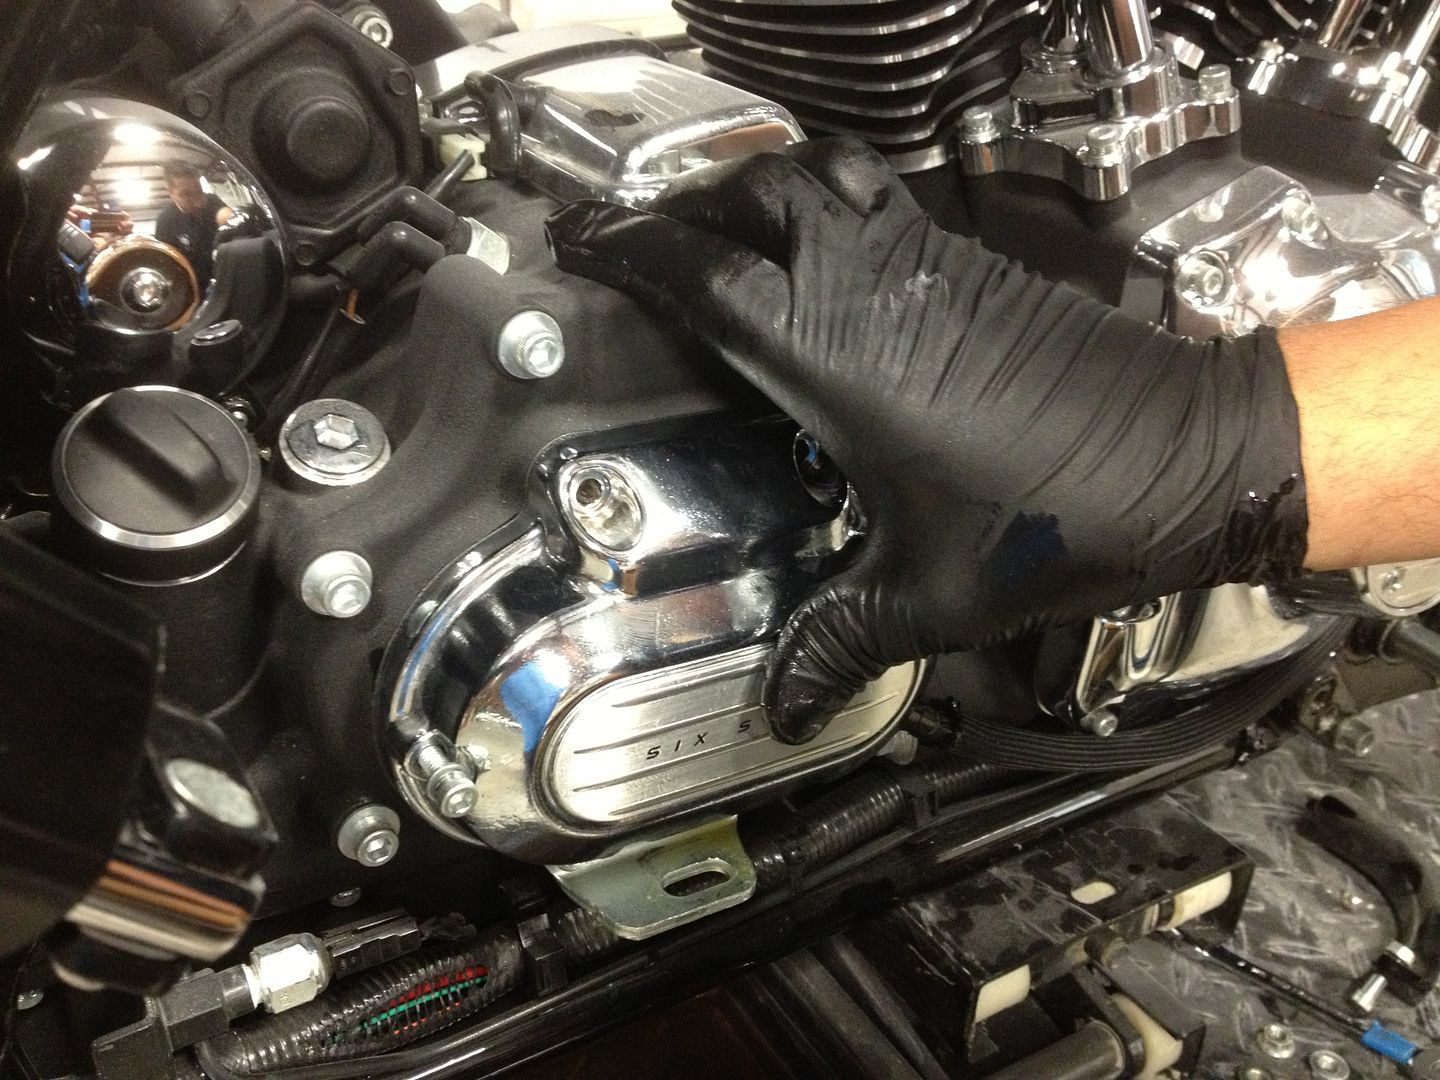
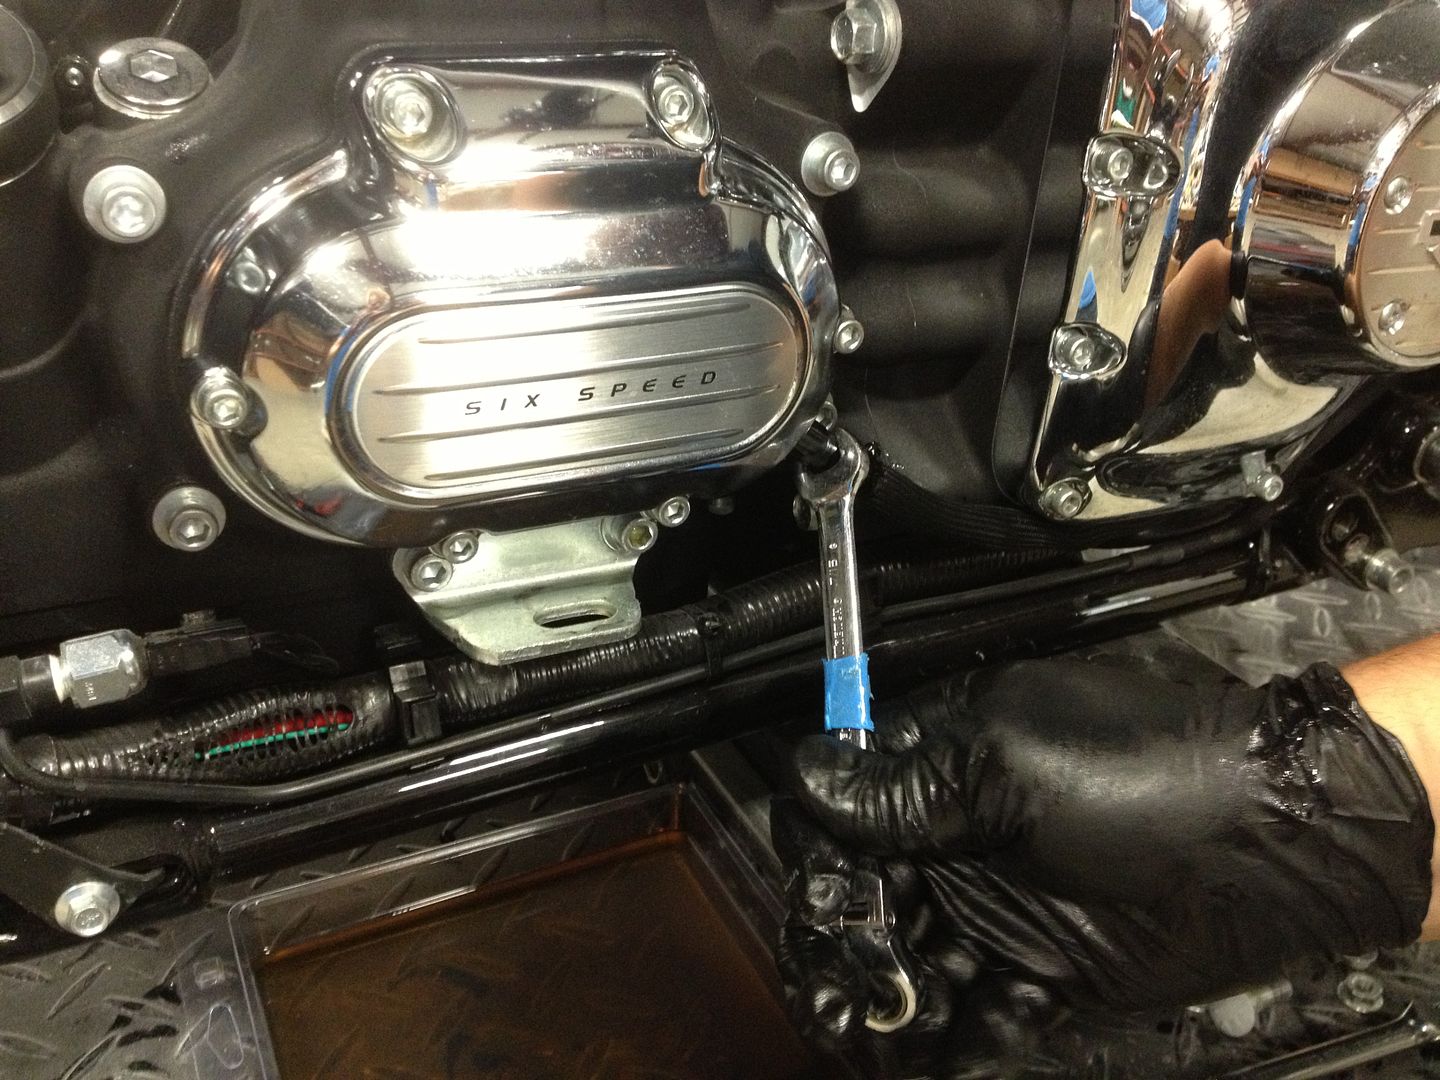
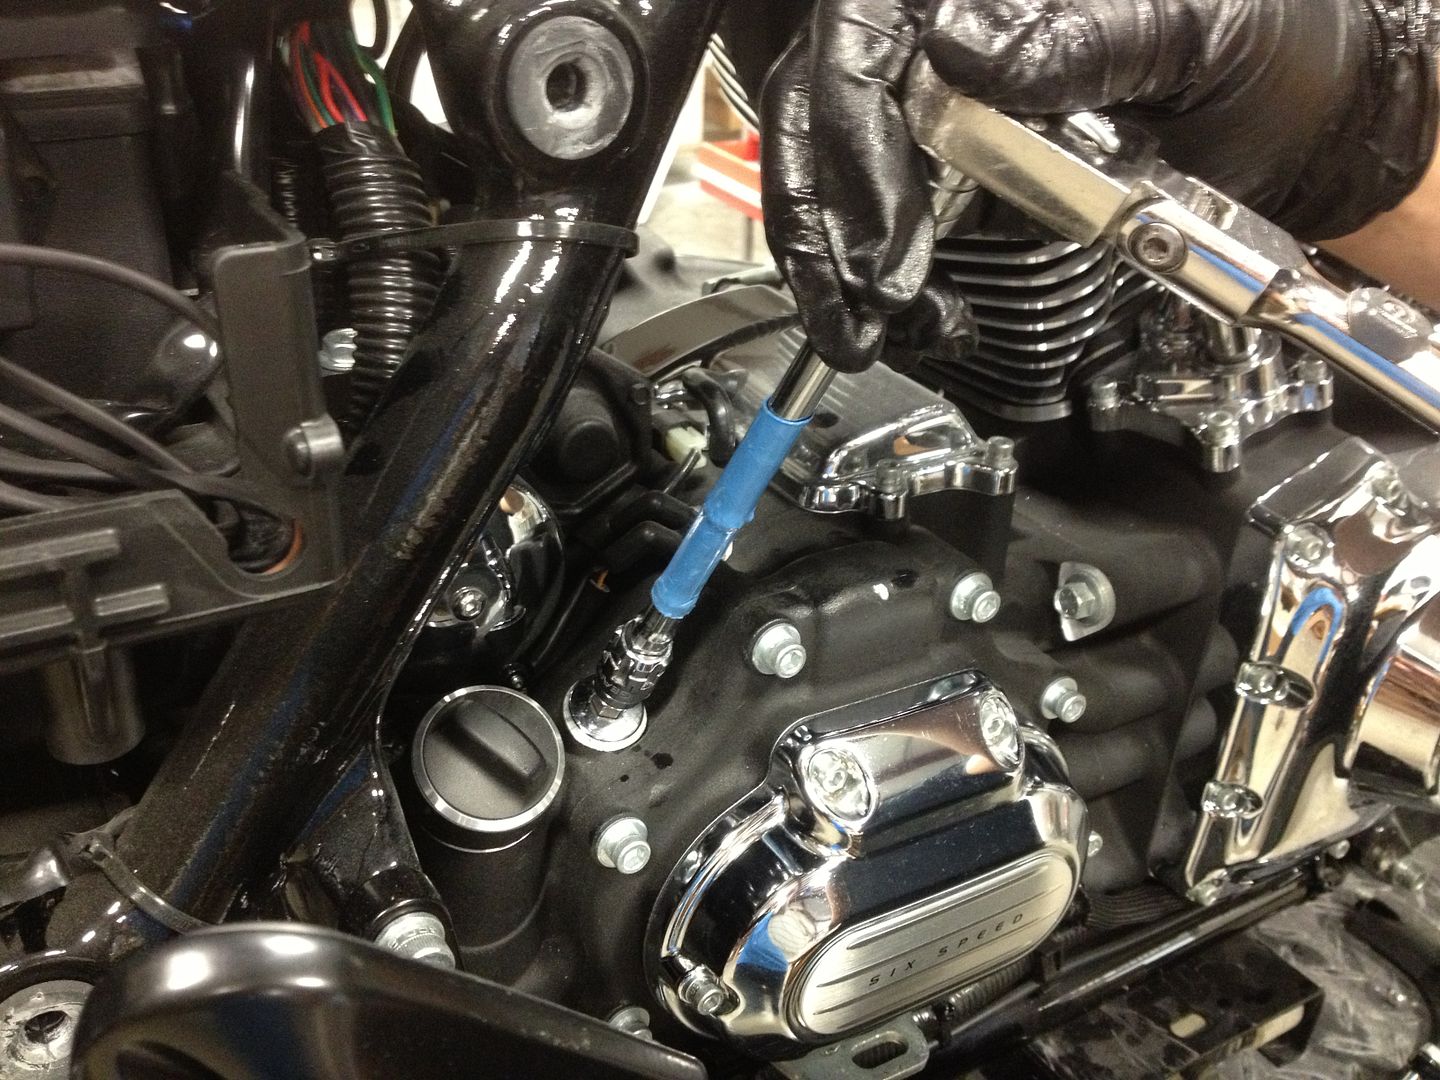
2) Next, break loose the clutch cable at the clutch cover. This will be useful later when removing the clutch line from the cover.
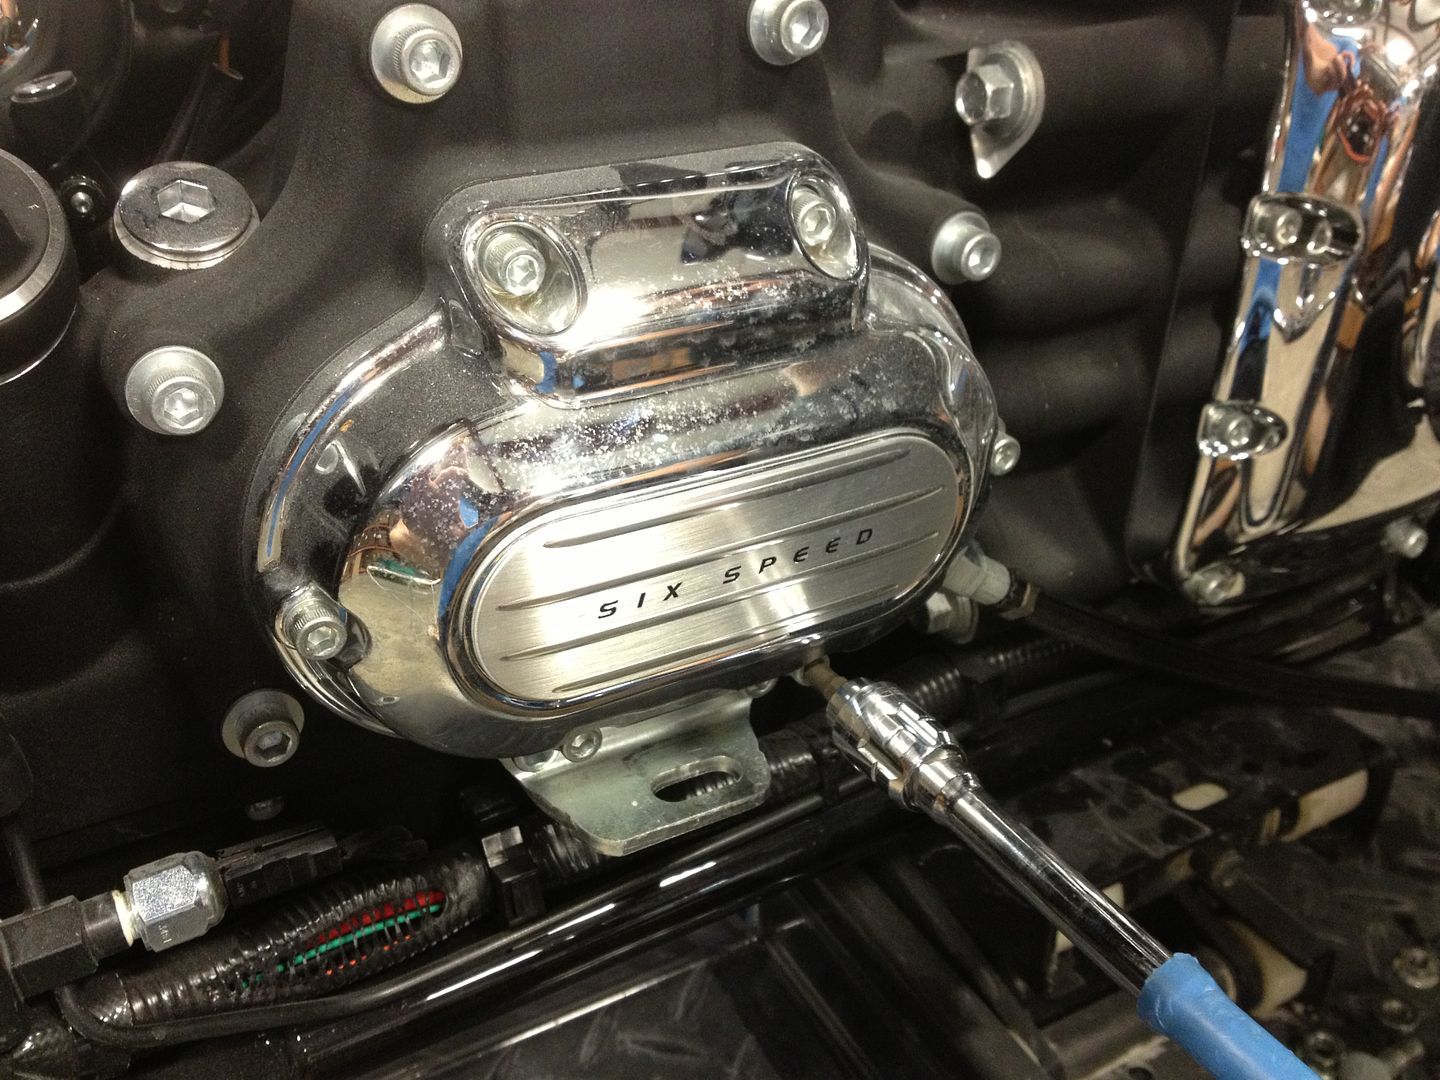
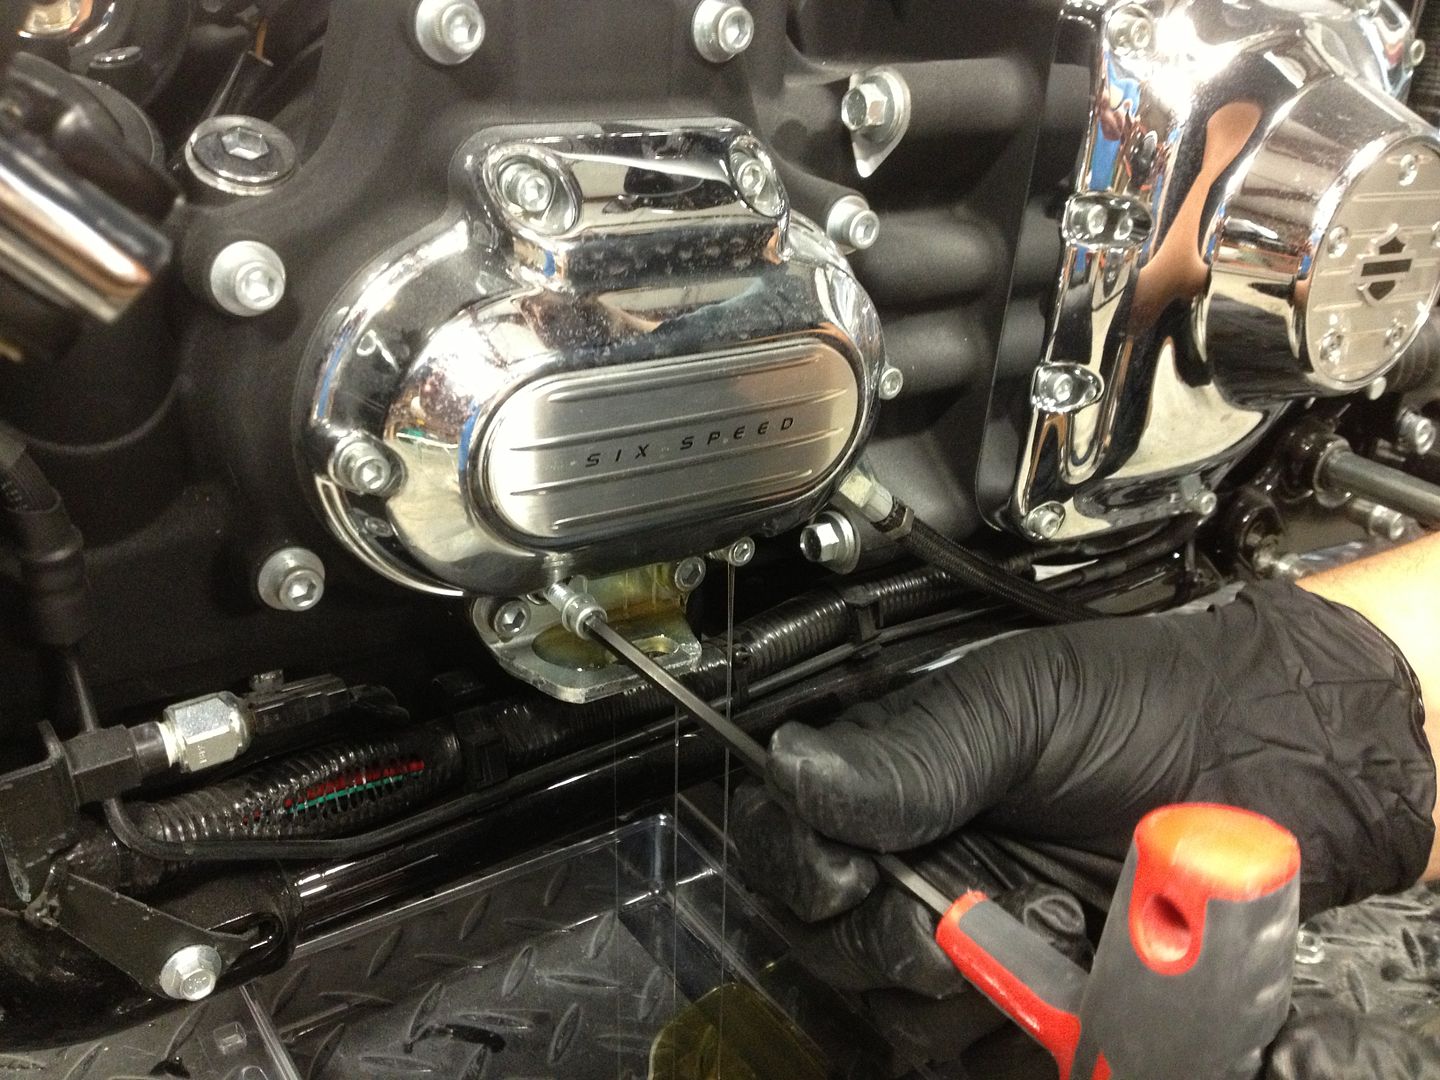
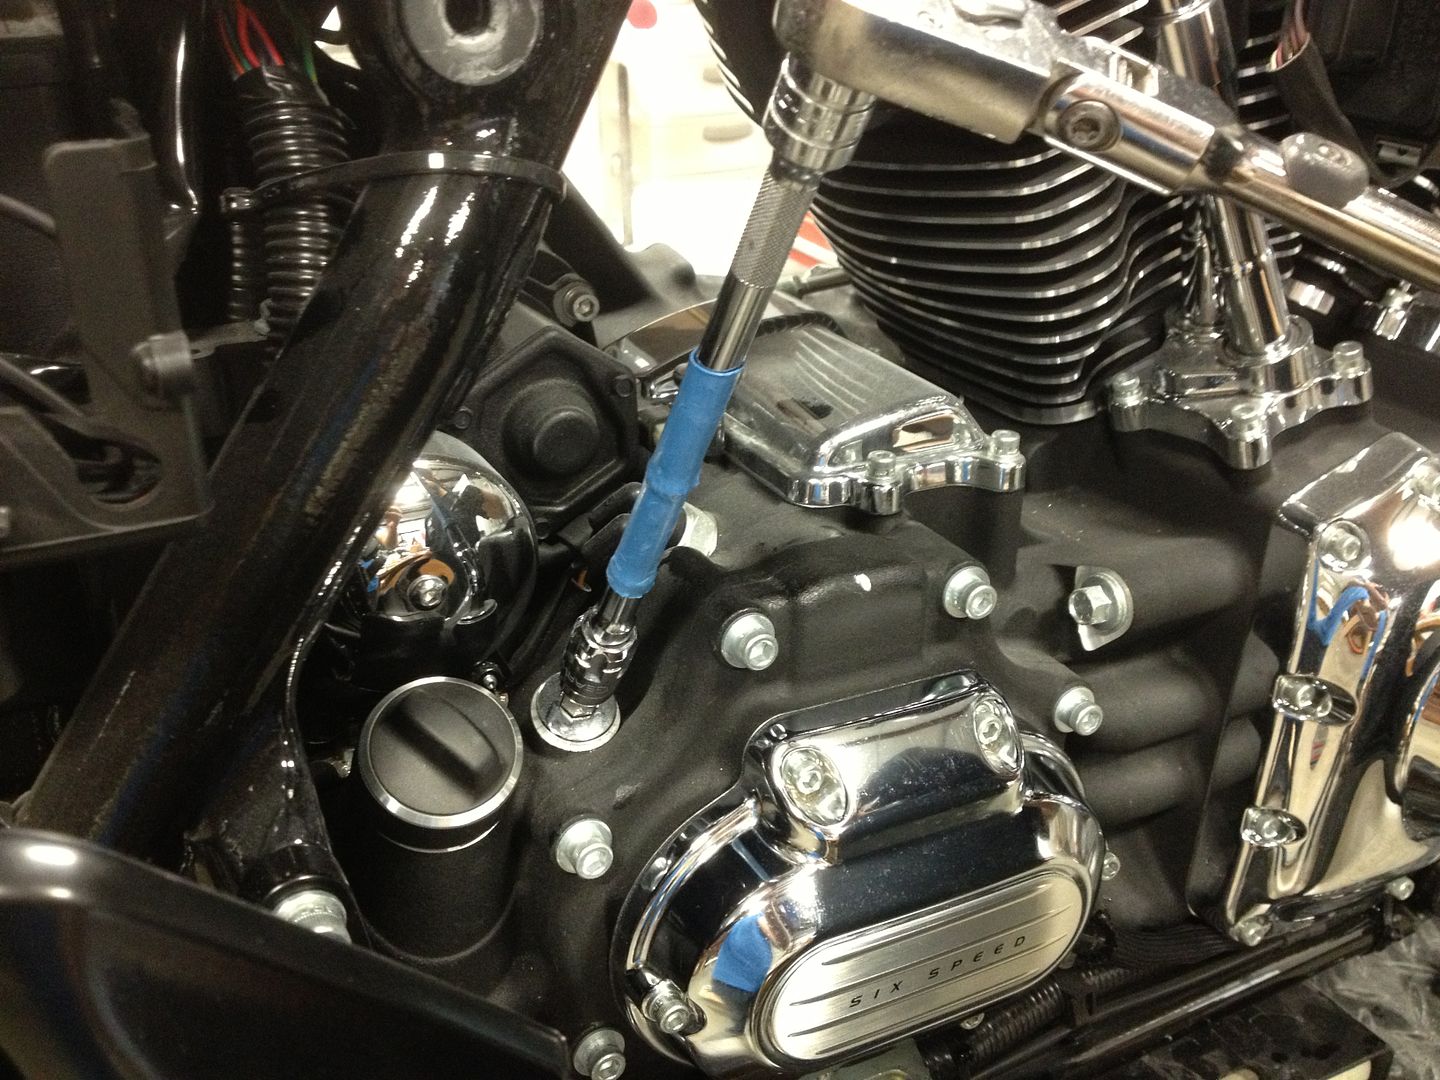
3) Then remove the bolts from the front of the cover. Please notice that some of the bolts are longer than others. Be sure to remember which bolt goes where! The two short bolts go at the top on our demonstration bike, but yours may be different depending on the model year.
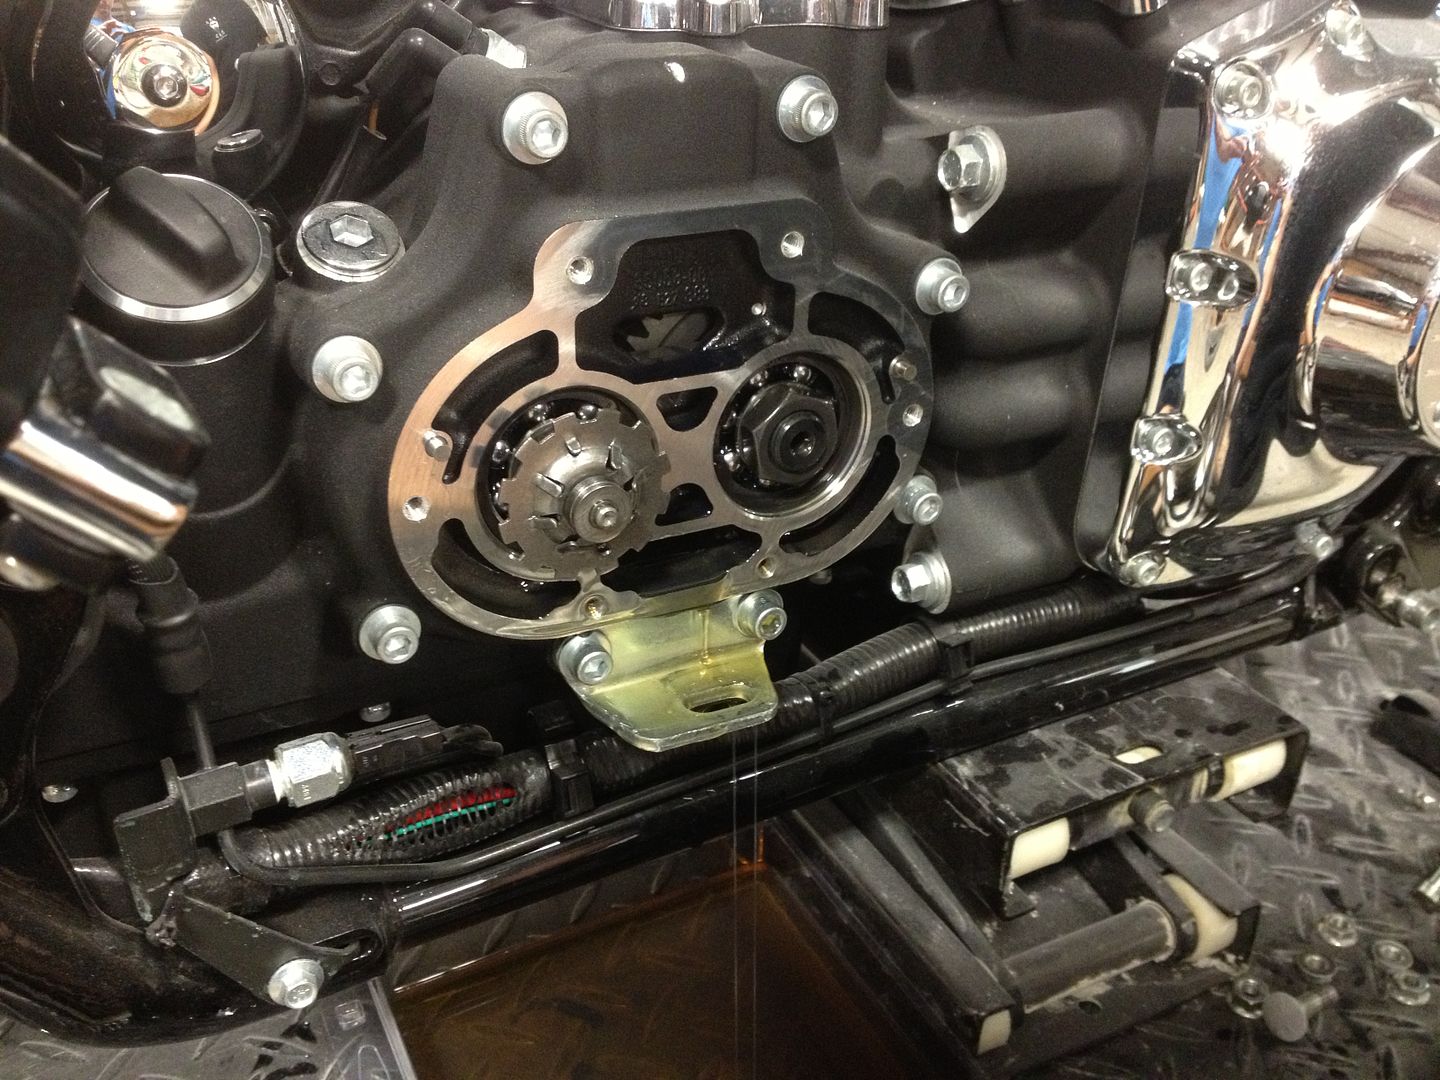
4) Now remove the cover from the transmission. Loosening the clutch adjustment in the middle of the original clutch cable will allow you to compress and then completely remove the cable from the cover.
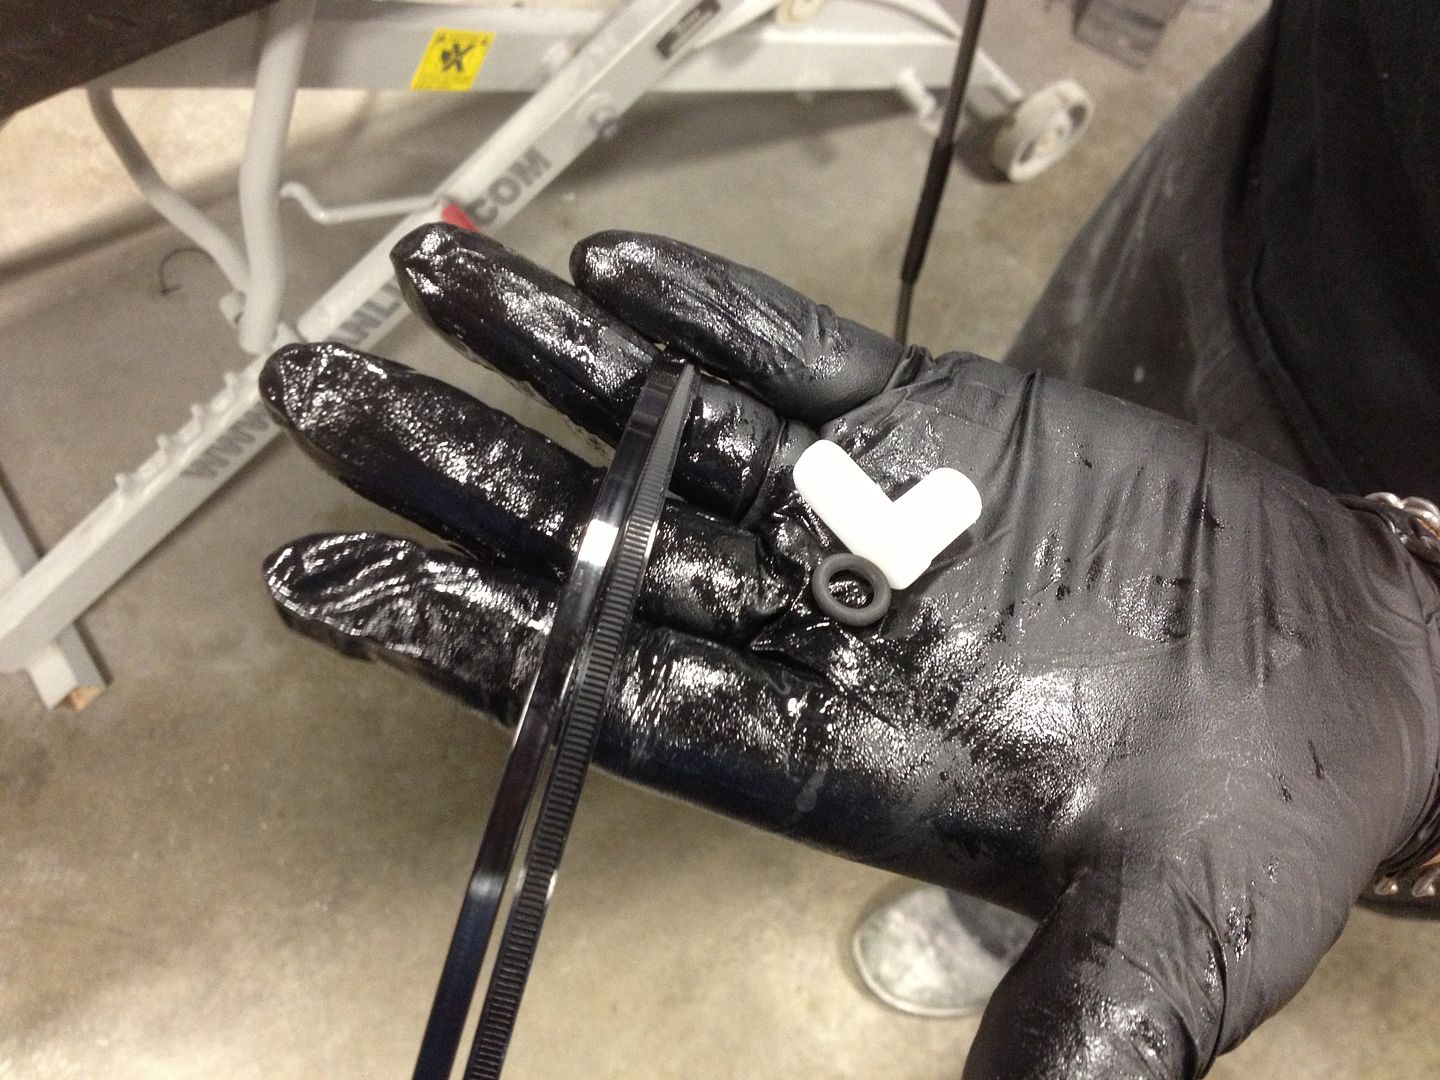
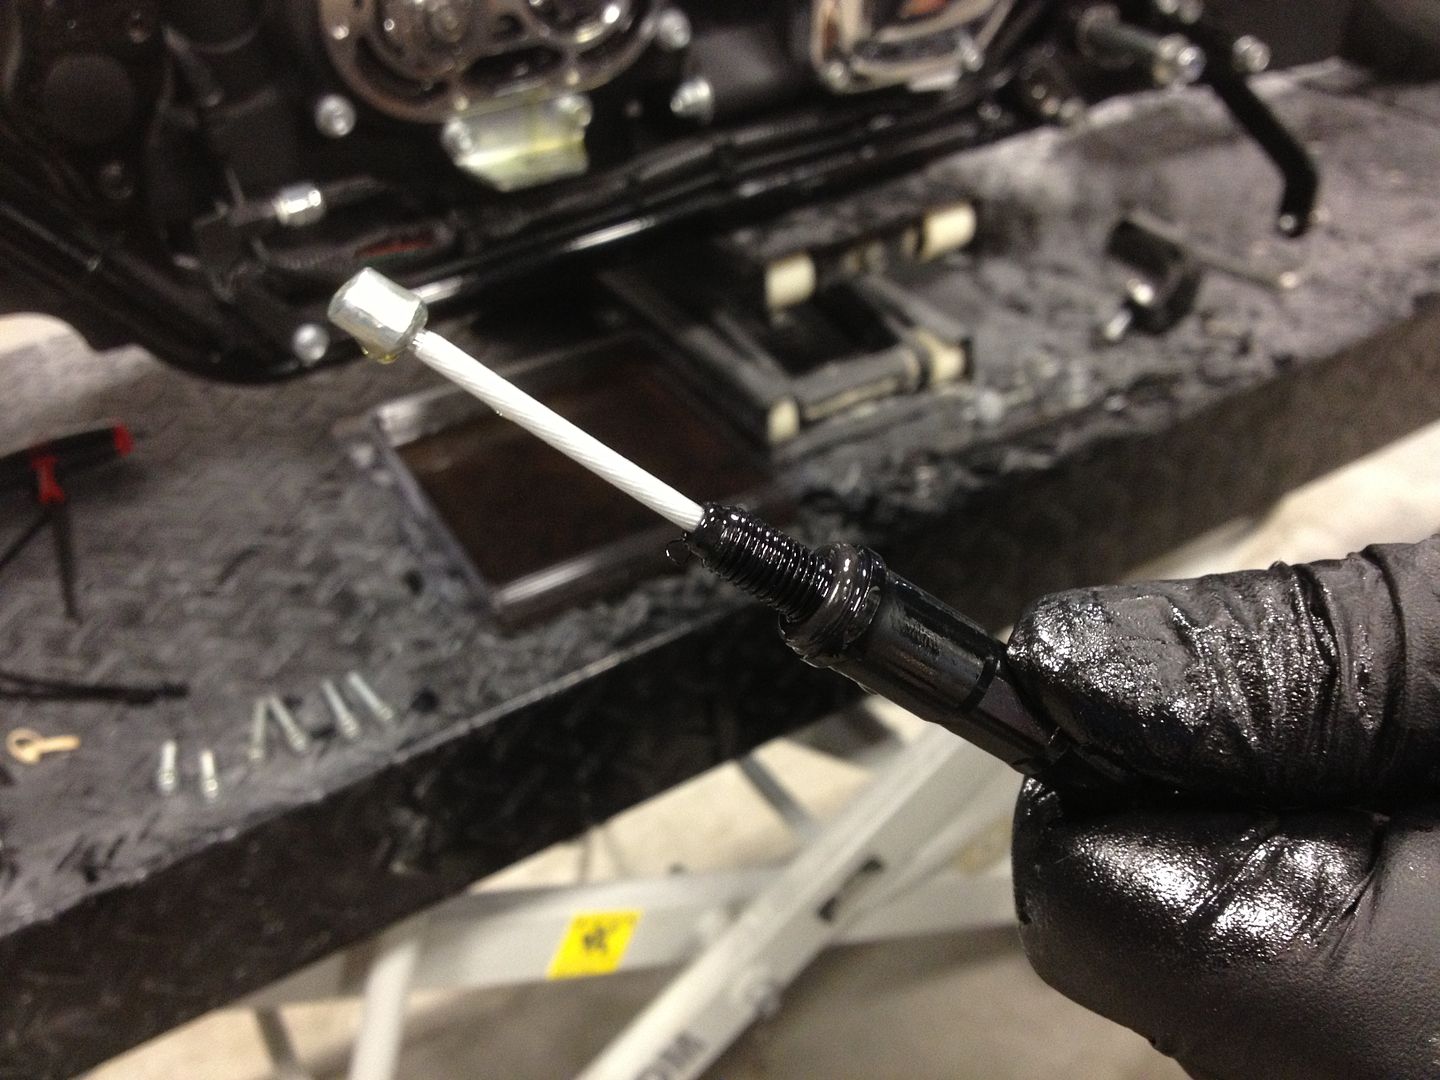
5) Your new clutch cable will include a pair of wire ties and a new o-ring. Install the new o-ring onto the new clutch cable.
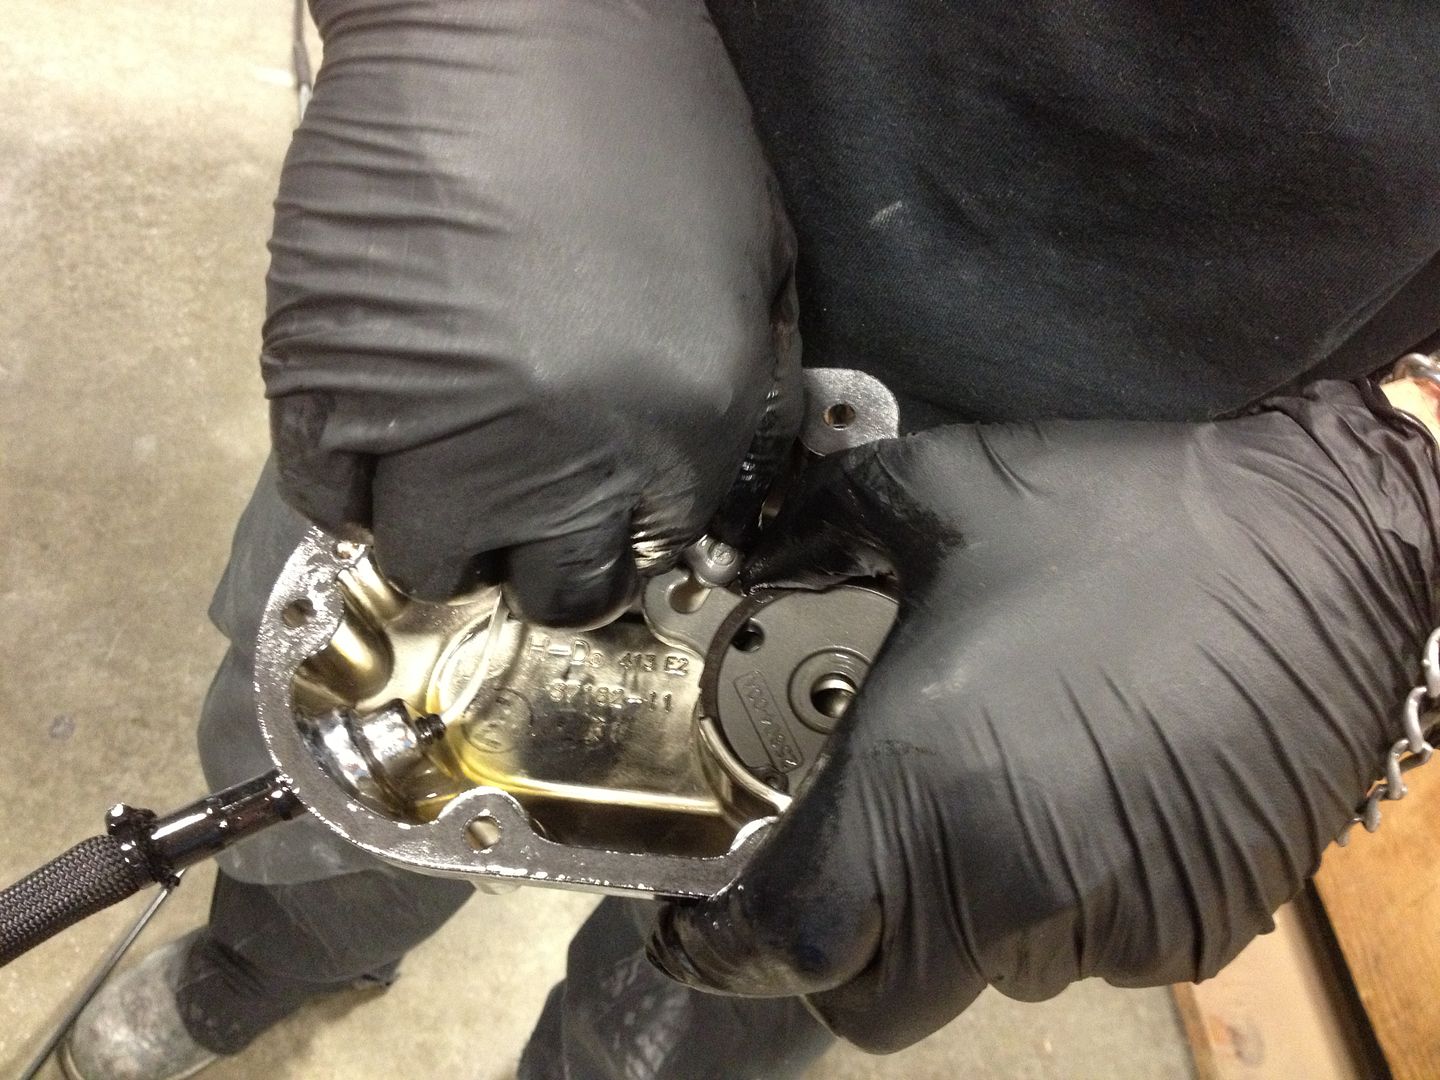
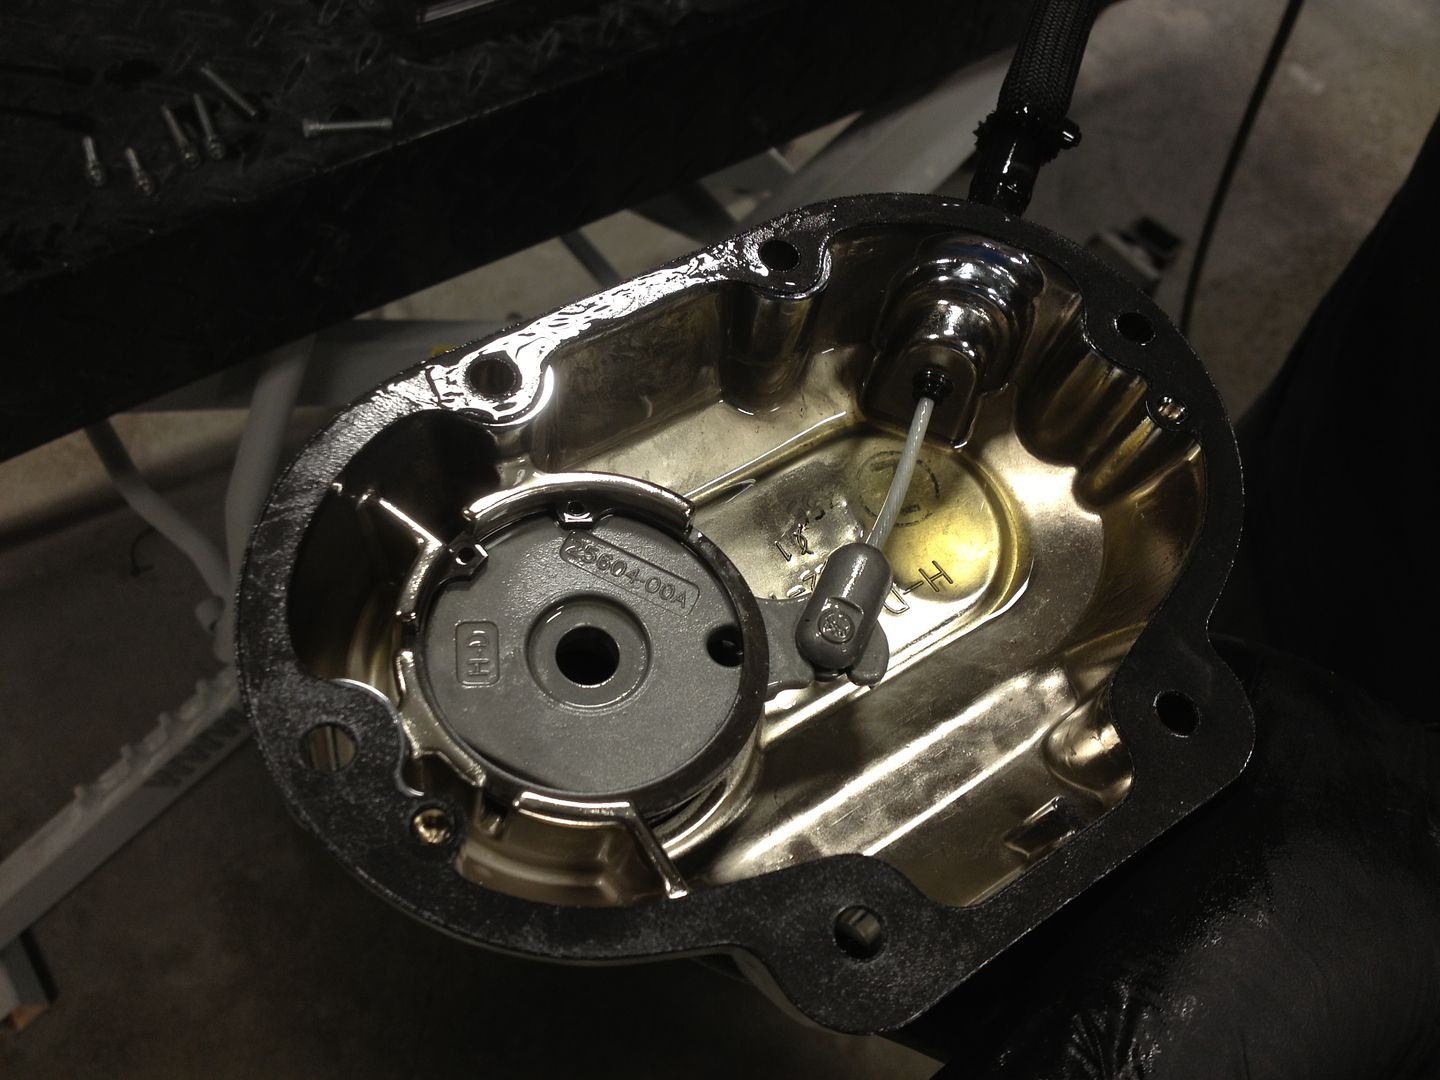
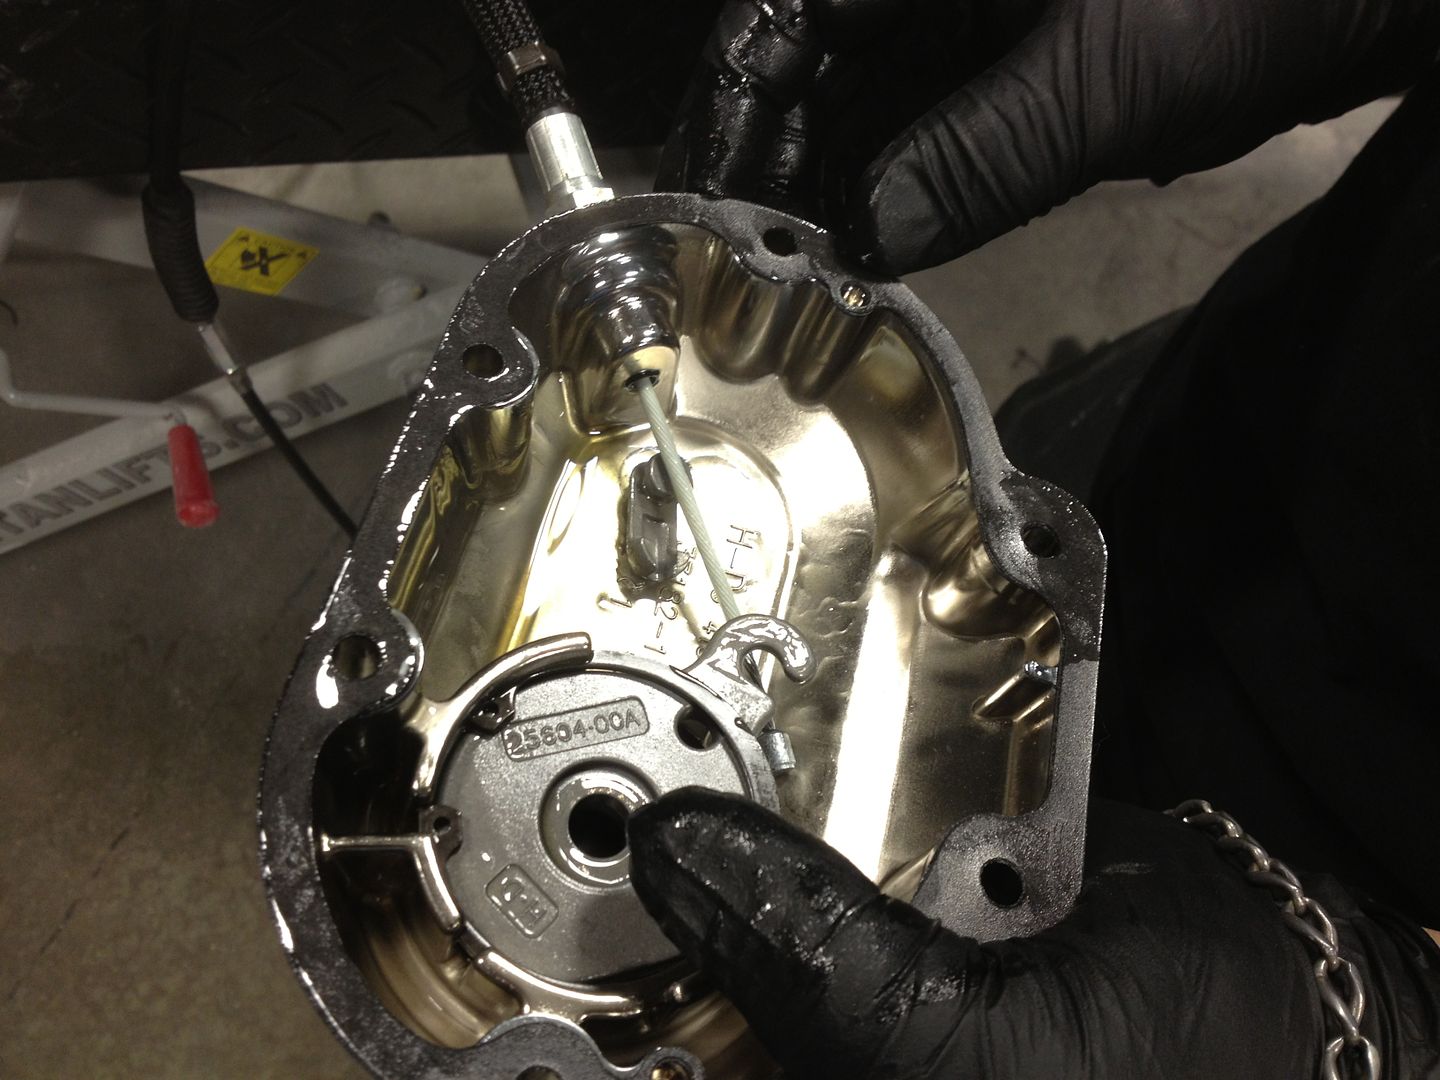
6) Then pass the new clutch cable into the clutch cover and install the new clutch cable.
7) Next, begin passing the new clutch cable through the frame. This is easier to do before the clutch cover is re-installed. You will finish routing the cable later.
8) Then re-install the clutch cover and tighten the clutch cable. You should be able to re-use the original clutch cover gasket if the bike is a newer model with very few miles. An older bike with more miles may require a new clutch cover gasket.
9) Next, replace any transmission fluid that was spilled during the installation. You may be able to re-use the fluid on a newer bike with less miles if the fluid is clean, but it may be wise to replace the fluid on a higher mileage motorcycle.
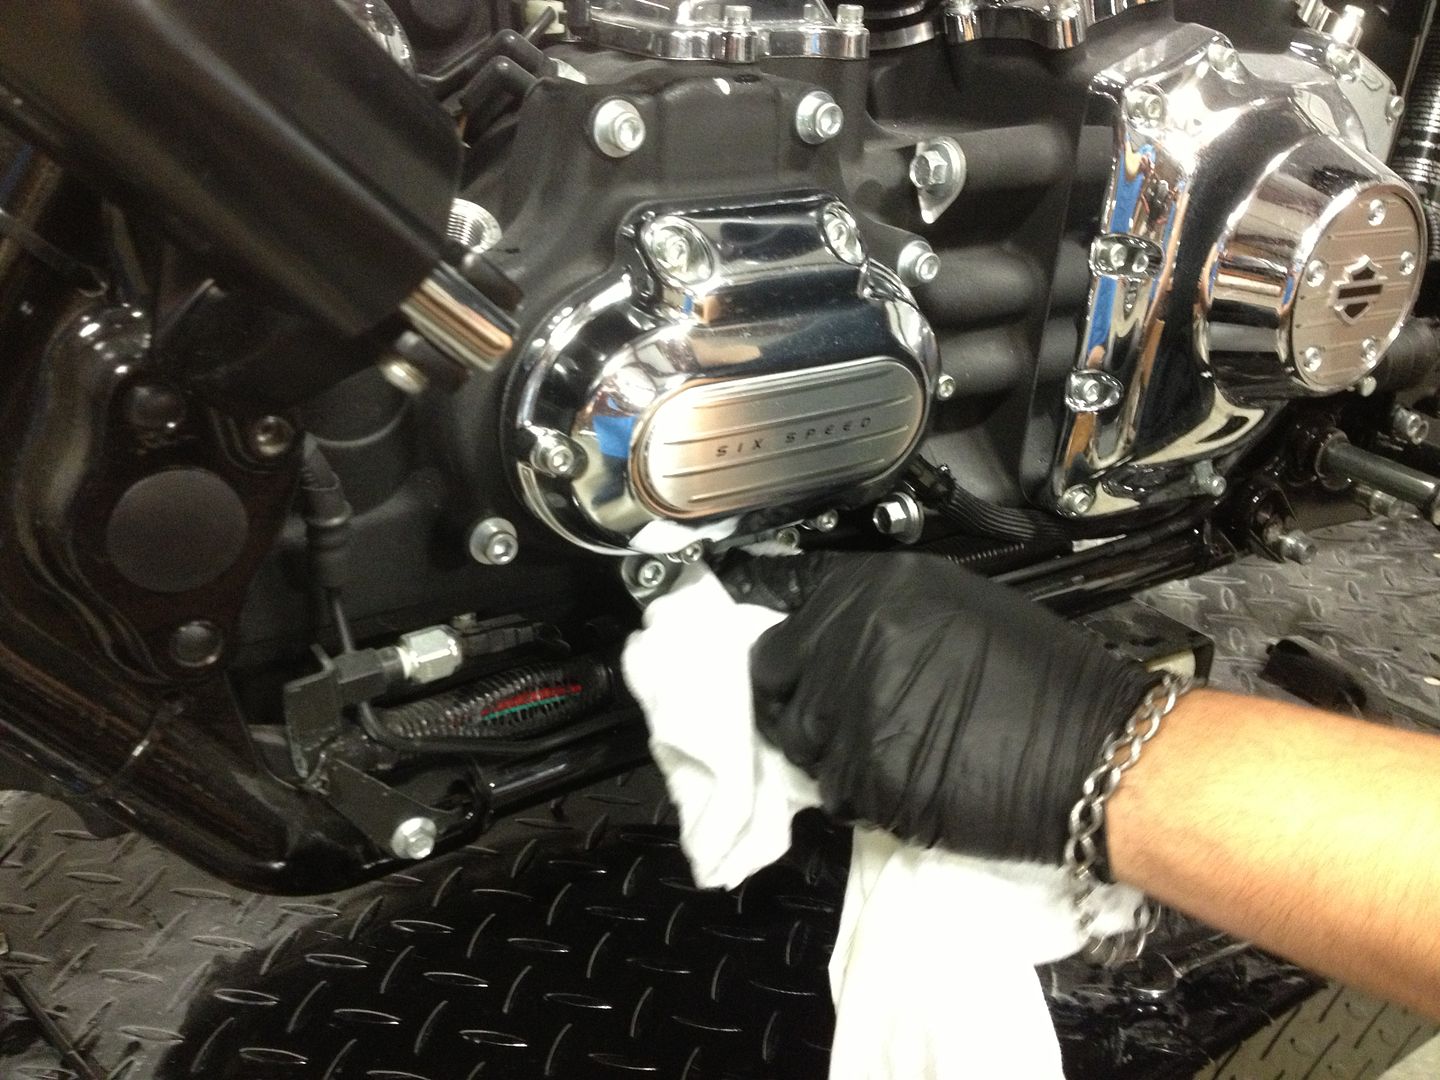
10) Then re-install the cap to the transmission fill area. Also, be sure to wipe down any residue from spilled transmission fluid before starting the motorcycle. Spilled transmission fluid may cause a fire if not wiped clean.
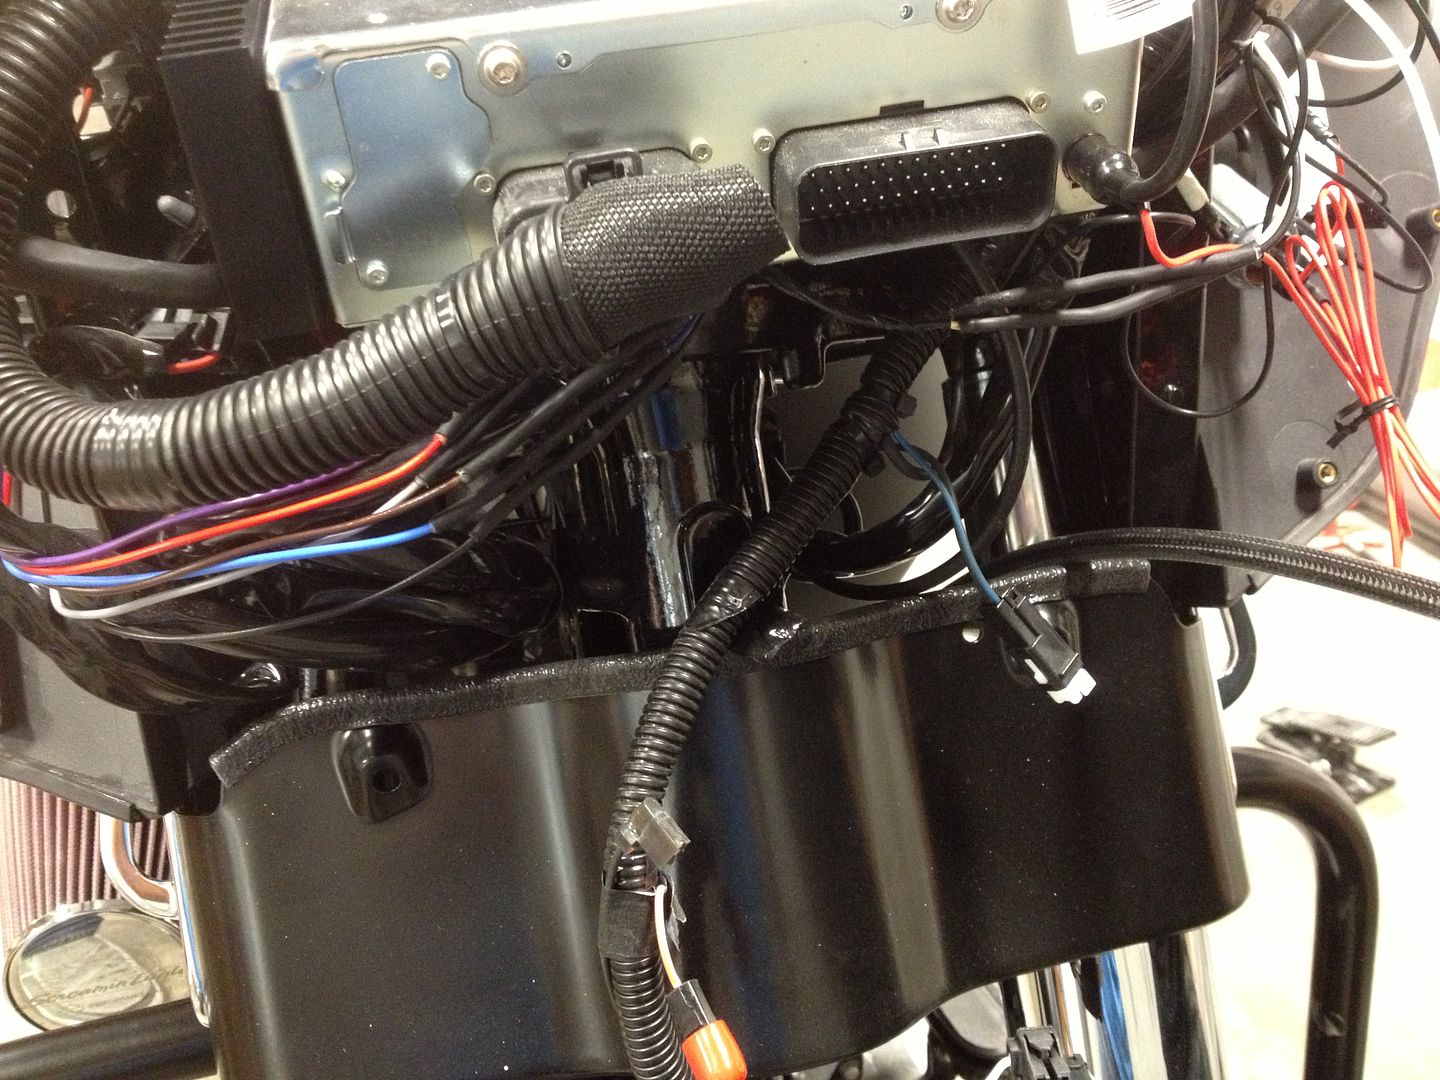
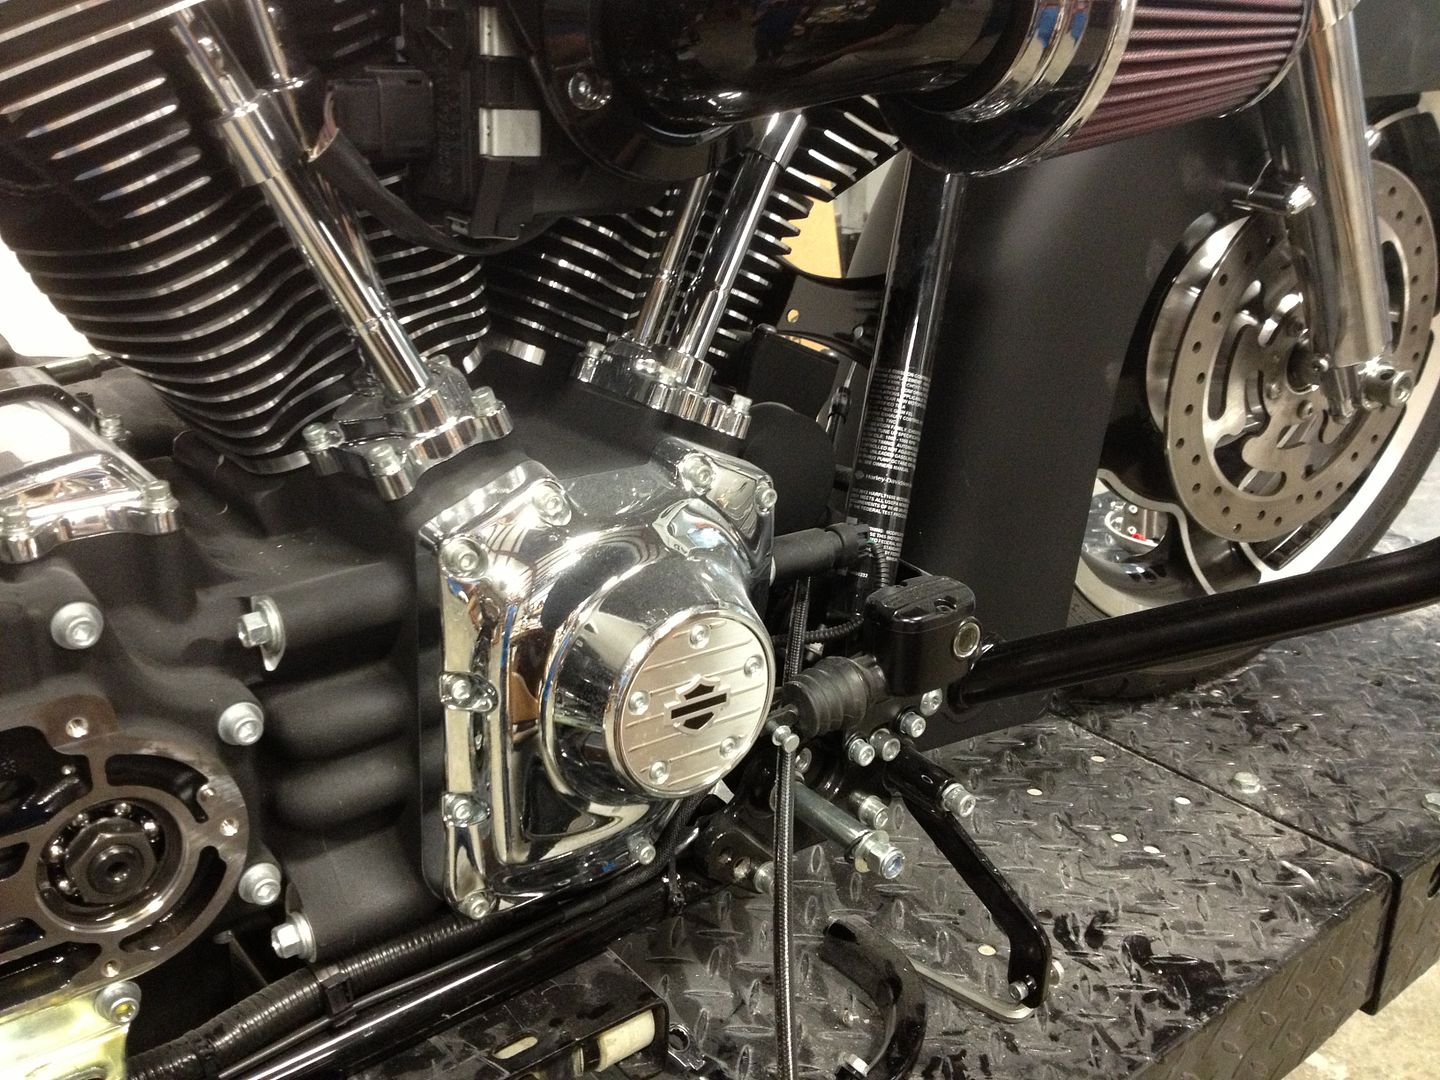
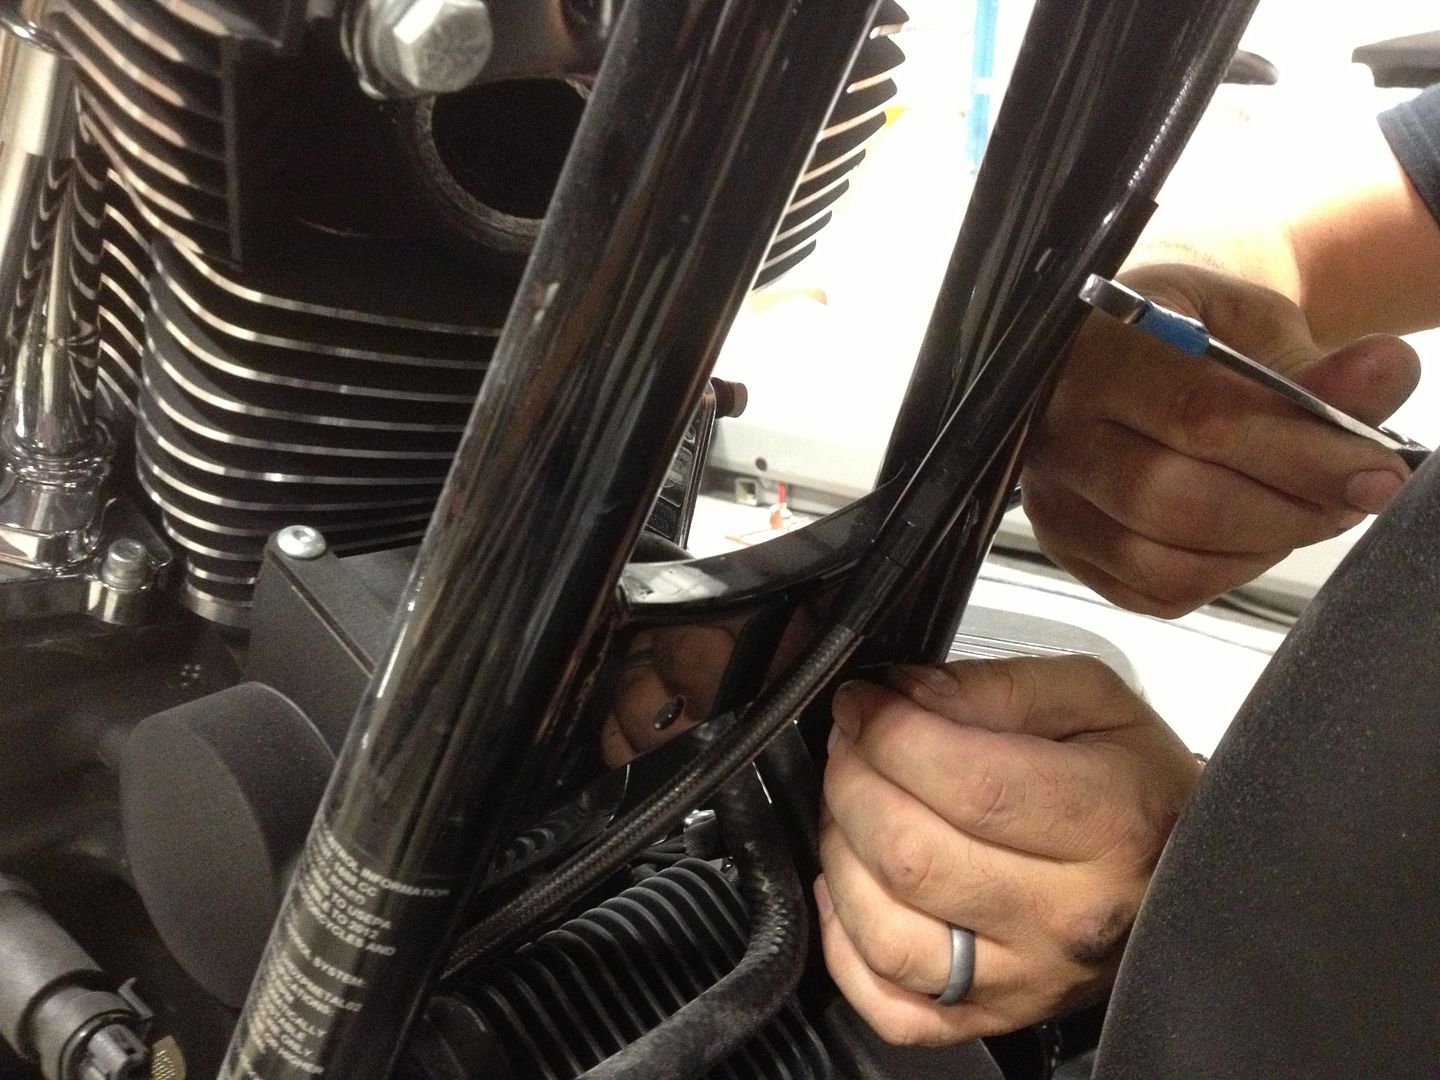
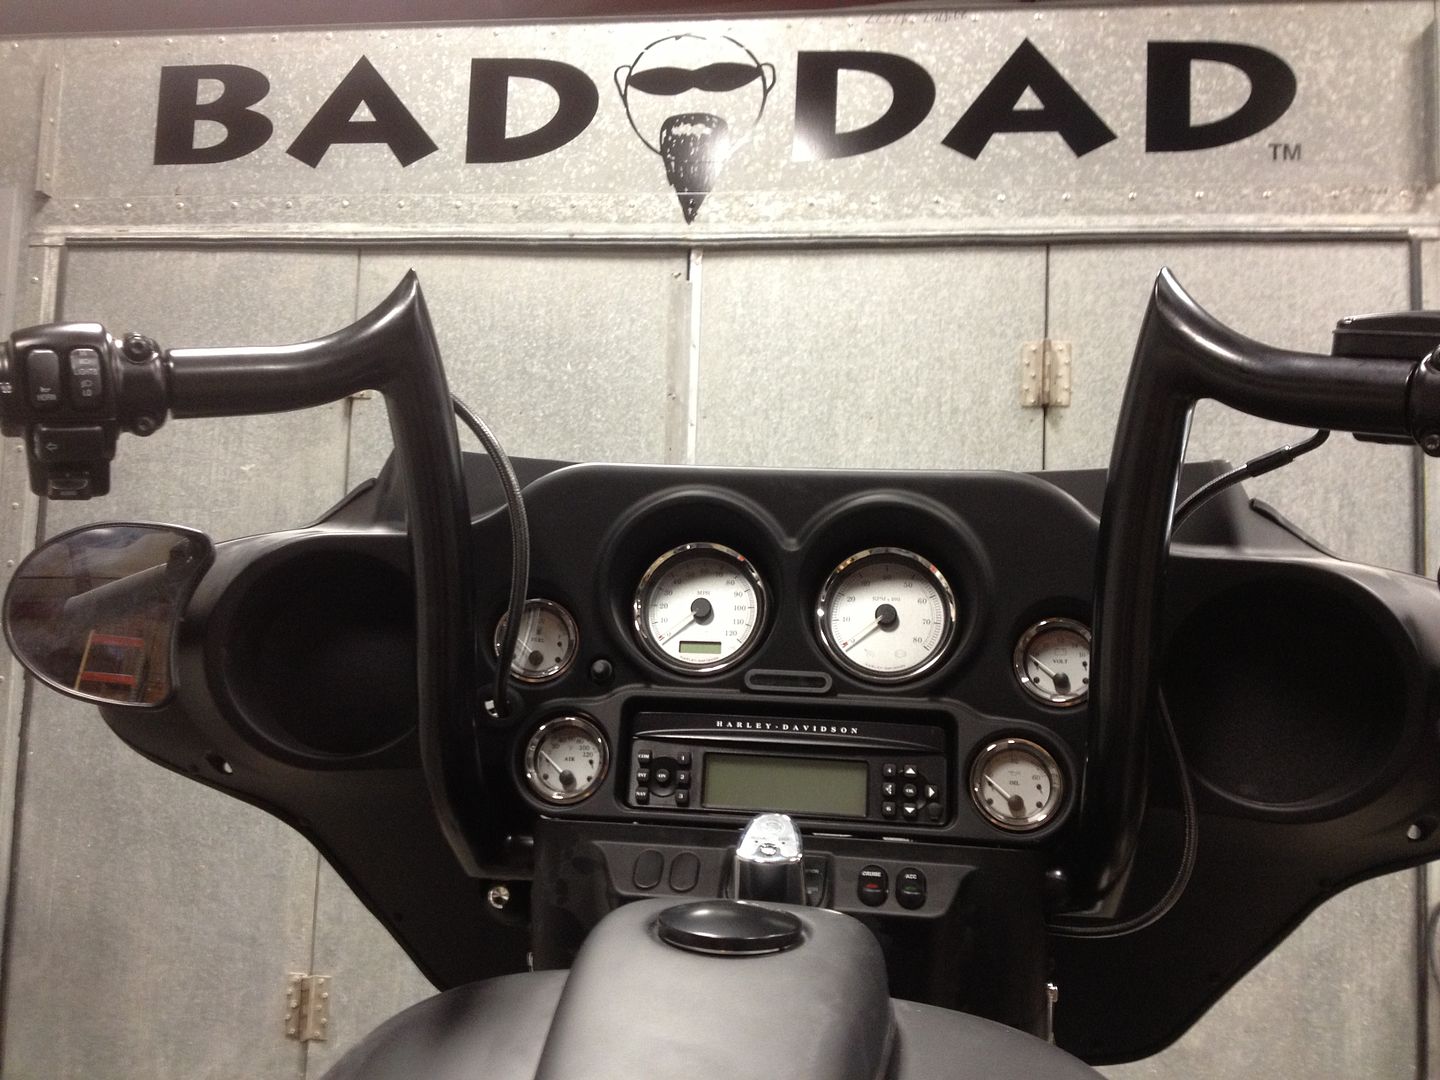
11) With the new cable installed into the clutch cover, route the new cable through the frame and out through the inner fairing like on the stock application.

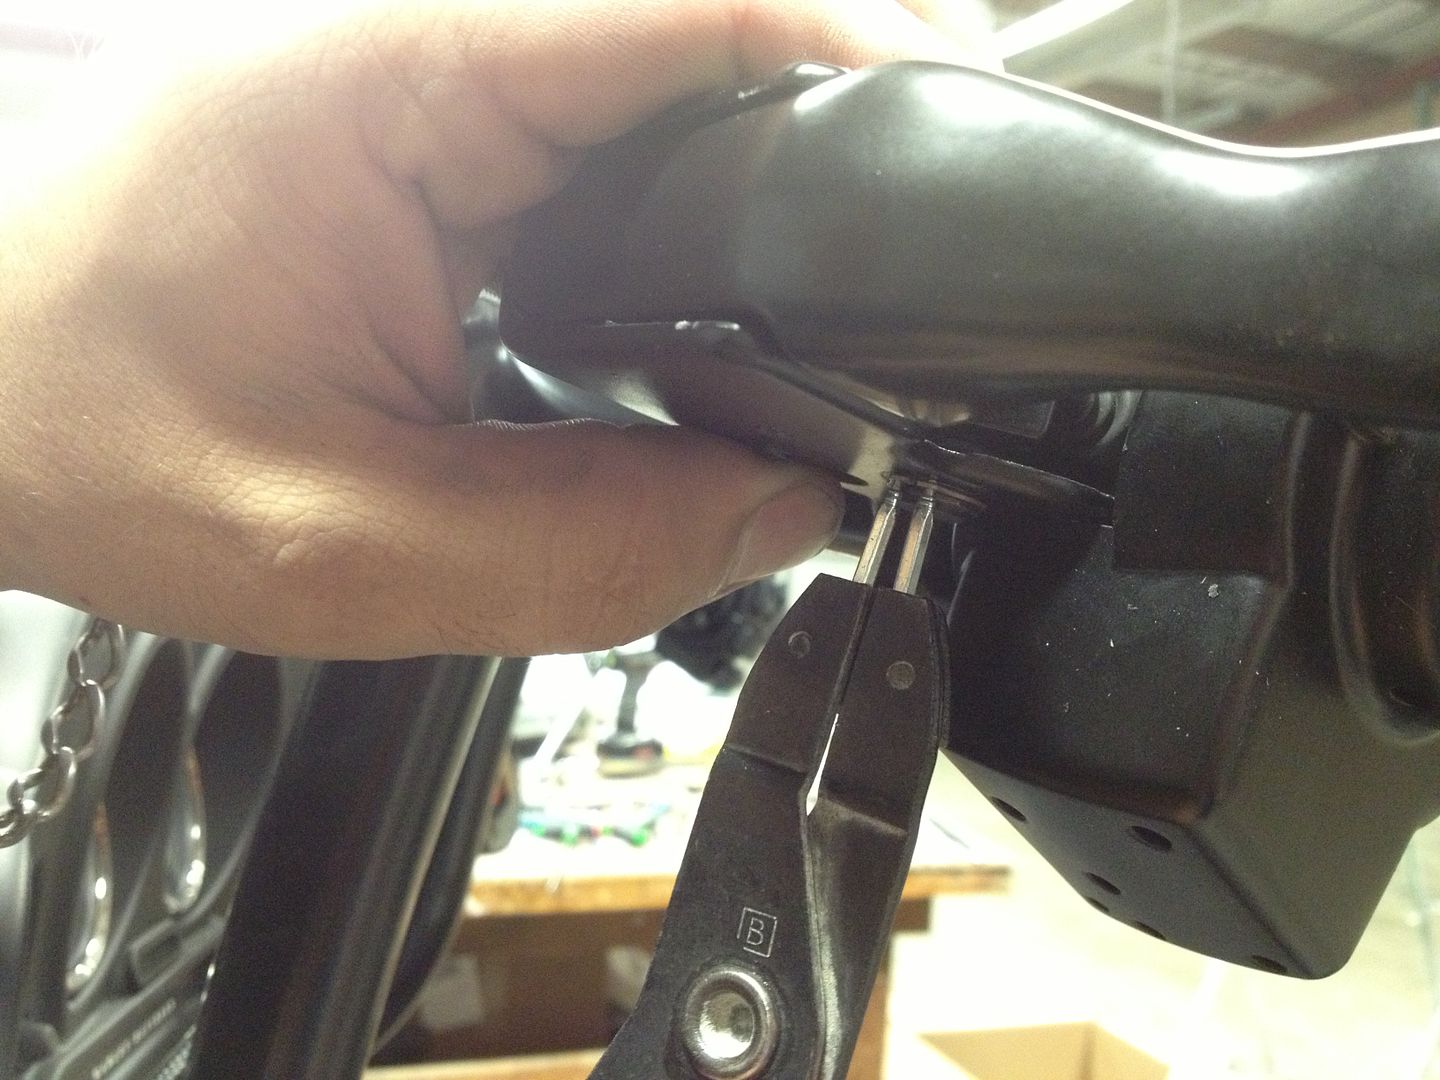
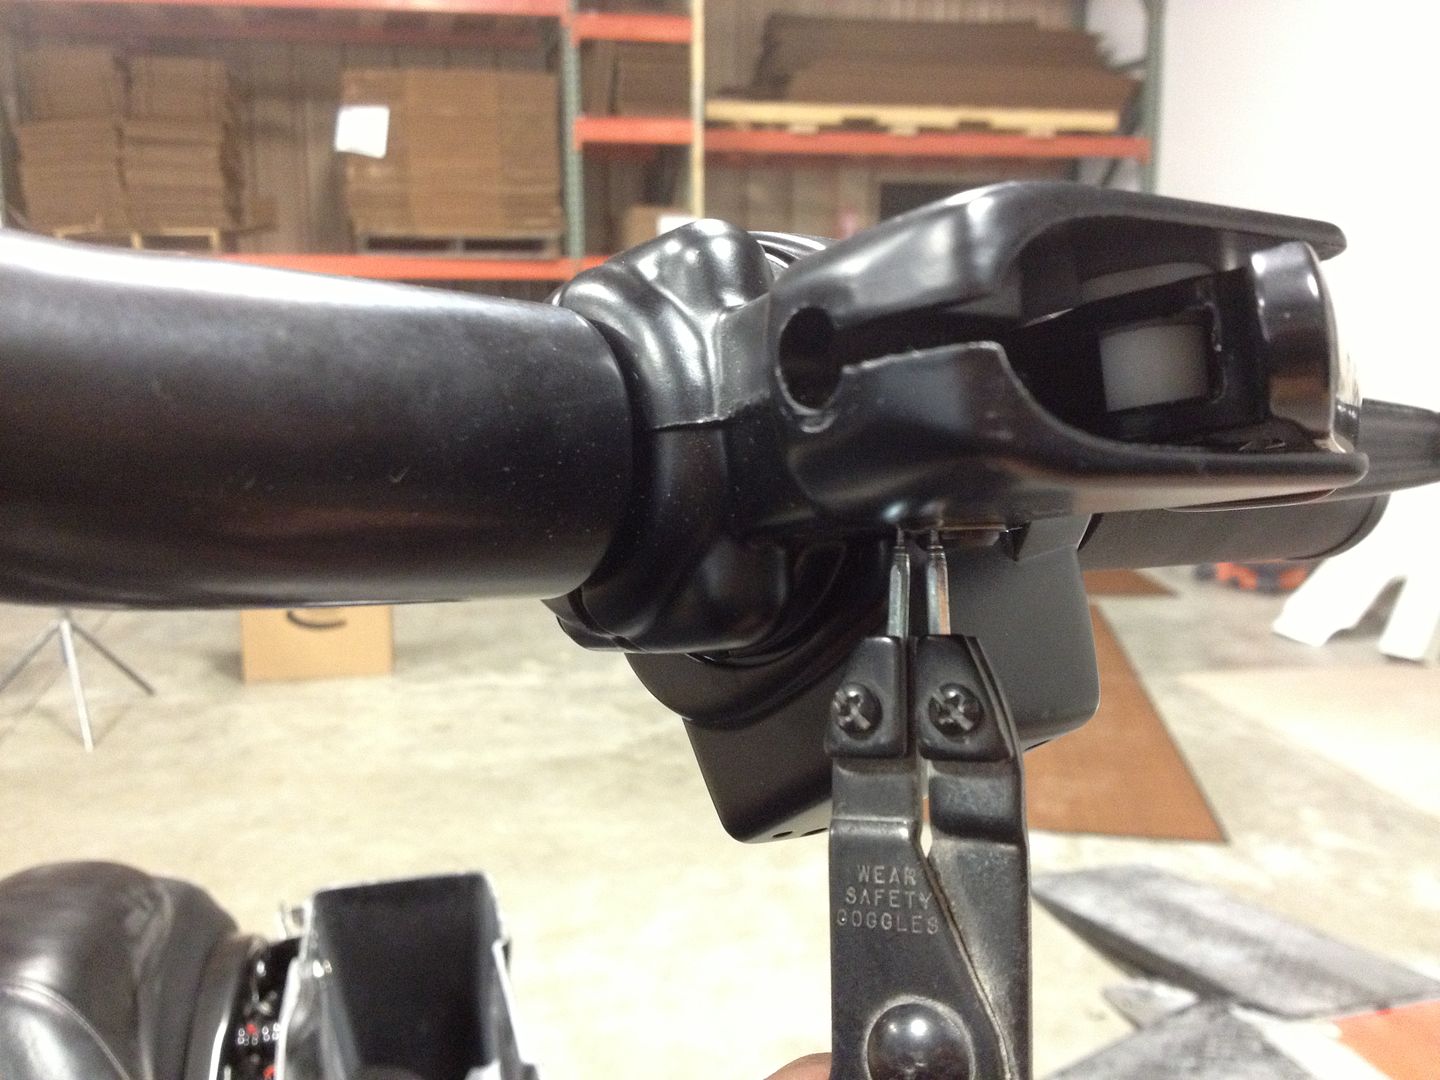
12) Then re-install the clutch lever and cable into the clutch assembly.
13) Now use the included wire ties to attach the clutch cable to the frame. Finally, make any necessary adjustments to the clutch.
Sign Up for Updates on our Newest Parts, Current Projects & Latest Builds