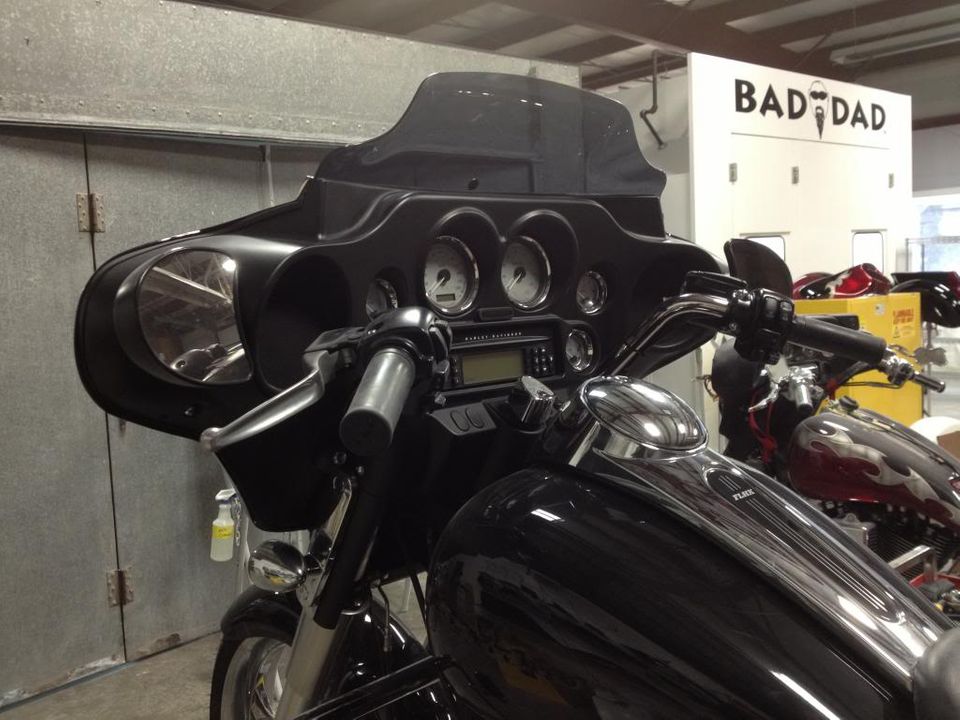
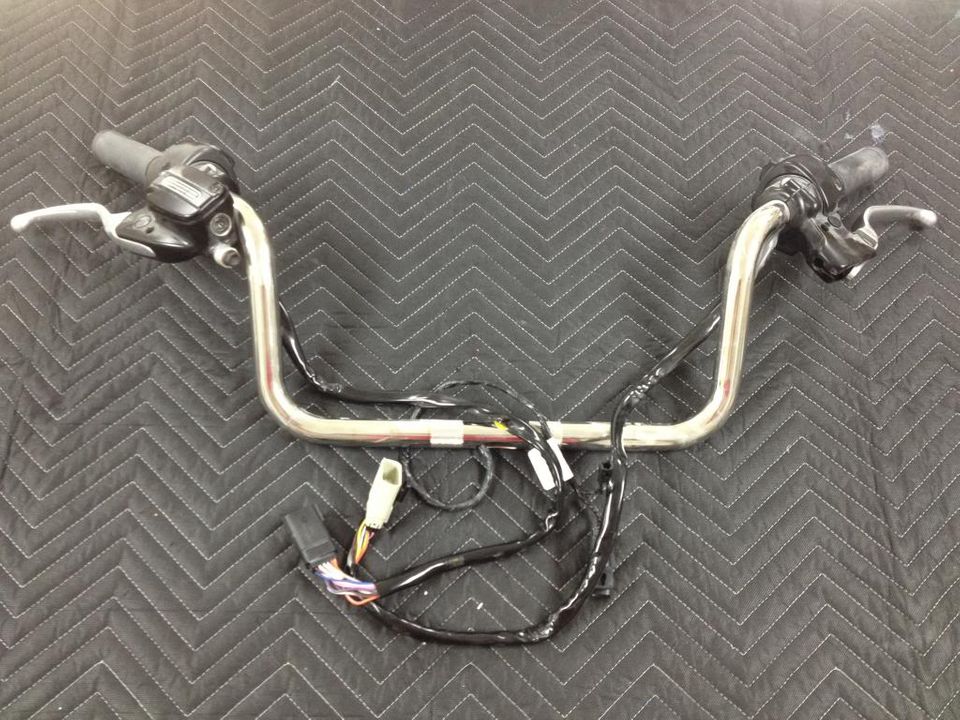
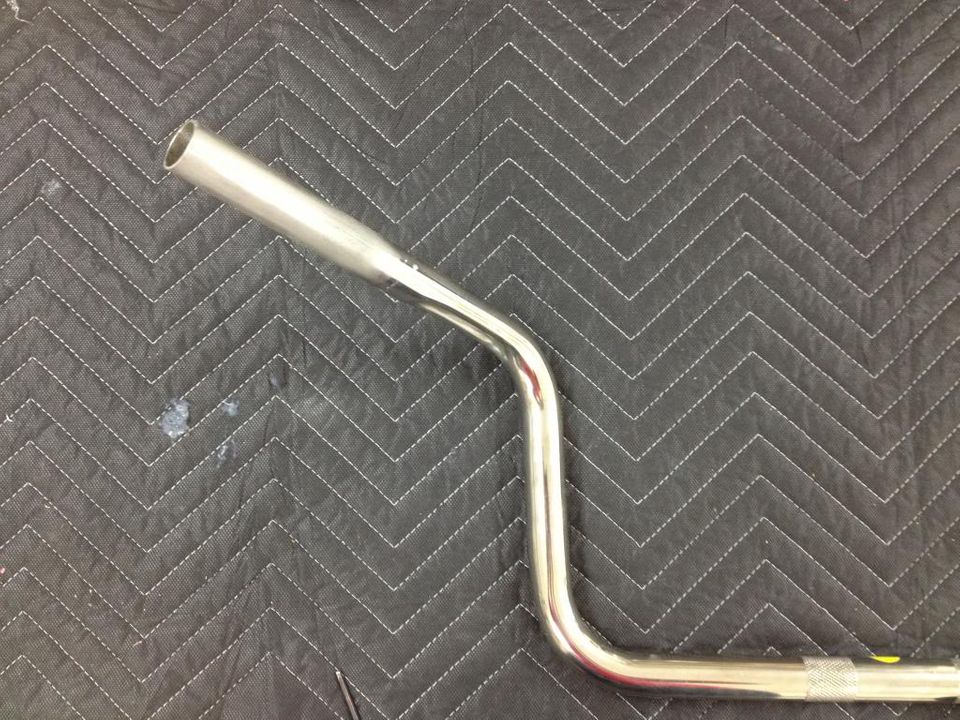
1) These are the stock handlebars on this Street Glide.
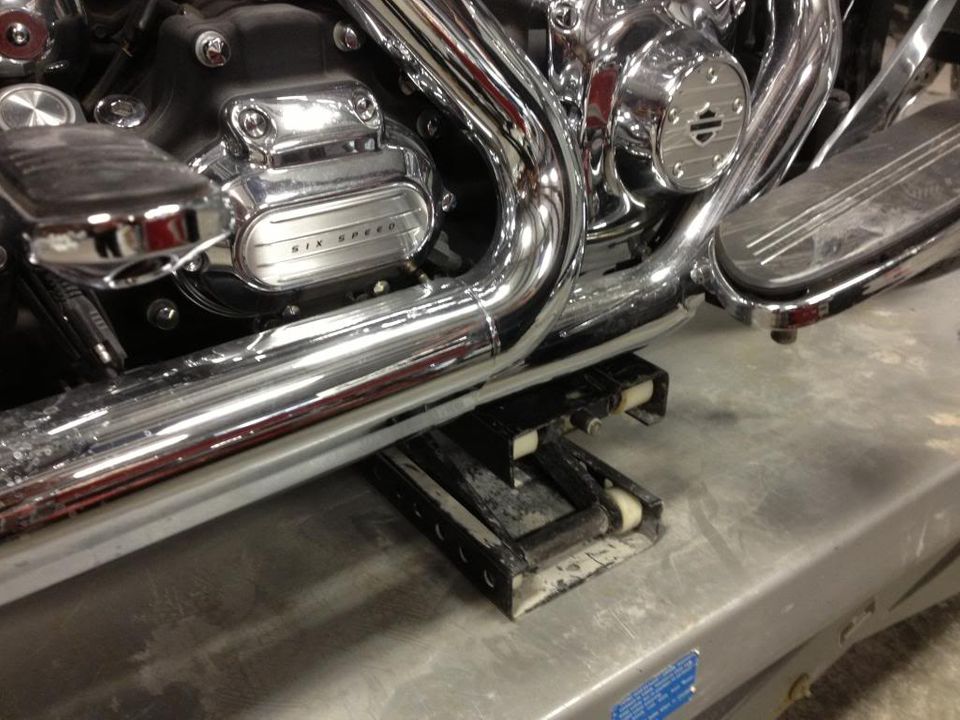
2) It is helpful to have the motorcycle centered on a jack for this installation. If you wish to use a jack, put the jack in place now.
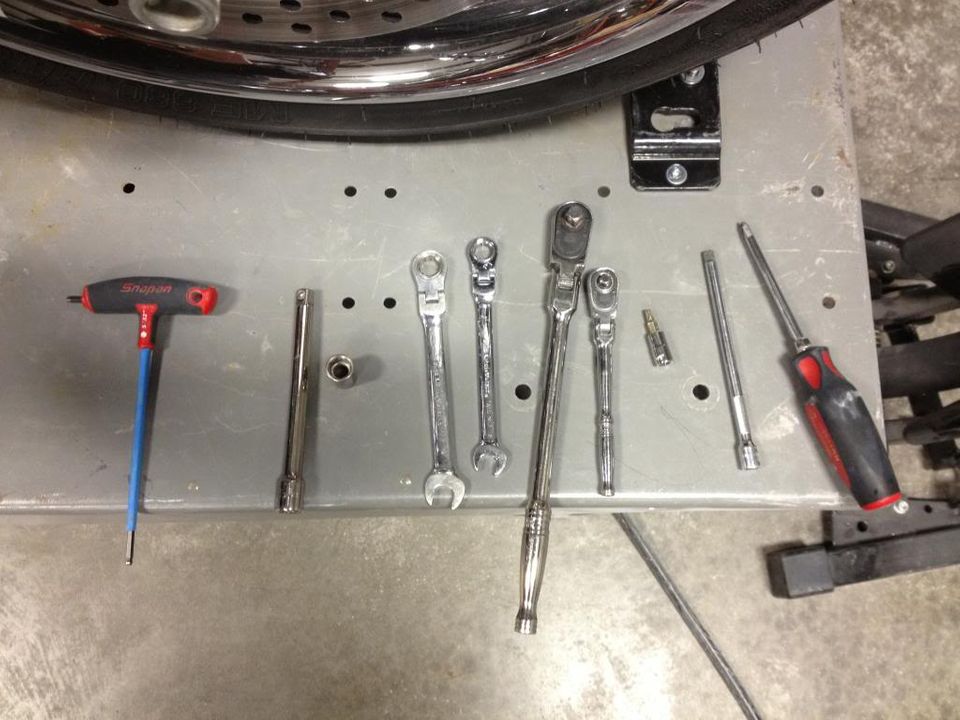
3) Here is the collection of tools you will need for removing the bike's handlebars.
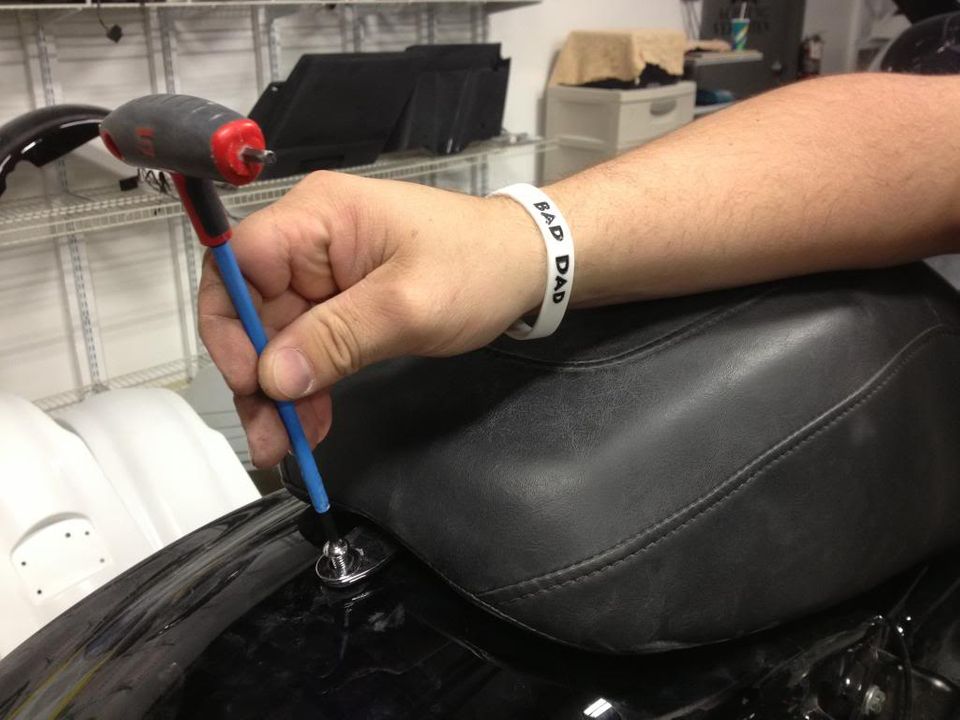
4) Remove the seat by taking off the rear seat screw.
5) Begin by disconnecting the bike's battery. This is for your safety and the protection of the bike's electrical system. Remove the side cover to allow access to the battery compartment underneath the seat.
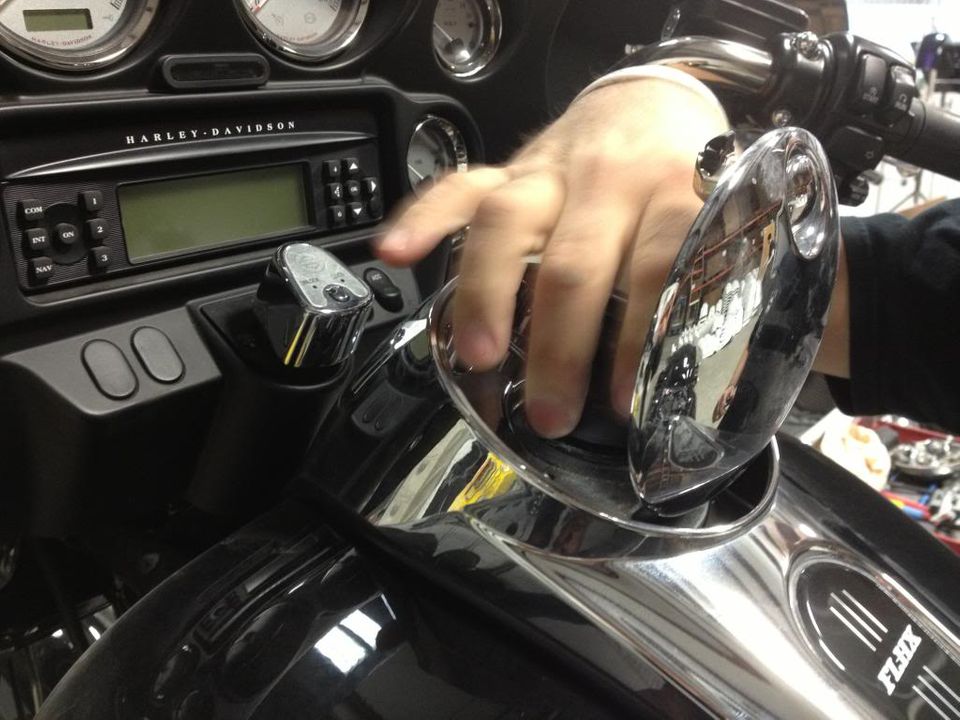
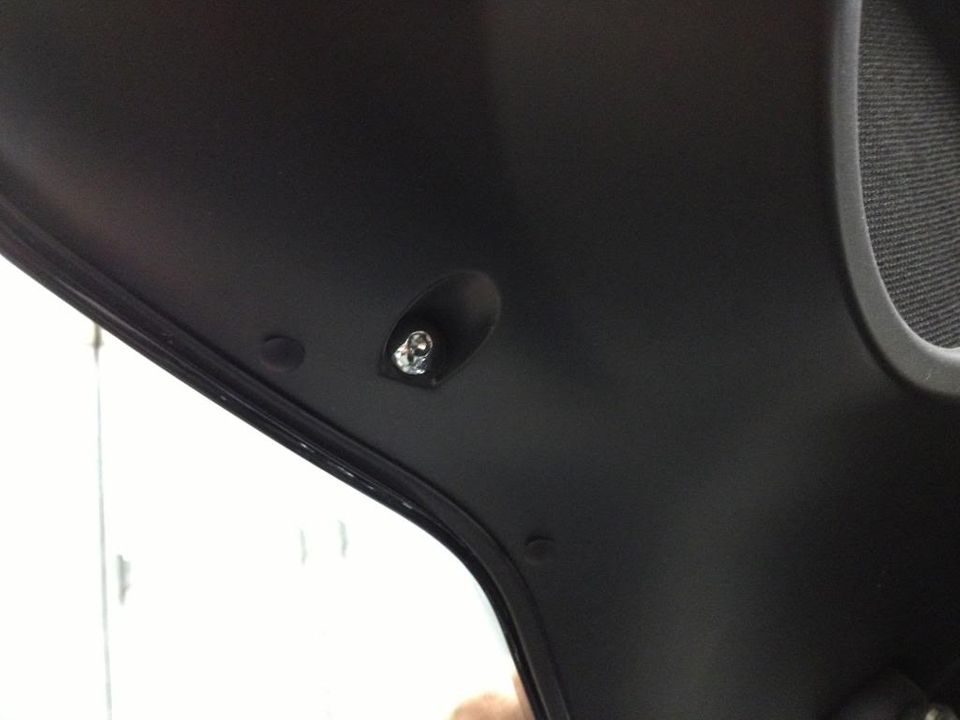
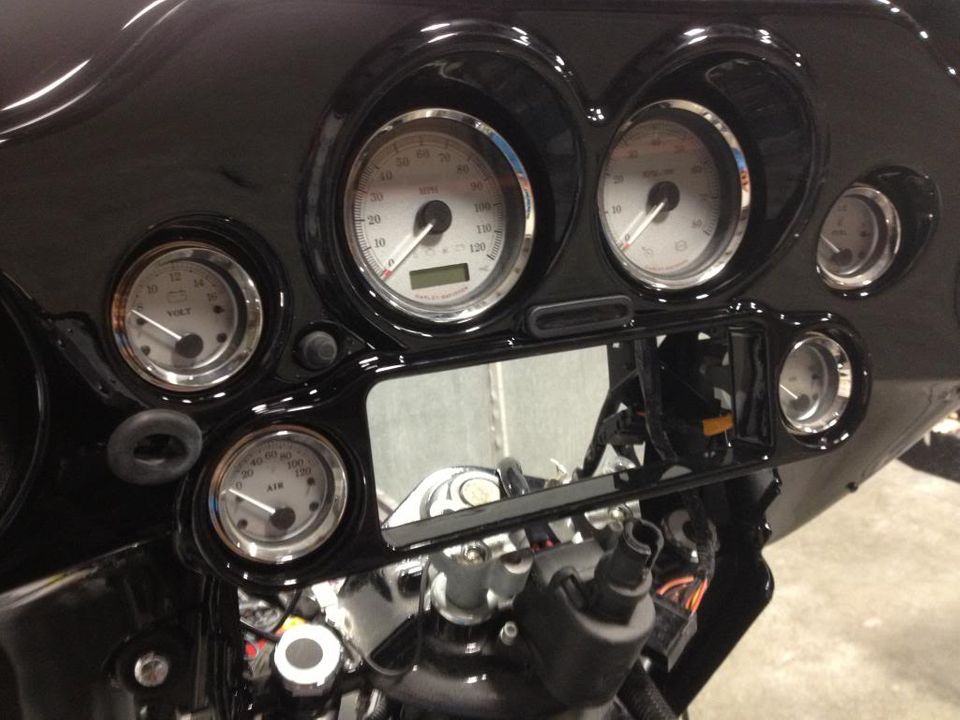
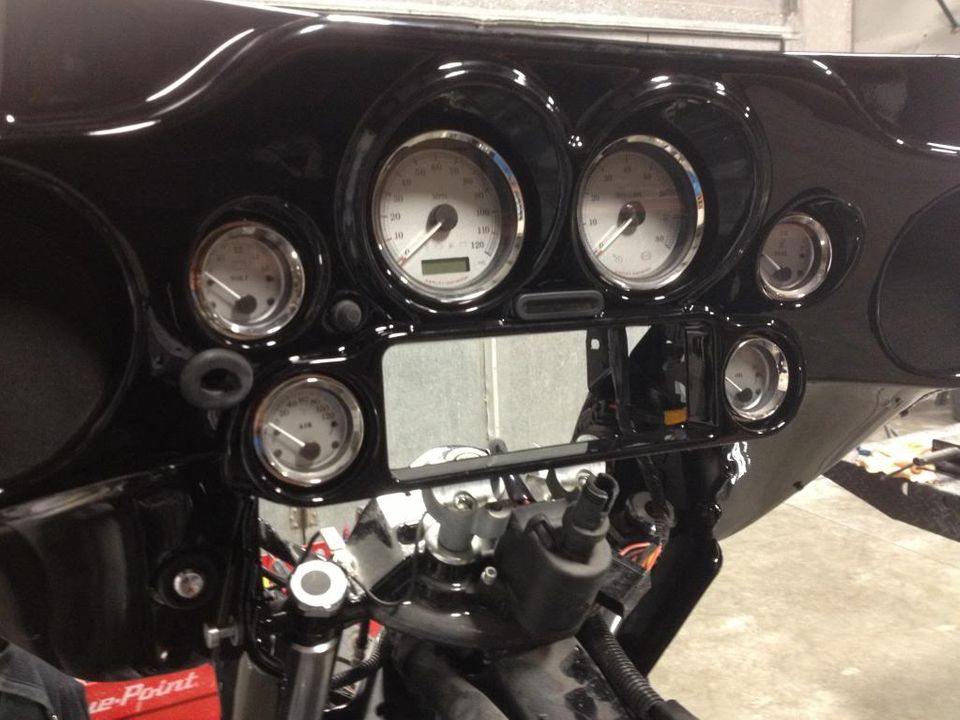
6) Then remove the dash by first removing the bolt at the bottom of the dash and then removing the screw at the top of the dash.
7) Next remove the gas cap to allow the full removal of the dash, and then reinstall the gas cap to prevent debris from falling into the gas tank.
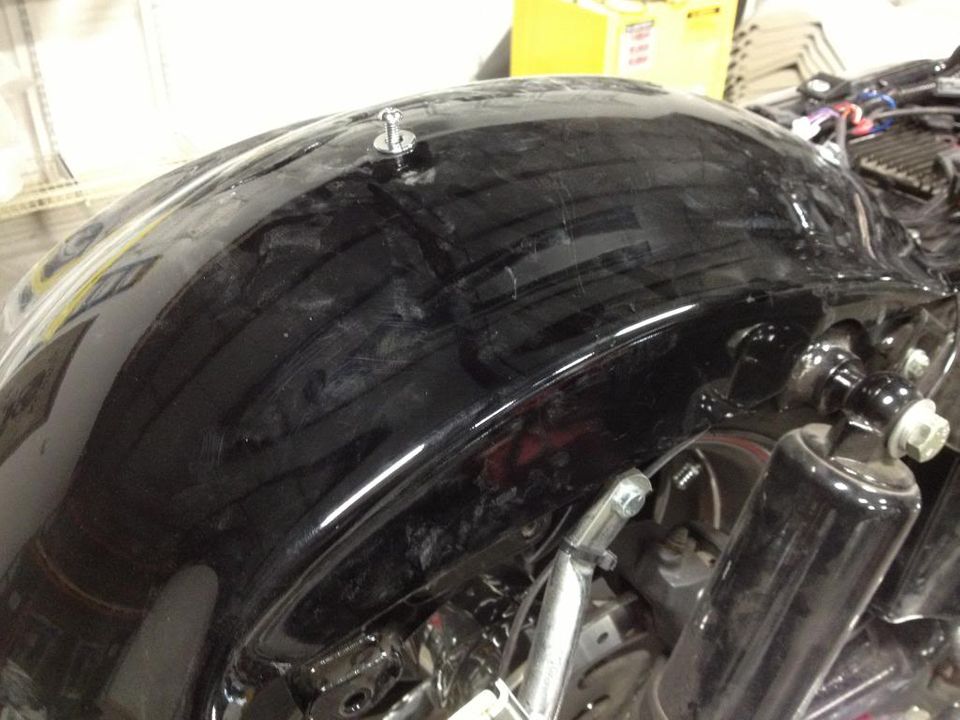
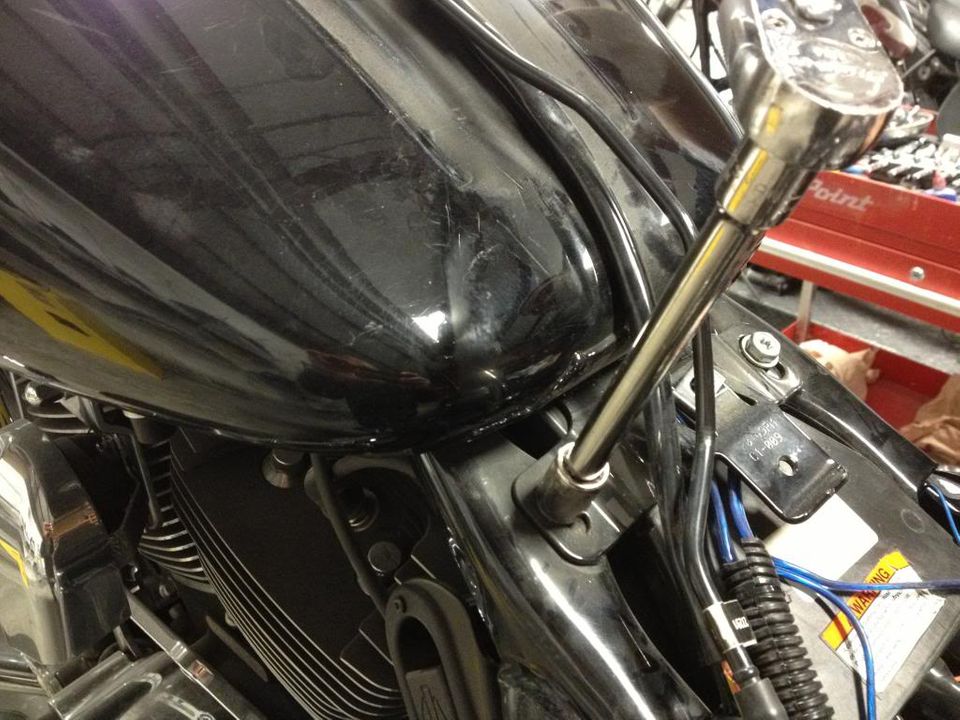
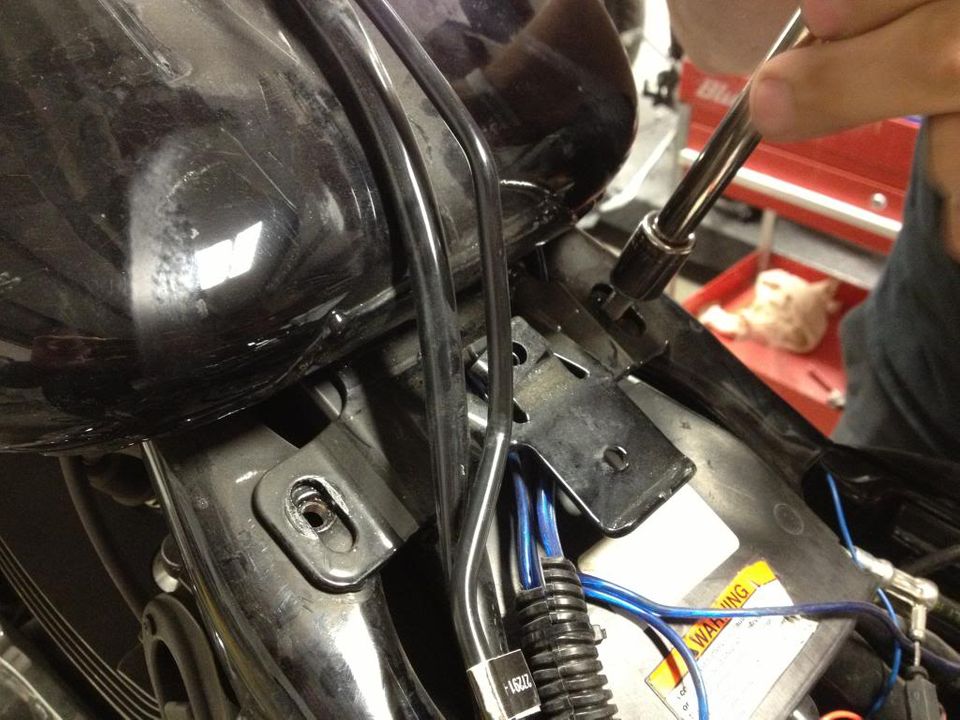
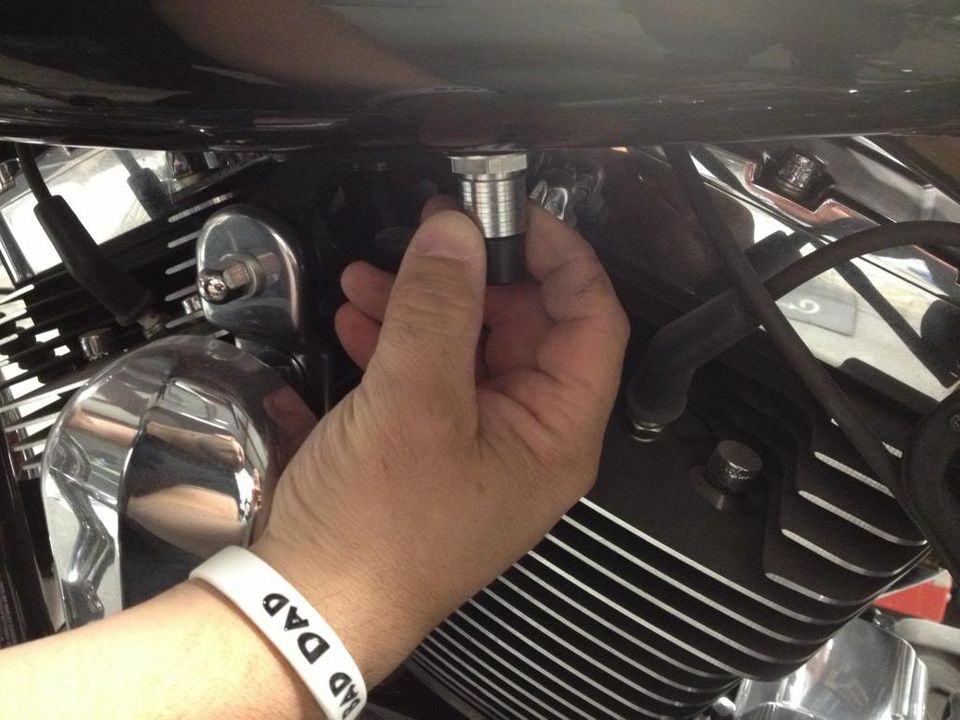
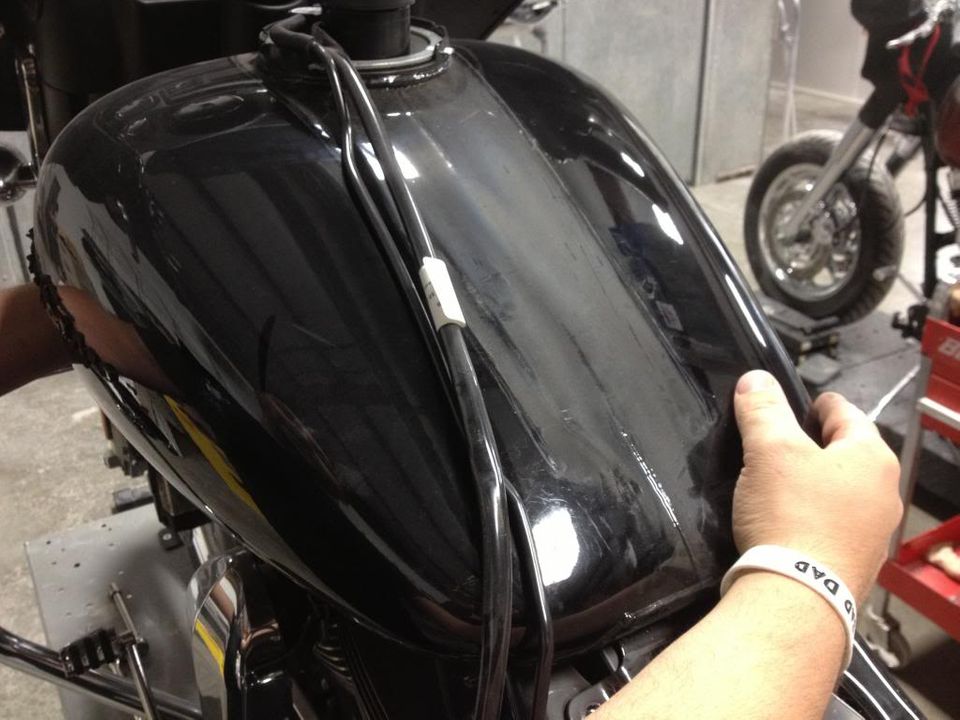
8) Remove the gas tank by removing the bolt or bolts at the base of the tank (5-gallon tanks have one (1) bolt in the center; 6-gallon tanks have (2) bolts on the sides).
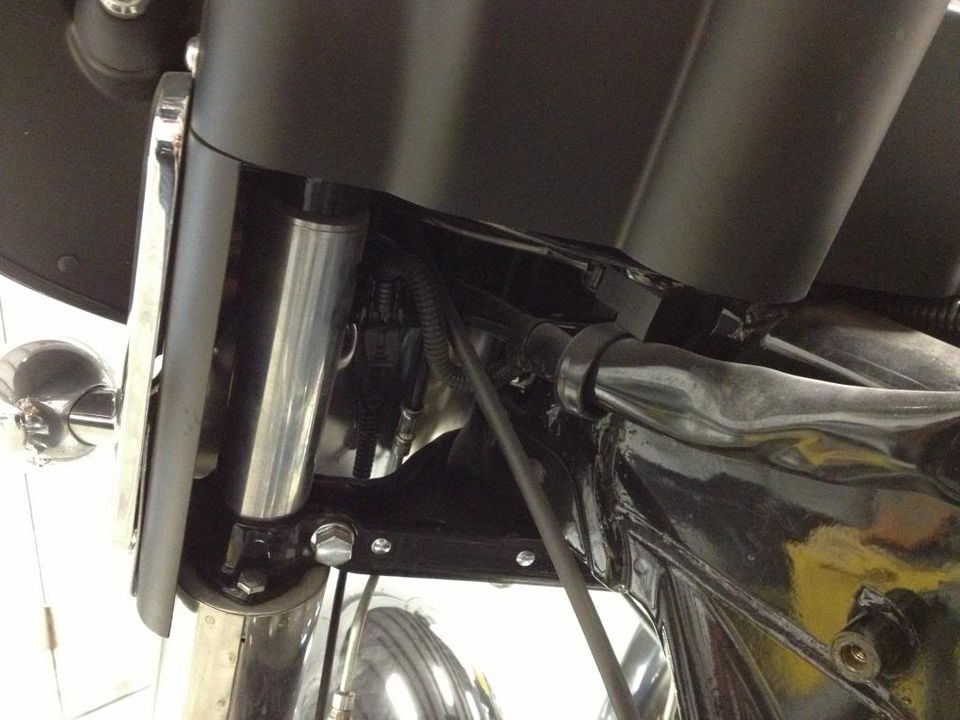
9) And then remove the bolt at the front of the tank.
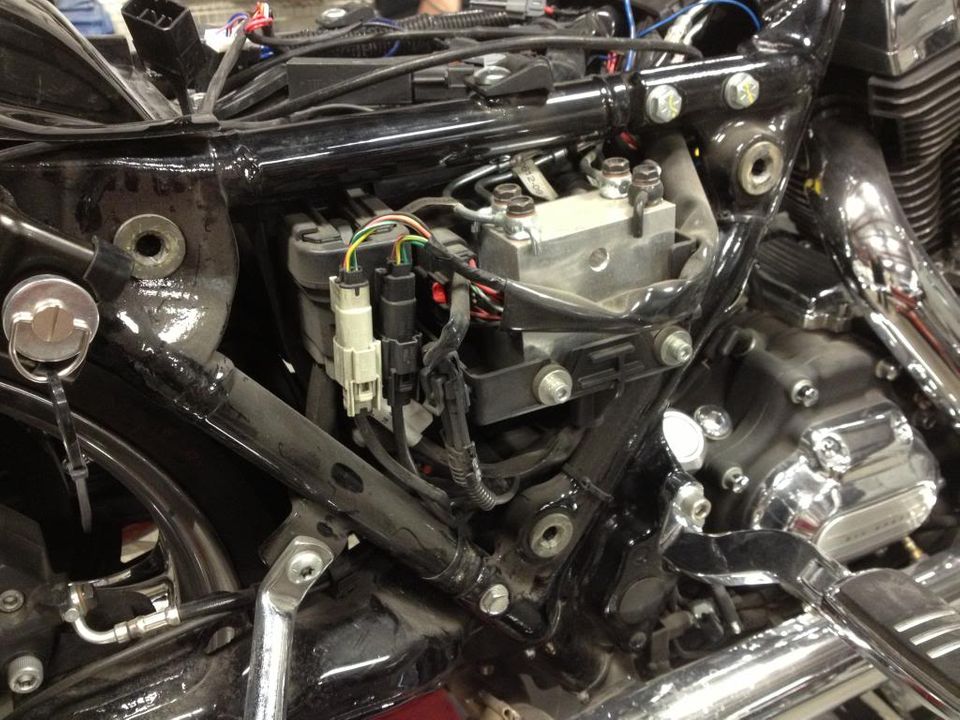
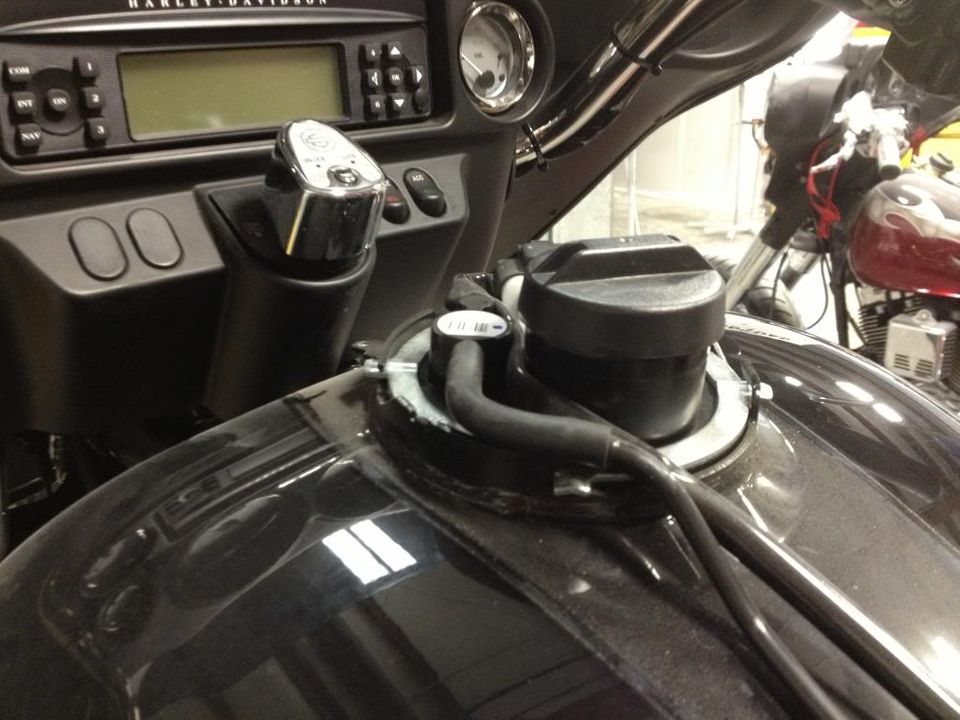
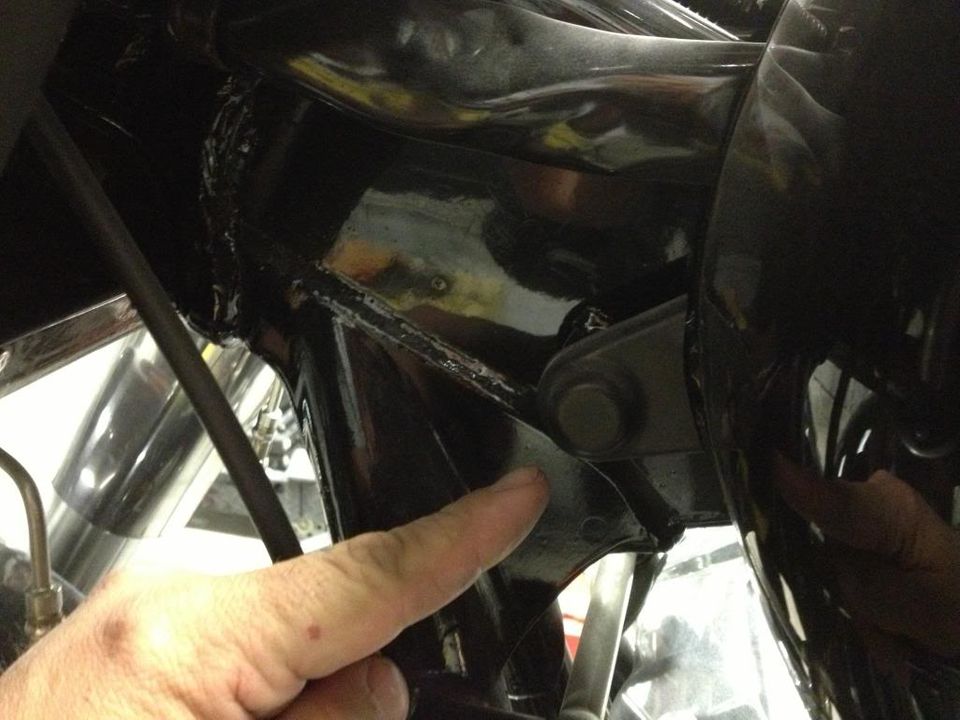
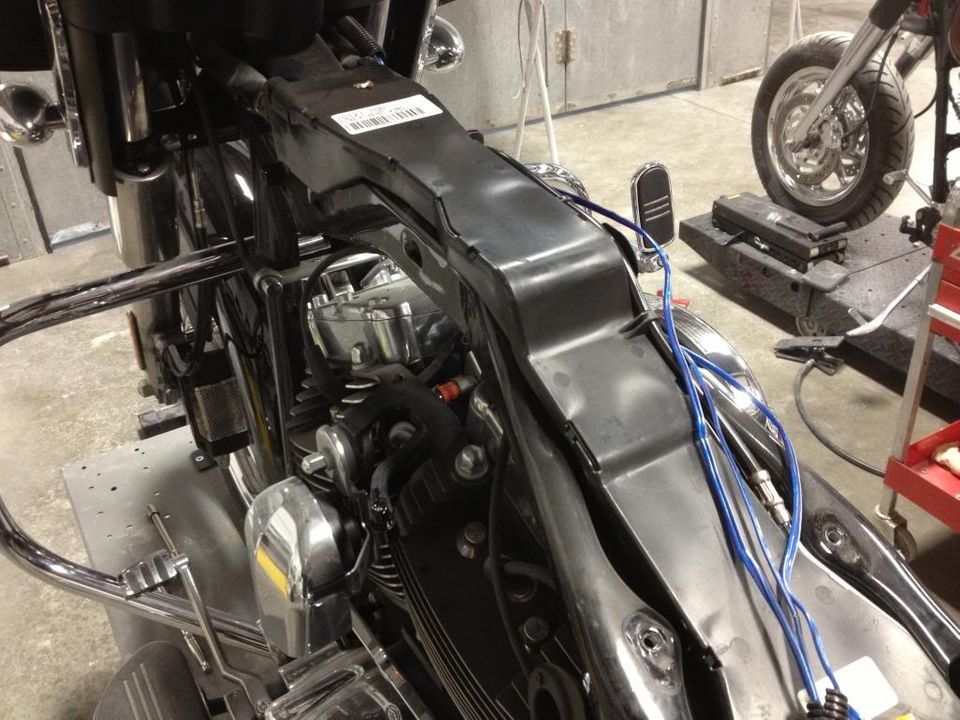
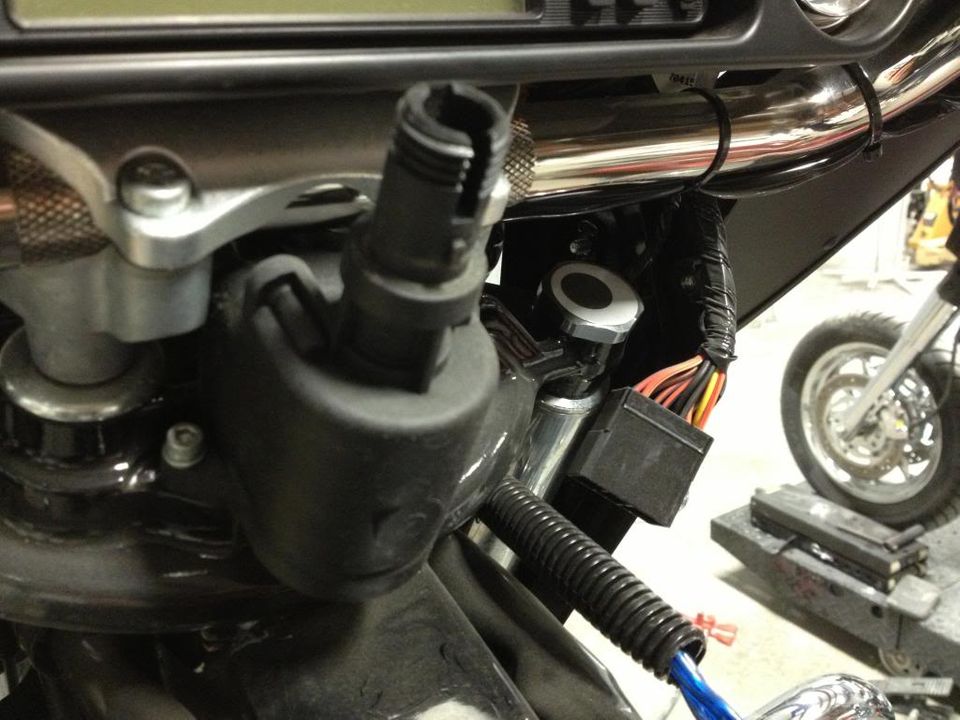
10) Finish preparing to remove the gas tank by releasing the fuel line at the bottom of the gas tank (picture 1) and then disconnecting the overflow line at the base of the tank.
11) And now the gas tank can be completely removed from the motorcycle.
12) Next, remove the outer fairing to allow access to the wiring inside of the inner and outer fairings.
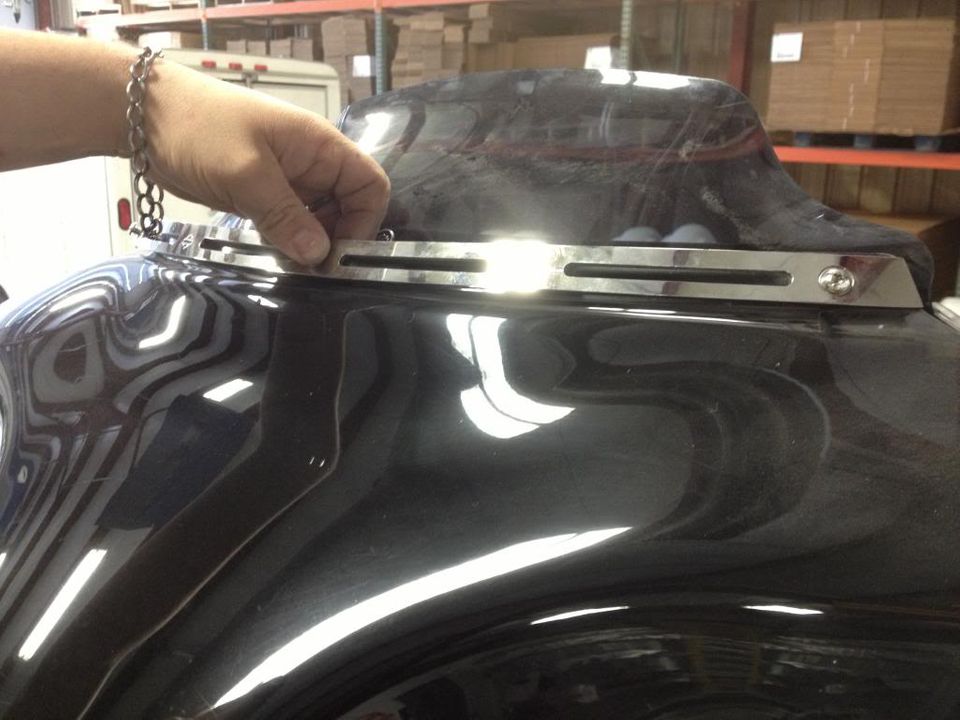
13) You will also remove the windshield and windshield molding.
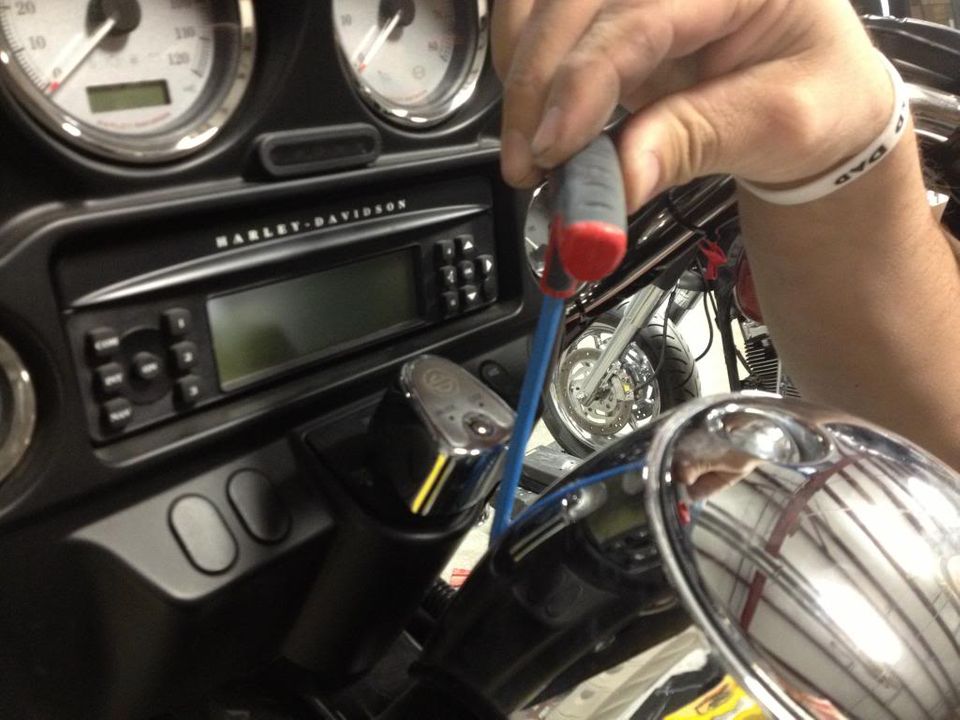
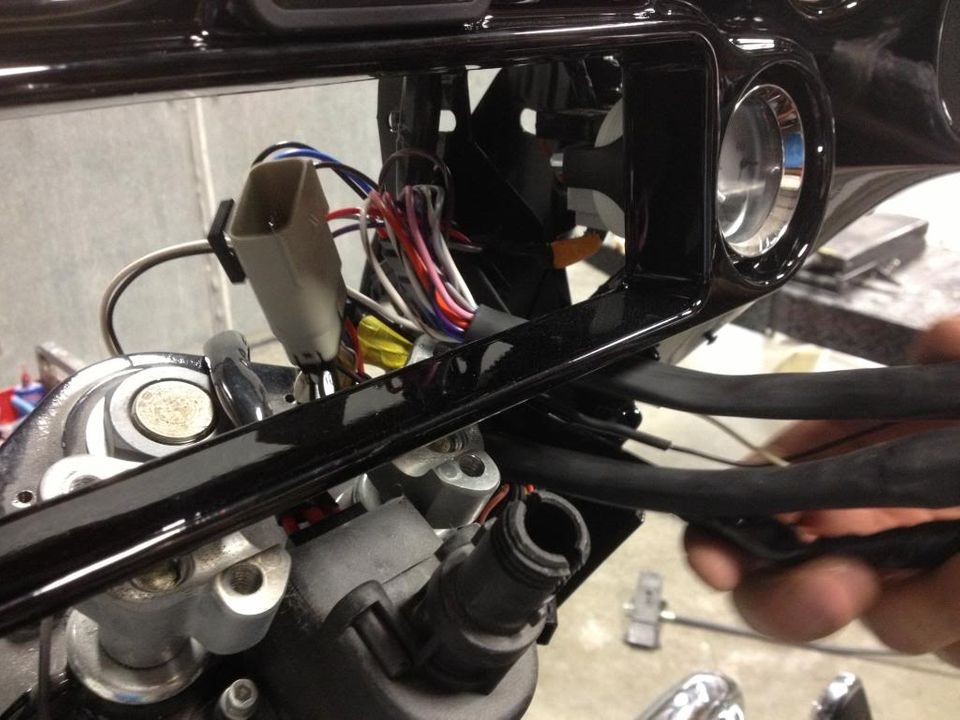
14) Then remove the bike's ignition switch and lower inner fairing.
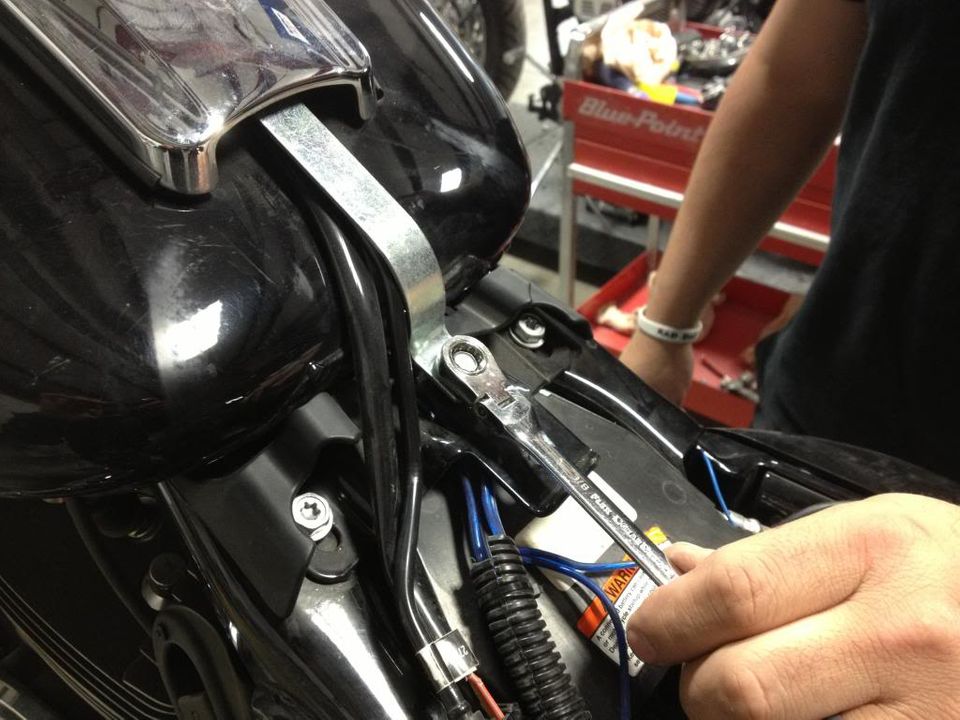
15) Next, remove the radio from the inner fairing, then loosen the handlebar clamp cover and completely remove the handlebars from the motorcycle.
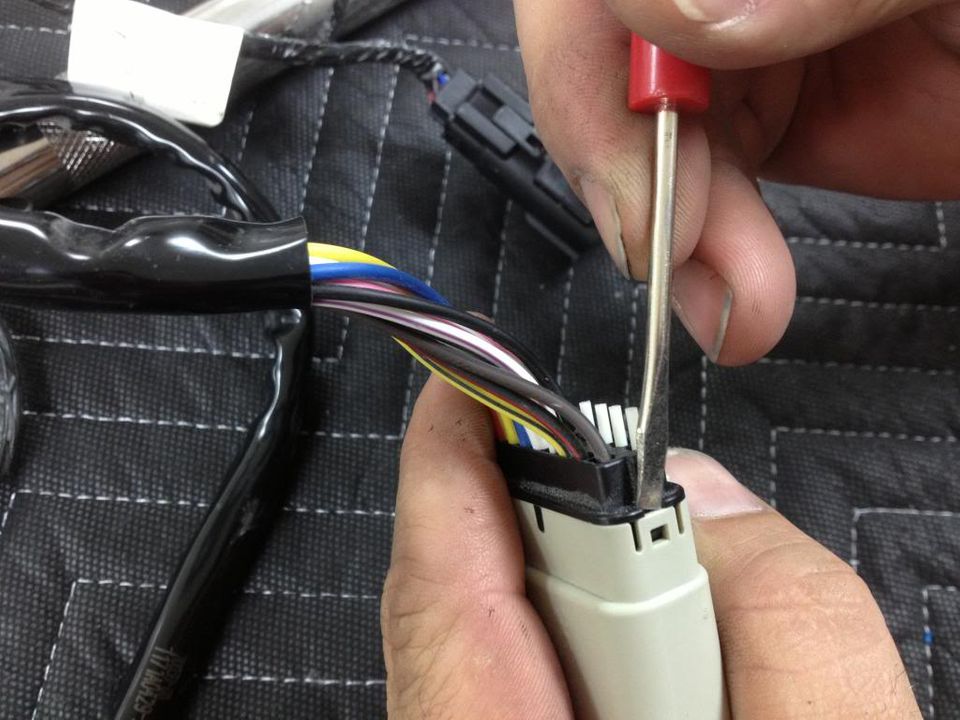
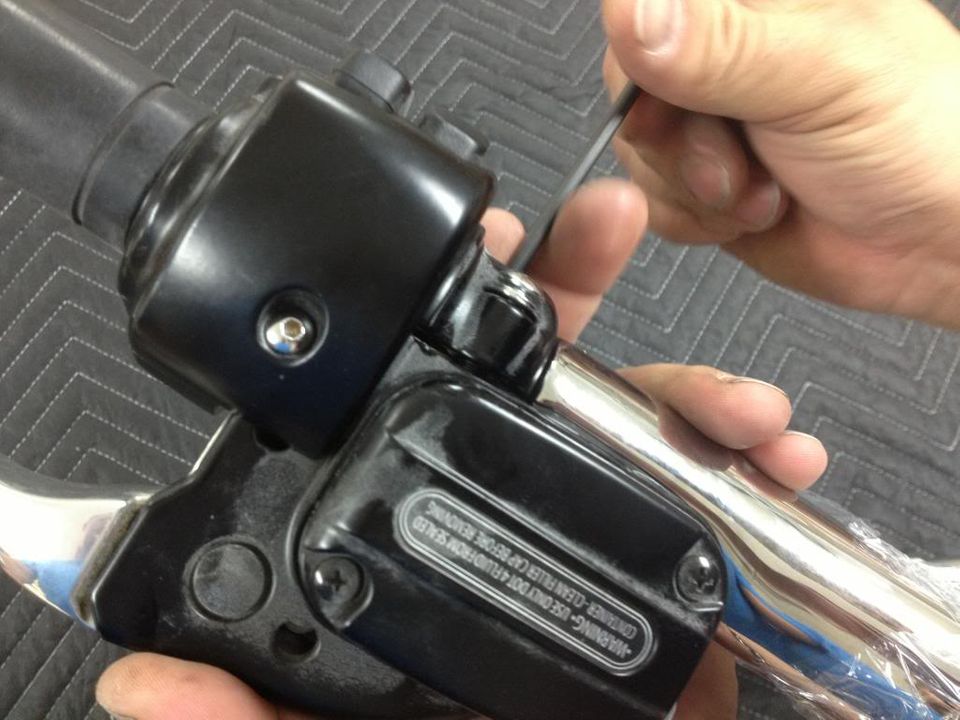
16) Begin to disassemble the handlebar wiring by removing the wires from their harness clips. Use a flathead screwdriver to release the clips.
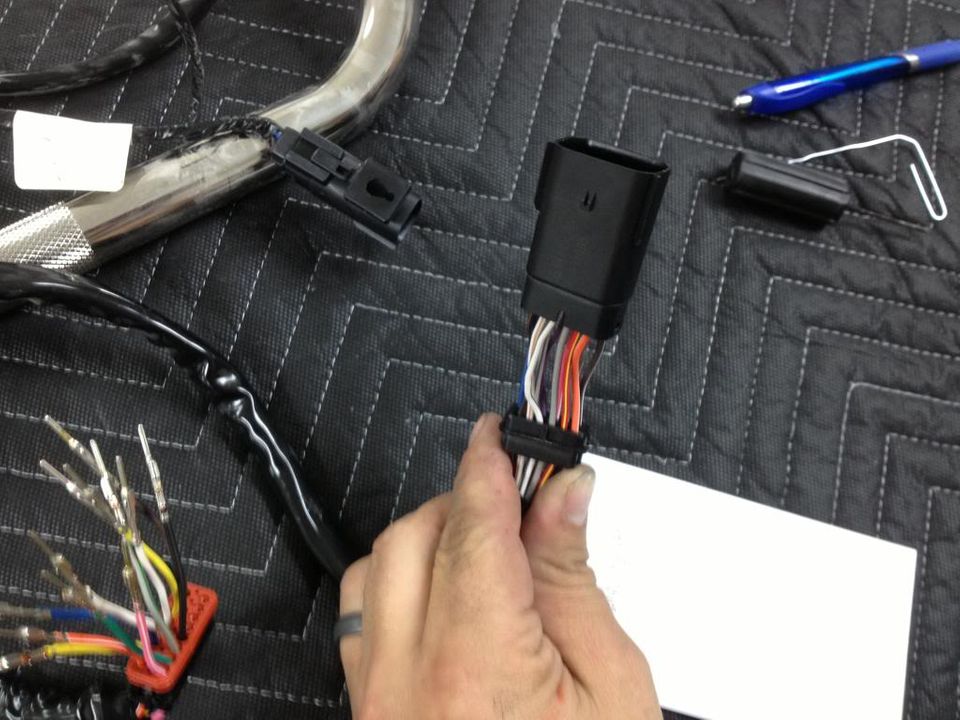
17) And then remove the insulation from around the plastic housing.
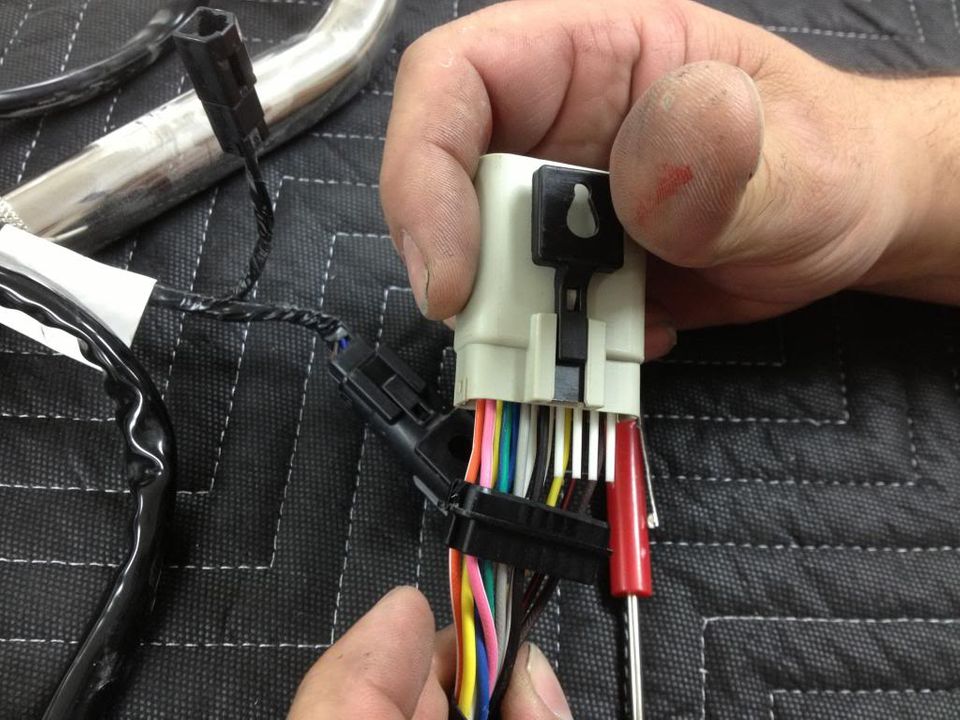
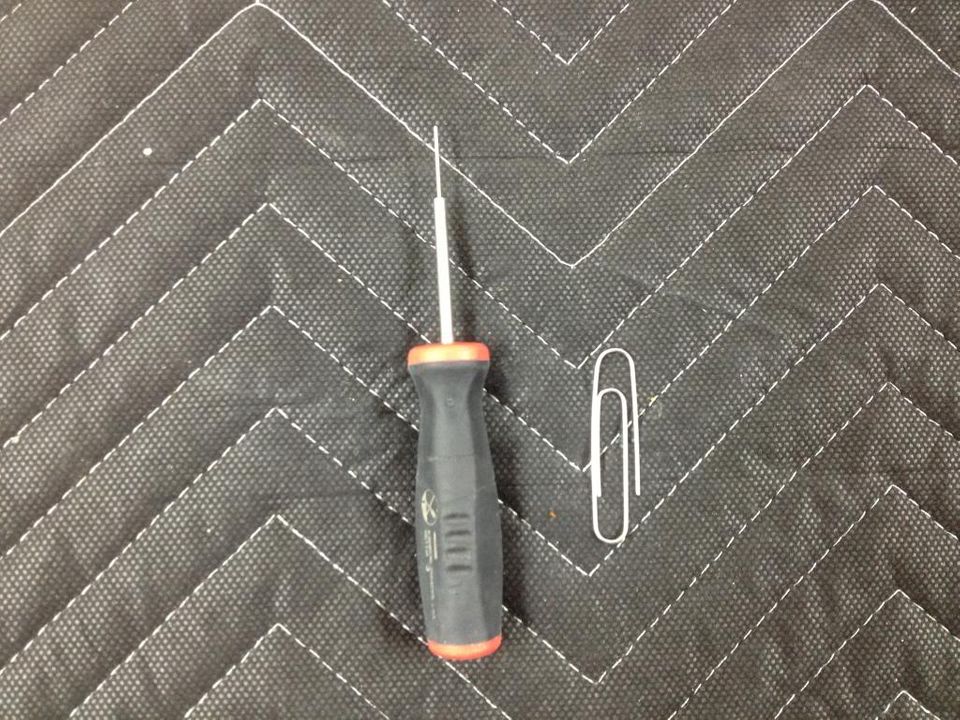
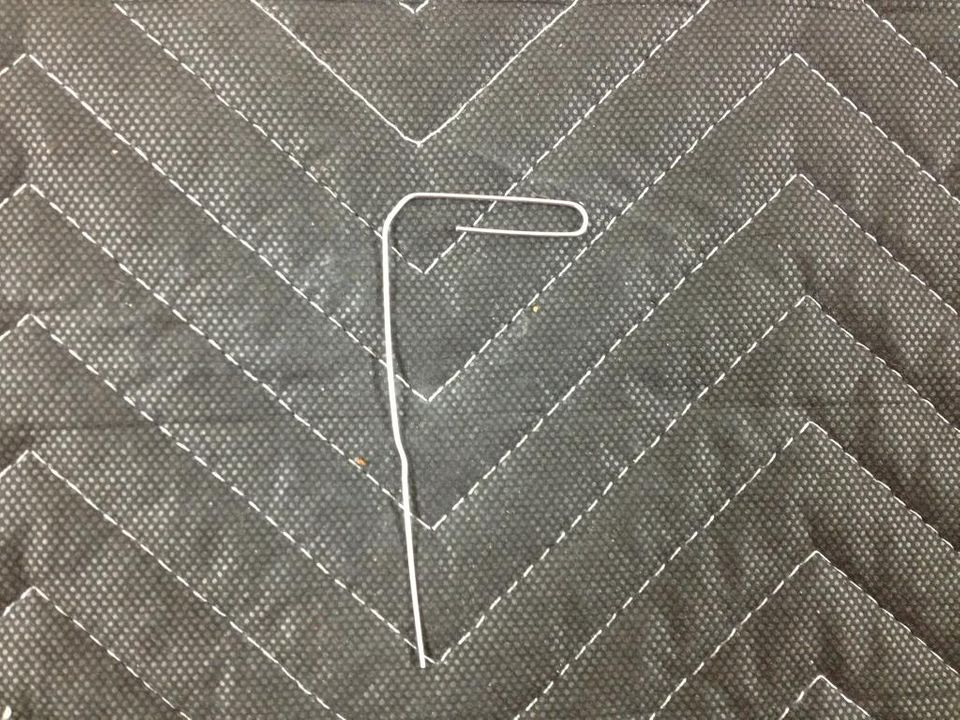
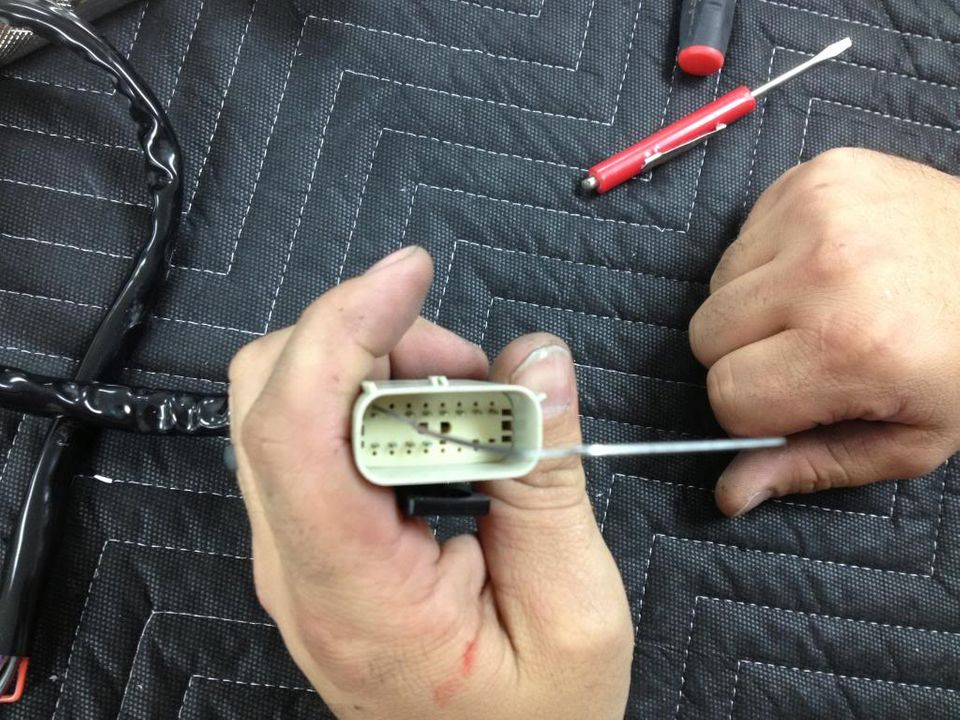
18) We recommend using a dedicated de-pinning tool to unpin the wires, but a heavy-duty paperclip can oftentimes be sufficient (although not ideal).
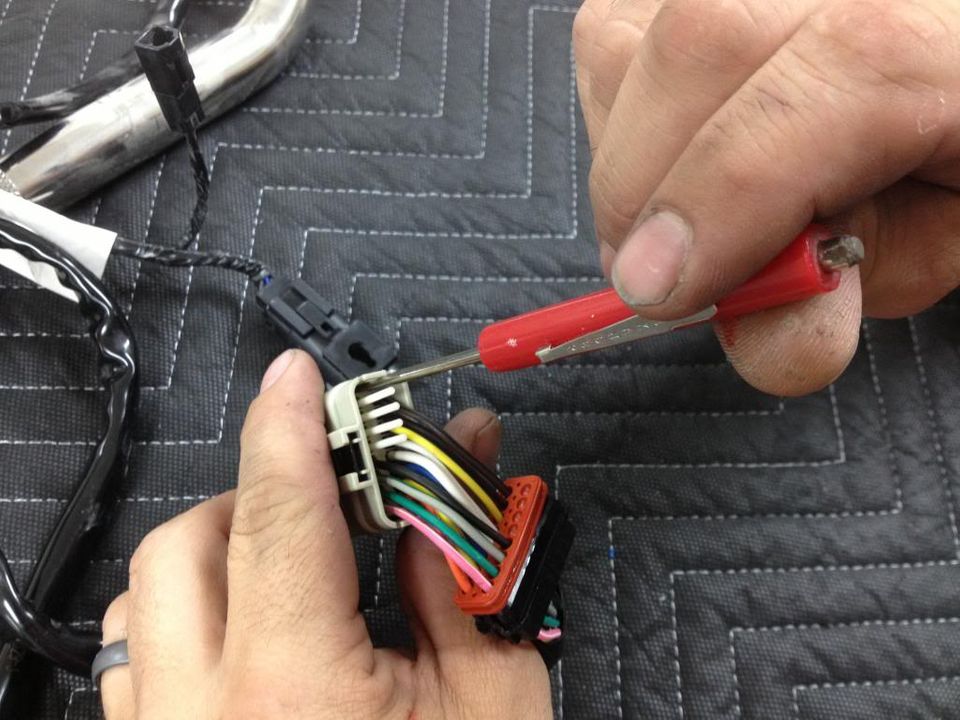
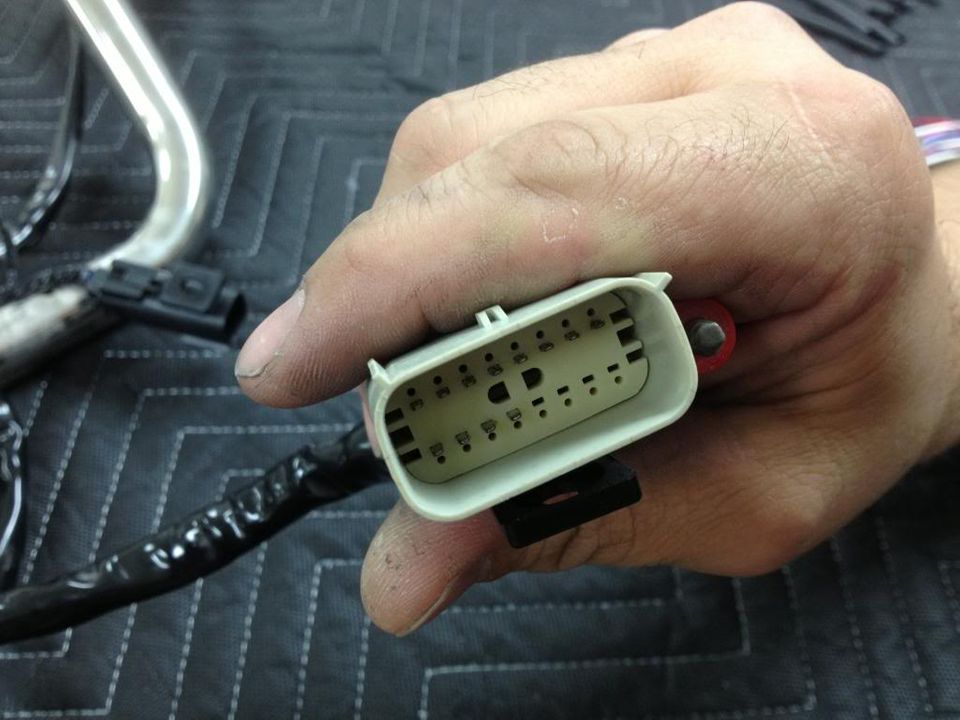
19) Next, unlock the pins from inside the housing.
20) And then remove the plastic housing.
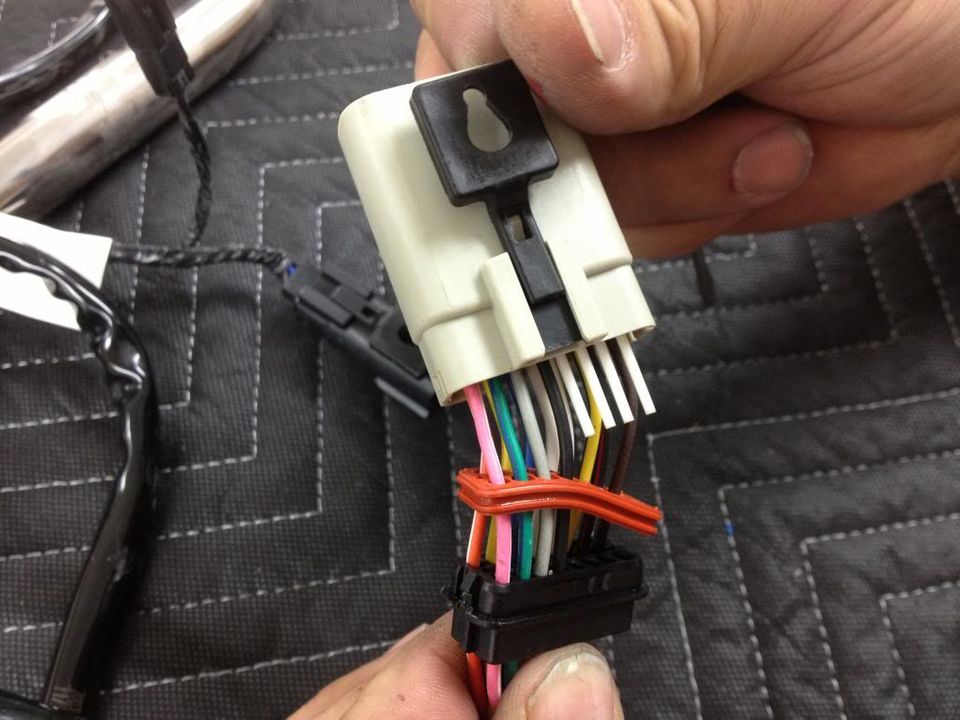
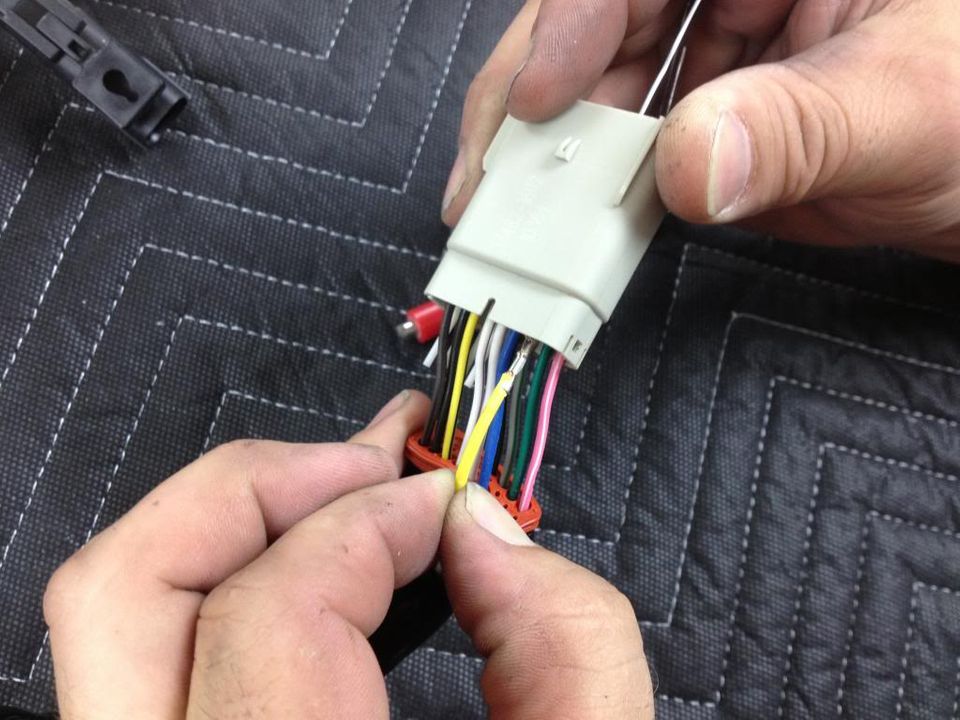
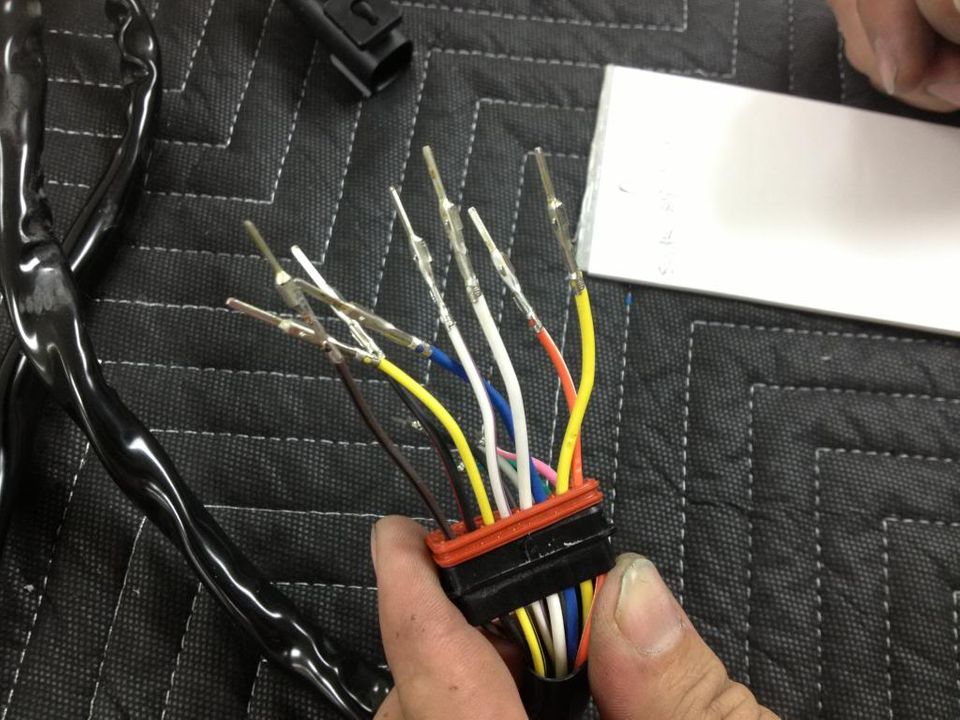
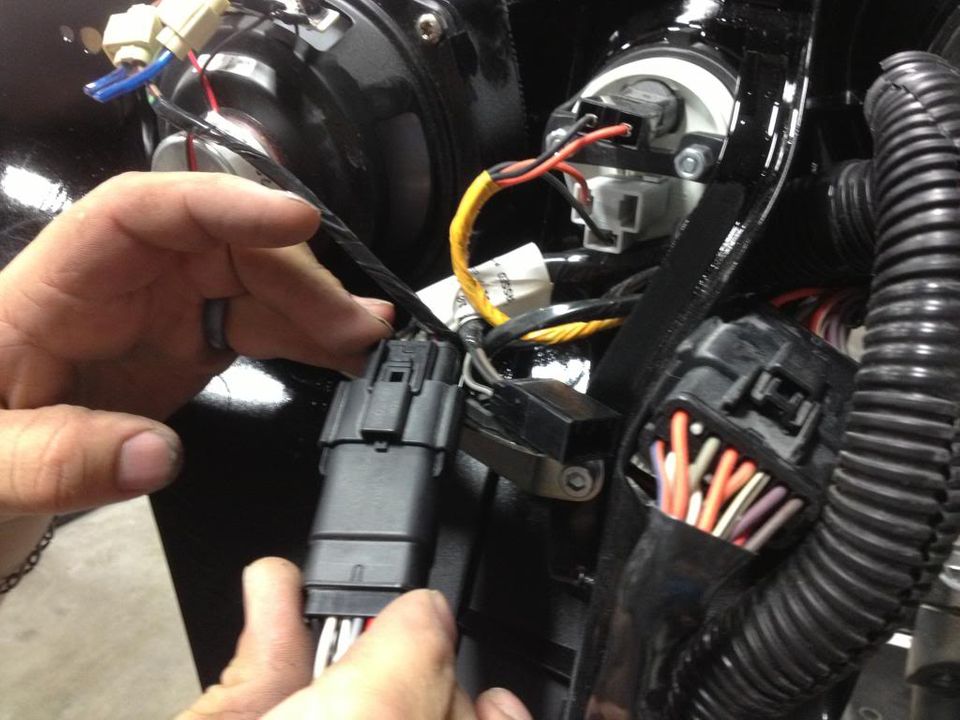
21) Then release the pins from the other wiring connectors too.
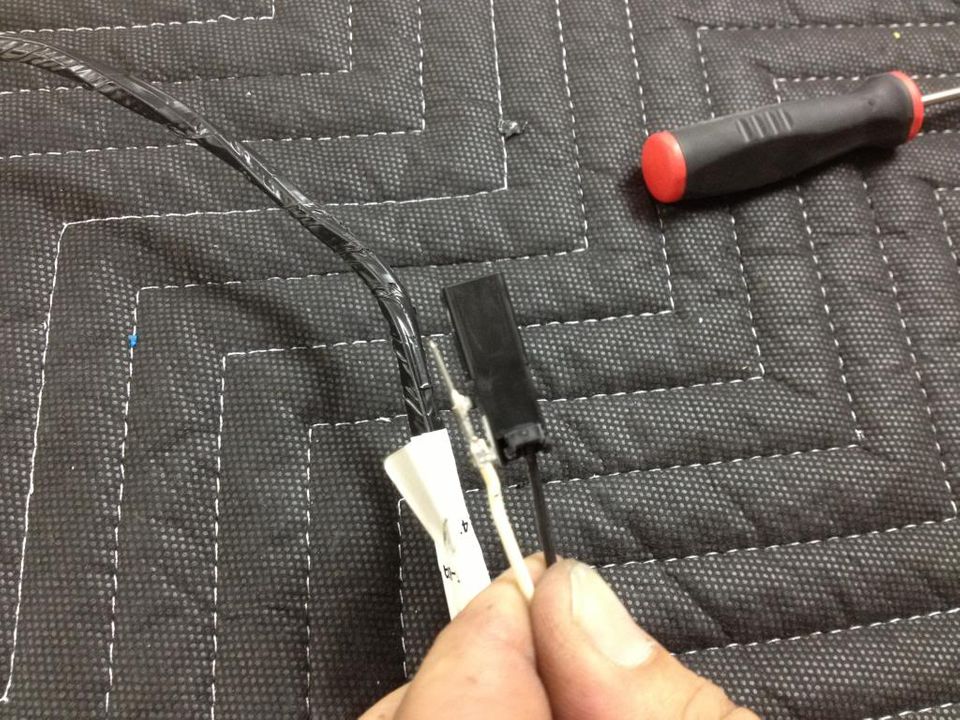
22) Also release the pins from the black 2-pin connector.
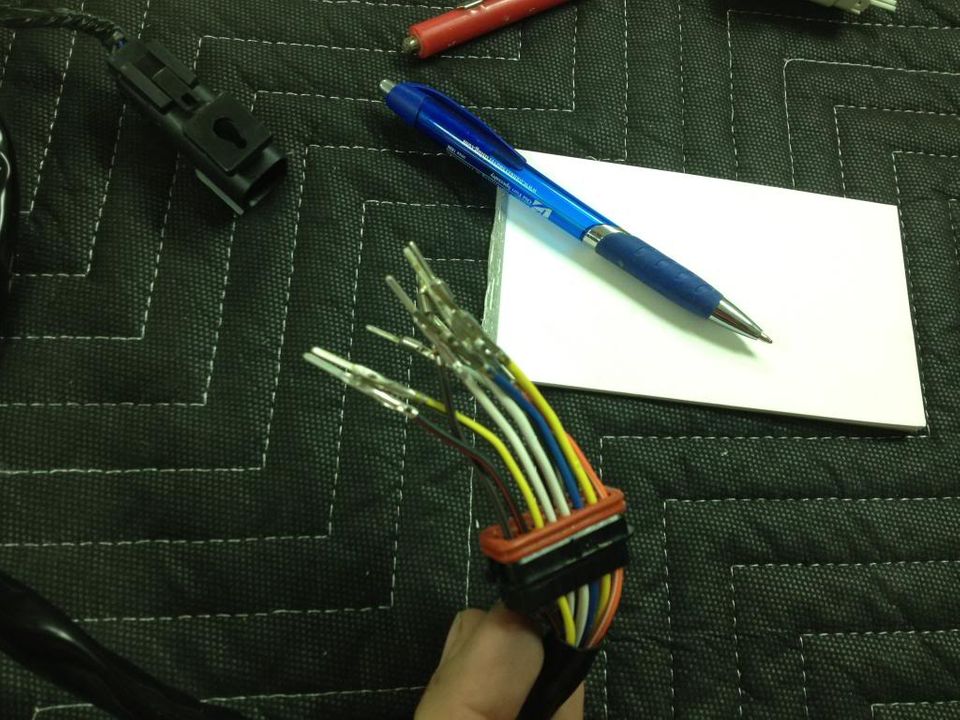
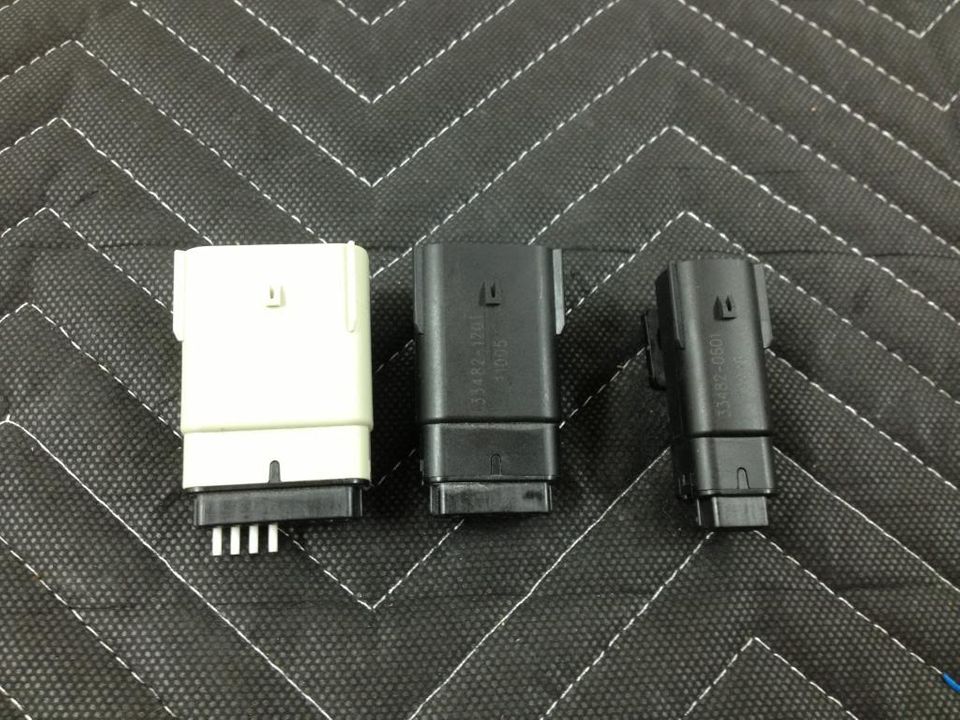
23) Here are all of the connector housings removed.
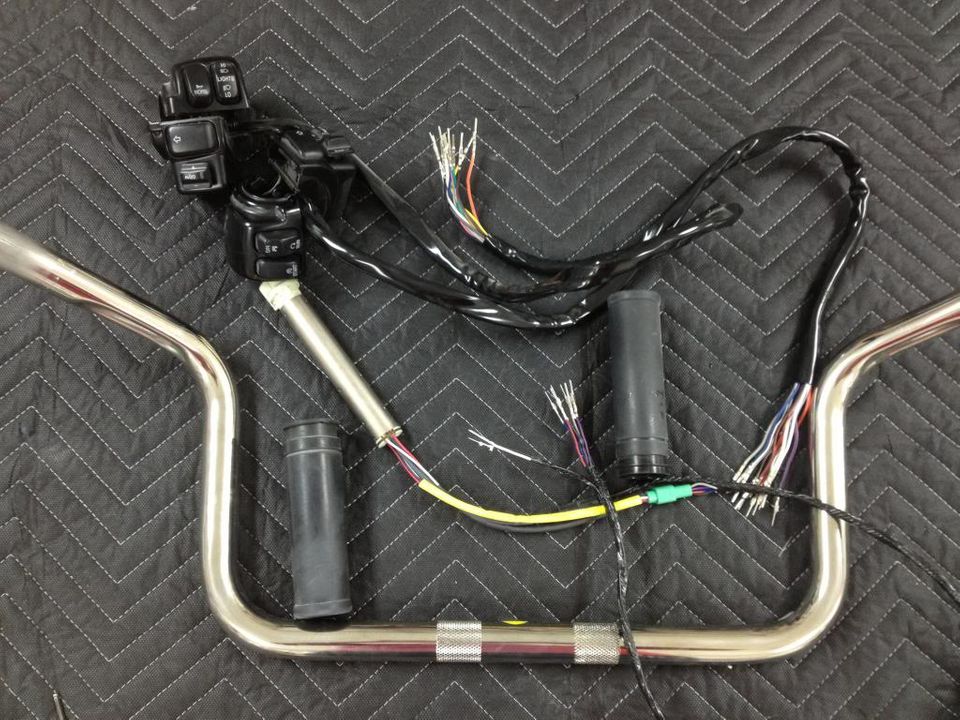
24) And the controls have been completely removed from the handlebars.
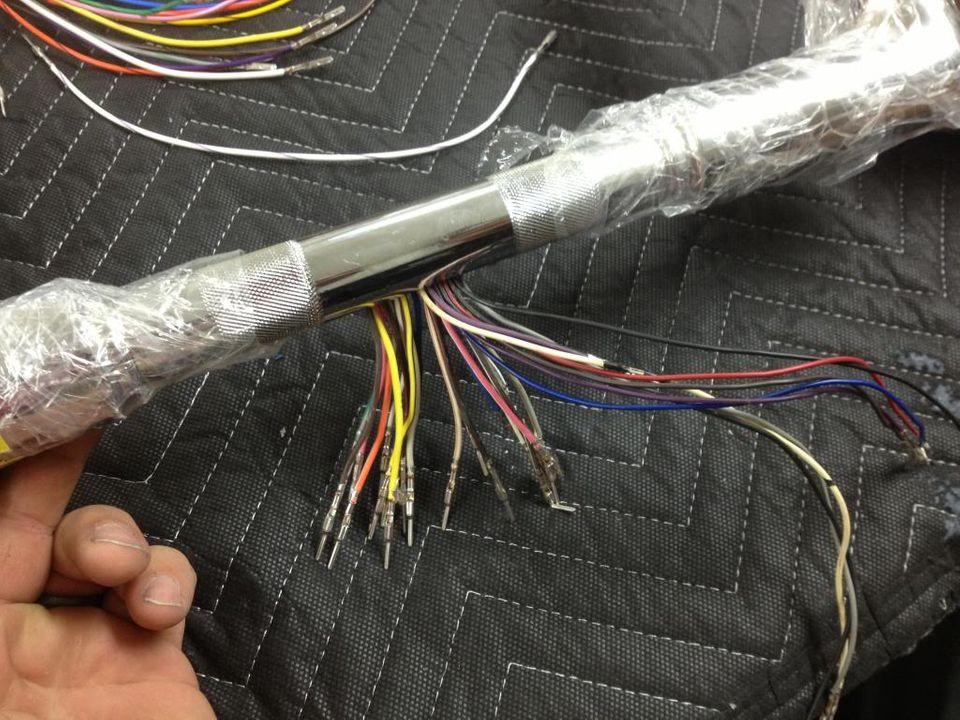
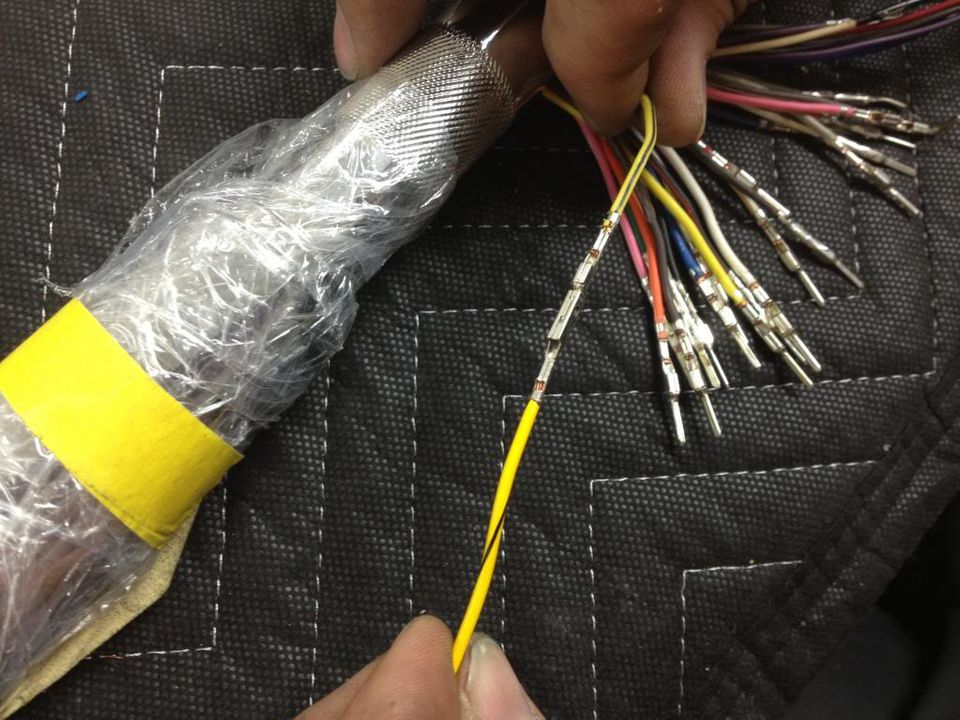
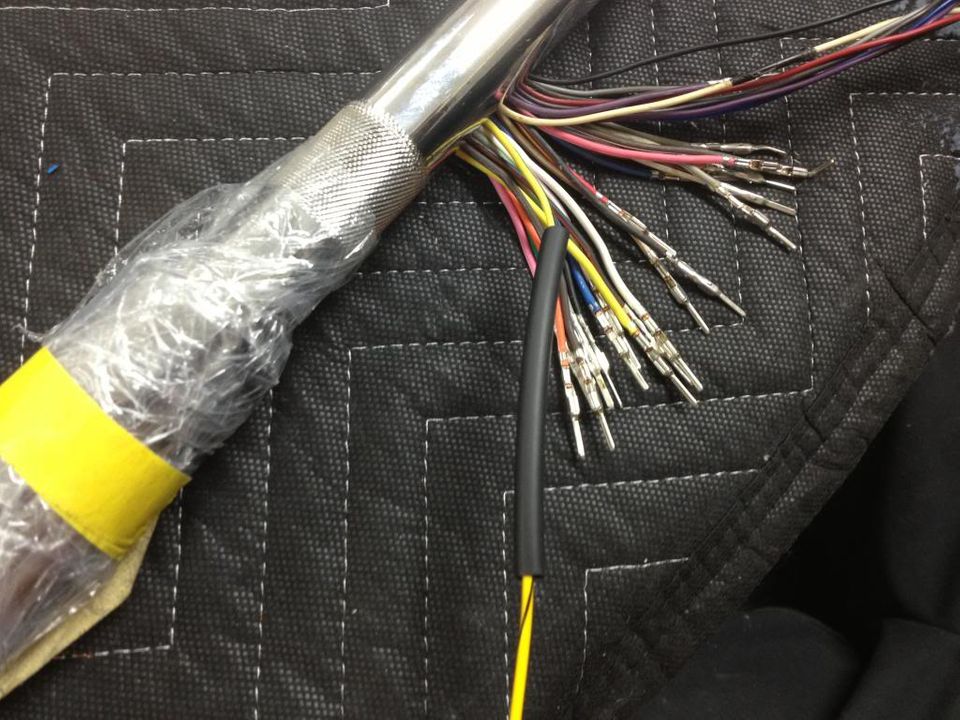
25) In order to successfully pass the wires internally through the bars, you will want to pass a high-strength cable or wire through the bars. You can then attach the handlebar wiring to the high-strength cable and use the cable to pull the wires through the bars.
Note: pulling the wires through the handlebars is a very frustrating task. This may take several attempts to successfully complete this step.
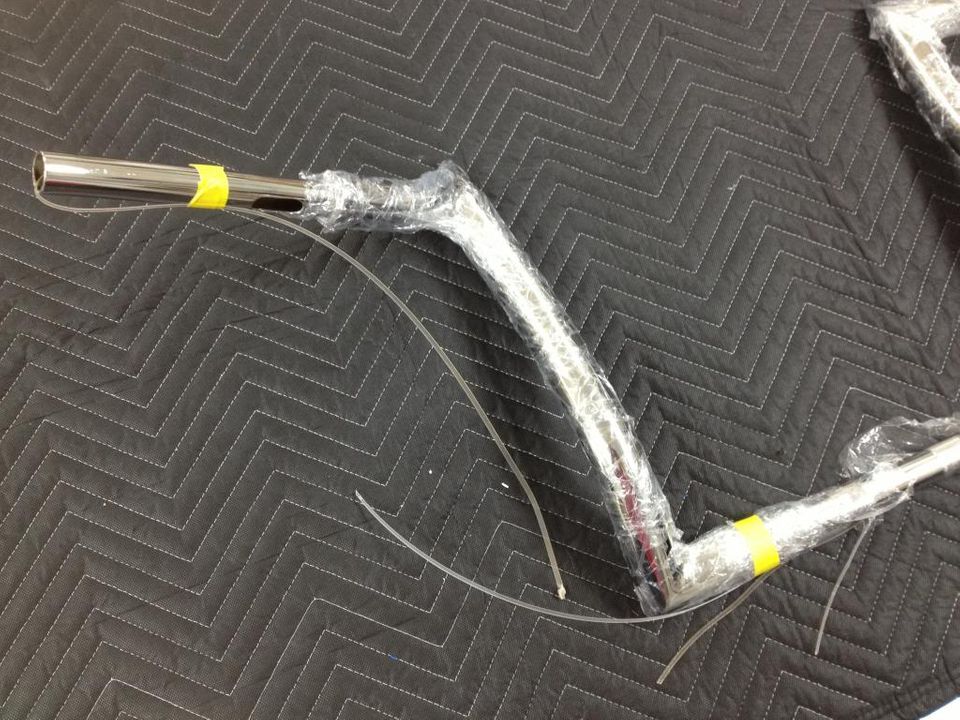
26) Here are the wires successfully routed internally through the handlebars.
27) Your stock wiring will be too short to connect to the motorcycle now that you are using taller handlebars. The wires will need to be extended in order to allow the wires to plug back into the motorcycle.
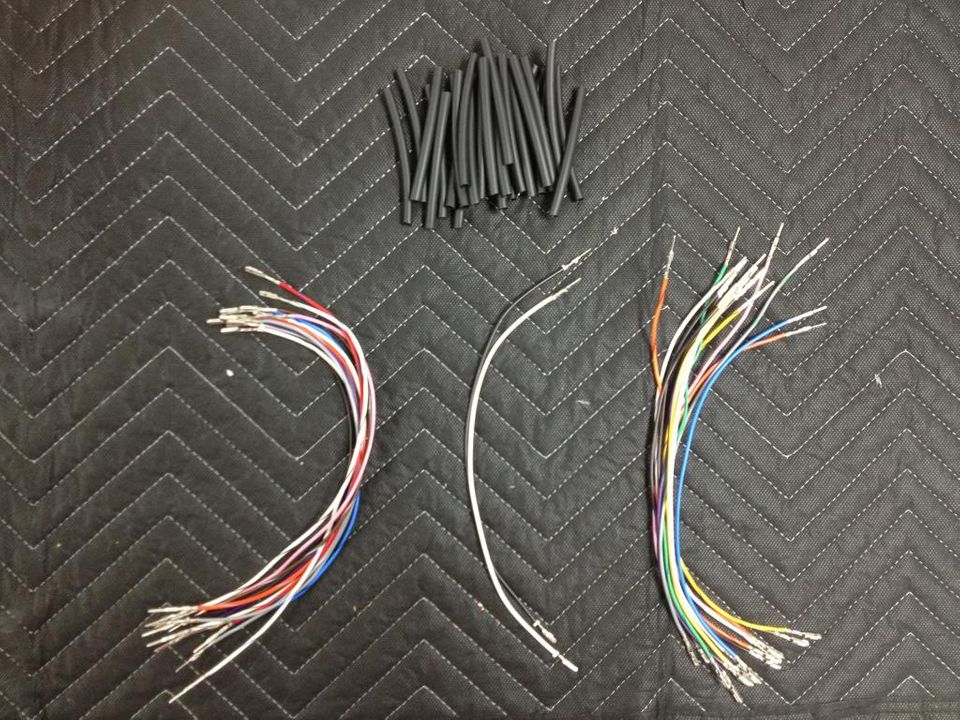
We will use Bad Dad's Handlebar Wiring Kit as part of this tutorial. You can also use your own wiring kit or different components if you prefer.
Bad Dad's Handlebar Wiring Kit includes all of the wires, connectors, and heat shrink shown here. These wires are color-coded to match your bike's existing wires. The bundle on the left is for the left-side switch housing; the bundle on the right is for the right-side switch housing.
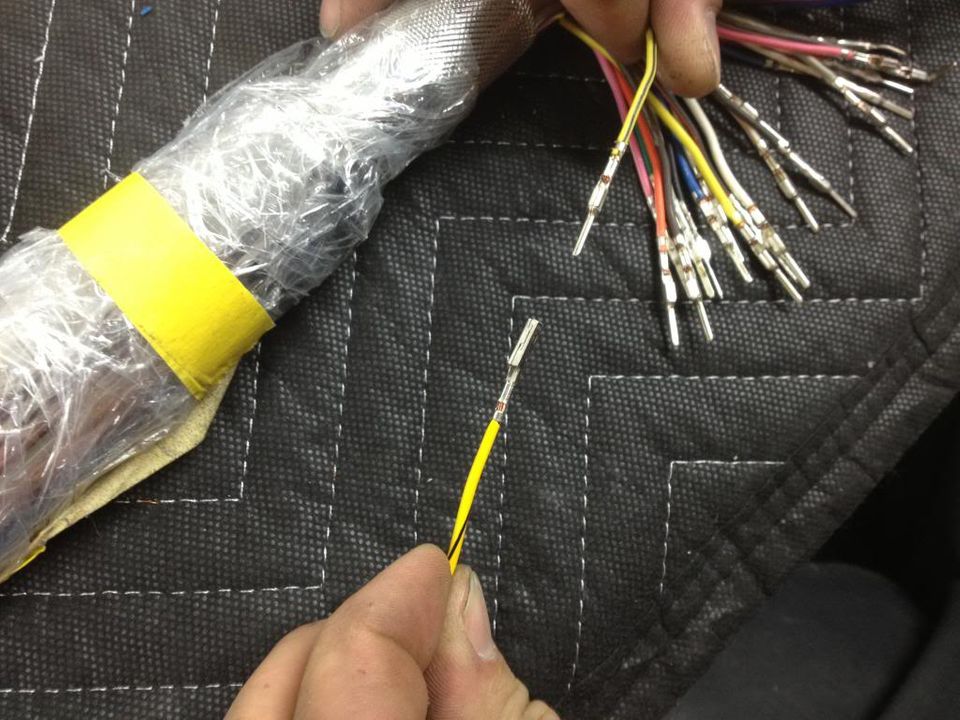
28) Begin extending the wires by matching each stock wire with its corresponding wire from Bad Dad's Handlebar Wiring Kit. Each wire in the Bad Dad Kit has the correct female receptacle to allow the wires to simply snap together.
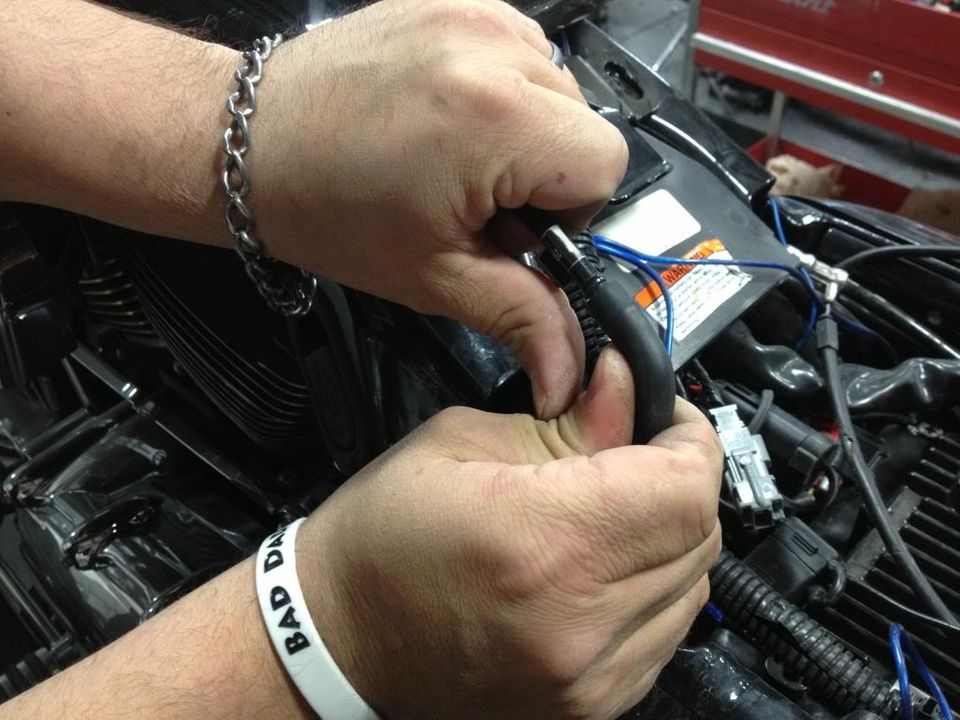
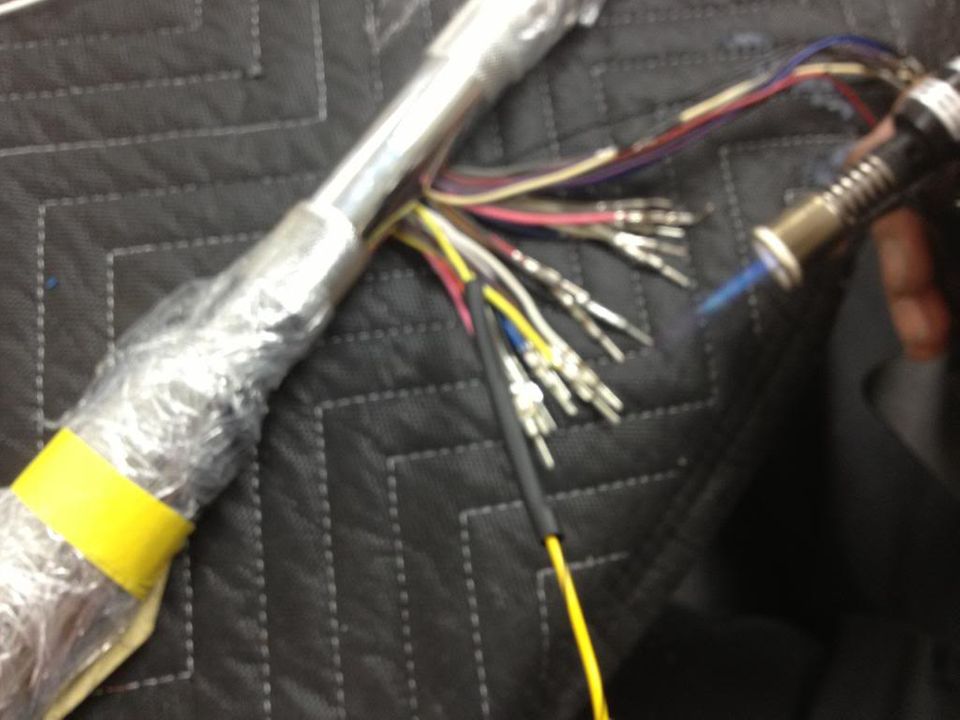
29) After the wires are together, slide over the heat shrink included in the Bad Dad Kit and then collapse the shrink tubing by applying heat.
Note: The included heat shrink tubing is insulated to insure the connections are water-tight.
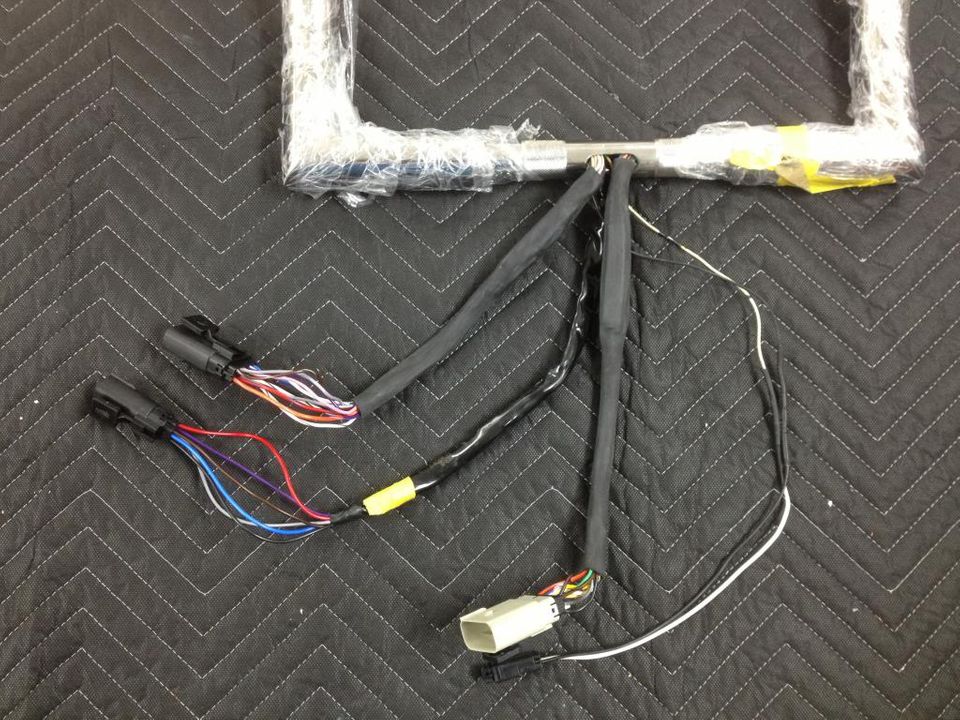
30) After you have successfully extended each of the wires, snap the wires back into their appropriate housings. Your wires are now extended.
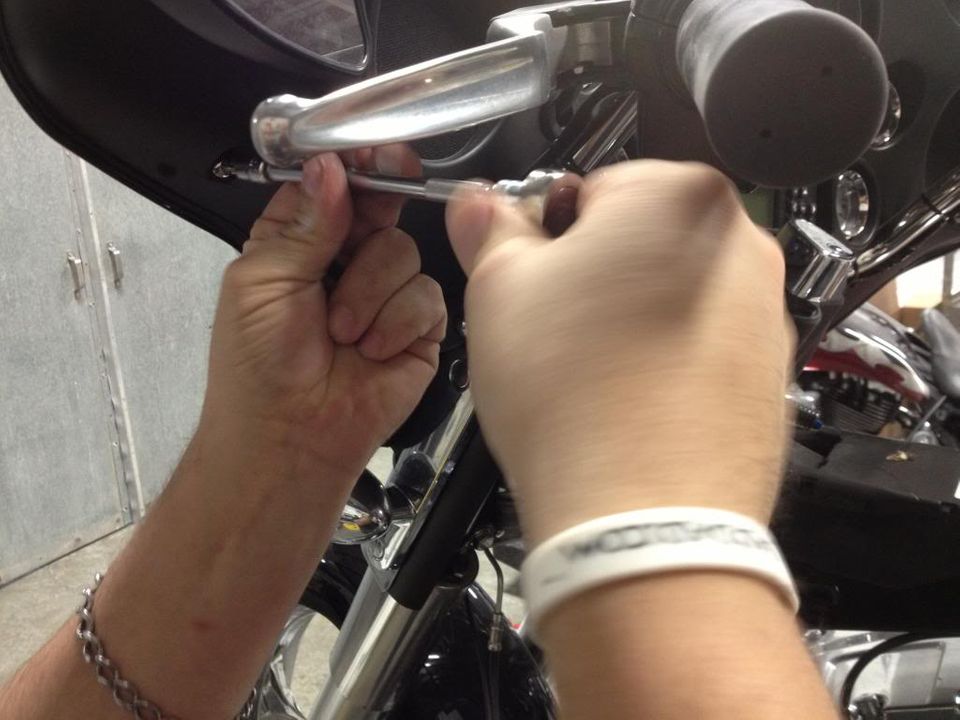
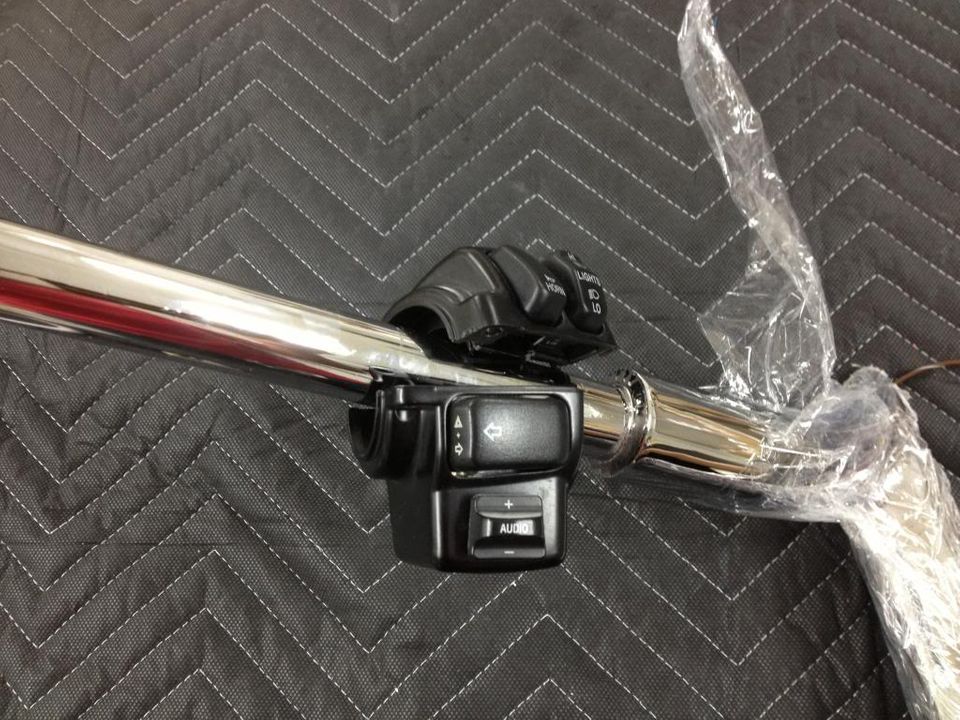
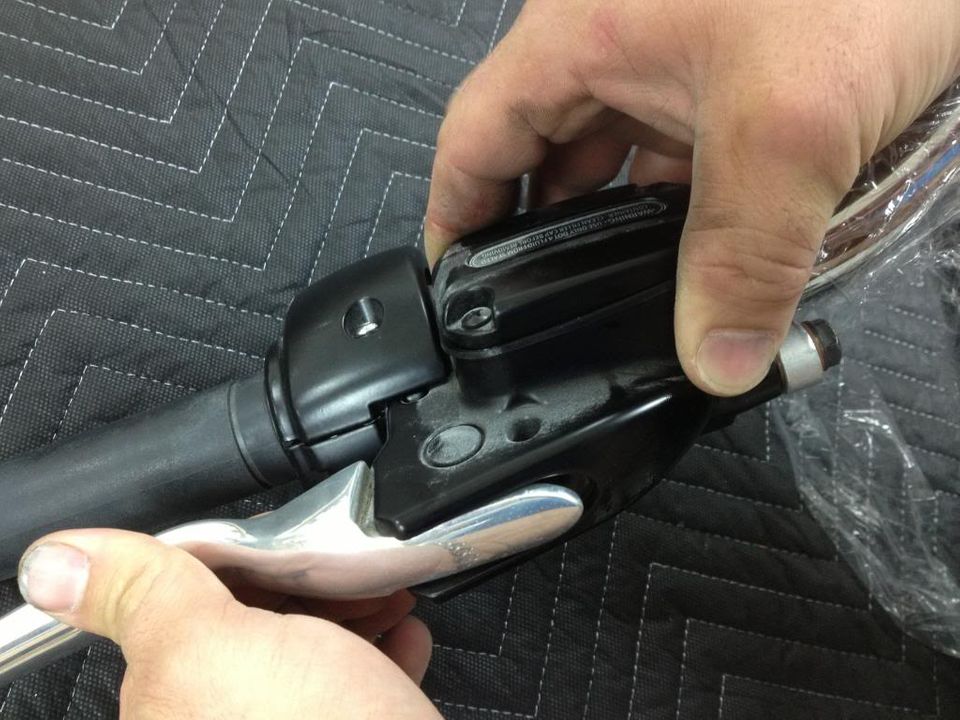
31) Then reinstall your hand controls and hand grips.
32) Note: The handbrake lever has a very fragile button which is easy to brake. This button is very sensitive and costs nearly to replace. Be careful not to damage this button during reassembly. You can protect this button by depressing the hand lever while reinstalling it.
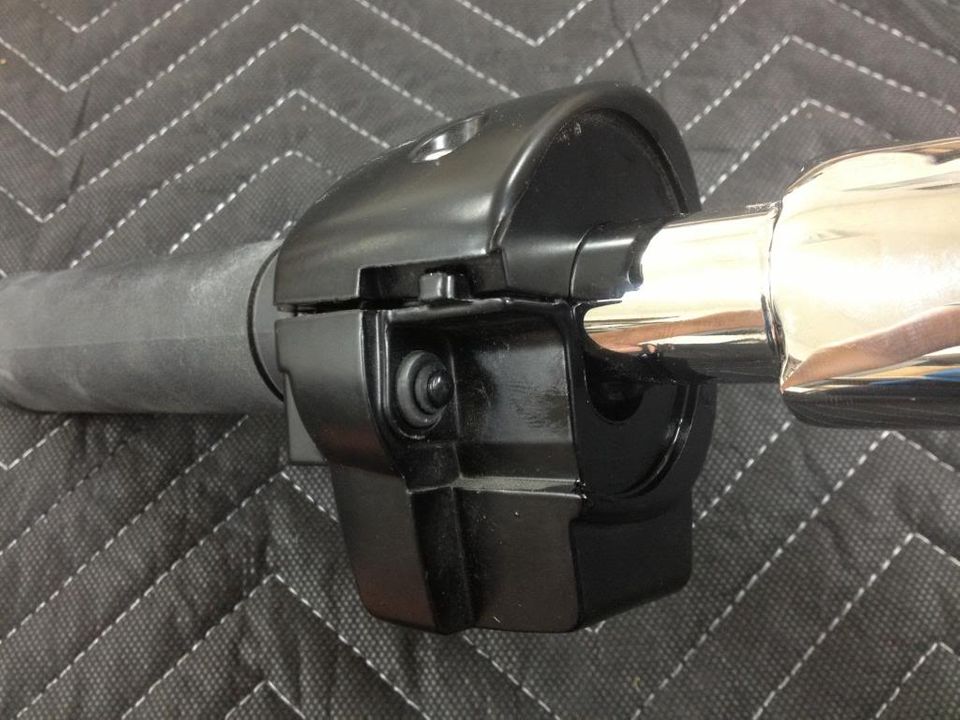
33) After the handlebars are reassembled, they can now be installed onto the motorcycle.
34) Tuck the handlebars under the inner fairing and then pass the extended wiring through the inner fairing.
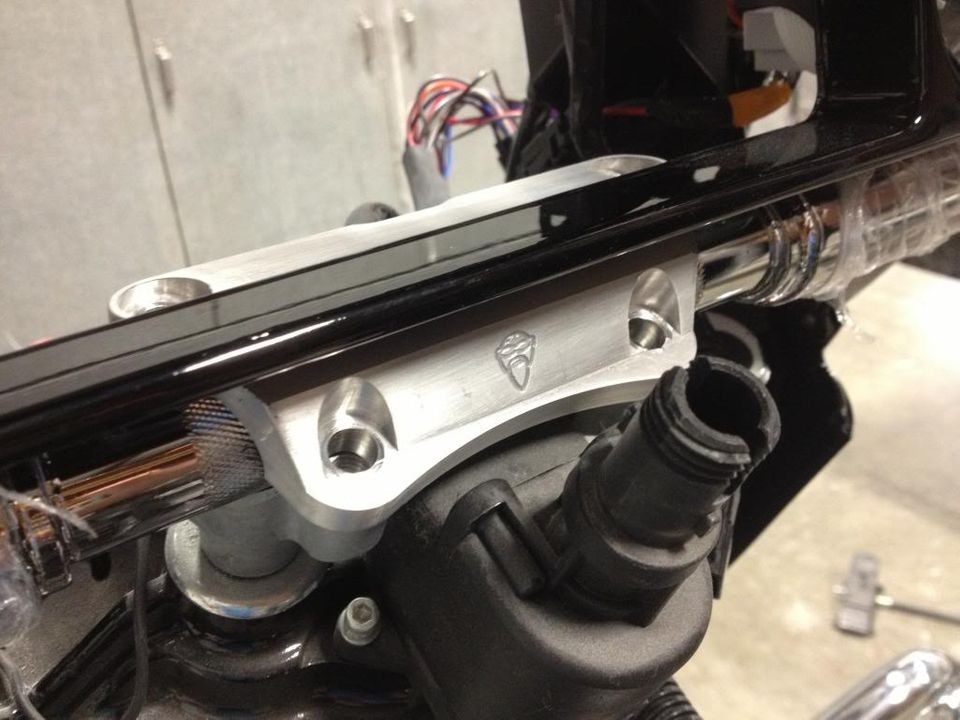
35) Position the handlebars onto the handlebar risers and install the handlebar clamp.
We used our Polyurethane Handlebar Bushings and Heavy Duty Bar Clamp for this install to provide more stability for these taller bars, although these are not required for the installation.
36) Now plug-in all of your extended wires.
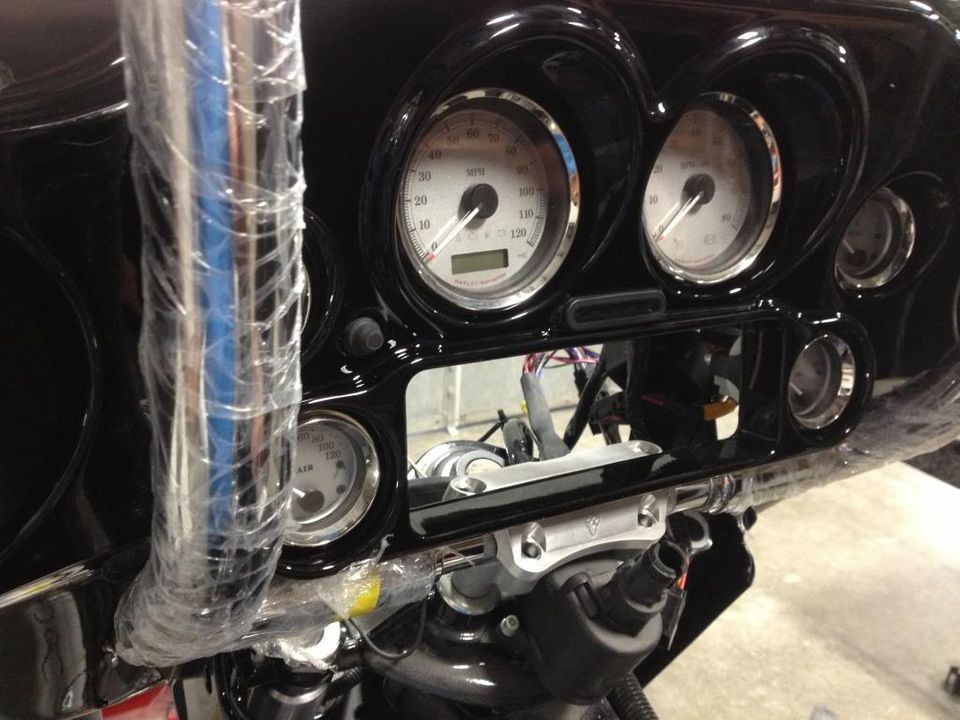
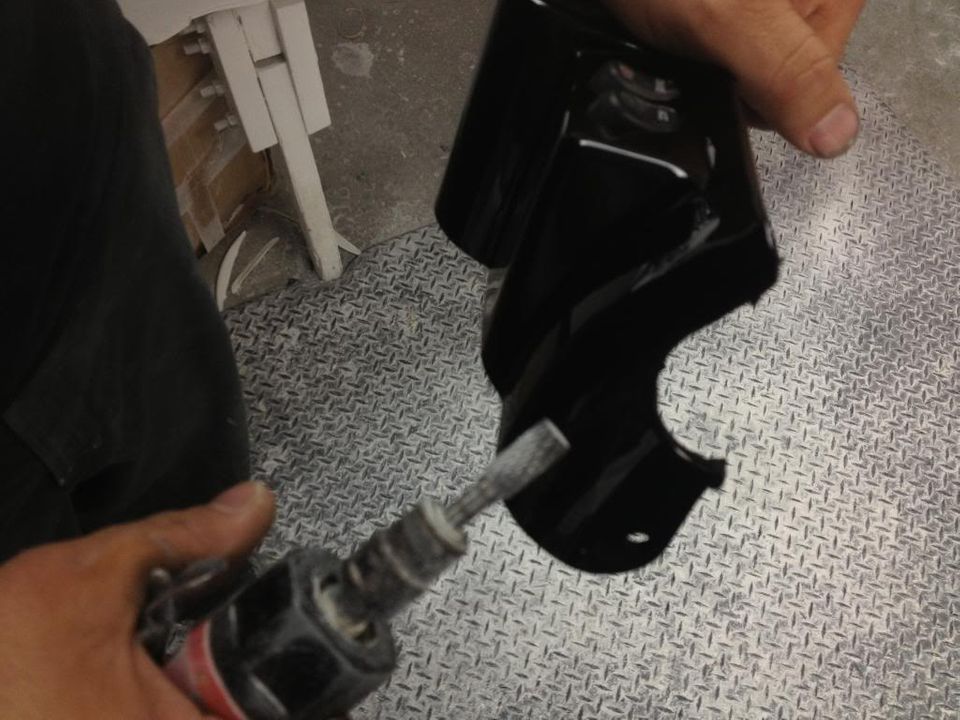
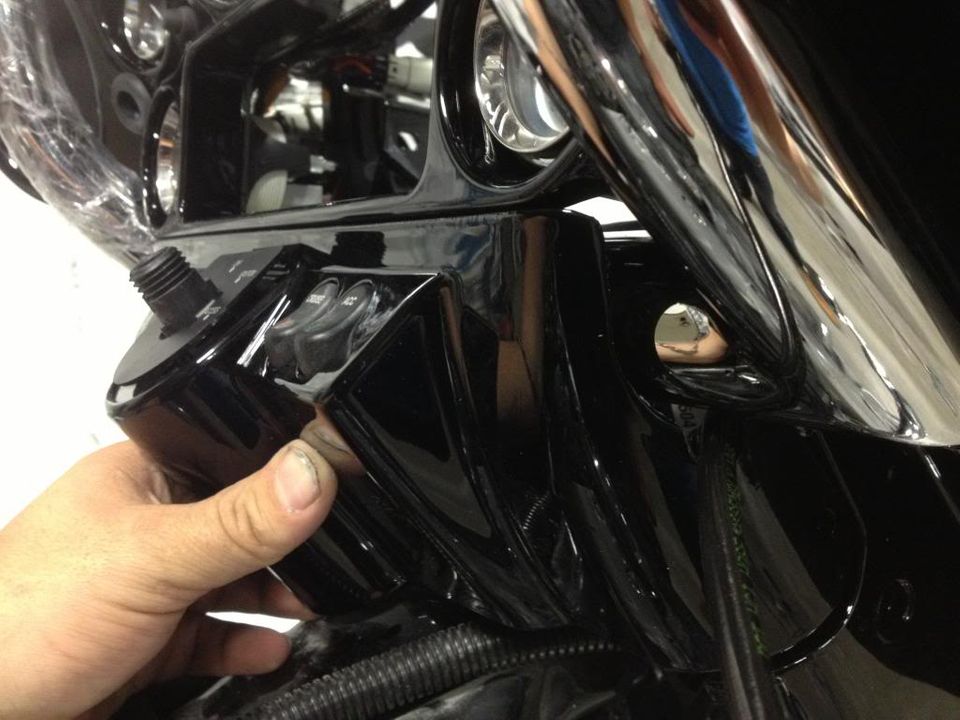
37) Next, install your clutch and brake cables. Our 1-1/2" handlebars will make for a tighter tolerance around the brake cable in the lower inner cap fairing. You will need to slightly enlarge this opening in order to allow the brake cable to pass through.
A basic dremel tool can be used to enlarge this opening. Then reinstall the lower fairing cap.