Order online or by
calling 260.407.2000


Road Star Stretched Headlight Nacelle
Print Instructions
|
Use this tutorial to install your custom Yamaha Road Star Headlight Nacelle. |

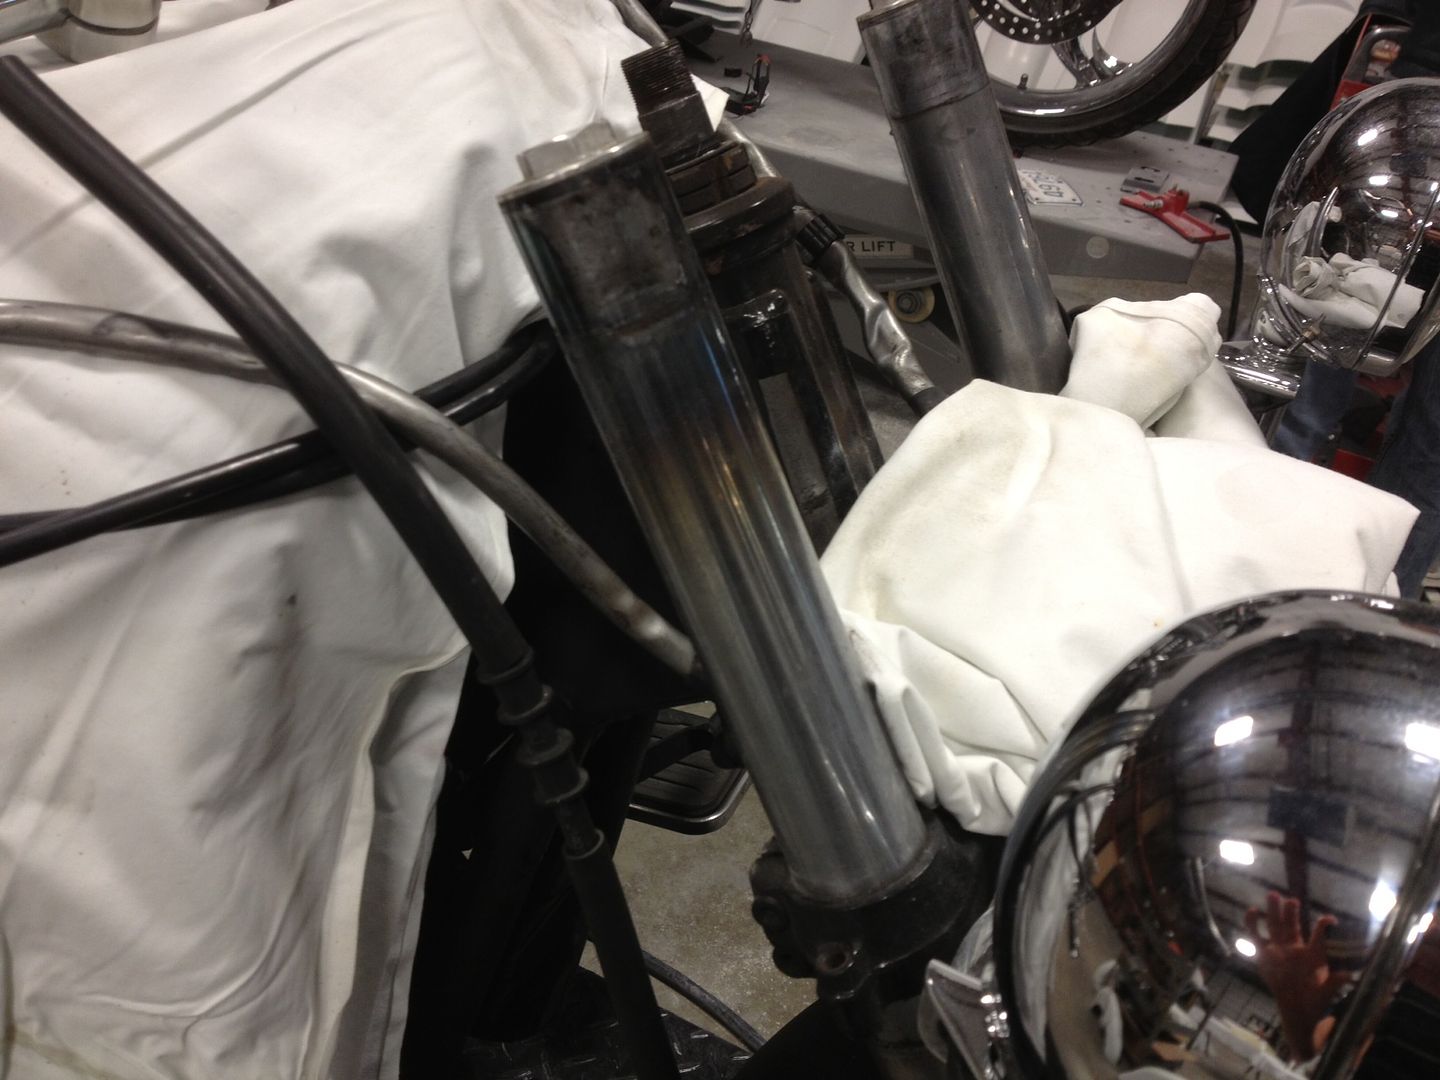
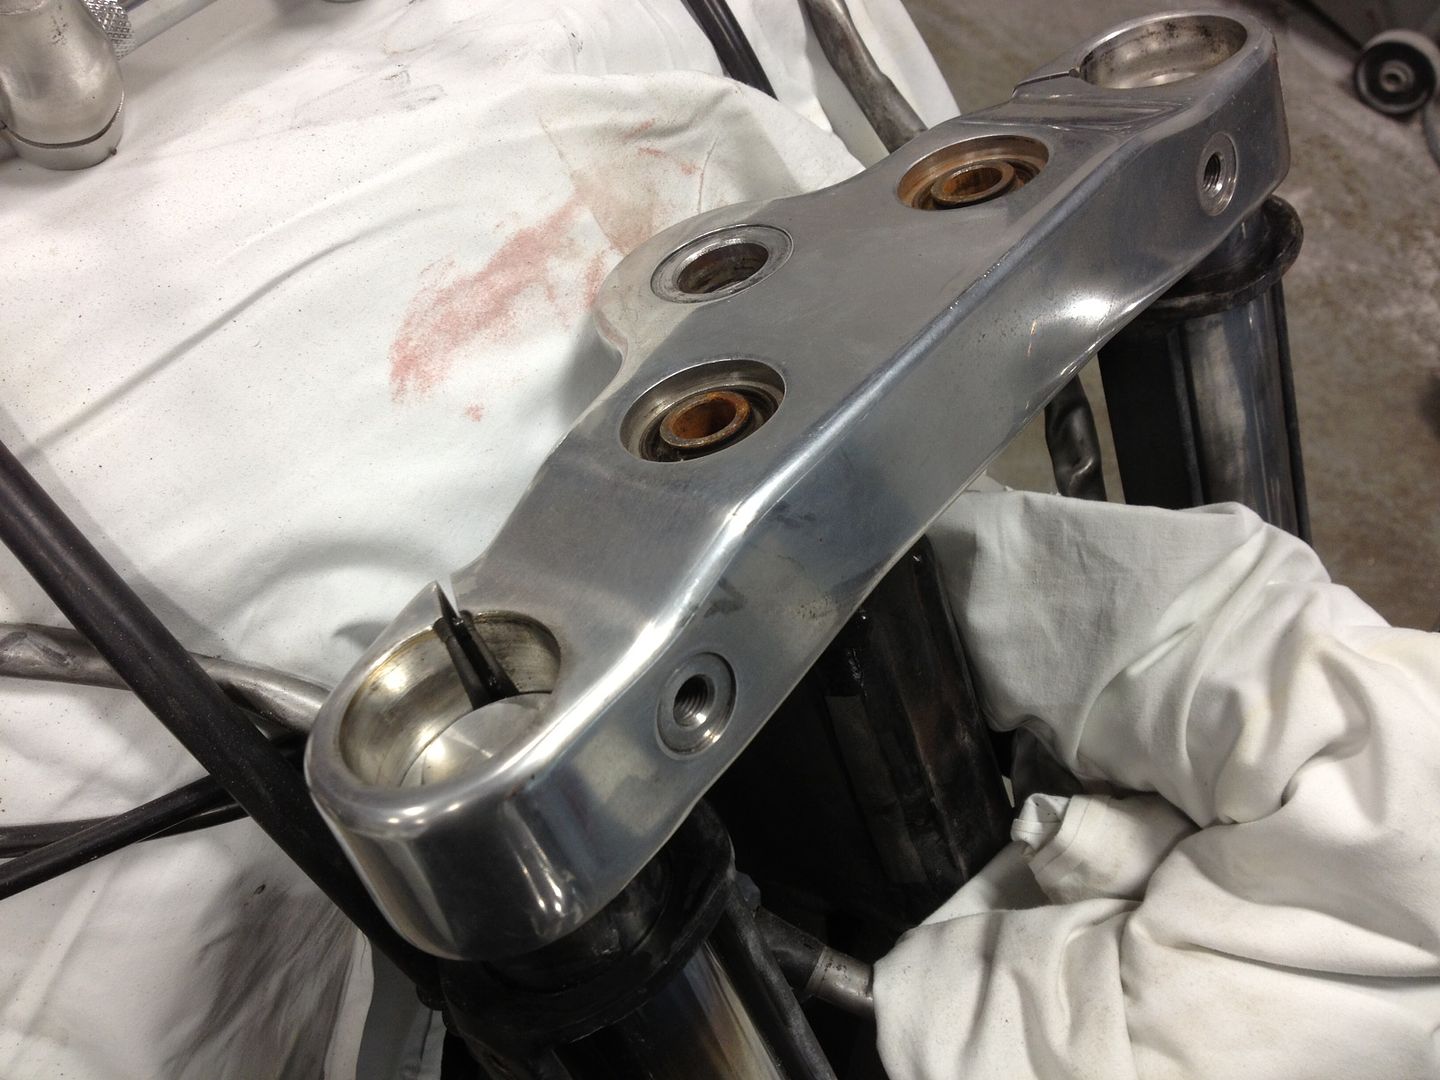
1) Begin by removing the handlebars, stock headlight, and upper triple tree. We also recommend covering the gas tank in order to protect its paint during this installation.
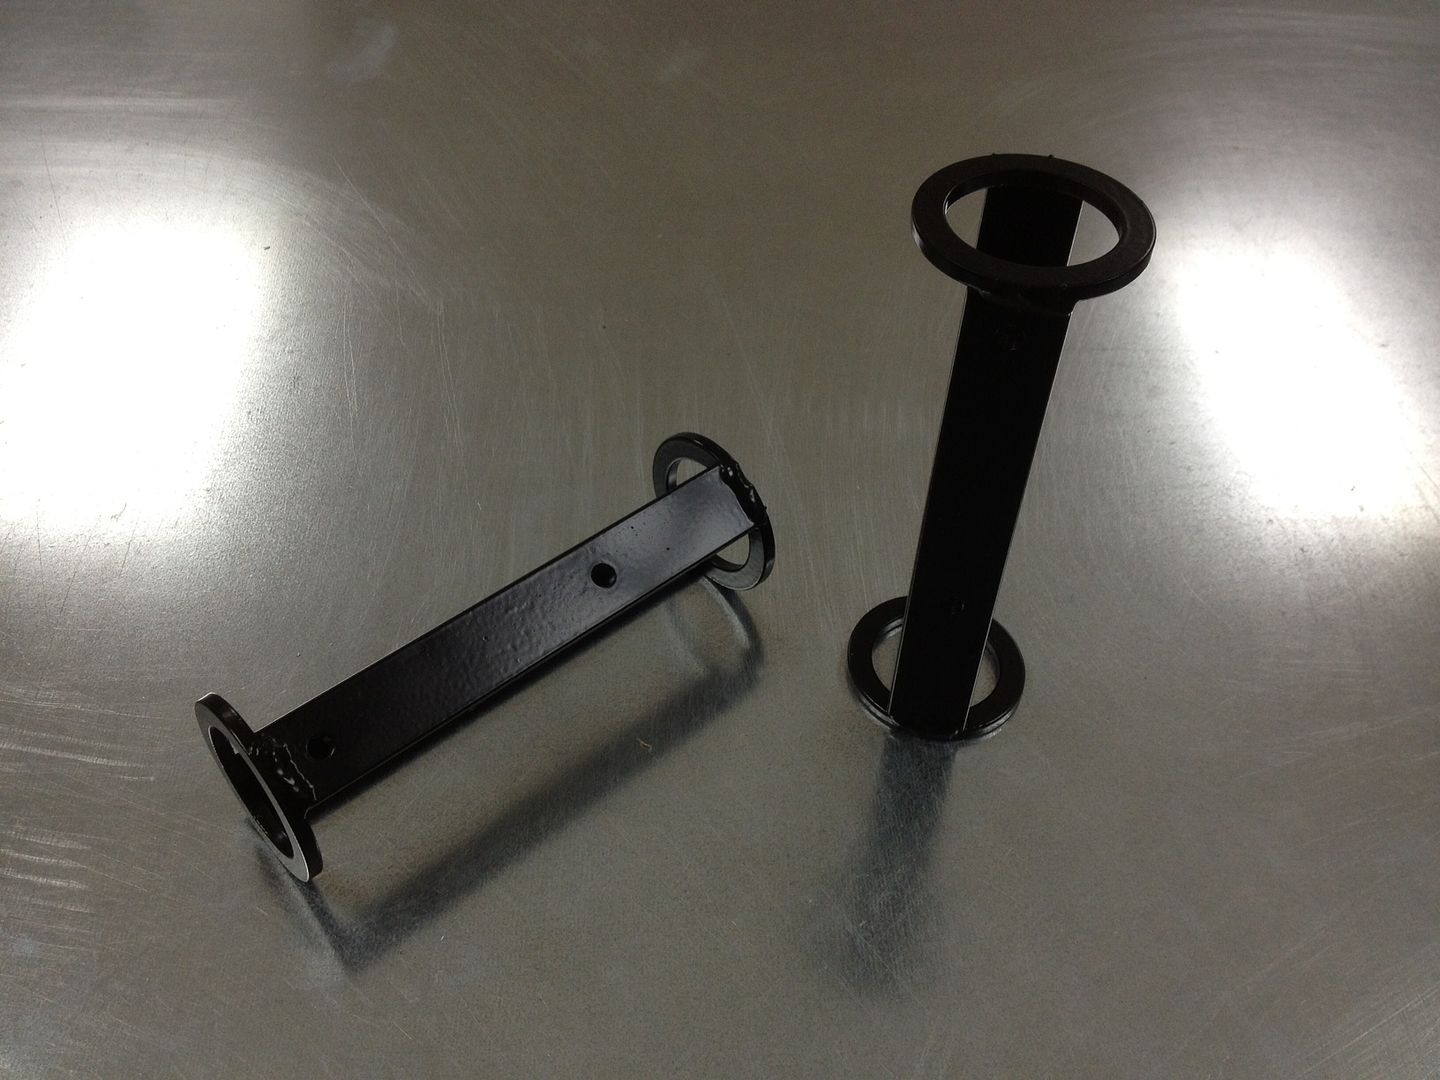

2) Next, you will install these two upper fork leg sleeves. These fork leg sleeves are included with your Stretched Headlight Nacelle.
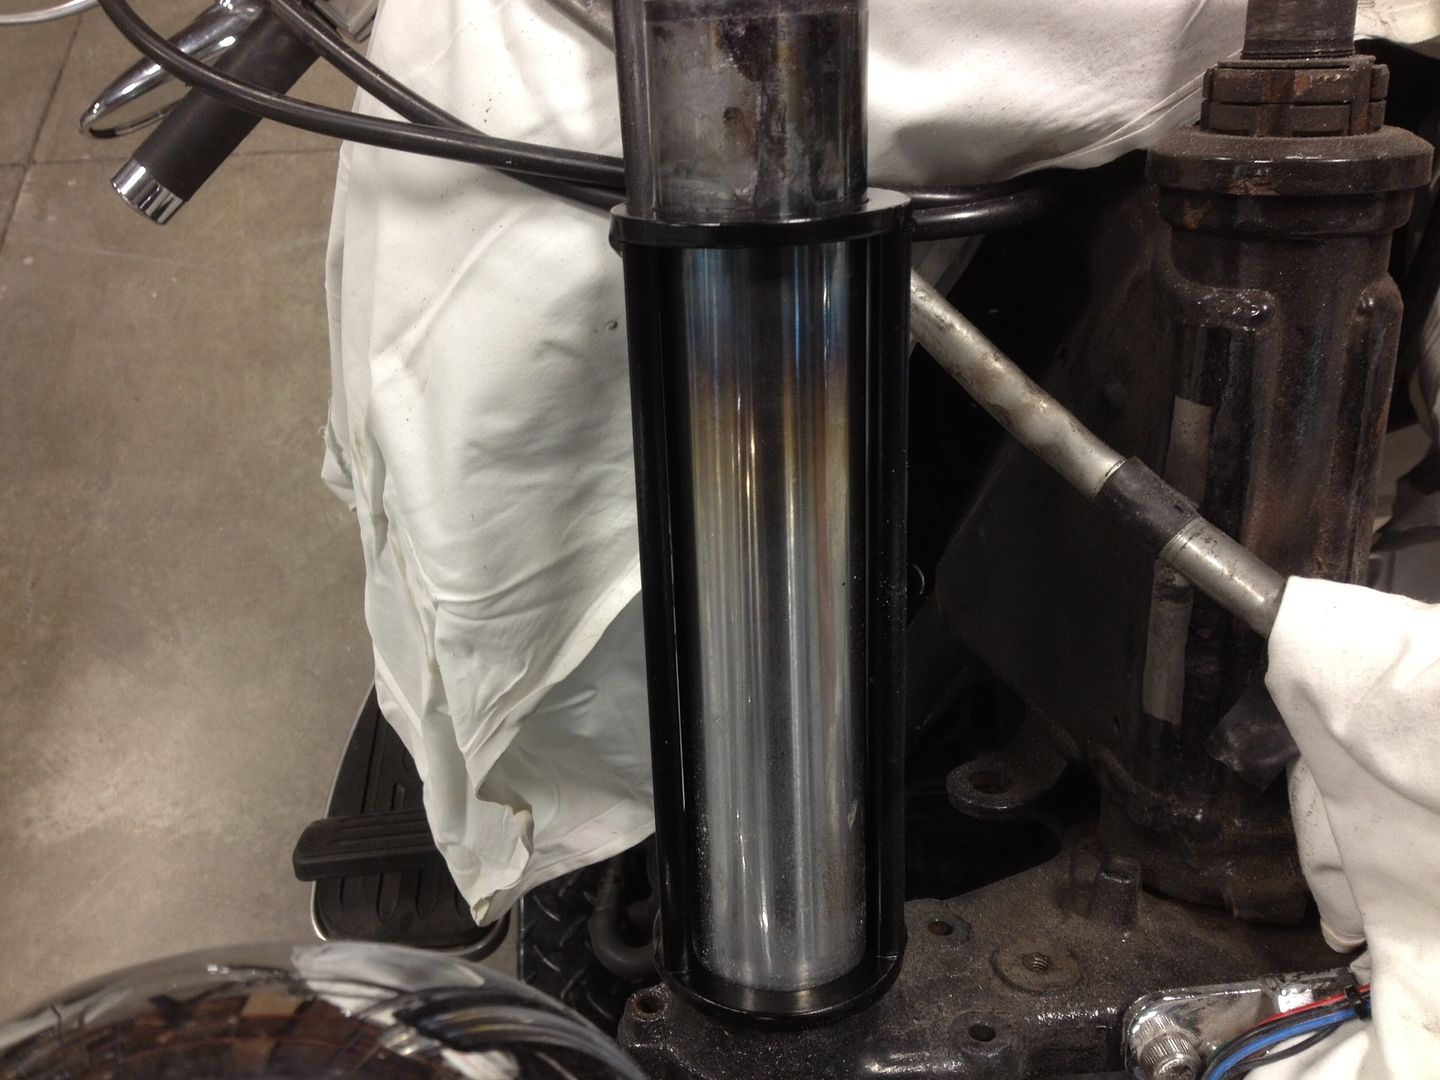
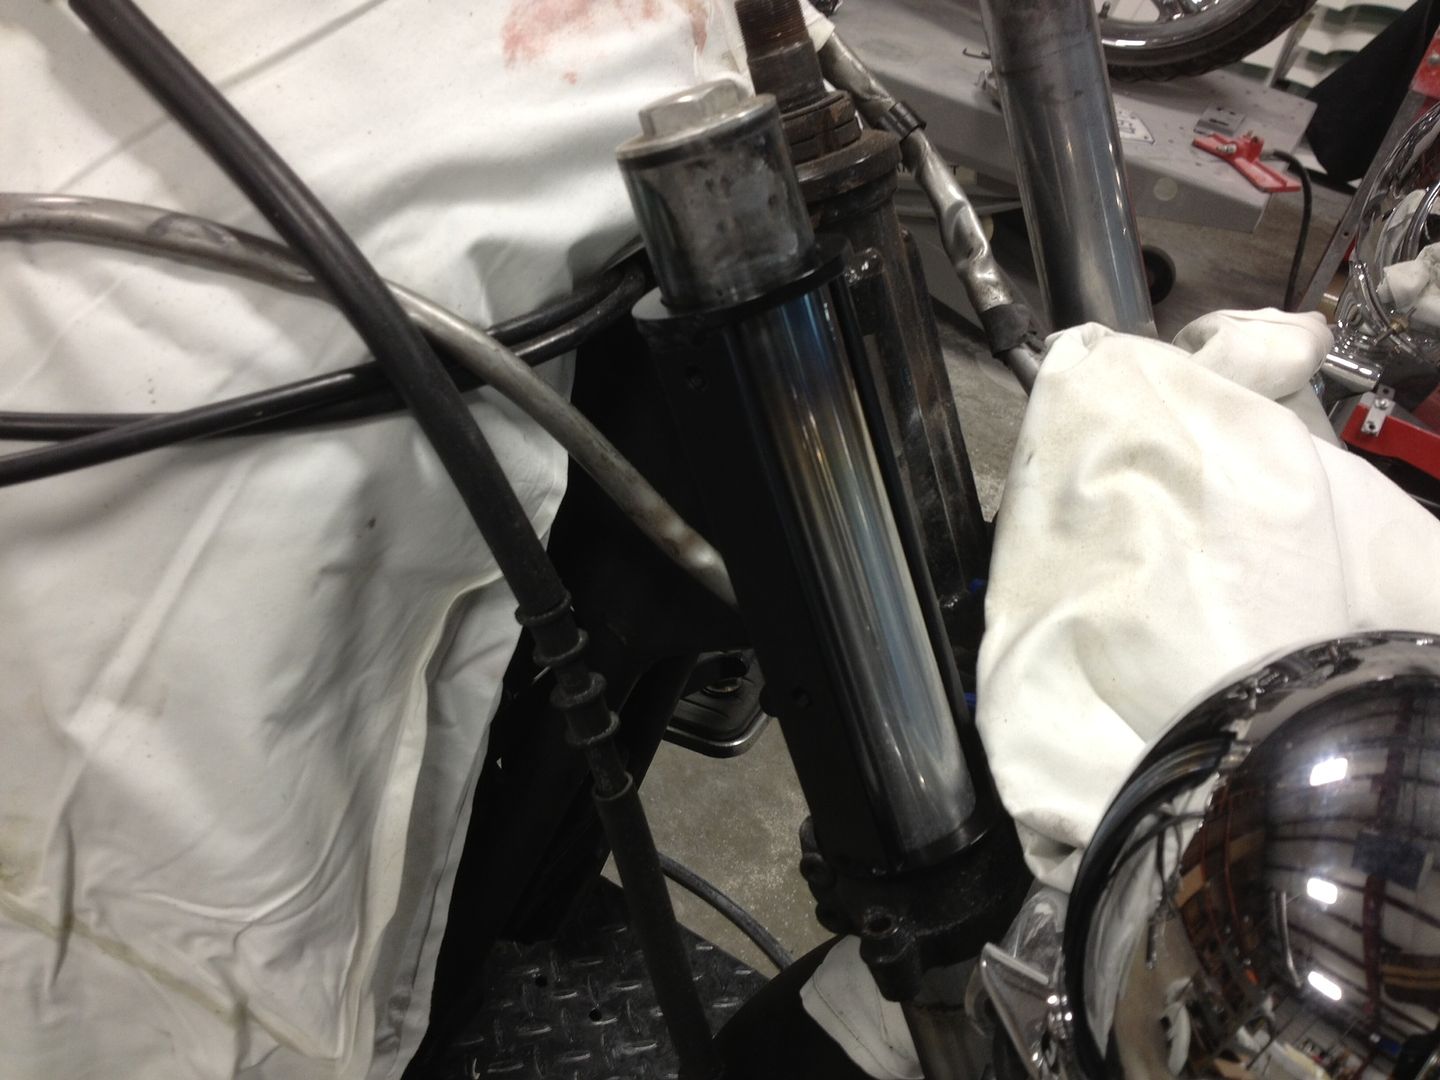
3) Install the sleeves with the threaded fastener facing outwards. The fastener closest to the edge of the sleeve should be at the top when installed on the motorcycle.
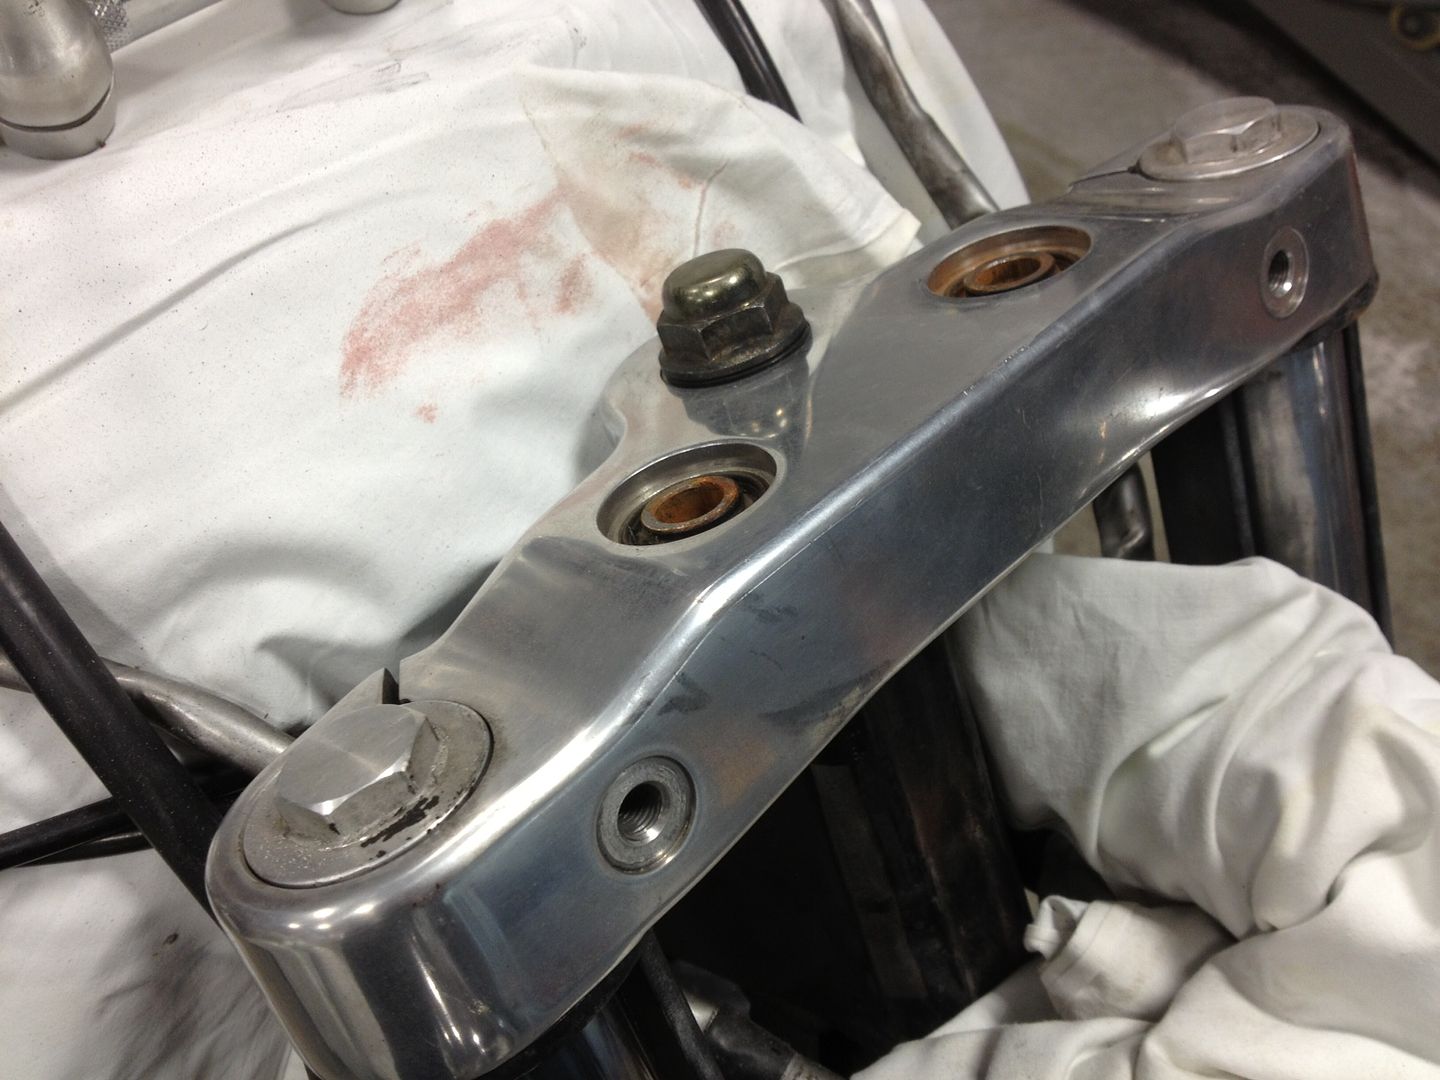
4) After the sleeves are installed, install the upper triple tree and reattach the upper mounting nut.
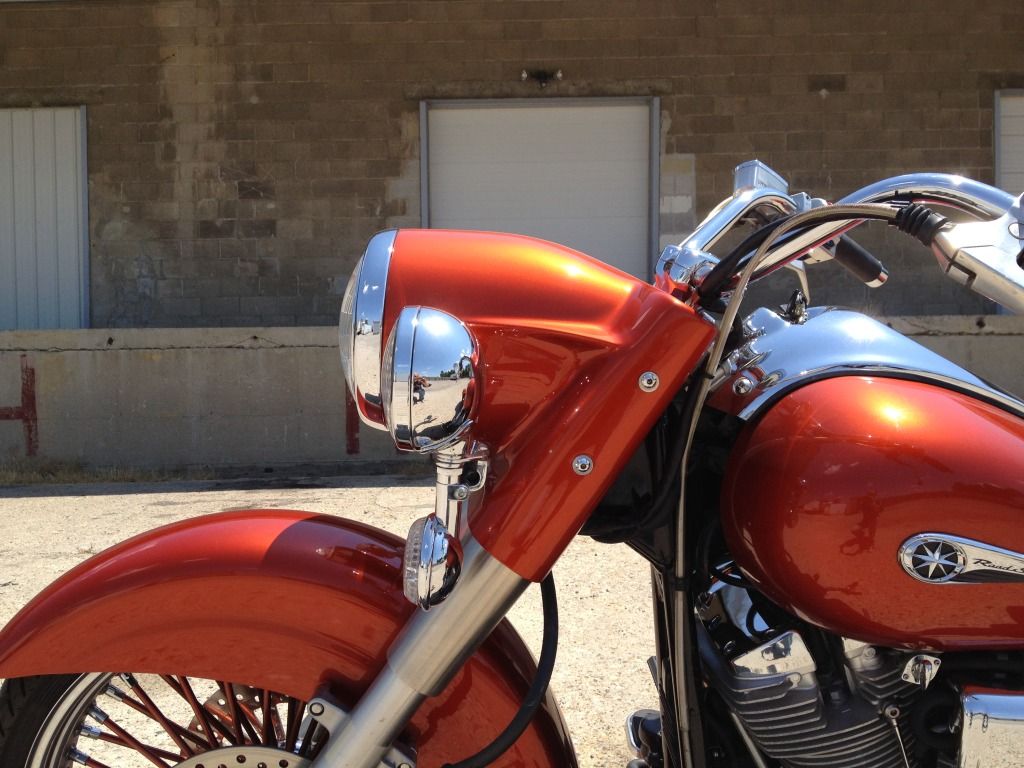
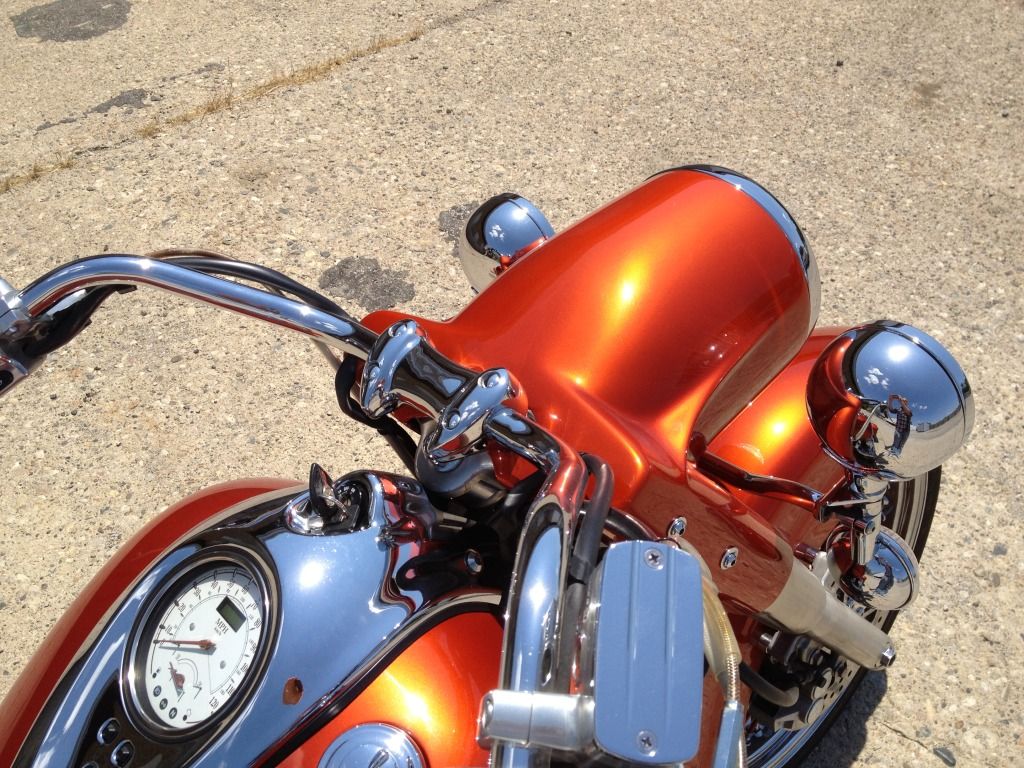
5) Finally, you can slide Bad Dad's Stretched Headlight Nacelle in place. The Stretched Nacelle will slide over the sleeves and the upper triple tree. Attach your mounting hardware through the two (2) holes on each side of the Stretched Nacelle, re-install your risers, handlebars, etc.
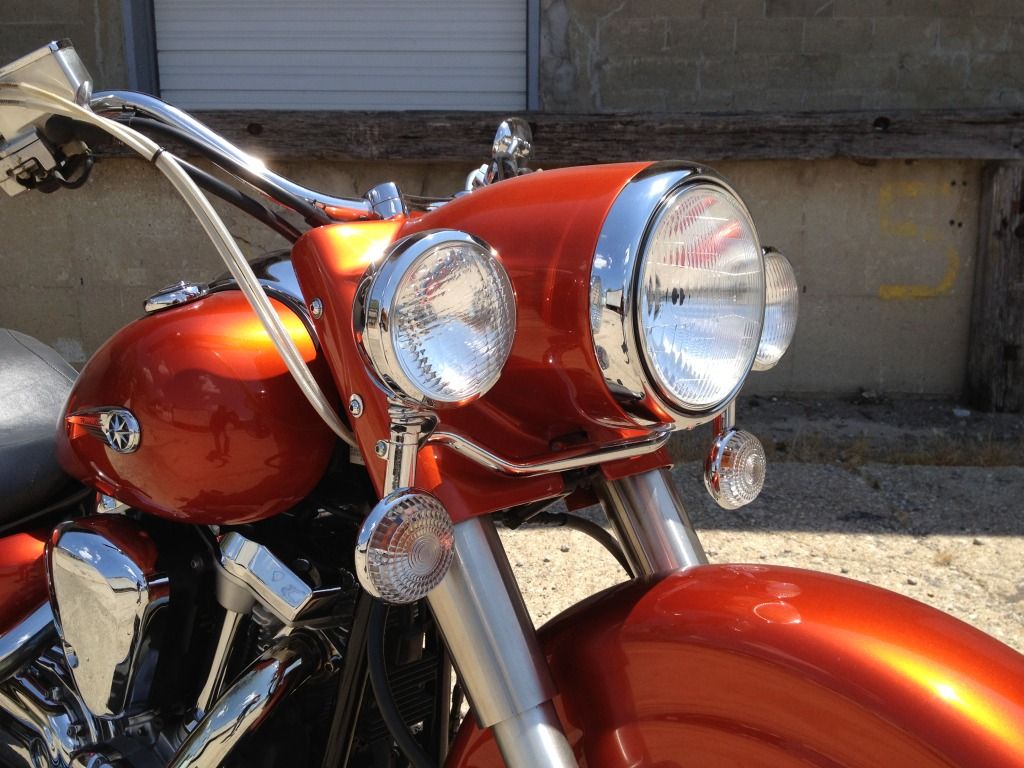

6) Bad Dad's Stretched Nacelle is designed to use the 7" Headlight Assembly found in the Road King and Street Glide models. You will want to use this same 7" Assembly to complete your installation. You can buy this complete kit from Bad Dad, at a local Harley-Davidson dealer, or any other parts source.
Sign Up for Updates on our Newest Parts, Current Projects & Latest Builds