Order online or by
calling 260.407.2000


Hide-a-Plate Install
Print Instructions
| Listed below is the step-by-step installation instructions for Bad Dad's patented Hide-a-Plate system. Bad Dad's Hide-a-Plate system is designed to be a bolt-on part used with any of Bad Dad's Fender Covers or Summit Fenders for Touring applications. |
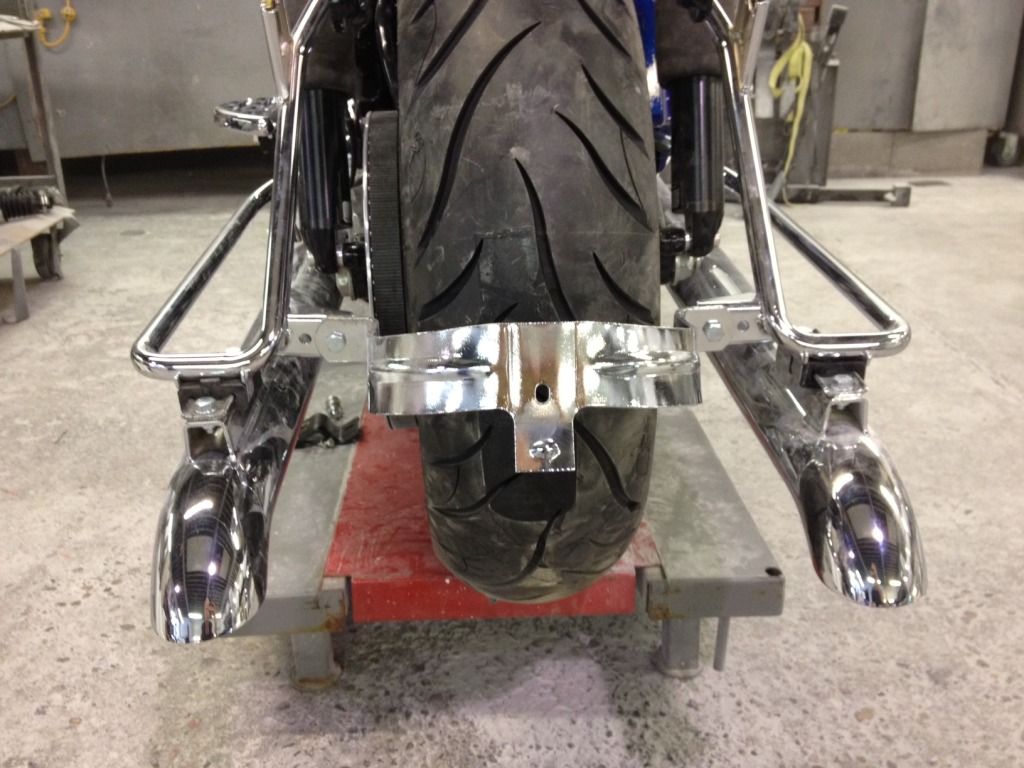
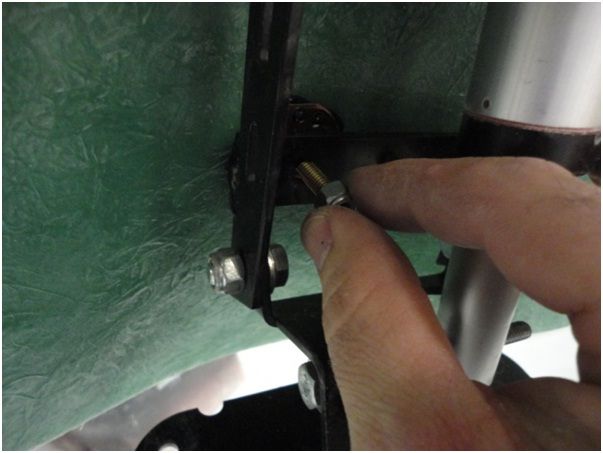
1) The Hide-A-Plate has been designed to take the place of your stock bumper bracket. To begin installation of the Hide-A-Plate, Remove the factory bumper bracket from your motorcycle.
2) Install the Hide-A-Plate in the same location as the bumper bracket, using the hardware removed from the original bumper bracket.
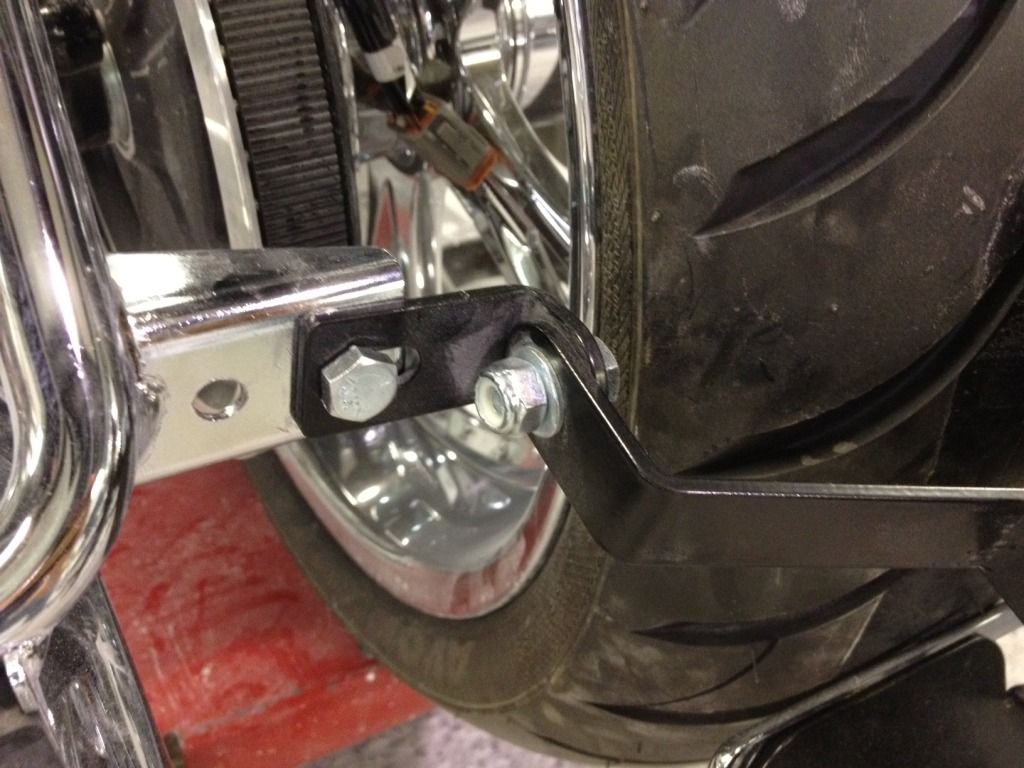
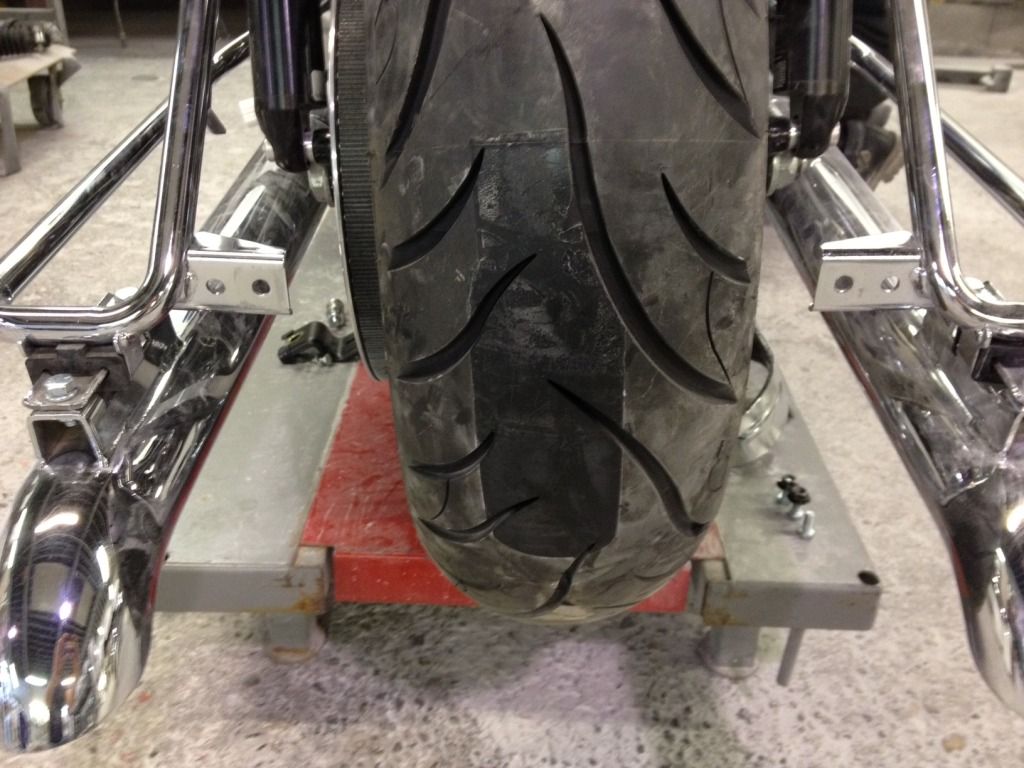
3) If necessary, you may need to loosen the pivot bolts on the mounting brackets so that the Hide-A-Plate can swing freely to allow for adjustment.
No Picture
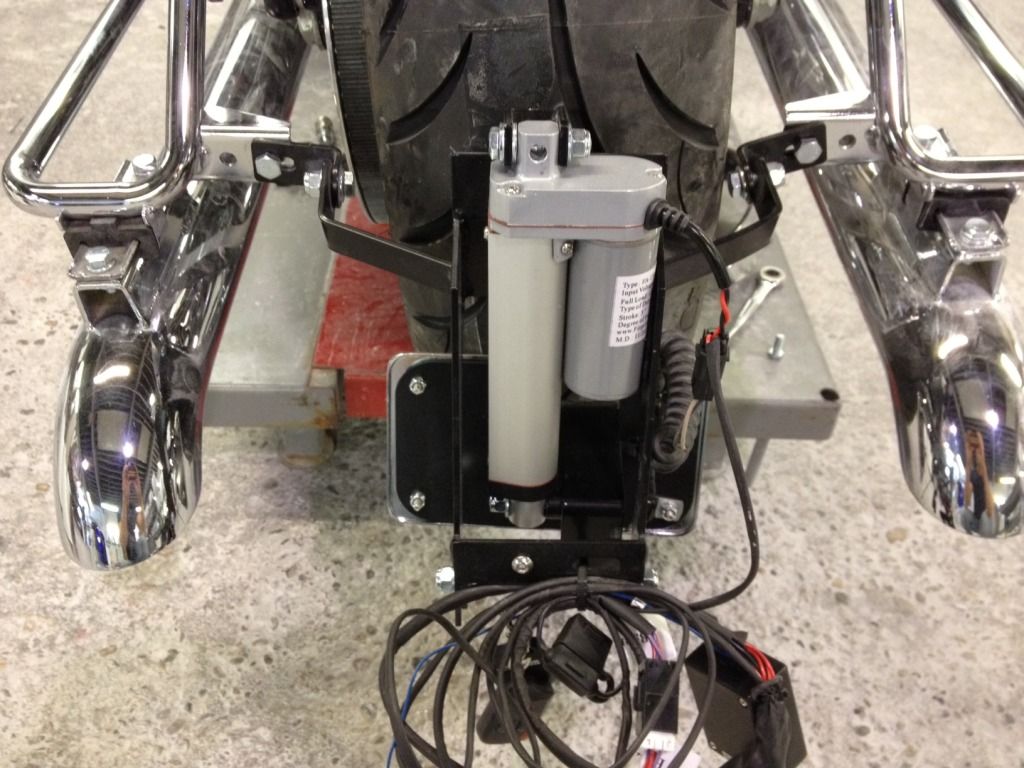
4) Next, run the wiring from the Hide-A-Plate motor up the side of the frame rail of the motorcycle. If necessary, you can use tie-straps to ensure the wires remain out of the way of the rotating tire, as well as to keep the wires from being pinched when the fender is mounted.
5) Now you can install your Bad Dad Fender Cover or Summit Fender. There is a stud located on the back of the fender that we will use to tie into the Hide-A-Plate. Care must be taken not to over tighten this bolt. Simply tighten until the frame of the Hide-A-Plate touches the back of the fender.
6) Re-tighten the mounting brackets of the Hide-A-Plate at this time.
7) If you are using the manual version of the Hide-a-Plate, your installation is now complete.
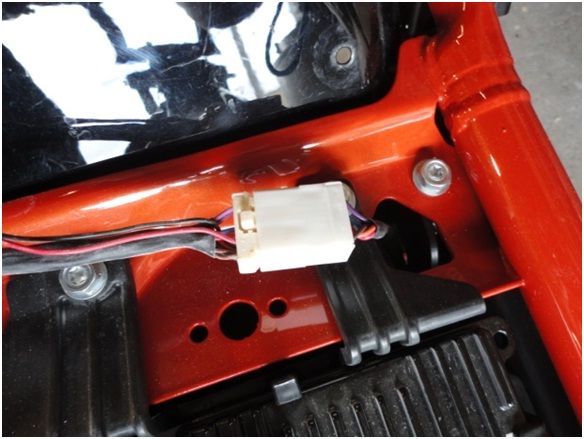
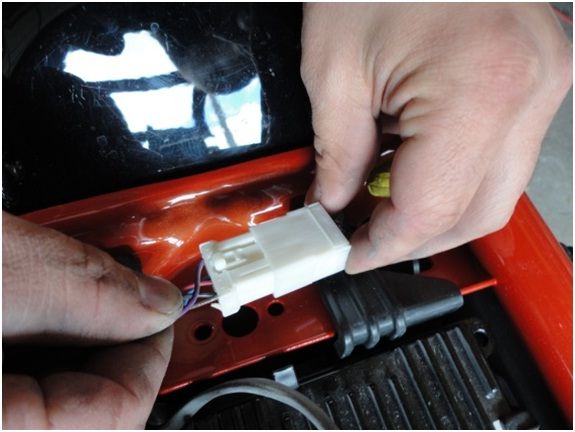
If you are using the automatic version of the Hide-A-Plate, you will now connect the Hide-a-Plate system's electrical components. The auto Hide-a-Plate comes to you wired to work with the ignition switch on your motorcycle. Specifically, the Hide-a-Plate will automatically activate when the ignition switch is turned "on". The Hide-a-Plate can also be activated by the use of the included remote controls.
To begin the wiring portion of the install, remove the seat from the motorcycle and locate the main taillight harness connector. Unplug the factory brake light connector on the motorcycle.
8) Now plug the other end of the Hide-A-Plate into the tail light harness of the motorcycle.
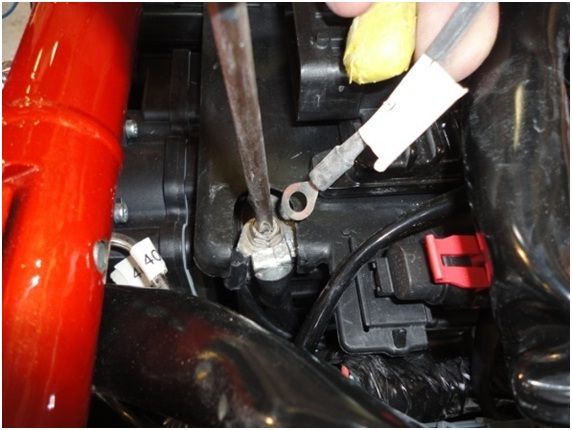
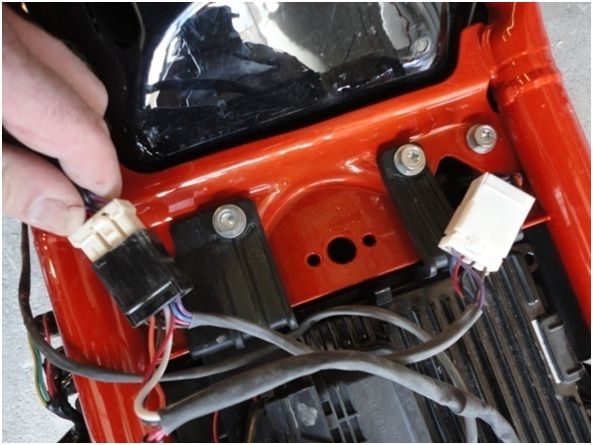
9) There are two battery connections to make. Install the wire marked "battery (+)" (With the fuse holder) on the positive side of the battery. Install the wire marked "battery (-)" on the negative side of the battery. See picture below:
10) Once these connections are made, the Hide-A-Plate is now installed. Test run the Hide-A-Plate using the ignition switch on the motorcycle as well as with the remote controls. Ensure proper clearance between the fender and the Hide-A-Plate, and on motorcycles equipped with aftermarket air ride, ensure proper clearance between the Hide-A-Plate and the ground when the Hide-A-Plate is activated for the first time.
Sign Up for Updates on our Newest Parts, Current Projects & Latest Builds