Order online or by
calling 260.407.2000


2009+ Summit Rear Fender
Print Instructions
| The new line of Summit Fenders from Bad Dad is a great addition to your Bagger project. The Summit Fender is a full bolt-on replacement for your stock fender and bolts on just like the factory fender. These instructions outline the installation of the Summit Fender for 2009-current Baggers. Installation of the 1997-2008 version is similar. |
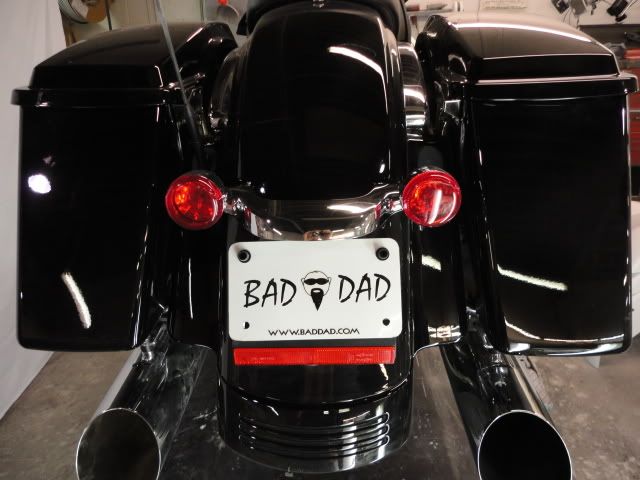
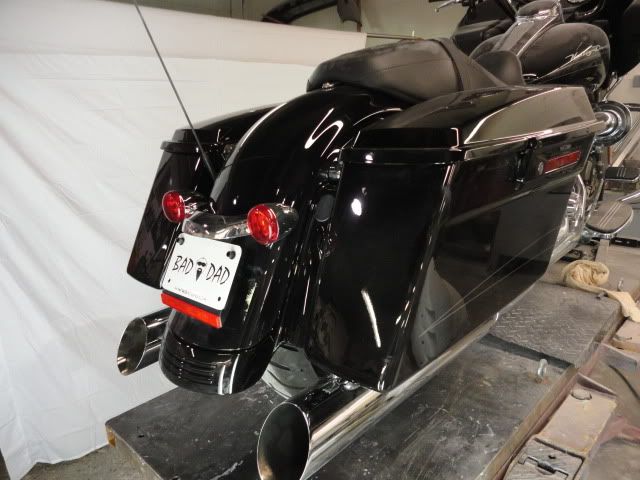
1) This is the rear of the stock motorcycle.
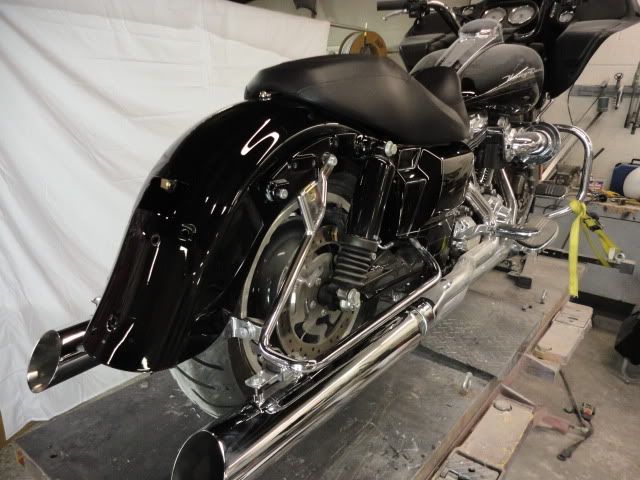
2) Begin by removing the stock saddlebags, rear taillight and license plate mount, and the chrome strut covers.
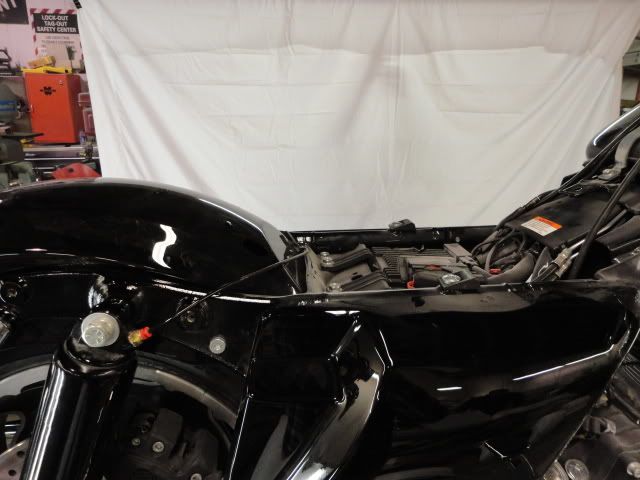
3) Remove the seat.
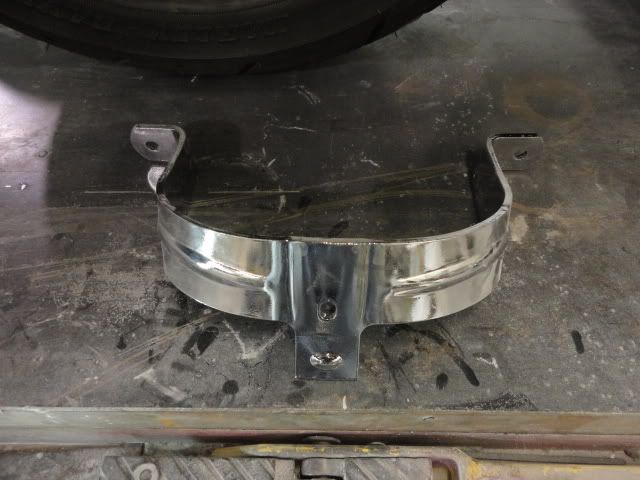
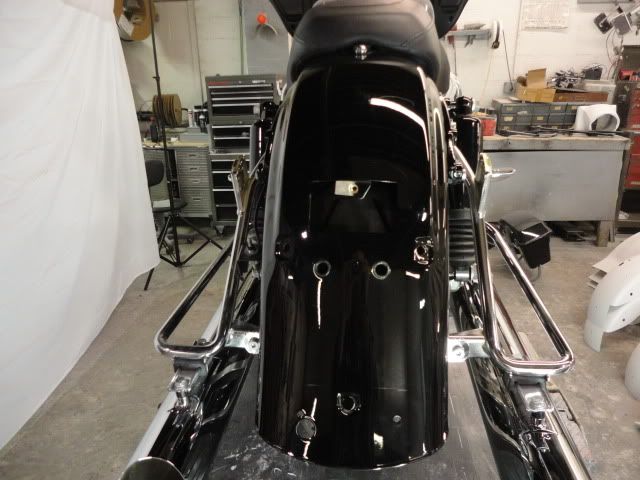
4) Remove the stock bumper bracket from behind the fender. The bumper connects to the saddlebag rails.
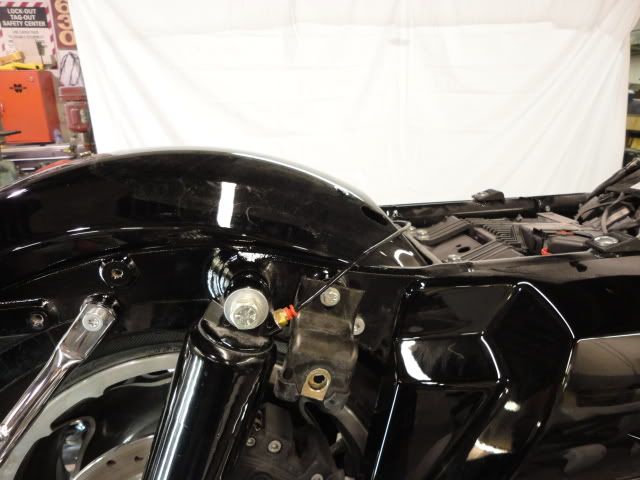
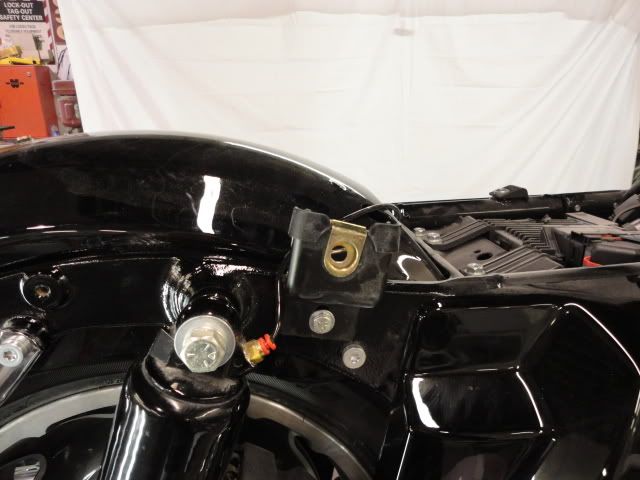
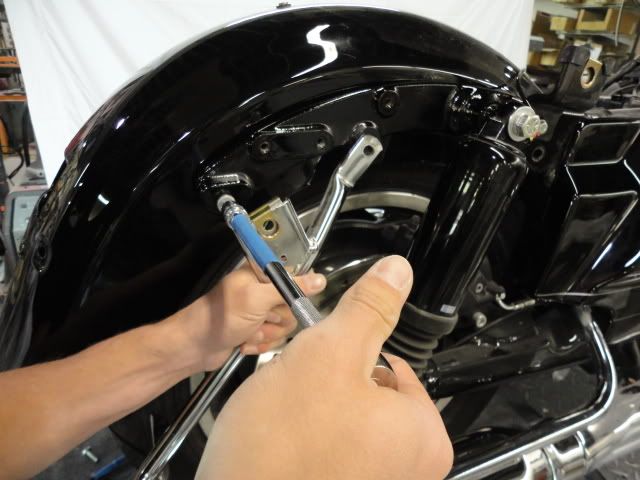
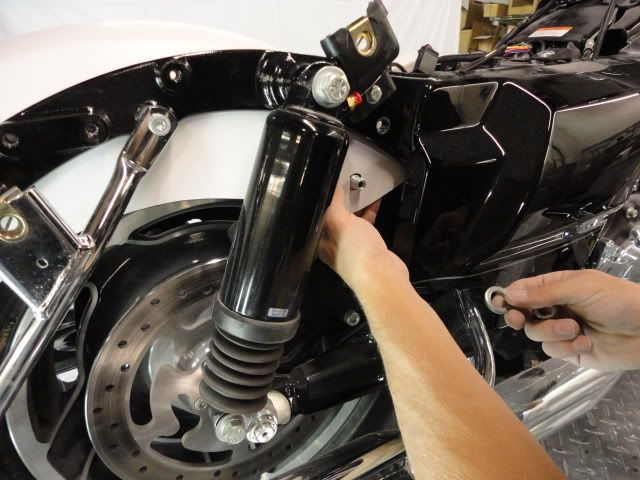
5) You will need access to the front bolt that secures the fender inside the frame. You will be able to access to this front bolt by moving the front saddlebag pin bracket. Loosen the front saddlebag pin bracket and then flip it upside-down.
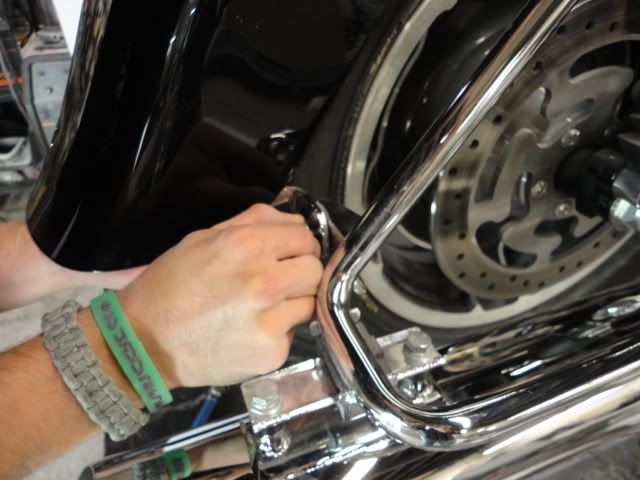
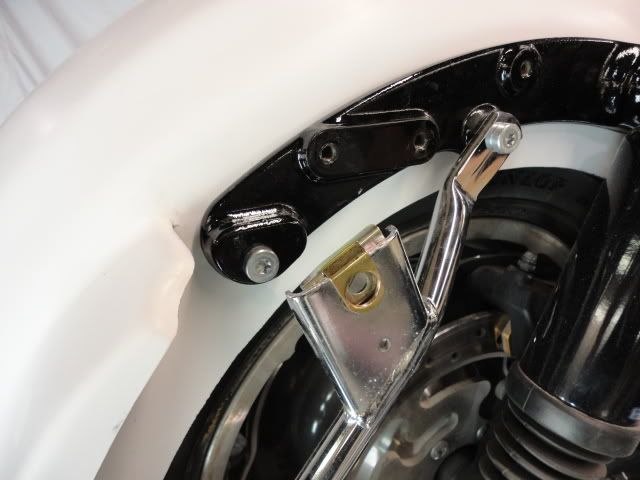
6) With the front pin out of the way, remove the front fender bolt.
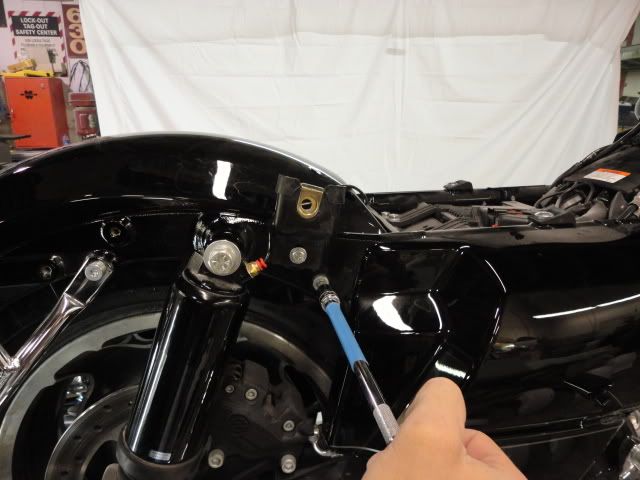
7) Then remove the upper bolt securing the saddlebag rails to the frame.
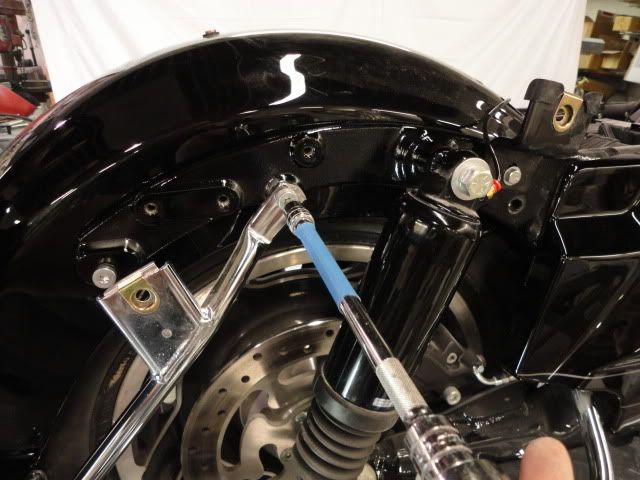
8) Now remove the rear fender bolt.
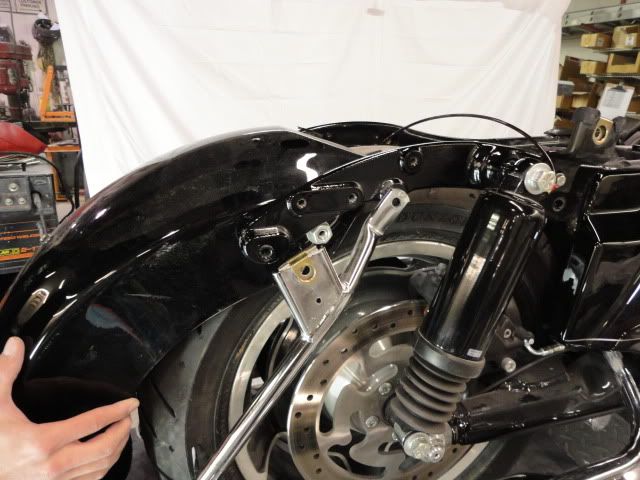
9) And completely remove the fender from the motorcycle.
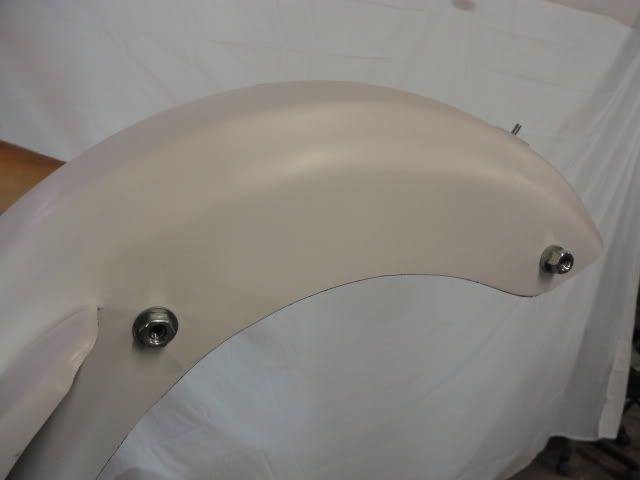
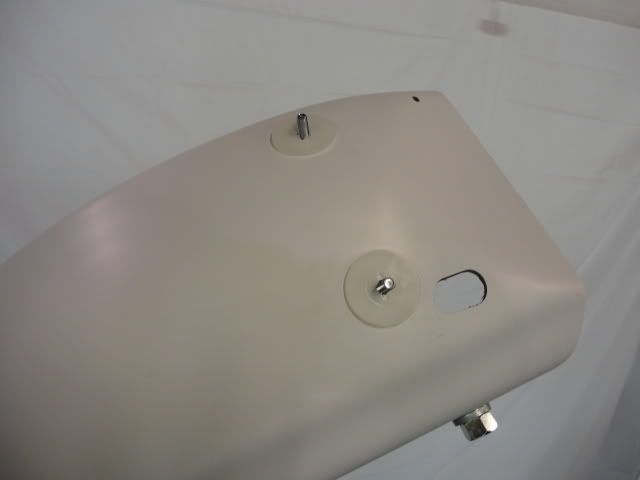
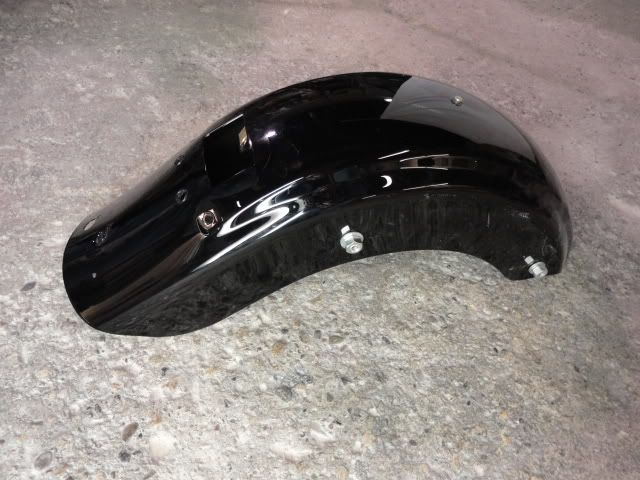
10) Next, transfer the four mounting nuts from the stock fender to your new Summit Fender. Also transfer the stock wire loom studs and plastic fender washers.
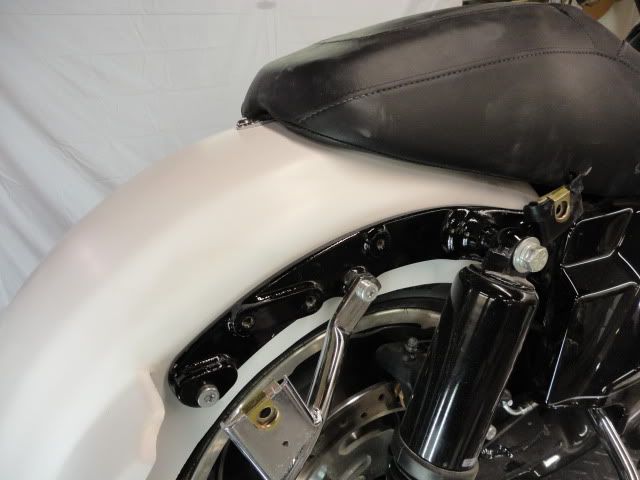
11) Now install the Summit Fender between the bike's frame rails and install the factory bolts.

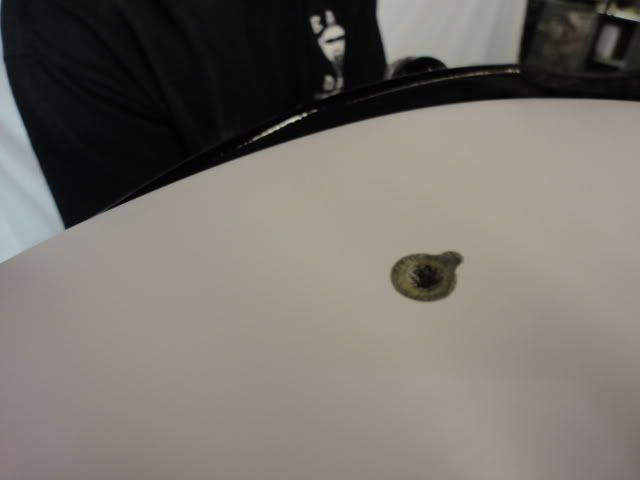
12) And reinstall the rear bumper bracket. If you have a Smooth Summit Fender, you will use the factory bumper bracket. If you purchased a Recessed or All-in-One Summit Fender, use the custom bracket Bad Dad provided. Each Summit Fender has a mounting stud installed on the backside of the fender. Align this stud with the hole in your bumper bracket. Please note this stud is for alignment purposes only; over-tightening this stud may pull the stud out of the fender. Tighten the stud until snug.
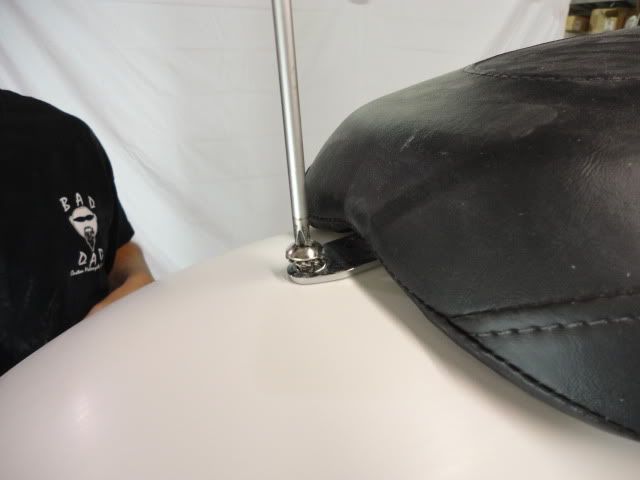
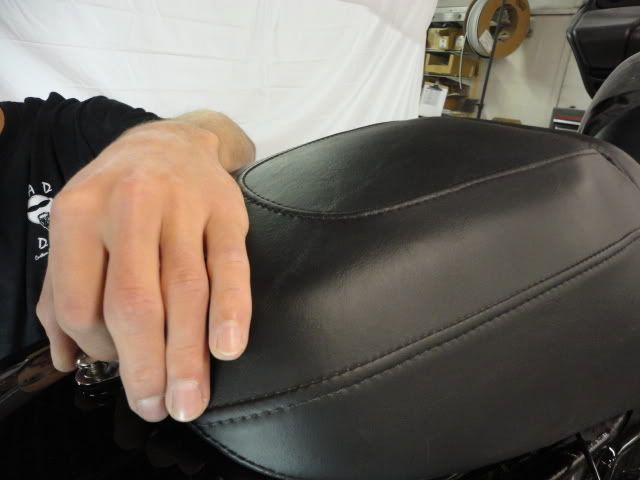
13) Now reinstall the seat. Your Summit Fender has a threaded fastener built into it for attaching the rear seat. Simply install the seat and then install the factory seat screw.
14) Once the seat is installed, tighten any remaining loose bolts, reinstall the chrome strut covers, and install the saddlebags.
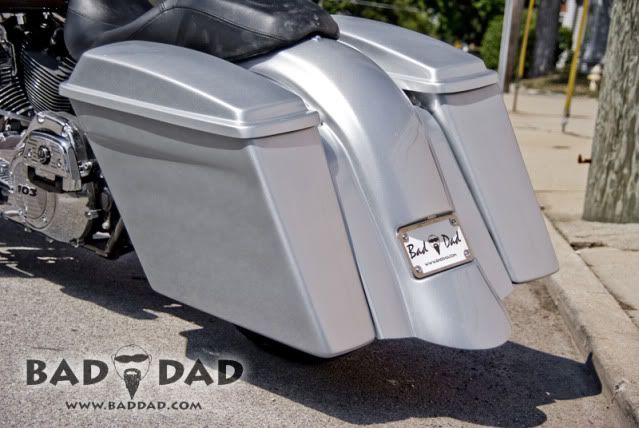
15) Finished. Enjoy!
Sign Up for Updates on our Newest Parts, Current Projects & Latest Builds