Order online or by
calling 260.407.2000


2009-2013 Flush Mount Bagger Fender with F.E.K.
Print Instructions
| These instructions outline installing one of Bad Dad's Flush Mount Fender Covers with Bad Dad's Fender Eliminator Kit. These instructions are written for a 2009-current Touring model but the general outline is applicable to all similar Bad Dad products. Keep in mind that most flush mount fenders have custom taillights and Bad Dad has built these specifically per your order. Some variance may exist in each fender due to your order specifications, but these instructions should apply for most applications. |

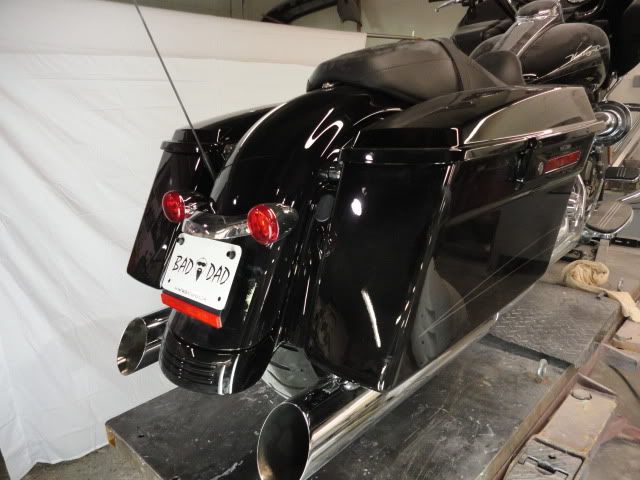
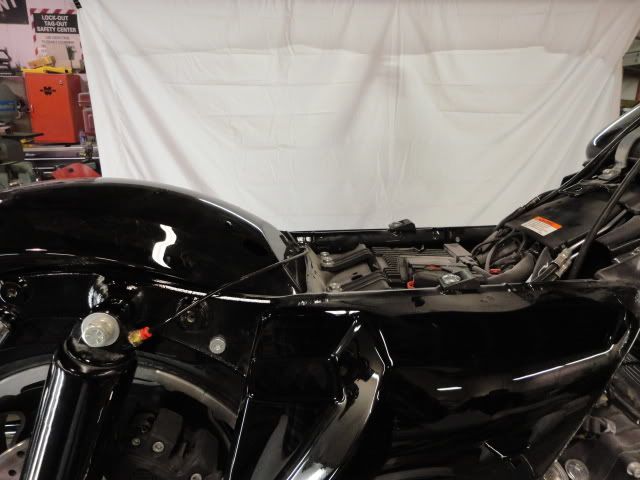
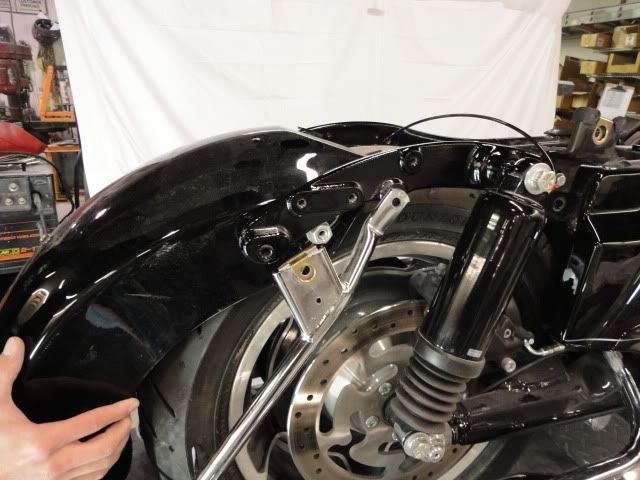
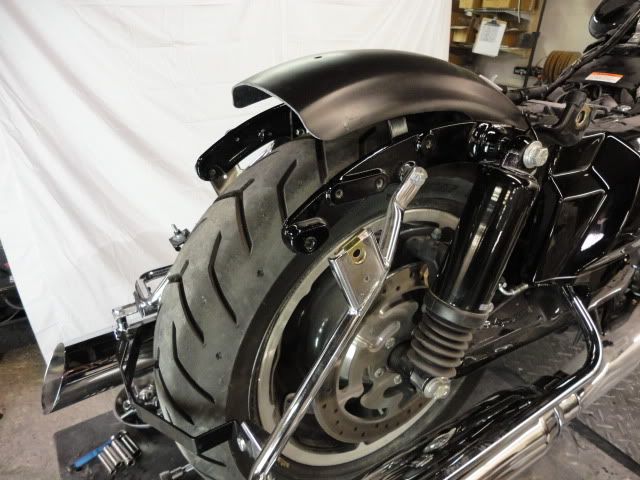
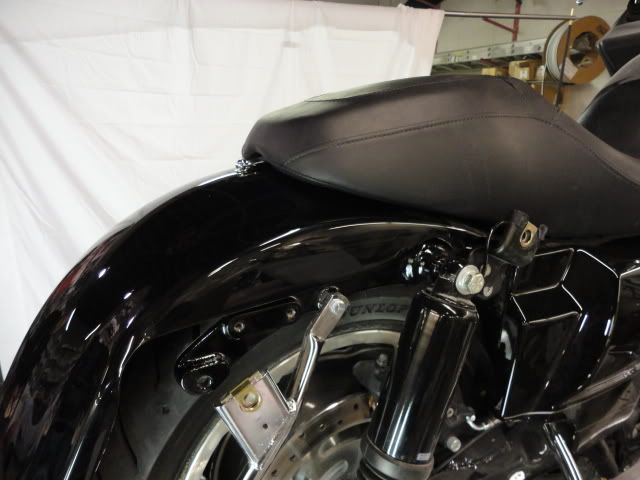
1) This is the back of the stock motorcycle.
2) Begin by removing the stock saddlebags, rear taillight and license plate mount, and the chrome strut covers.
3) Remove the seat.
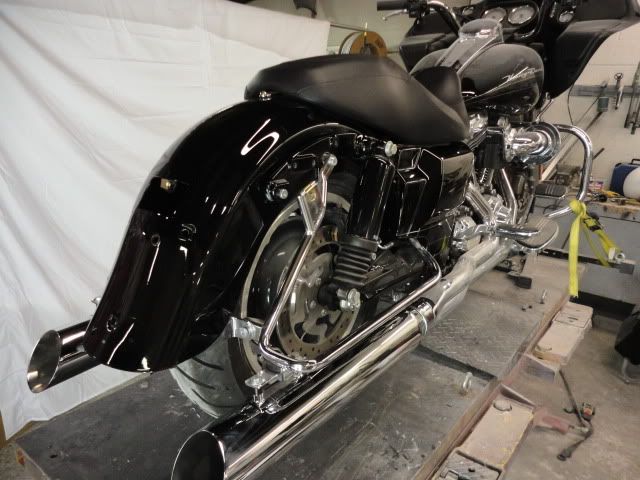
4) Remove the stock bumper bracket from behind the fender. The bumper connects to the saddlebag rails.
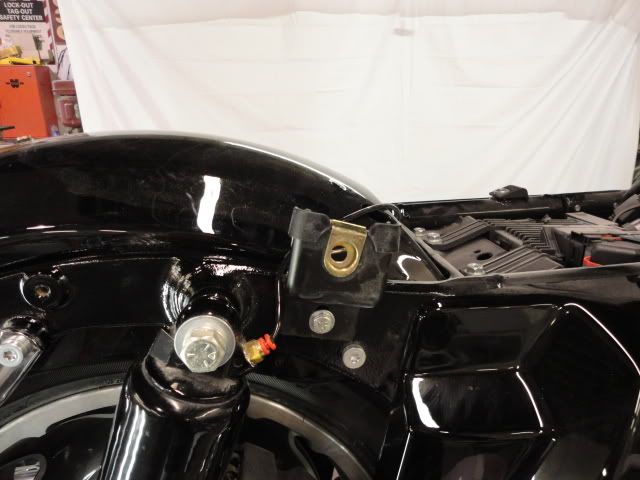
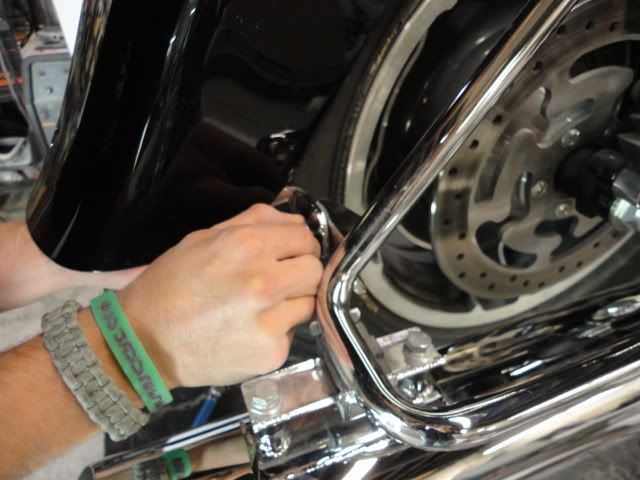
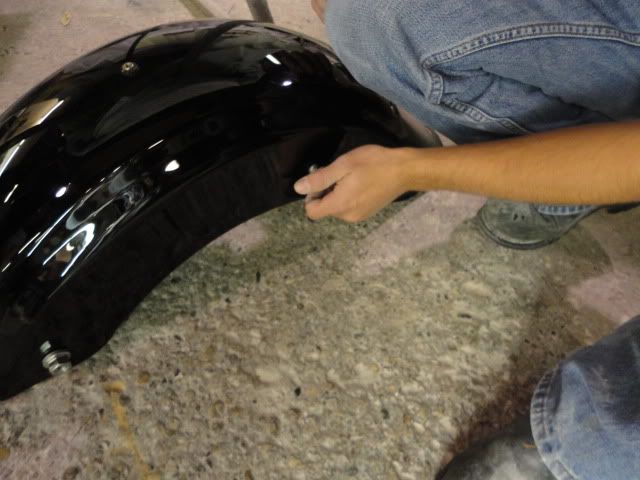
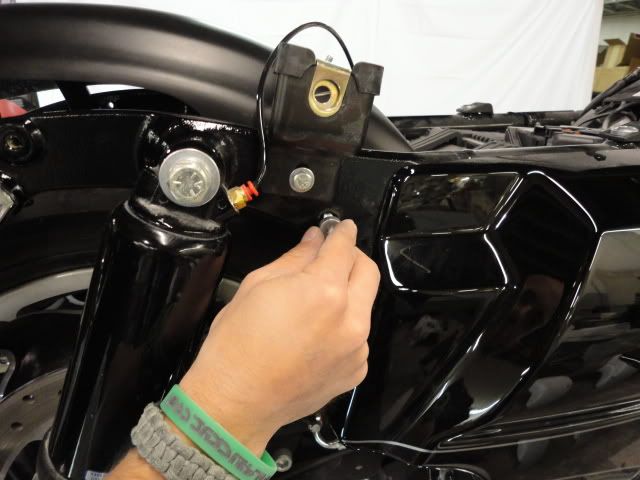
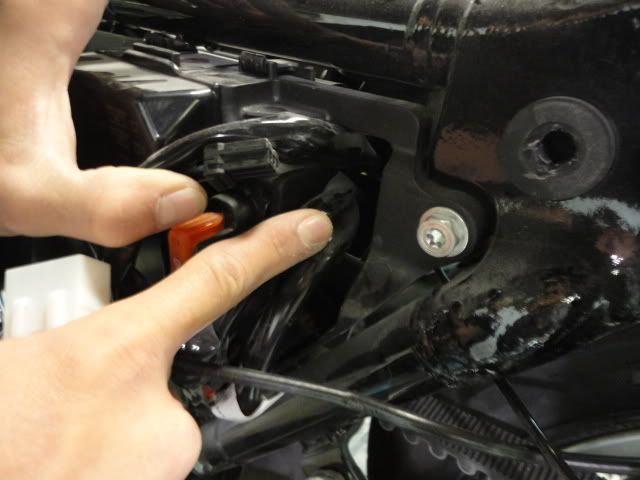
5) You will need access to the front bolt that secures the fender inside the frame. You will be able to access to this front bolt by moving the front saddlebag pin bracket. Loosen the front saddlebag pin bracket and then flip it upside-down.
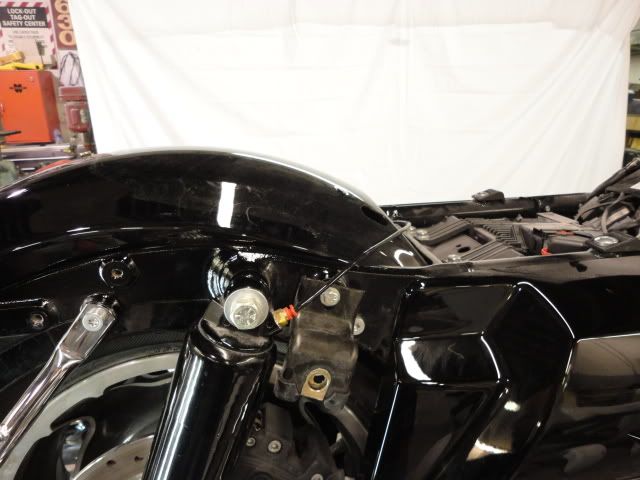
6) With the front pin out of the way, remove the front fender bolt.
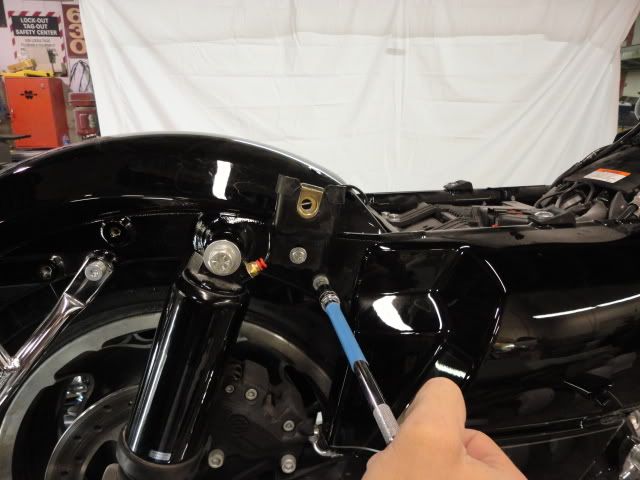
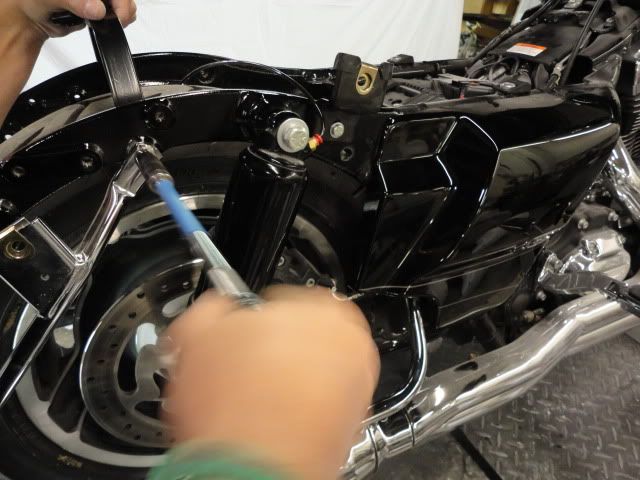
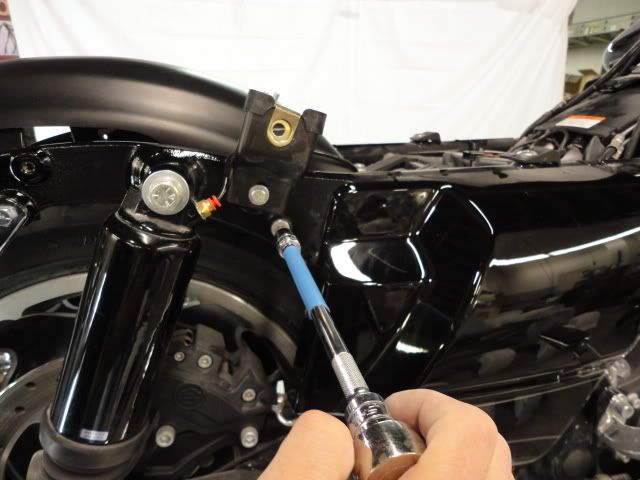
7) Then remove the upper bolt securing the saddlebag rails to the frame.
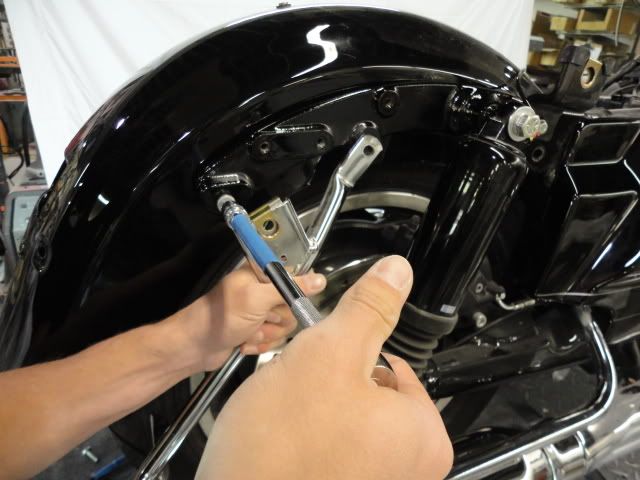
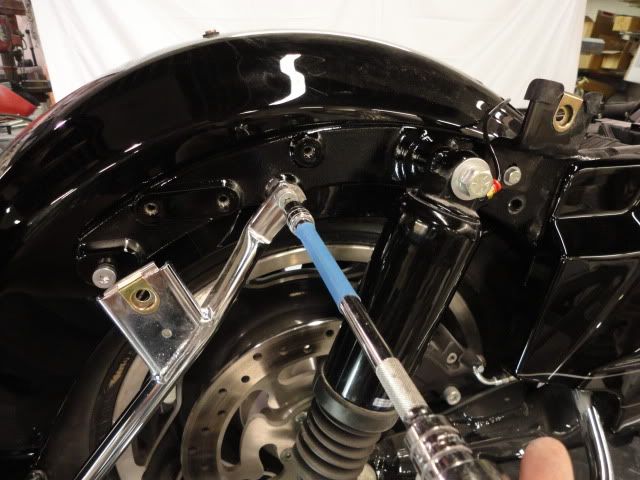
8) Now remove the rear fender bolt.
9) And completely remove the fender from the motorcycle.
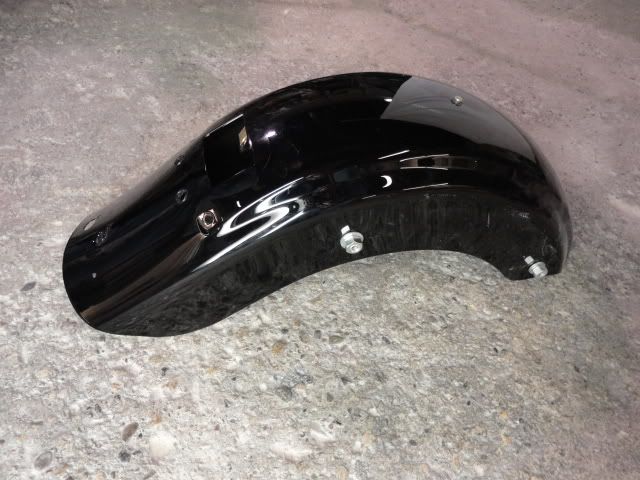
10) Next, transfer the hardware from the stock fender to the new fender splash from Bad Dad's Fender Eliminator Kit. Here is Bad Dad's fender splash.

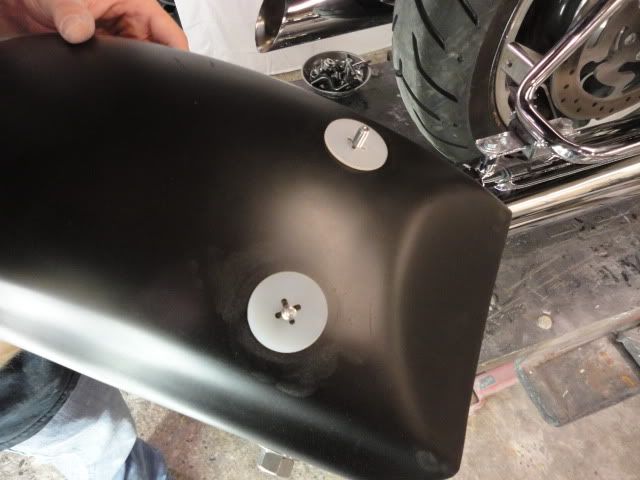
11) Transfer the two wire loom studs along with the plastic fender washers.

12) And also transfer the front fender bolts from the stock fender to the Fender Eliminator.
13) Install the upper fender support bracket from the Fender Eliminator Kit. This support bracket installs in the same bolt hole we removed in step 7. The threaded tab should be rearward on the motorcycle. Note: Leave the bracket loose as the bracket will need to be adjusted later.
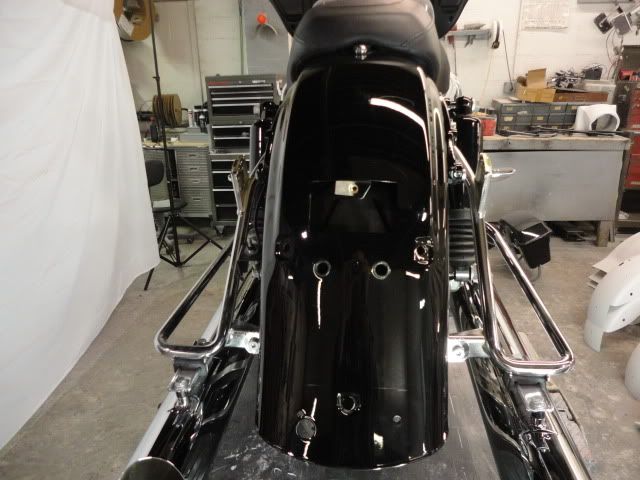
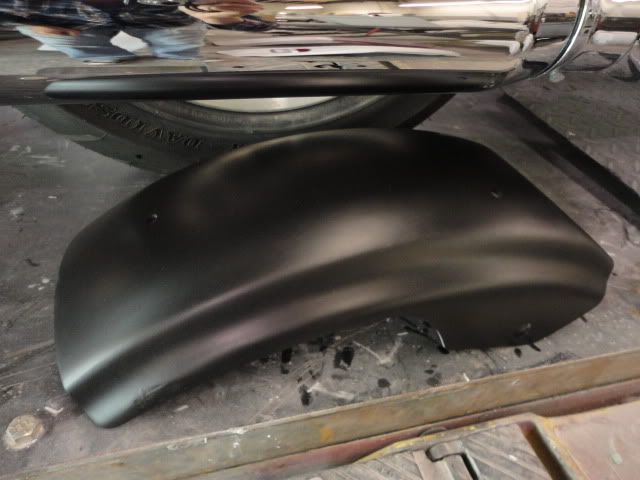
14) Slide the Fender Eliminator in place. Make sure the Fender Eliminator goes underneath the lines for the air shocks. Then install the front fender bolts.
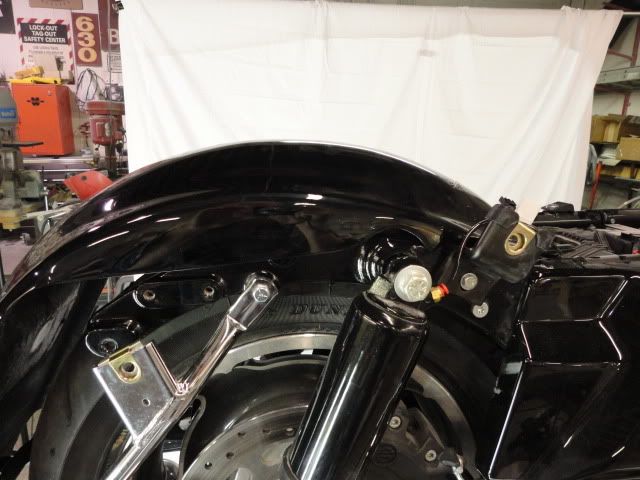
15) The Fender Eliminator is now in place. The Fender Eliminator has a hole drilled in the rear for attaching your two-up seat. Align the hole in the Fender Eliminator with the threaded tab in the upper support bracket that was installed in step 13. Once the tab is aligned, tighten the bolts securing the bracket into the frame through the fender support rails.
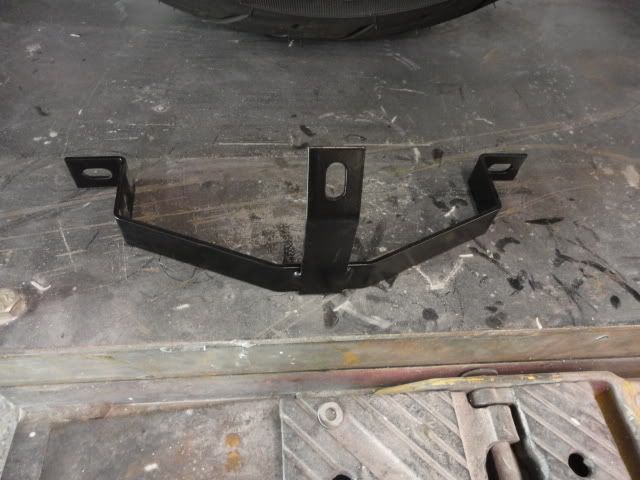
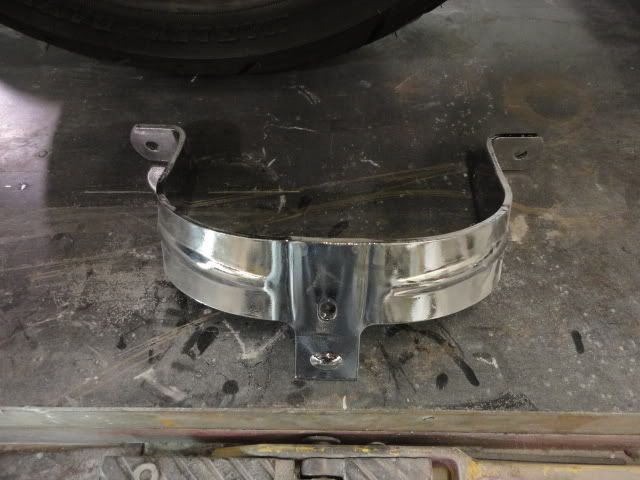
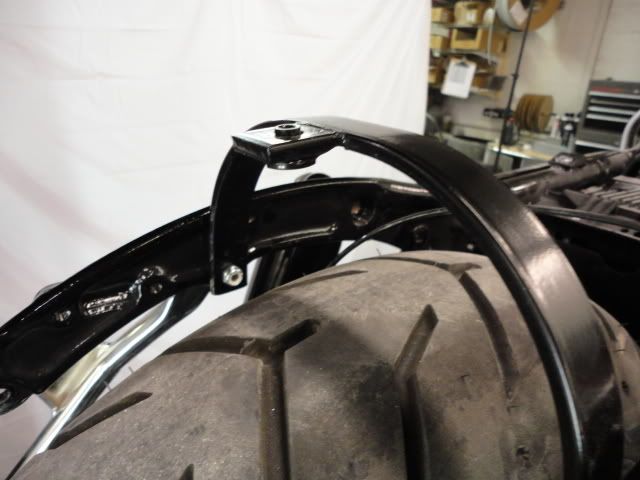
16) Now install the lower bumper bracket from Bad Dad's Fender Eliminator Kit. The tab should be installed upward. You will need this tab in the next step.
No Picture
17) All of Bad Dad's fenders with custom lighting feature a stud installed on the bottom of the rear fender. This stud will pass through the tab on the bumper bracket installed in the previous step. Note: This tab is for alignment purposes only. Do not overtighten this stud. Overtightening may result in the stud pulling out of the fender. Tighten the stud until the nut is snug and then stop.
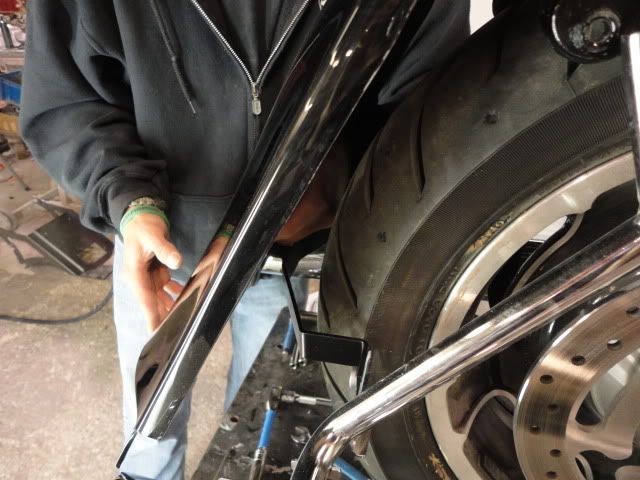
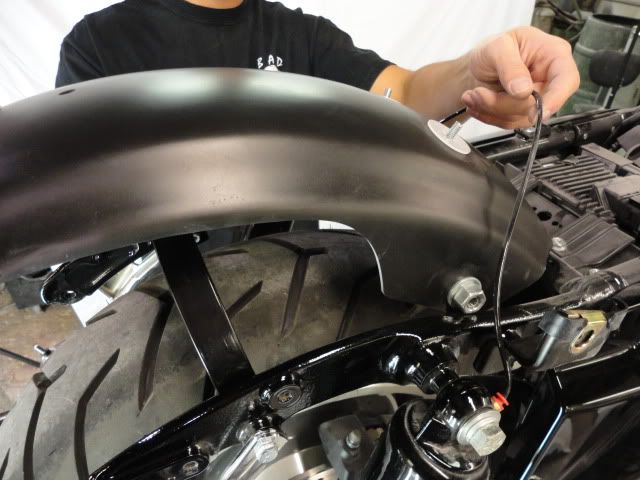
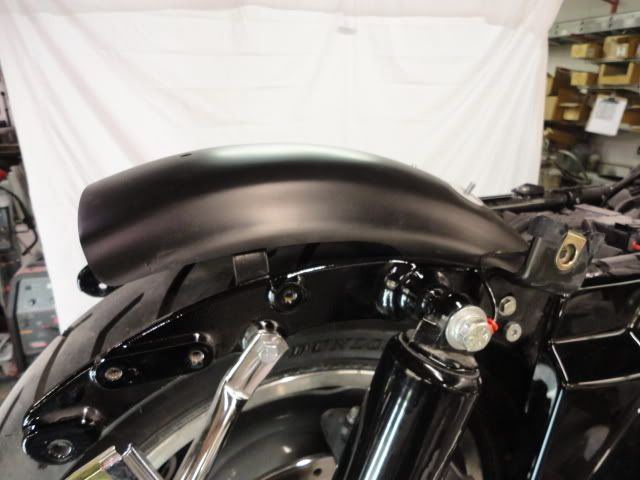
18) Slide the Flush Mount Fender over the Fender Eliminator Kit by inserting the stud into the tab of the bumper bracket.
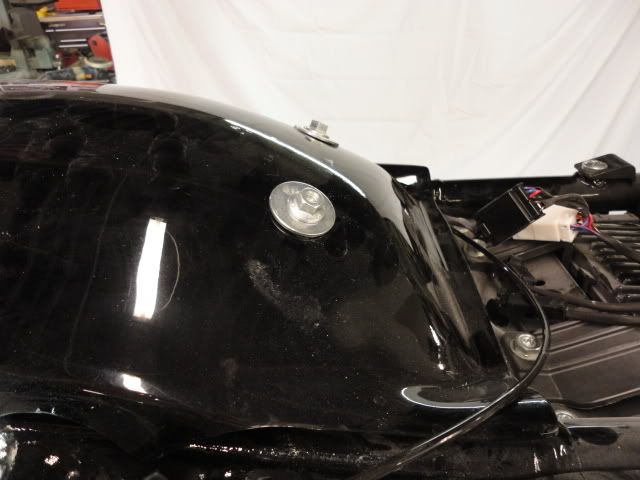
19) Fender Installation in progress. Re-install the two wire loom studs and nuts underneath the seat that are located behind the battery box.
20) Next, prepare for the installation of Bad Dad's plug-n-play wiring harness. The main taillight wiring connector for the 2009-current models can be found behind the left-side side cover.
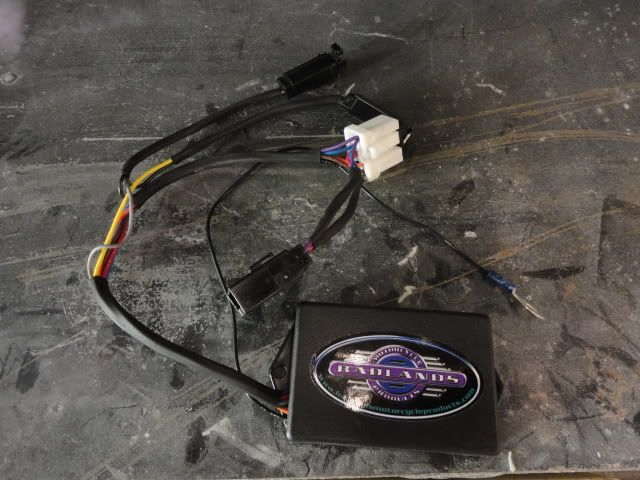
21) The load equalizer and saddlebag quick disconnects are each removable from the main harness.
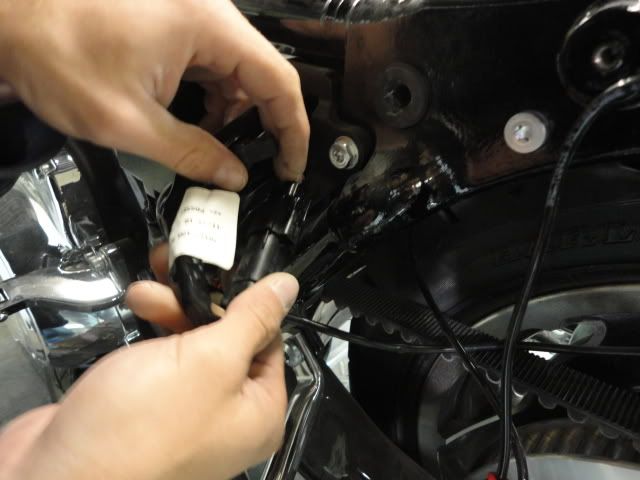

22) Run the plug-n-play wiring harness underneath the custom fender and on top of the Fender Eliminator. Bad Dad suggests letting the harness rest in the channel between the frame rail and the Fender Eliminator. Clip the harness into the stock harness and make the appropriate harness connections underneath the seat.
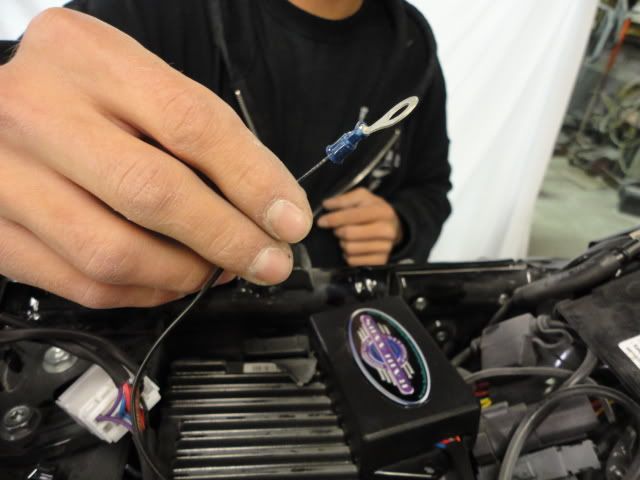
23) Then secure the ground wire from the wiring harness to the negative terminal of the battery. It is critical that the harness is connected to the negative side of the battery in order to ensure proper grounding for reliable taillight functions.
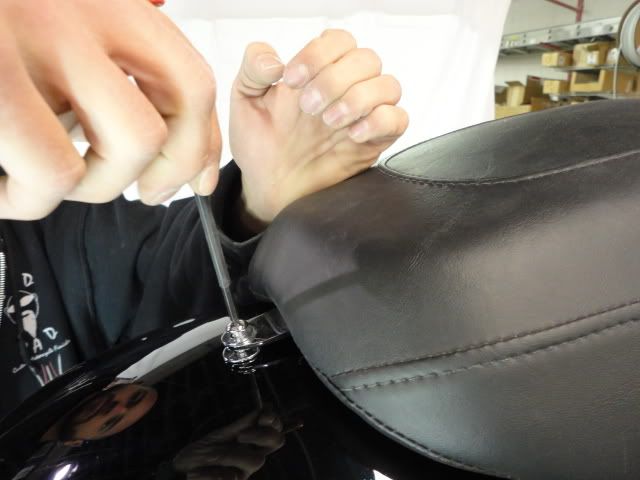
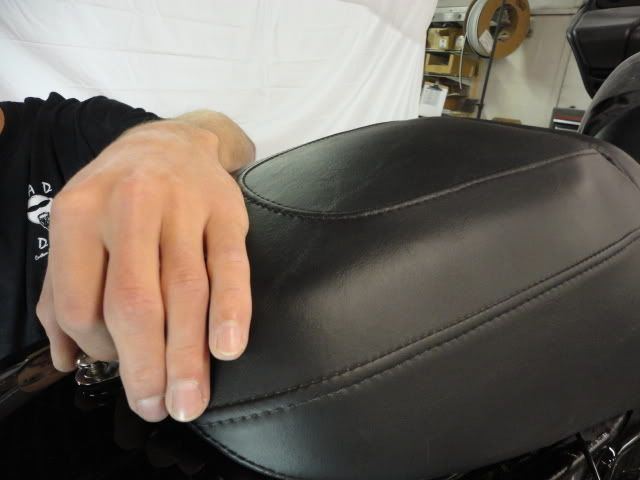
24) Then secure the rear seat bolt from the two-up seat.
25)
Finished.
Sign Up for Updates on our Newest Parts, Current Projects & Latest Builds