Order online or by
calling 260.407.2000


Saddlebag Extension Install
Print Instructions
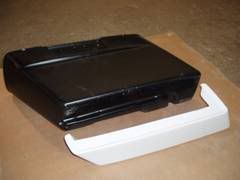
1) Remove saddlebags from bike, leaving rubber isolators in place.
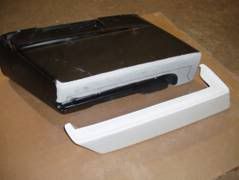
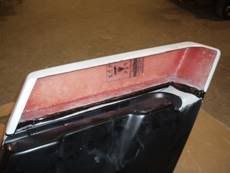
2) Sand lower edges of bags and contact flanges of extension with 36 grit sandpaper.
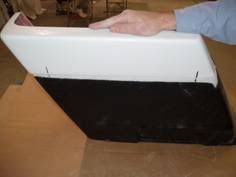
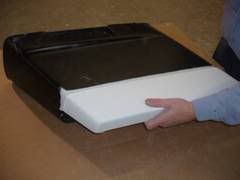
3) Position extension on bottom of bag until all parts of bag fit smoothly.
No Picture
4) Draw lines with Sharpie or place tape from bag to extension to make quick reference for quickly positioning the two pieces once the adhesive is applied
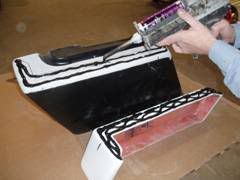
5) Apply appropriate adhesive to bags and extensions.
*Tip: We use multiple different products for this. The most readily available is Evercoat's Maxim Multi-Panel Panel Bonding Adhesive (Evercoat part number 100815). The 250mL cartridge is a one-to-one epoxy with excellent adhesion to SMC, cold rolled steel, aluminum and e-coats. This material is available through Bad Dad and your local automotive material outlets.
6) Hold bag and extension in place until the adhesive�s set time expires.
7) Allow adhesive to cure.
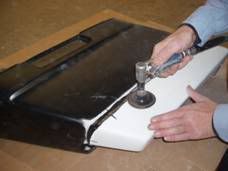
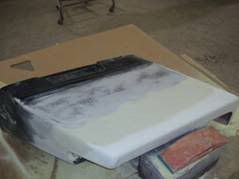
8) Sand joint level with bag and extension.
9) Sand sides and ends of bag with 80 grit sandpaper on a dual-action sander.
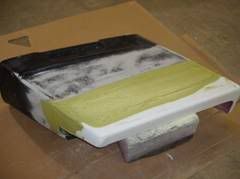
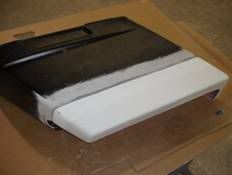
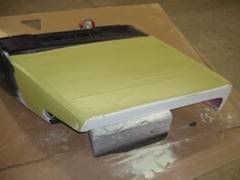
10) Apply body filler over joint and taper filler onto both sides.
11) Block sand with 36 grit sandpaper.
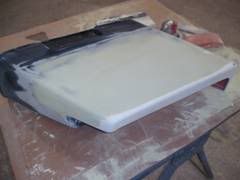
12) Reapply body filler.
No Picture
13) Block sand with 80 grit sandpaper until everything is even and smooth, re-applying and sanding as necessary to achieve a smooth, ripple free surface.
14) Sand all surfaces lightly with 180 grit sandpaper.
Sign Up for Updates on our Newest Parts, Current Projects & Latest Builds