Order online or by
calling 260.407.2000


Softail Flush Mount Rear Fender
Print Instructions
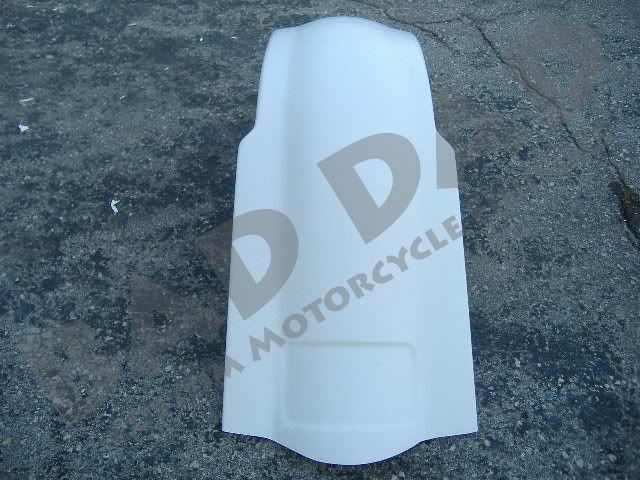
1) Bad Dad's Softail Stretched Wide Rear Fender with Flush Brake is a fender cover that is designed to install over the top of your stock fender. This Rear Fender is going to attach in two places: (1) the rear seat bolt hole from the two-up seat, and (2) the installed stud on the bottom side of the custom fender.
Additionally, Bad Dad’s Stretched Wide Rear Fender with Flush Brake also requires minor modification to the stock rear fender to accommodate the housing from the flush mount brake light.
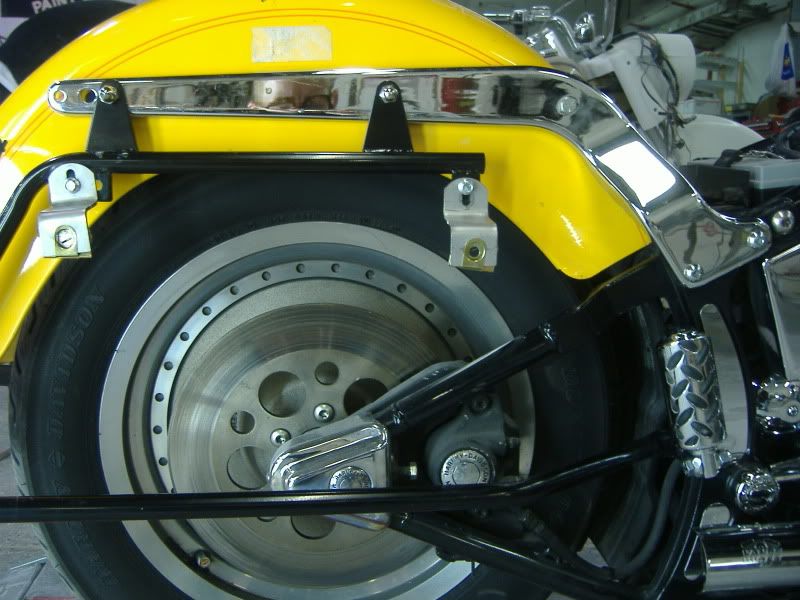
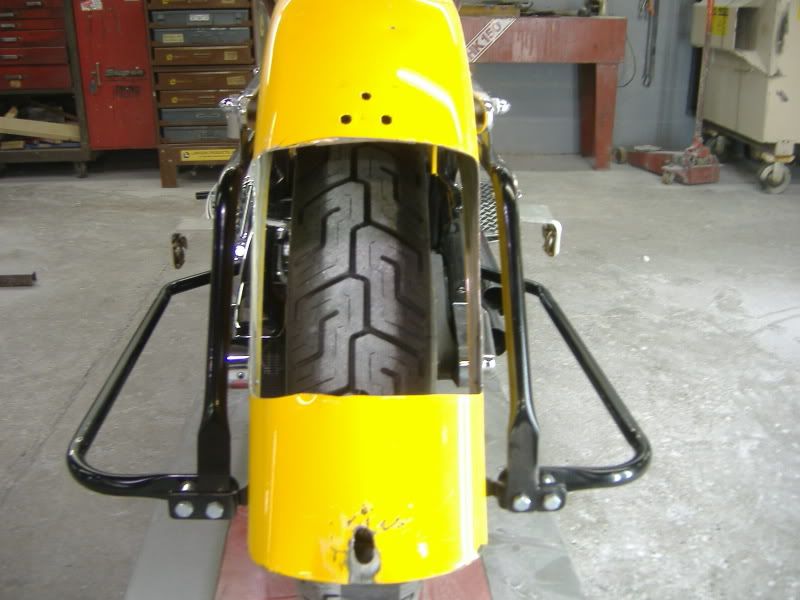
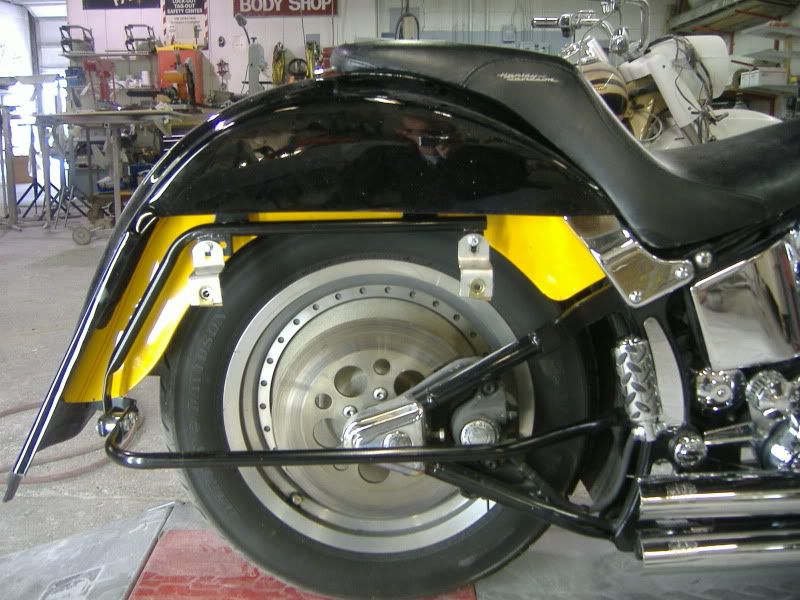
2) Begin by tearing down the rear of the motorcycle, including the seat, taillight assembly, and turn signals. For our bike, we are also installing a set of our Stretched Saddlebags, so we have already installed our Softail Saddlebag Bracket Kit.
3) Before we install the custom fender over the top of the fender, a hole must be cut into the stock fender to allow room for the brake light housing.
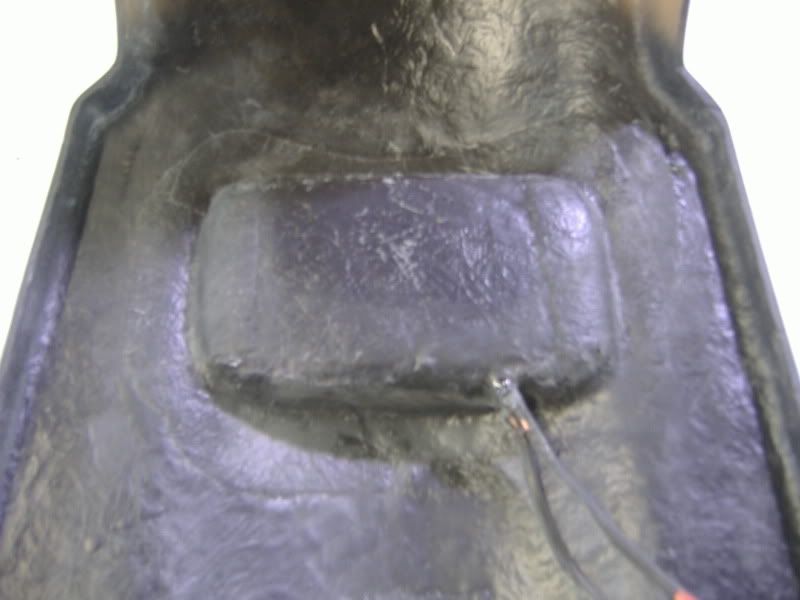
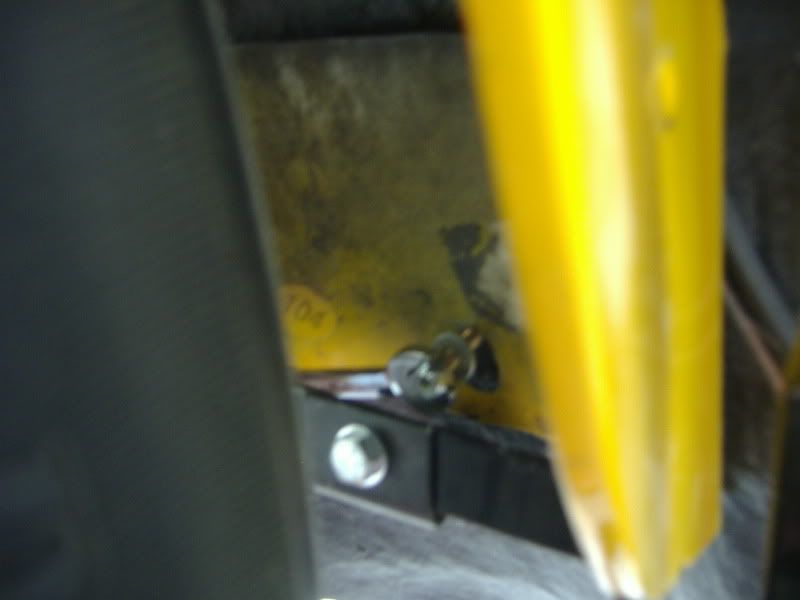
Here is a photo of the housing that we need to accommodate.
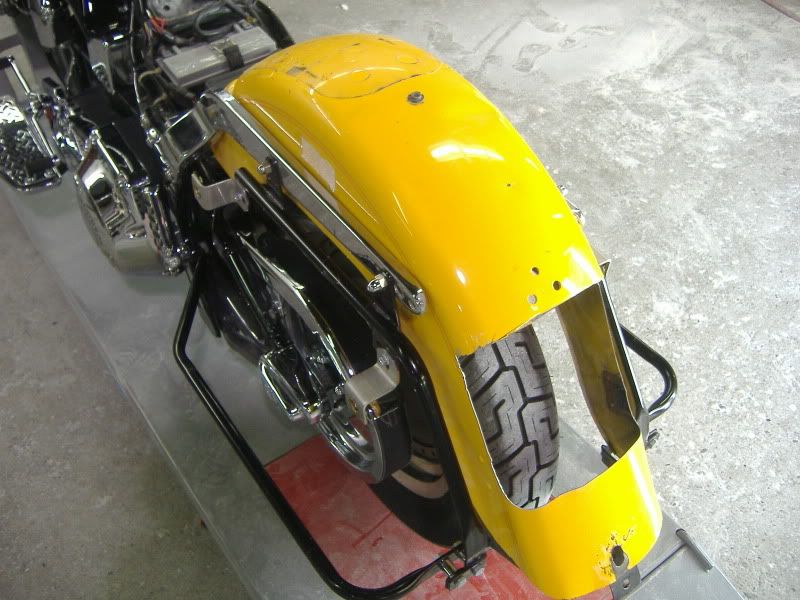
4) And here is the approximate size and location of the hole that needs to be made. The important factor is to make sure the hole is large enough to fit the light housing. In addition, the hole must be large enough so that the TOP of the fiberglass fender can sit down flush on top of the steel fender.
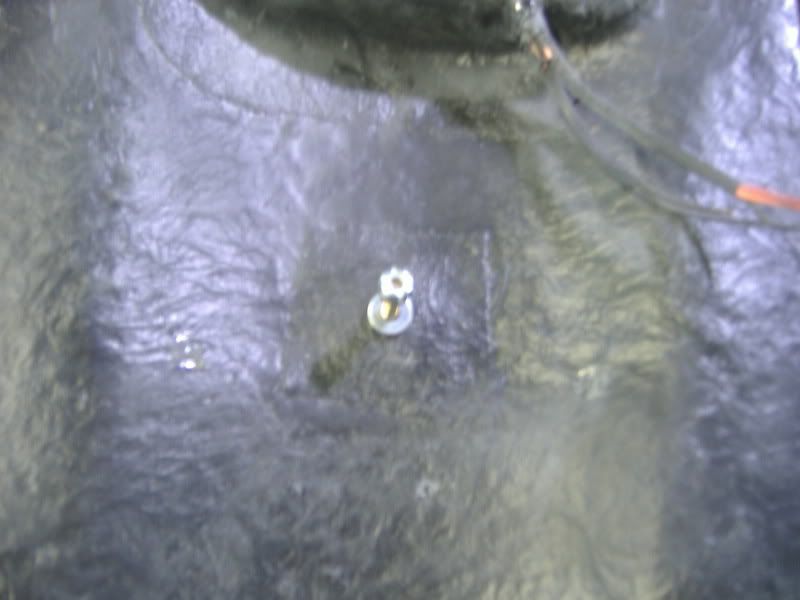
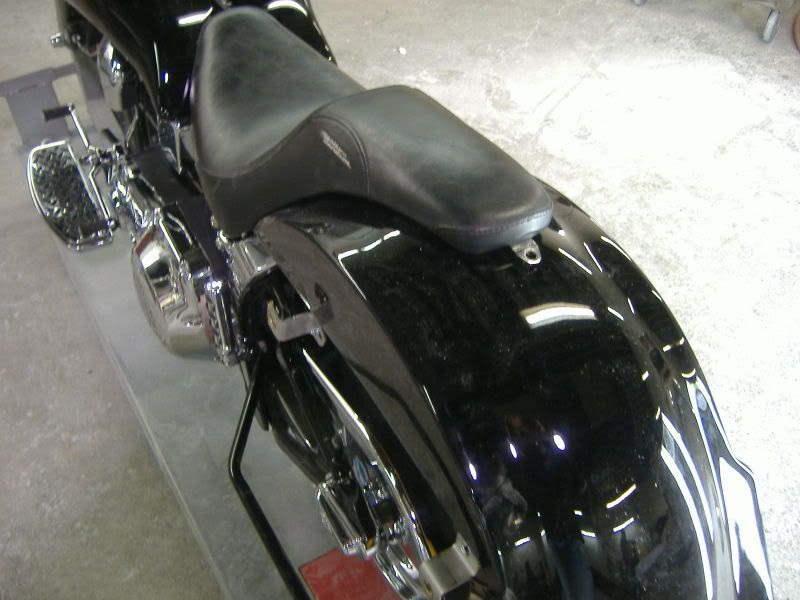
5) Next, the custom fender is ready to go over the top of the stock fender. When laying the custom fender over the top of the stock fender, one of our main attachment points will be the pre-installed stud found at the bottom of the custom fender.
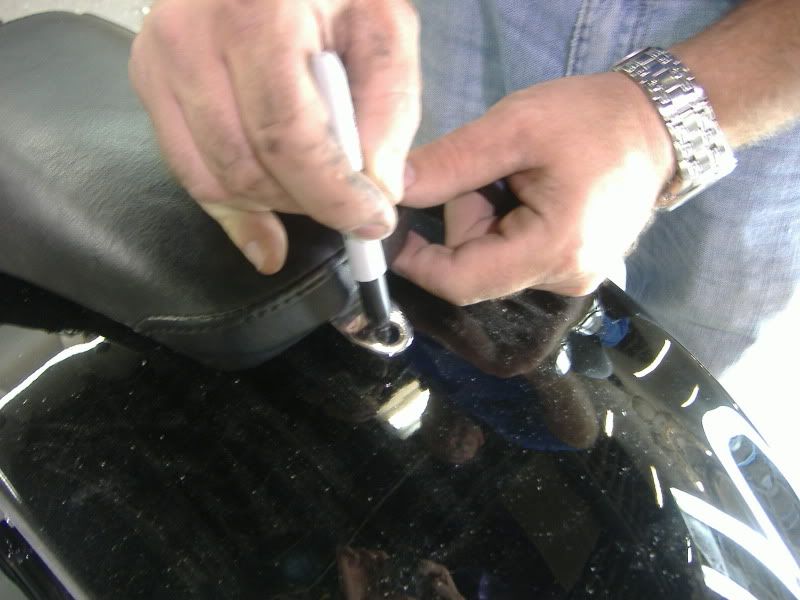
Here is a picture of that stud and the included washer and nylock.
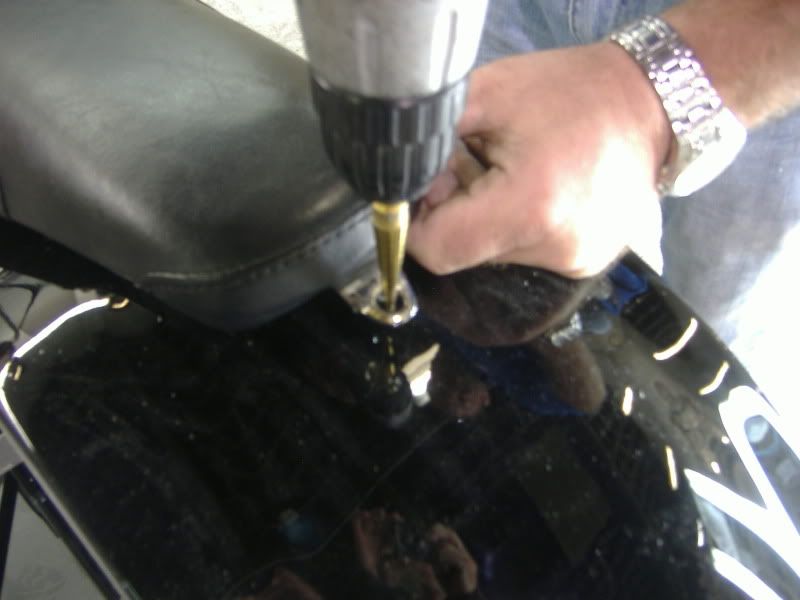
6) To install this stud, drill a hole in the stock fender beneath the hole you cut for the light housing in Step 4.
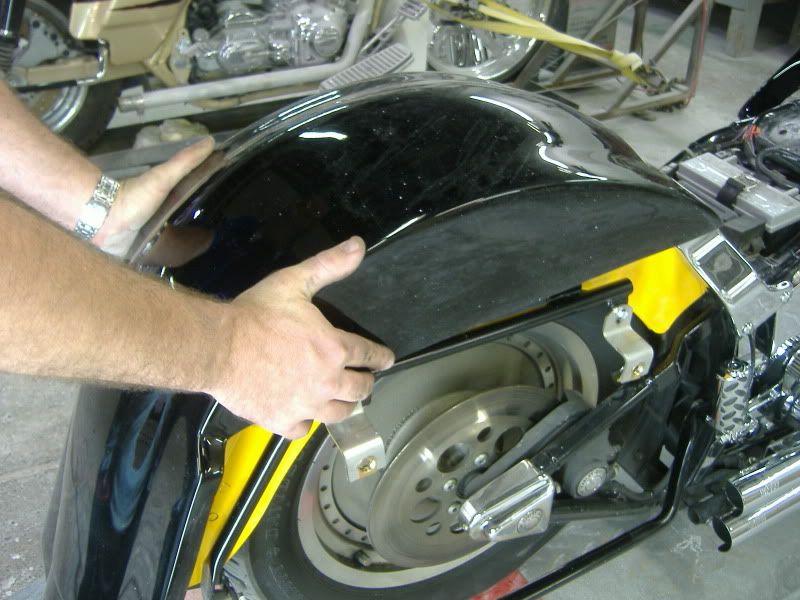
7) Now, lay the custom fender over the top of the stock fender.
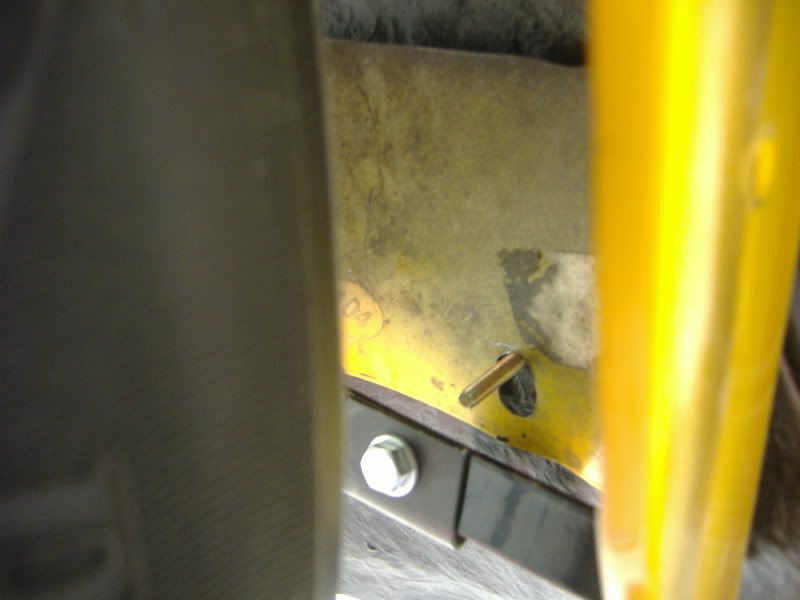
8) Next, install the stud through the hole you cut in Step 6.
9) The other attachment point for the custom fender is the rear seat bolt hole from the 2-up seat. To find the location of this hole, temporarily install the 2-up seat with the custom fender sitting in place, and mark the location of the rear seat tab.
10) Next, confirm the location of the seat bolt hole, and then drill your hole. Start with a 1/4" drill bit, double check the location again, and then step up to a 3/8" drill bit.
11) With the rear seat bolt installed and the lower stud in place, your Stretched Wide Rear Fender with Flush Brake is now installed.
Sign Up for Updates on our Newest Parts, Current Projects & Latest Builds